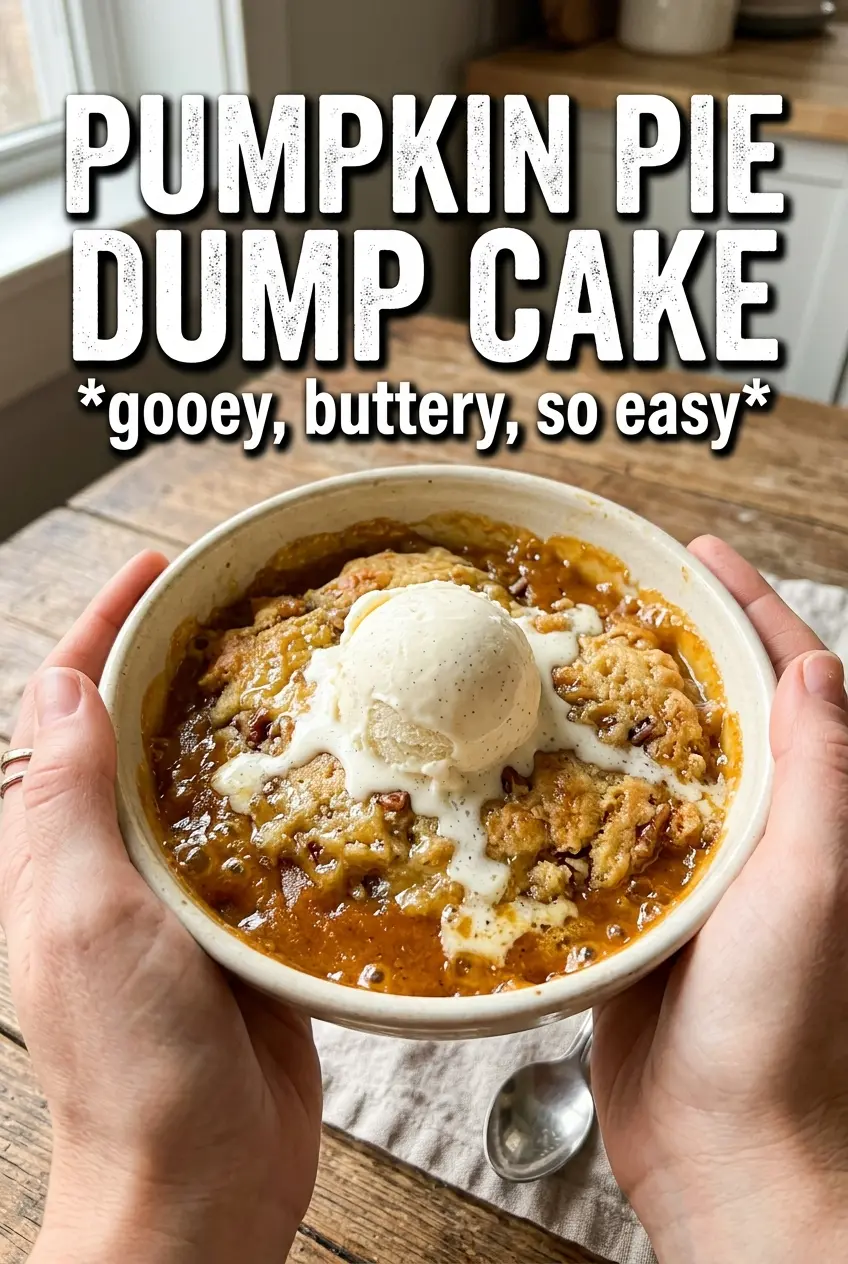
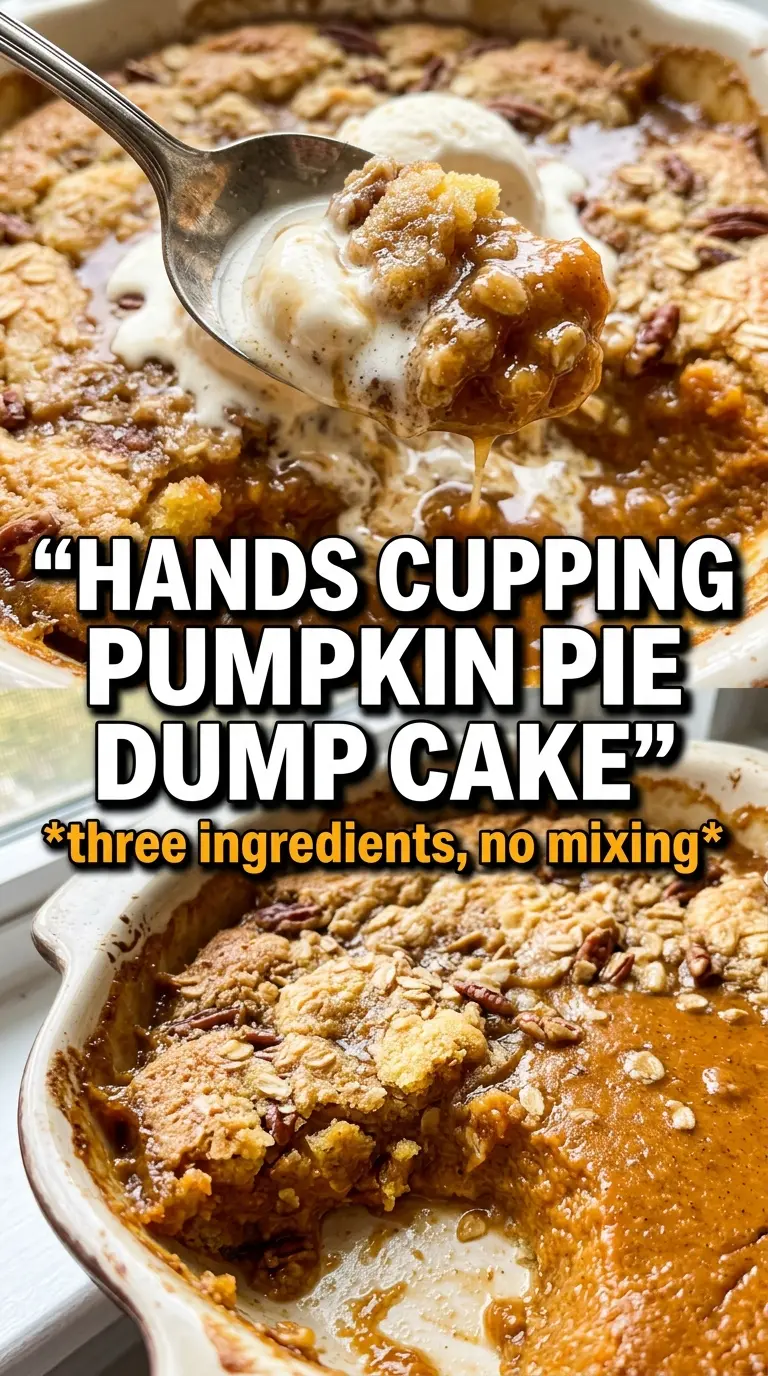
Pumpkin pie dump cake lands somewhere between a silky pumpkin custard and a crisp, buttery cobbler top, and that contrast is exactly why it disappears fast. The bottom bakes into a soft spiced pumpkin layer that tastes like pie filling, while the spice cake mix turns into a crackly golden blanket with caramelized edges where the butter melts through.
The trick is leaving the cake mix dry and covering it with thin butter slices all the way to the edges. If there are bare spots, you get dry floury patches instead of that deep golden topping. The pumpkin layer also needs enough egg and evaporated milk to set into a spoonable custard, not a loose pudding that weeps when you cut it.
Below, I’ll show you how to keep the topping evenly crisp, what to do if your butter slices don’t cover the pan cleanly, and a few smart ways to change the flavor without losing that classic pumpkin pie feel.
The pumpkin layer set up like pie filling and the spice cake topping baked into these crisp, buttery patches that my kids kept picking off the corners.
Save this pumpkin pie dump cake for the nights when you want a custardy pumpkin base and a crisp spice cake top with almost no fuss.
The Part That Ruins Most Dump Cakes: Gaps in the Butter Layer
Dump cake sounds casual, but the top only works when the butter melts across the entire surface and soaks the dry mix evenly. If you leave even a few dry pockets, those spots bake up sandy and raw-tasting while the rest of the cake browns. Thin slices matter here more than melted butter drizzled in random streaks, because you want slow, even coverage as the butter melts.
The other mistake is stirring the dry cake mix into the pumpkin base. That turns the texture muddy and dense instead of giving you two distinct layers. Keep the pumpkin mixture under the topping, and let the oven do the work.
- Pumpkin puree — Use plain pumpkin puree, not pumpkin pie filling. Pie filling already has sugar and spices mixed in, which throws off the balance and can make the dessert too sweet.
- Evaporated milk — This gives the pumpkin layer a richer, smoother custard texture than regular milk. It’s worth using here; regular milk works in a pinch, but the filling will be thinner.
- Spice cake mix — This is the backbone of the topping. A yellow cake mix can work, but you’ll lose the warm spice flavor that makes this taste like pumpkin pie instead of just pumpkin cobbler.
- Butter — Slice it thin and cover the full surface. Melted butter is harder to distribute evenly, and the dry mix needs constant contact with fat to bake into a crisp topping.
What Each Ingredient Is Actually Doing in This Recipe
- Primary ingredient (the star) — Quality matters most. Choose the best you can find.
- Cooking medium (oil, butter, or broth) — This carries flavors and prevents dryness.
- Seasonings (salt, pepper, spices, herbs) — Layer flavors so nothing overpowers. Build depth gradually.
- Aromatics (garlic, onion, herbs) — Cook with fat to bloom flavors. Become the foundation.
- Supporting ingredients — Complement the main ingredient without overpowering it.
- Sauce or liquid (if applicable) — Brings flavors together. Balance richness with acid.
- Acid (lemon, vinegar, wine, or other) — Brightens and prevents flat-tasting results.
- Final finish (garnish, glaze, or sauce) — Prevents one-dimensional taste and adds visual appeal.
Building the Pumpkin Base Without Ending Up With a Soupy Center
Whisk the custard until the eggs disappear
Start with the pumpkin, evaporated milk, eggs, sugar, spices, and salt in a large bowl and whisk until the mixture looks smooth and glossy. You shouldn’t see streaks of egg white or clumps of spice. If the mixture still looks grainy from the sugar, keep whisking; it should pour like a loose custard, not a thick batter.
Pour, level, and leave the surface alone
Spread the pumpkin mixture into a greased 9×13 dish and smooth it into the corners. The layer should be even so it bakes at the same rate from edge to center. If one side is thicker, the top may brown before the middle sets. Once it’s in the pan, don’t stir or swirl anything into it.
Cover with dry cake mix, then butter every inch
Sprinkle the cake mix over the pumpkin in an even layer and stop there. Don’t press it down or mix it in. Lay the butter slices across the top so there’s no dry cake mix showing, especially around the corners and edges where dry patches like to hide. The butter will melt through the cake mix and create the crisp, craggy topping you want.
Bake until the top is deep gold and the center no longer jiggles loose
Bake at 350°F for 45 to 50 minutes. The top should be deeply golden with darker caramelized spots, and the pumpkin layer should look set around the edges with only a slight wobble in the center. If the center still sloshes when you move the pan, give it a few more minutes; underbaked custard is the most common reason this dessert turns watery after cooling.
Make It More Spiced
Add another 1/2 teaspoon cinnamon or a small pinch more cloves if you want the pumpkin layer to taste closer to classic pie filling. Go light on extra cloves; too much and the dessert starts reading sharp instead of warm.
Gluten-Free Version
Use a gluten-free spice cake mix and check that your spices are certified gluten-free if needed. The texture stays close to the original, though some gluten-free mixes brown a little faster, so start checking a few minutes early.
Dairy-Free Swap
Use full-fat canned coconut milk in place of the evaporated milk and a plant-based butter that melts well. The filling will taste a little coconut-forward and the topping won’t brown quite the same way, but it still bakes into a spoonable, cozy dessert.
Storage and Reheating
- Refrigerator: Store covered for up to 4 days. The topping softens as it sits, but the pumpkin layer stays creamy.
- Freezer: It freezes well in portions. Cool completely, wrap tightly, and freeze for up to 2 months; thaw in the fridge before reheating.
- Reheating: Warm individual slices in the microwave or reheat the pan, covered loosely with foil, in a 300°F oven. High heat dries out the topping before the center warms through.