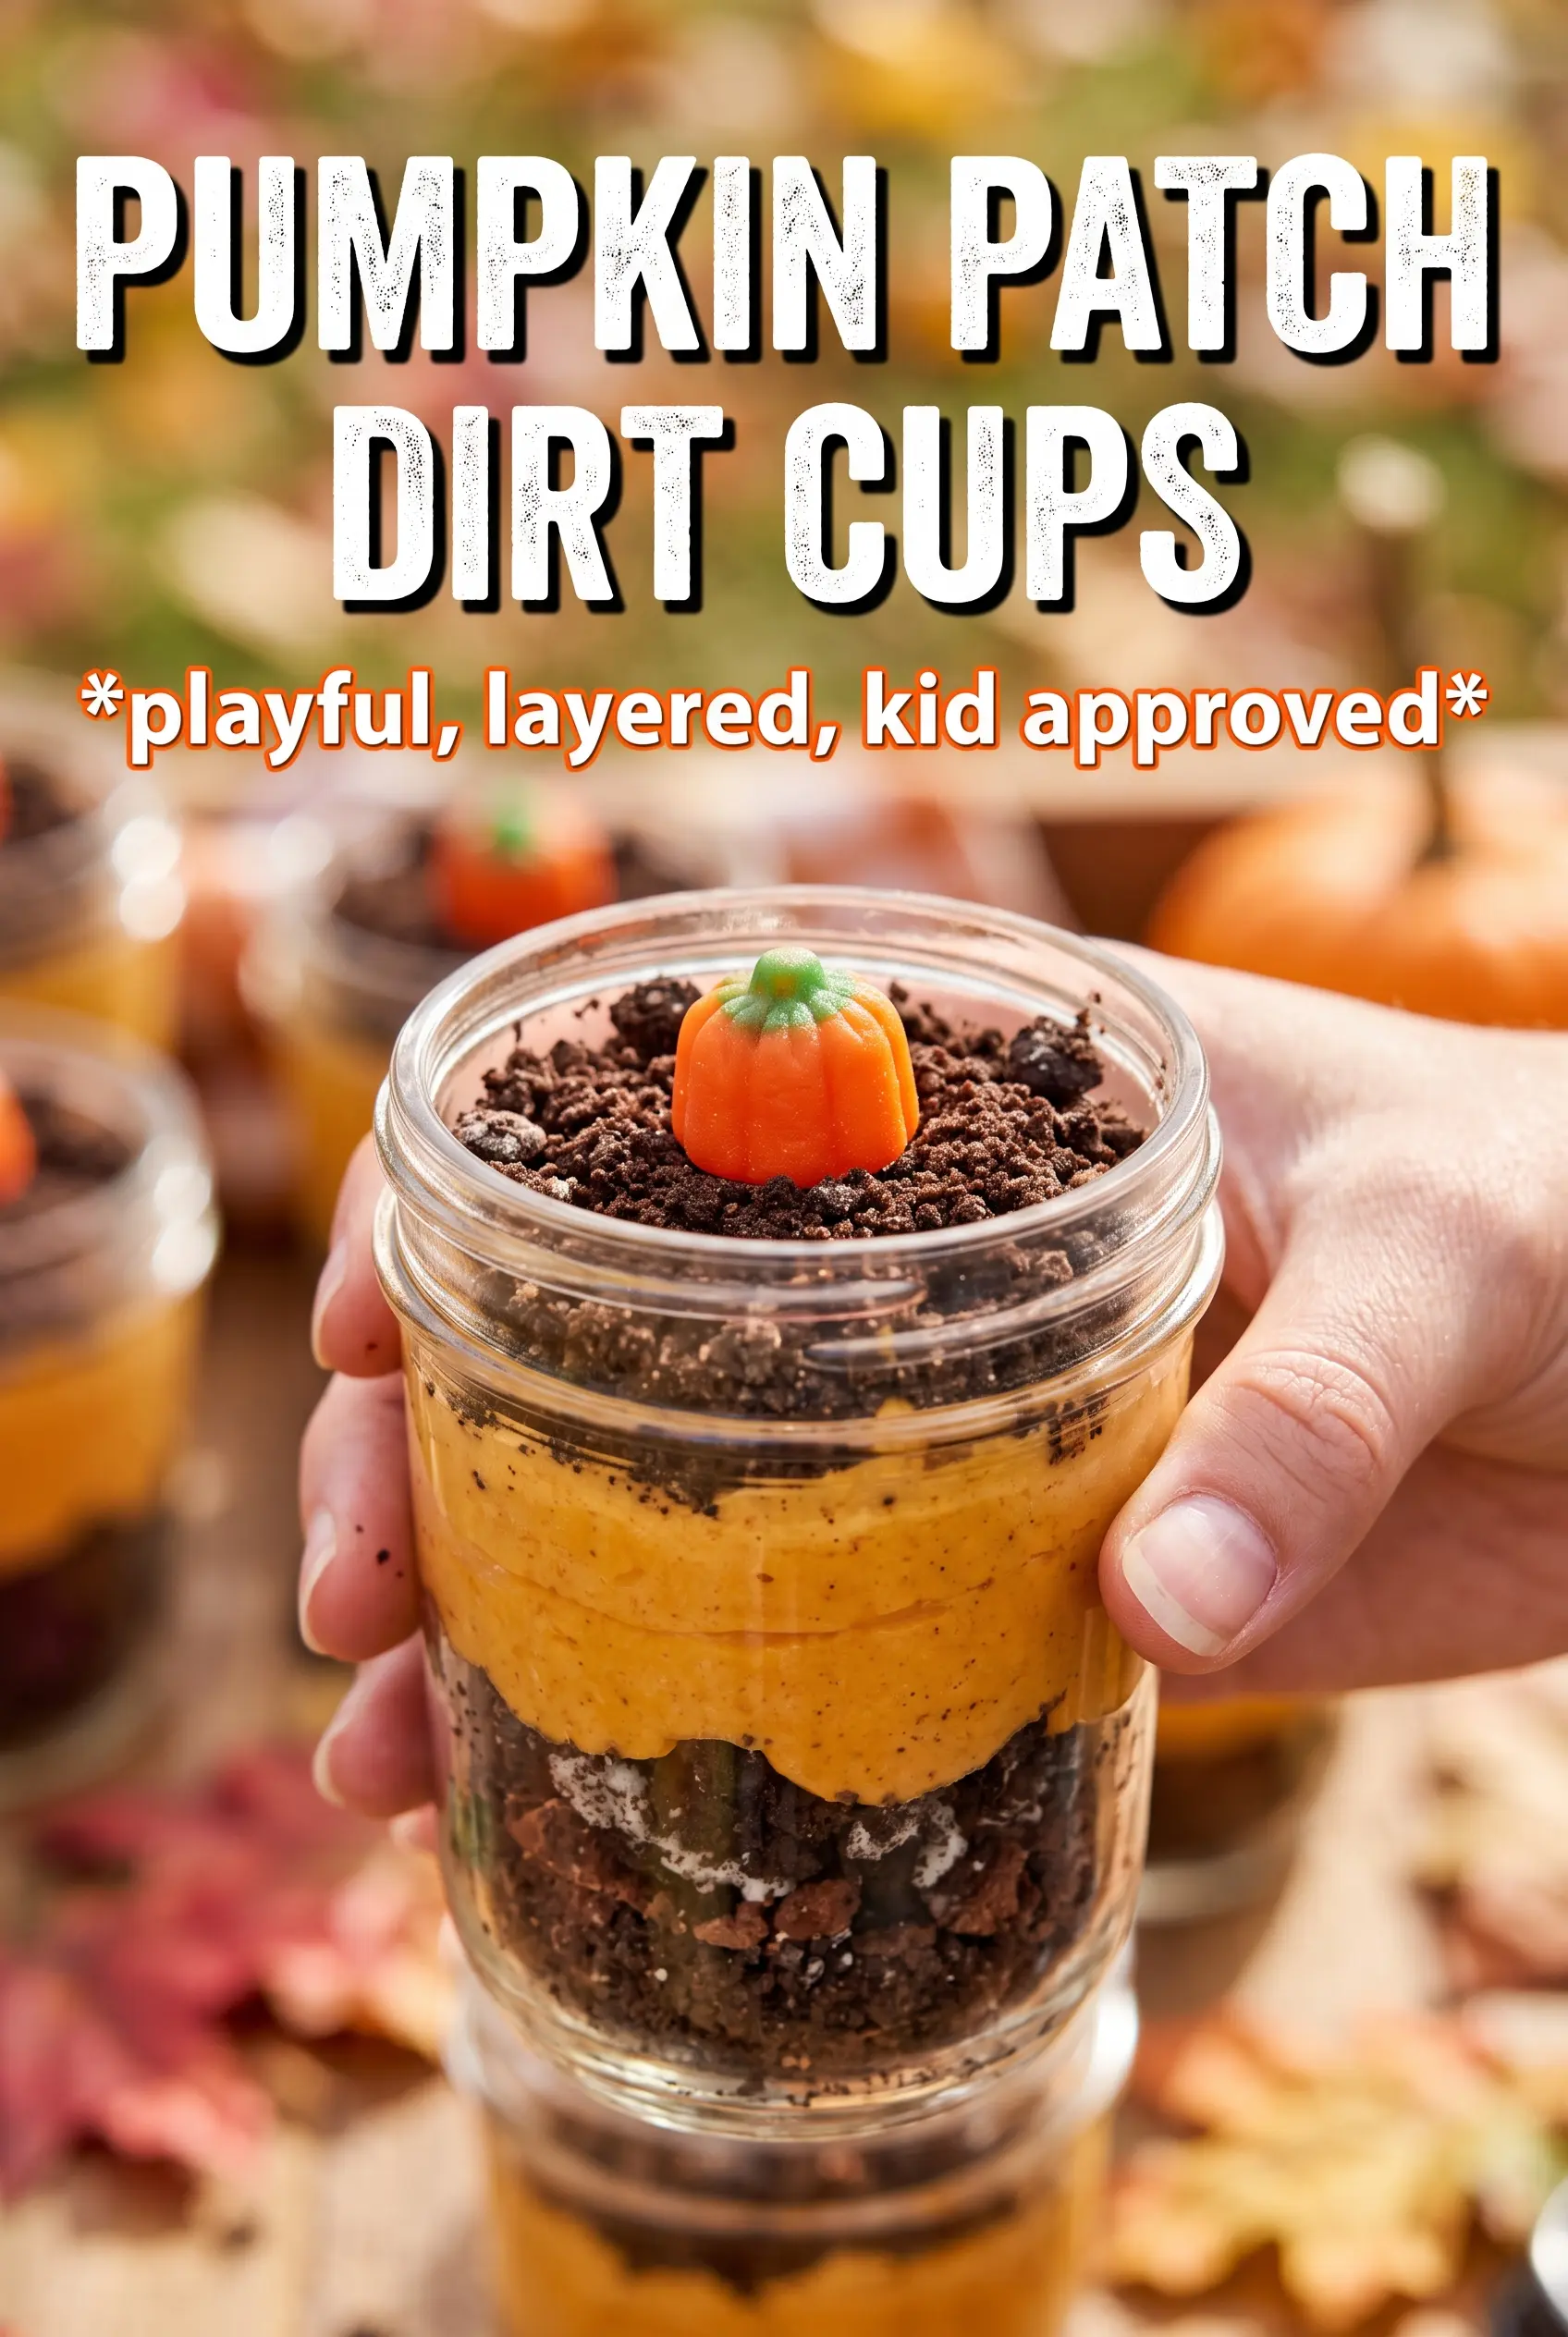
Pumpkin Patch Dirt Cups are the kind of dessert that disappears fast because the texture hits every note at once: fluffy pumpkin mousse, cold cream cheese richness, and that crunchy Oreo “dirt” on top. They look playful in clear cups, but the flavor is all the things people want from a pumpkin dessert without turning on the oven.
What makes this version work is the balance. The cream cheese gives the mousse body, the pumpkin puree keeps it from tasting like plain sweet cream, and the whipped topping lightens everything so the cups set up soft instead of dense. The spices stay in the filling where they belong, and the cookie crumbs go on last so they keep their crunch instead of melting into the mousse.
Below, I’ll walk through the one chilling step that helps these hold their shape, the ingredient swaps that still give you a good result, and a few smart ways to decorate them so they look like little pumpkin patches instead of just chocolate cups with orange filling.
The mousse set up beautifully after an hour in the fridge, and the Oreo crumbs stayed crunchy on top instead of getting soggy. My kids had a blast adding the candy pumpkins and pretzel stems.
Save these Pumpkin Patch Dirt Cups for the dessert table when you want something fun, creamy, and topped with crunchy Oreo “soil” and candy pumpkins.
The Trick That Keeps the Mousse Light Instead of Heavy
Pumpkin filling can turn dense fast if the base is overworked or the whipped topping gets beaten in like frosting. The goal here is a mousse that holds its shape in the cup but still scoops softly with a spoon. That means the cream cheese has to be smooth before anything else goes in, and the whipped topping should be folded in at the end with a light hand.
If your mixture looks grainy, the cream cheese was still too cold. If it looks loose and soupy, the whipped topping got deflated or the pumpkin puree added too much moisture before the base was blended. A short chill helps the texture settle, but the real success comes from stopping the mixing before the filling loses its air.
What Each Part of the Cup Is Actually Doing
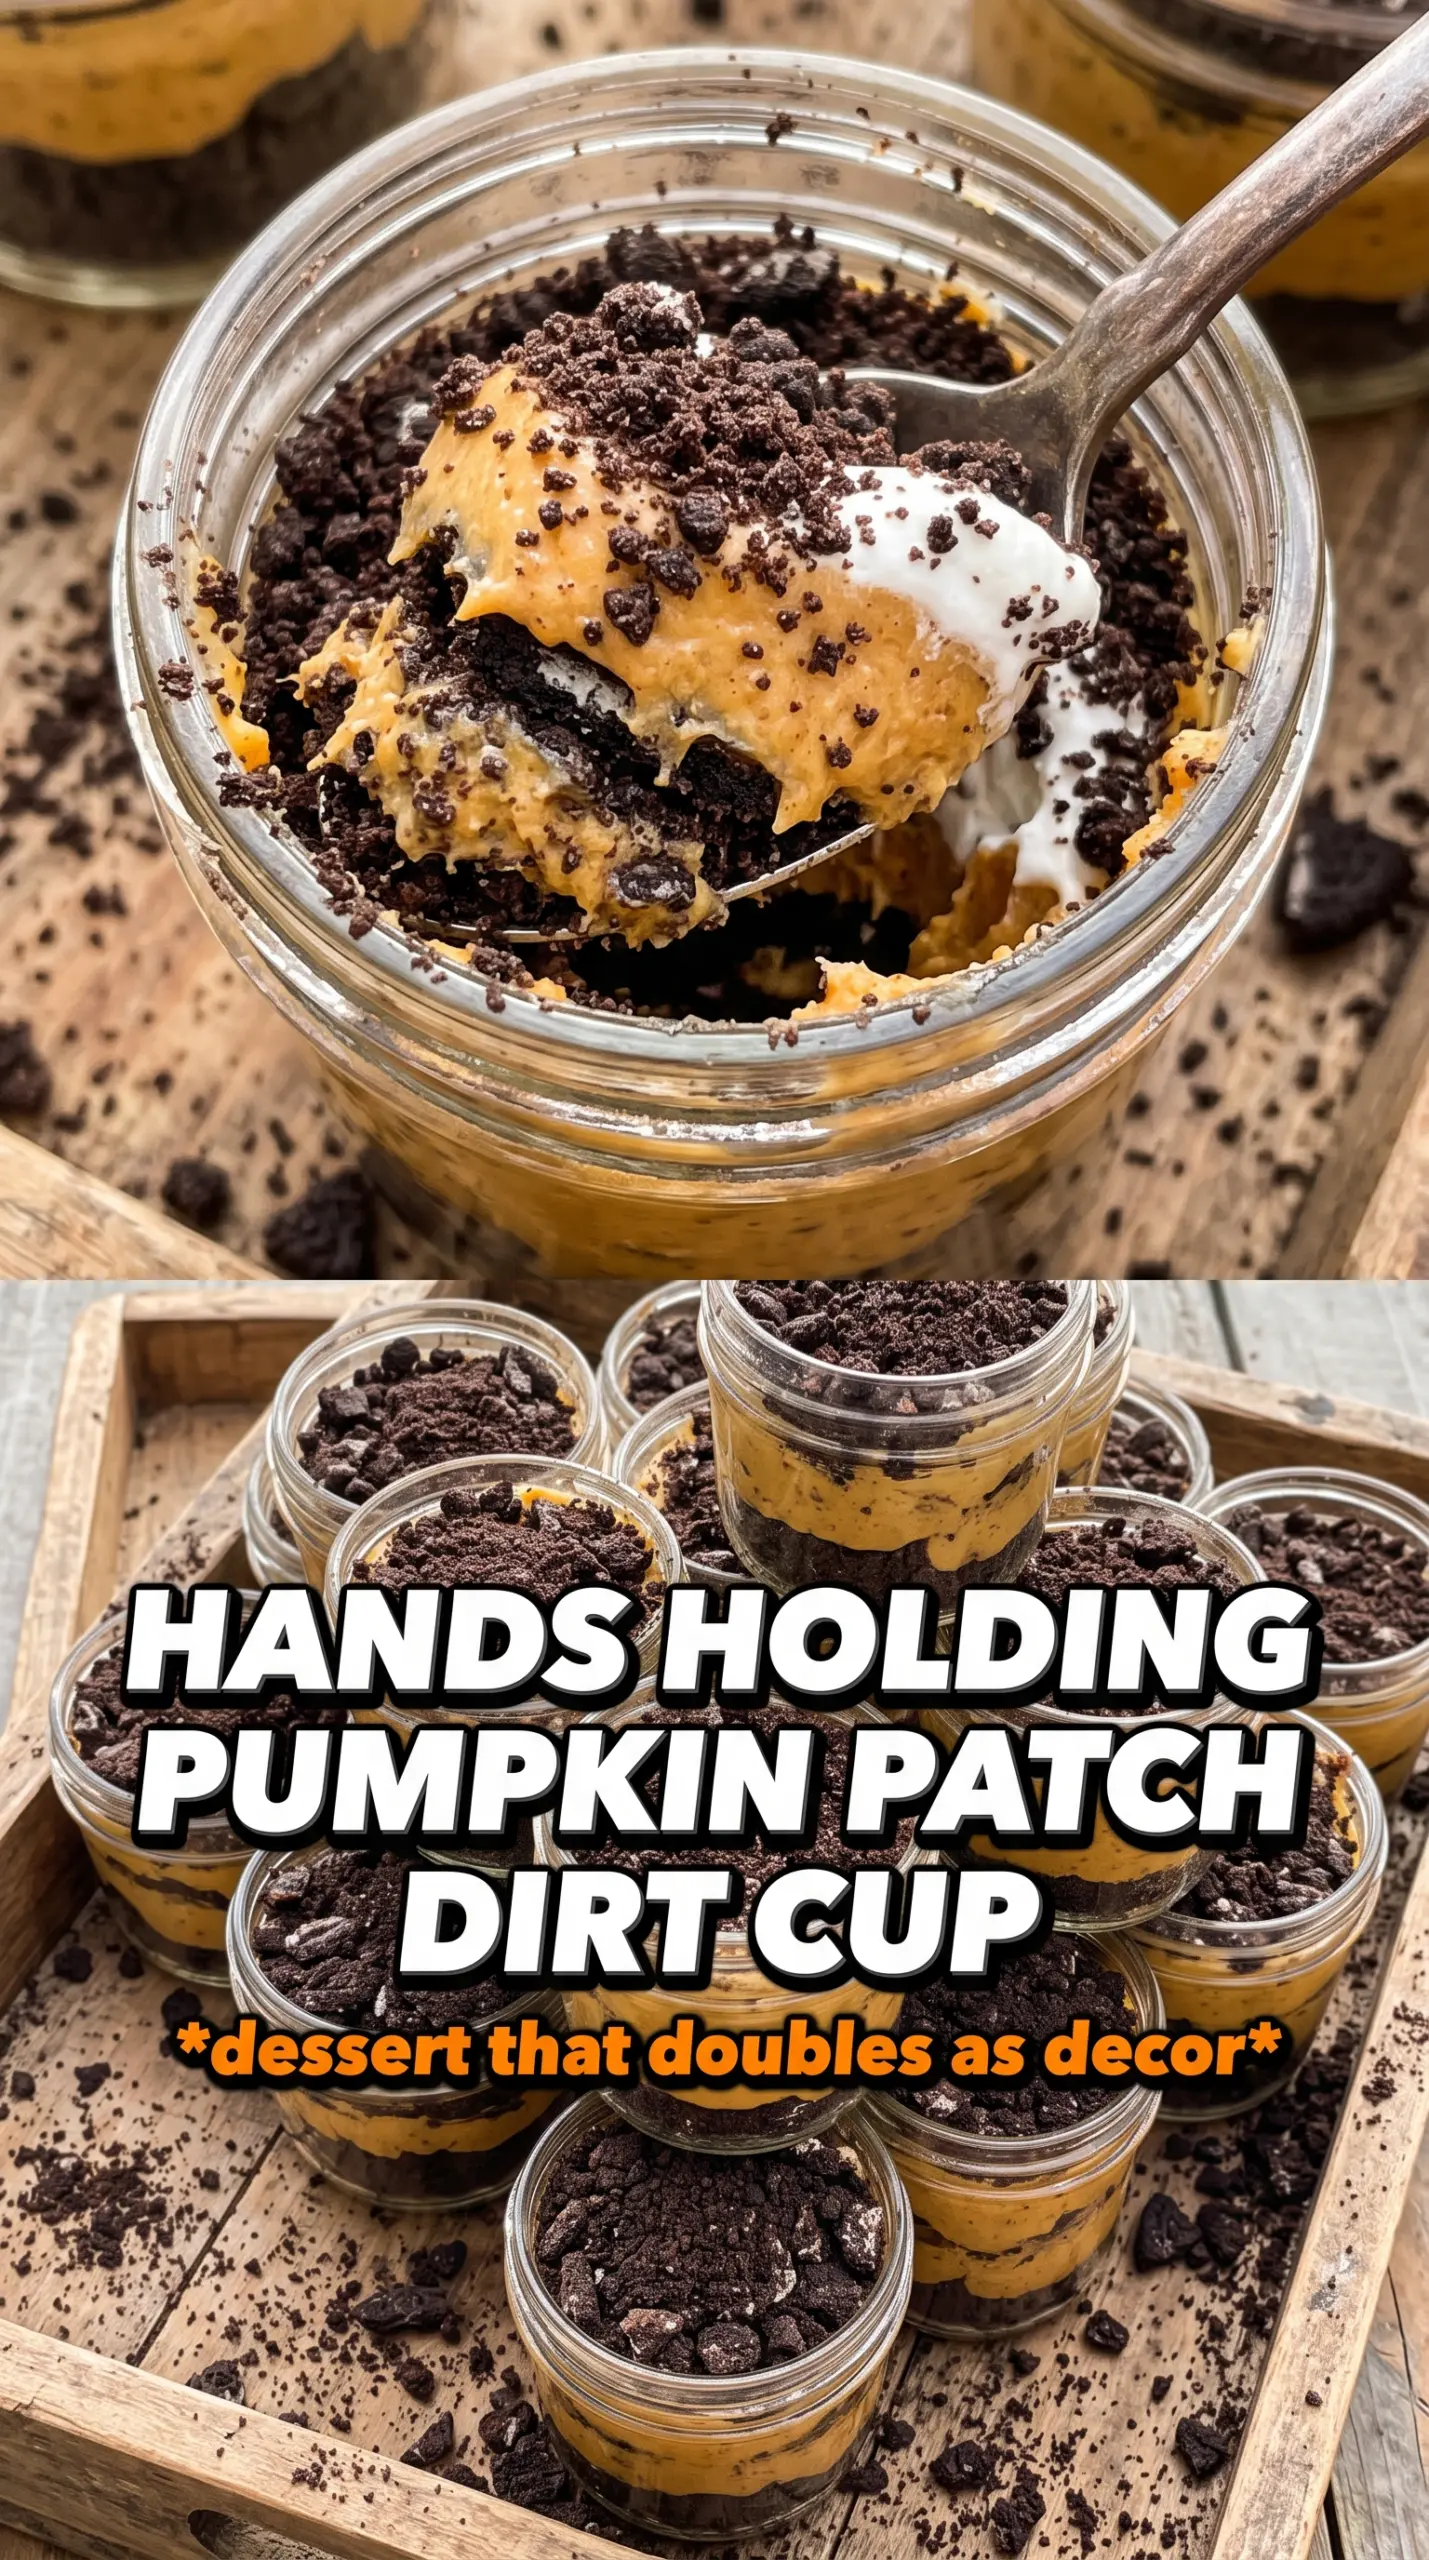
- Cream cheese — This gives the mousse structure and that tangy cheesecake note that keeps the dessert from tasting flat. Full-fat cream cheese works best here because it sets up better and gives a smoother finish.
- Pumpkin puree — Use plain pumpkin puree, not pumpkin pie filling. Pie filling is already sweetened and spiced, which throws off the balance and can make the cups too loose.
- Whipped topping — This is what makes the filling light enough for layered cups. If you substitute whipped cream, fold it in gently and serve the cups the same day, since fresh whipped cream softens faster.
- Oreo crumbs — These create the dirt layer and give the dessert its crunch. Crush them fine enough to spoon cleanly, but leave a few small bits so the top looks more like real soil.
- Pretzel sticks — They work best as the little vine stems because they stay crisp and give you height. Add them right before serving so they don’t absorb moisture from the mousse.
Building the Cups So They Hold Their Shape
Smooth the Base First
Beat the cream cheese until it looks completely smooth before you add anything else. This is where the texture is decided, because cold little lumps will stay in the finished mousse no matter how much you stir later. Once it’s smooth, add the pumpkin, sugar, spices, and vanilla and mix until the color is even and the filling looks fluffy and thick.
Fold, Don’t Whip
Add the whipped topping last and fold it in with a spatula instead of beating it with the mixer. Overmixing knocks the air out and turns the filling heavy. Stop when you no longer see white streaks; a few tiny swirls are fine because they disappear as the cups chill.
Layer for the Best Texture
Spoon the filling into clear cups in layers with Oreo crumbs between and on top. The bottom layer of crumbs gives you that dirt look from the side, and the top layer keeps the presentation sharp. Press the candy pumpkins lightly into the crumbs so they sit in the “soil” instead of sliding around.
Chill Before Decorating
Refrigerate the cups for about an hour before adding the final decorations. That rest gives the filling time to firm up so the toppings stay where you put them. If you decorate too soon, the pretzel stems lean and the candy pumpkins sink into the mousse.
How to Adapt These Pumpkin Patch Dirt Cups for Different Crowds
Dairy-Free Version
Use a dairy-free cream cheese and a non-dairy whipped topping in equal amounts. The filling will still set up nicely, though it may be a touch softer, so chill it a little longer before serving. The pumpkin and spice flavors stay just as good.
Gluten-Free Dirt Cups
Swap in gluten-free chocolate sandwich cookies for the Oreo crumbs. You still get the same dark “dirt” look and a similar crunch, just check the label on the candy decorations if you need the whole dessert to stay gluten-free.
Make It Ahead for a Party
You can assemble the mousse layers a day ahead and keep the decorations separate. Add the Oreo crumbs, pumpkins, worms, and pretzel stems right before serving so the top stays crisp and the candy colors stay bright.
More Pumpkin, Less Sweet
If you want a less sweet dessert, cut the powdered sugar slightly and add a pinch more cinnamon. The cups will taste a little more like pumpkin cheesecake and a little less like candy, which works well if the decorations are already playful.
Storage and Reheating
- Refrigerator: Keep covered in the fridge for up to 3 days. The Oreo layer softens over time, but the flavor stays good.
- Freezer: I don’t recommend freezing these. The whipped topping and cream cheese filling can turn grainy after thawing, and the cookie crumbs lose their texture.
- Reheating: No reheating needed. Serve them cold straight from the fridge, and add the final toppings just before serving if you want the best texture.