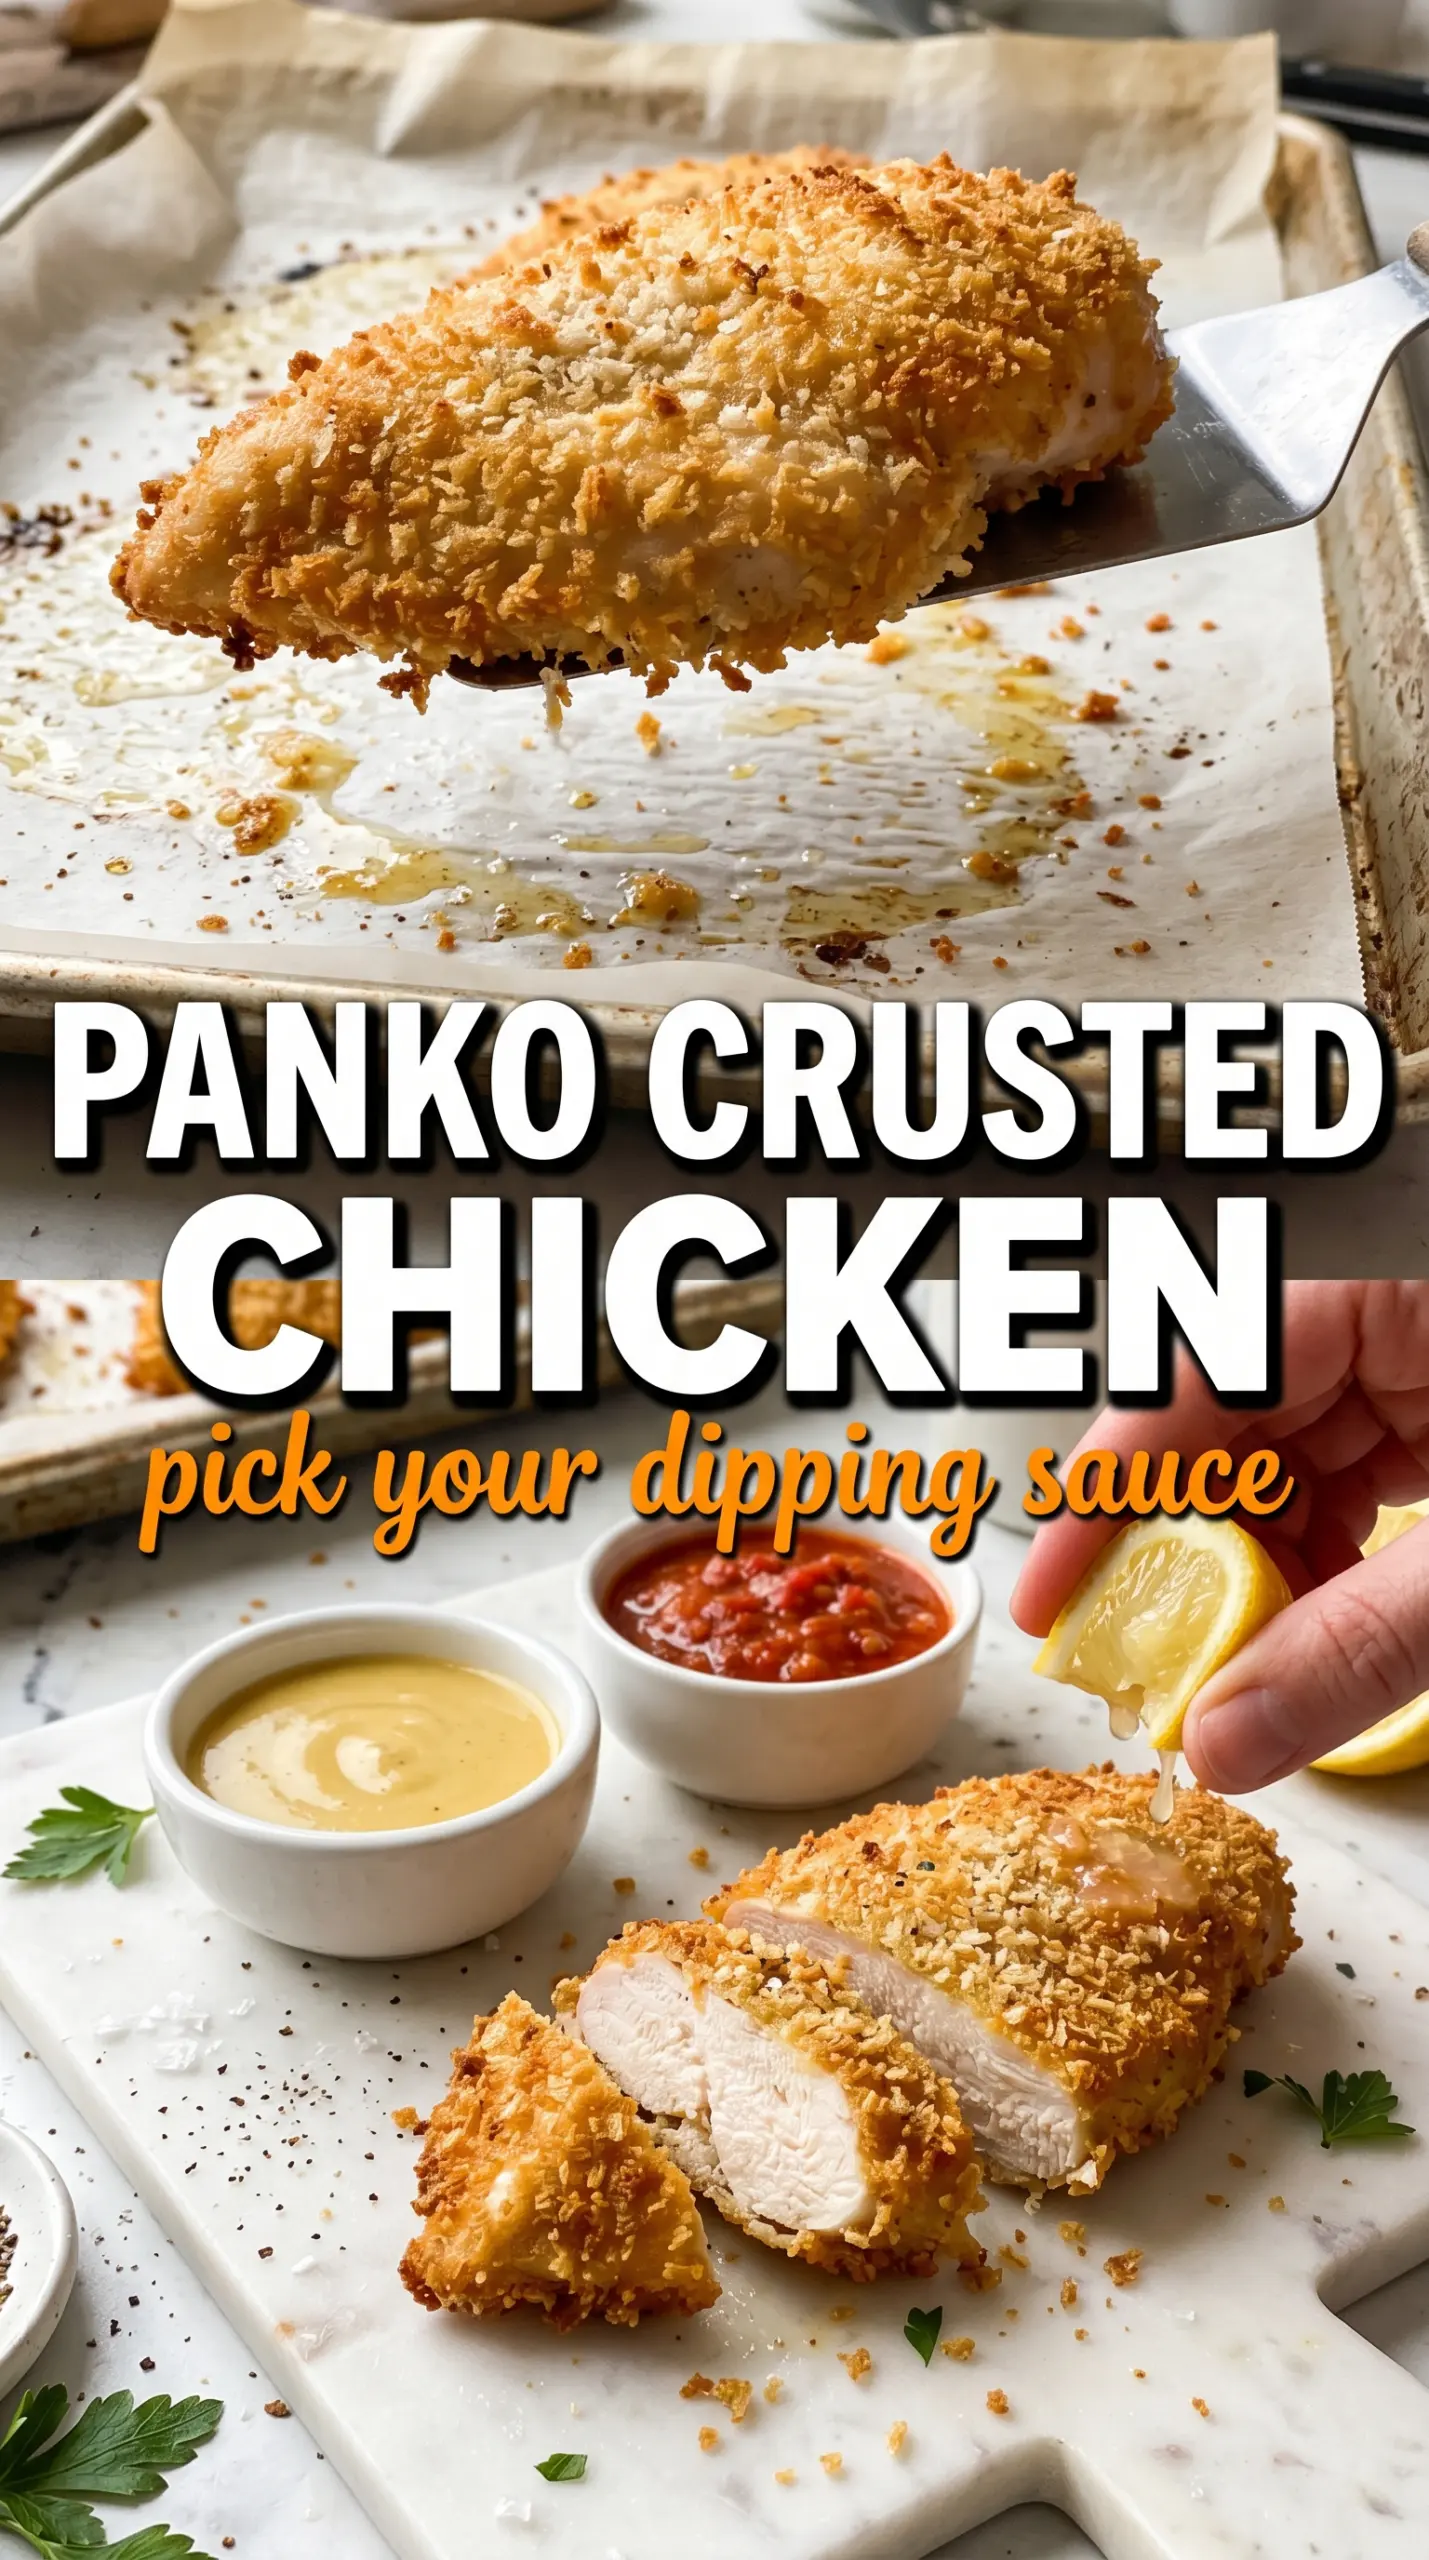
These crispy panko crusted chicken breasts bake up with a shatteringly crunchy coating that stays light instead of heavy, and the chicken underneath stays juicy if you don’t overcook it. The Parmesan and seasoned panko bring enough salt and savoriness that you don’t need a complicated marinade or sauce to make dinner feel finished.
What makes this version work is the rack-and-hot-oven setup. Air can move around the chicken, so the bottom doesn’t steam into a soft patch, and the olive oil or spray helps the crumbs turn deep golden instead of pale and dry. Pounding the breasts to an even thickness matters here too, because the crust only stays crisp when the chicken cooks evenly all the way through.
Below, I’ve included the little details that keep the coating from falling off and the chicken from drying out, plus a few ways to adapt the recipe if you need gluten-free or dairy-free swaps.
The crust came out unbelievably crisp, and the chicken stayed juicy all the way through. I used a rack like you suggested and the bottom never got soggy, even after dinner sat for a few minutes.
Save these crispy panko crusted chicken breasts for the nights when you want a shatteringly crunchy crust without frying.
The Crust Stays Crisp Because the Chicken Isn’t Sitting in Its Own Steam
The biggest mistake with breaded chicken is laying it flat on a baking sheet and letting the bottom turn damp before the top even browns. A wire rack fixes that by giving the hot air a path underneath the chicken, which is what keeps the coating dry, blistered, and crunchy instead of soft. The oven has to be hot, too. At 425°F, the crumbs have enough heat to toast before the chicken dries out.
Pounding the breasts to an even thickness is what keeps the timing predictable. If one end is thick and the other is thin, the thin part burns before the thick part reaches 165°F. The crust on this chicken is delicate until it hits the oven, so press the crumbs on firmly and don’t move the pieces around once they’re coated.
- Wire rack: This matters more than the baking sheet itself. It keeps the underside crisp and prevents soggy spots.
- Panko breadcrumbs: Regular breadcrumbs won’t give you the same jagged, airy crunch. Panko stays lighter and turns a better bronze color.
- Parmesan: Use finely grated Parmesan, not chunky shreds, so it blends into the crumbs and helps them brown evenly.
- Olive oil or spray: This is what nudges the coating from dry and pale to crisp and deeply golden. A light, even coat is enough.
What Each Layer Is Doing Before the Chicken Goes Into the Oven
Four ingredients do most of the work here: flour, egg, panko, and Parmesan. Flour gives the egg something dry to cling to, which is why skipping it often leads to patchy breading that falls off. Egg acts as the glue, but it needs that flour base underneath or it slides around instead of grabbing on.
The panko mixture is where the real texture lives. Italian seasoning and garlic powder season the coating all the way through, while smoked paprika adds just enough warmth to make the crust taste deeper than plain breaded chicken. If you need a gluten-free version, use a gluten-free panko that bakes crisp; that swap works well because the coating still needs the same airy structure, not a dense crumb.
- Chicken breasts: Pound them to an even thickness so they finish cooking at the same time. Thin cutlets work too, but they’ll need less time in the oven.
- All-purpose flour: A light dusting is enough. Too much flour makes the coating gummy instead of crisp.
- Eggs: Beat them until the whites and yolks are fully blended. Streaky egg doesn’t coat evenly.
- Parmesan: Use the real stuff if you can. Shelf-stable grated cheese works in a pinch, but it won’t melt and brown as cleanly.
Building the Coating So It Clings and Browns Cleanly
Set Up the Breading Line in Order
Line up the flour, beaten eggs, and panko-Parmesan mixture before you touch the chicken. Once your hands are coated, the process moves fast, and stopping to mix crumbs halfway through is how breading gets clumpy. Season the chicken itself first, then move it through the stations one at a time. That layers the flavor under the crust instead of leaving it all on the surface.
Press, Don’t Sprinkle, the Crumbs On
After the egg dip, press the chicken firmly into the panko mixture so the crumbs actually adhere. Lightly patting the coating onto the surface leaves gaps, and those bare spots brown unevenly. If the breading looks patchy, pick up more crumbs and press again before the chicken goes onto the rack. The goal is a thick, even crust that feels almost packed on.
Bake Until the Crust Turns Deep Bronze
Drizzle or spray the coated chicken with olive oil before it goes in the oven. That thin layer of fat is what helps the panko toast into a deep golden bronze. Pull the chicken when the thickest part reaches 165°F and the crust looks dry, crisp, and set; if the coating is pale, it needs a few more minutes. Rest it for three minutes before slicing so the juices stay in the chicken instead of running out onto the cutting board.
Gluten-Free Panko Chicken
Use a gluten-free panko that bakes up light, not a fine crumb mix. You’ll still get a crisp exterior, but the texture may be a little less jagged than classic panko. Keep the oven hot and use the rack, because gluten-free crumbs can soften faster if they sit in moisture.
Dairy-Free Version
Leave out the Parmesan and add an extra 2 to 3 tablespoons of panko plus a pinch of salt. You’ll lose a little savoriness and browning power, so brush or spray the crust with oil a little more generously to keep the coating crisp and flavorful.
Thin Cutlets for Faster Dinner
If you pound the chicken into cutlets, reduce the bake time and start checking early. Thin pieces brown faster and dry out sooner, so use the color of the crust and an instant-read thermometer instead of the clock alone.
Storage and Reheating
- Refrigerator: Store leftovers in an airtight container for up to 3 days. The crust softens a little, but it still reheats well.
- Freezer: Freeze after baking and cooling completely. Wrap pieces individually, then reheat from frozen or thawed; the coating won’t be as crisp as fresh, but it holds up better than most breaded chicken.
- Reheating: Reheat on a rack in a 375°F oven or air fryer until hot and crisp again. The common mistake is using the microwave, which turns the coating rubbery and wets the crust.
Questions I Get Asked About This Recipe

Crispy Panko Crusted Chicken Breasts
Ingredients
Equipment
Method
- Preheat oven to 425°F. Line a baking sheet with a wire rack and spray the rack with cooking spray so air can circulate under the chicken.
- Season chicken breasts with salt, pepper, and garlic powder to taste. Set up a breading station with flour, beaten egg, and a panko mixture of panko, Parmesan, Italian seasoning, garlic powder, and smoked paprika.
- Dredge each chicken breast in flour. Dip into the beaten egg, then press firmly into the panko coating on all sides so it adheres well.
- Drizzle or spray the breaded chicken with olive oil and place on the prepared rack. Bake for 20-22 minutes until the crust is deep golden brown and the internal temperature reaches 165°F.
- Rest chicken for 3 minutes to help the juices settle. Garnish with fresh parsley and serve with lemon wedges while the crust is still crisp.