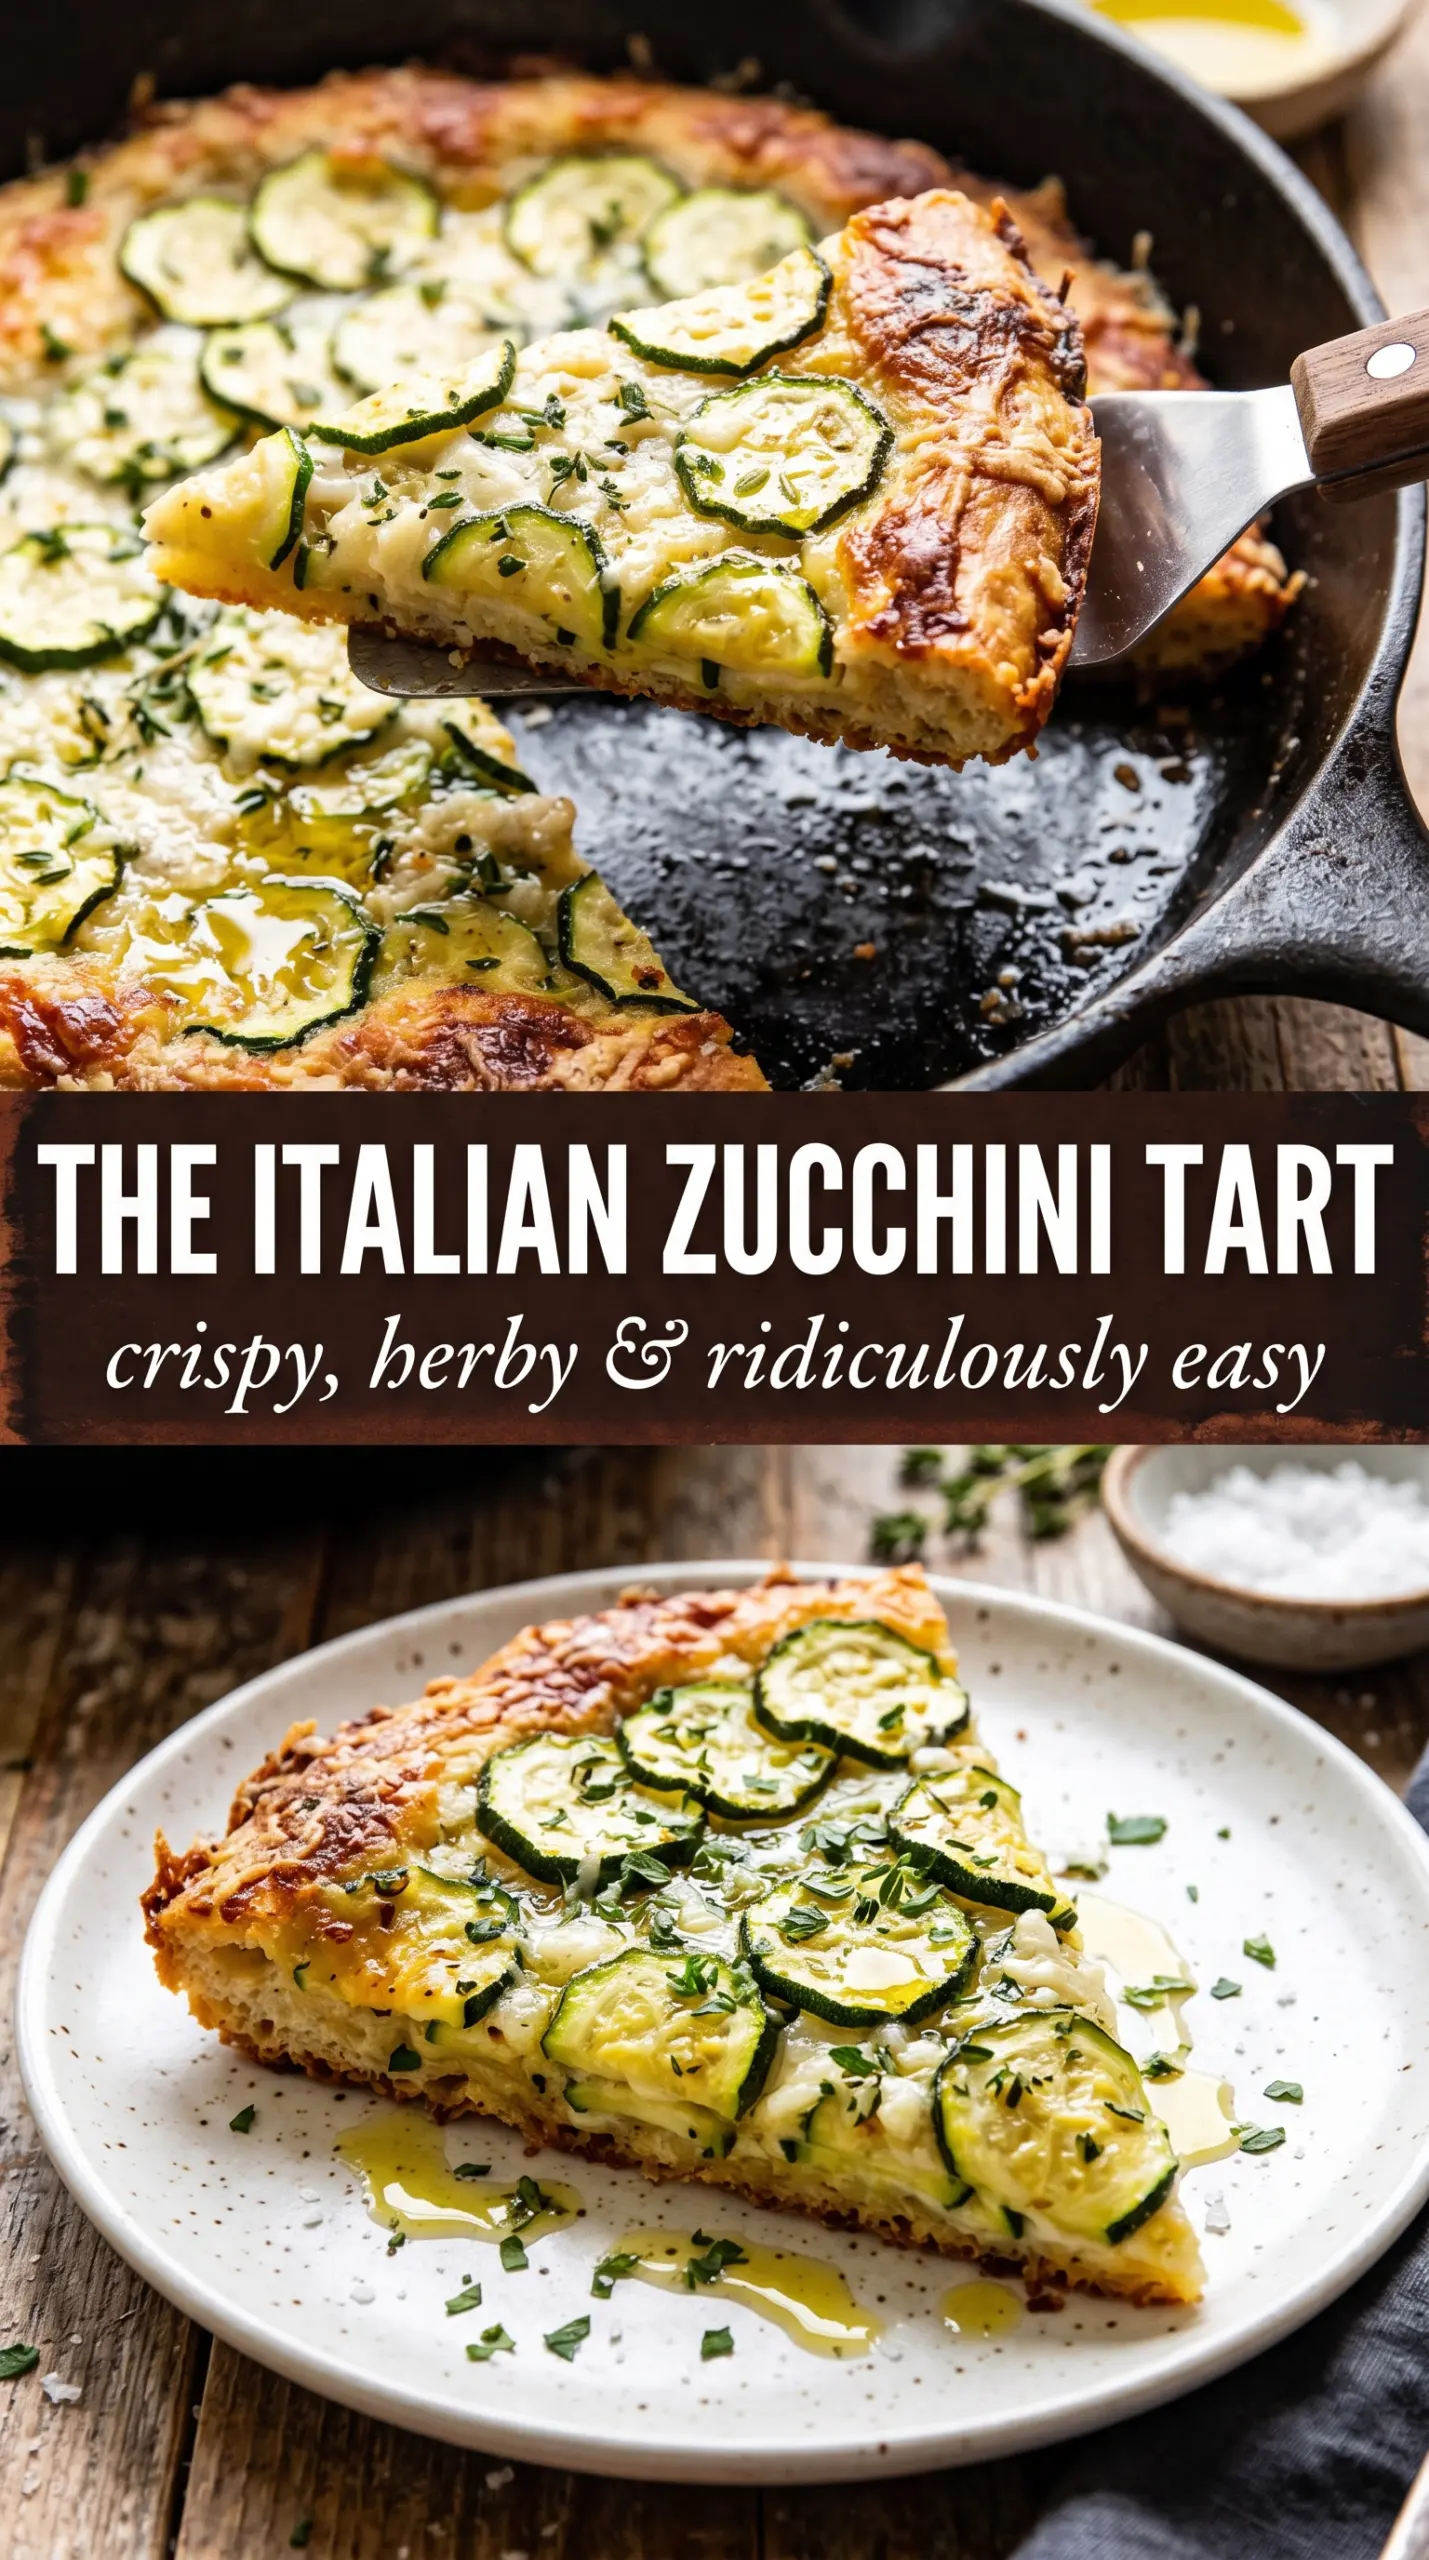
Zucchini scarpaccia bakes into something that feels part flatbread, part savory tart, and part crisp-edged snack you keep reaching for before it even hits the table. The best version is thin enough to get lacy, browned edges and sturdy enough to slice into rustic squares without falling apart. That contrast is the whole point: tender zucchini inside, almost crackerlike around the edges, with enough parmesan and olive oil to make every bite taste finished.
The trick is getting the zucchini dry enough to behave. Salt pulls out the water first, then a good squeeze keeps the batter from turning soggy in the oven. A short rest after mixing lets the flour and semolina hydrate and helps the scarpaccia set into a thin, cohesive layer instead of baking up bready or gummy.
Below you’ll find the small details that matter most here: how thin the batter should spread, when the top is actually done, and what to change if you want to use different herbs or skip the parmesan.
I was skeptical that it would get crisp with all that zucchini, but the bottom turned deeply golden and the edges were almost shattery. Squeezing the zucchini dry made all the difference.
Like this crisp-edged zucchini scarpaccia? Save it to Pinterest for the nights when you want a savory Italian flatbread with caramelized edges and a tender zucchini center.
The Trick to Keeping Zucchini Scarpaccia Thin and Crisp
Zucchini scarpaccia only works when the vegetable gives up enough moisture before it goes into the oven. If you skip the salting and squeezing, the batter looks fine going in but bakes up soft in the middle and pale on the bottom. The goal is a loose, spreadable mixture that still holds together, not a wet mound that has to steam before it can brown.
The other piece people miss is thickness. This isn’t meant to bake into a fluffy slab. Spread it to about a quarter inch, maybe a touch more in the center if your pan is crowded, and let the edges go deep gold. That thin layer is what gives you the crisp bite and the delicate zucchini texture underneath.
- Zucchini — Slice it very thinly so the salt can pull moisture out quickly and evenly. A mandoline helps here because thick ribbons can stay watery in the middle even after squeezing.
- Semolina — This gives the scarpaccia a little grit and structure, which helps the edges crisp. All-purpose flour can replace it, but the texture will be softer and a bit more cakey.
- Parmesan — Use the real stuff if you can. It adds salt, depth, and a browned, nutty finish that cheap grated cheese just doesn’t deliver.
- Olive oil — This is part of the crust, not just a greasing step. Generous oil on the pan and a drizzle on top help the bottom fry and the surface brown instead of drying out.
- Onion — Slice it thin enough that it softens fully in the bake. Thick pieces can stay sharp and distract from the zucchini.
What Each Ingredient Is Actually Doing in This Recipe
- Primary ingredient (the star) — Quality matters most. Choose the best you can find.
- Cooking medium (oil, butter, or broth) — This carries flavors and prevents dryness.
- Seasonings (salt, pepper, spices, herbs) — Layer flavors so nothing overpowers. Build depth gradually.
- Aromatics (garlic, onion, herbs) — Cook with fat to bloom flavors. Become the foundation.
- Supporting ingredients — Complement the main ingredient without overpowering it.
- Sauce or liquid (if applicable) — Brings flavors together. Balance richness with acid.
- Acid (lemon, vinegar, wine, or other) — Brightens and prevents flat-tasting results.
- Final finish (garnish, glaze, or sauce) — Prevents one-dimensional taste and adds visual appeal.
Building the Batter So It Bakes Like a Flatbread, Not a Fritter
Drawing Out the Zucchini Water
Toss the zucchini with salt and let it sit until it looks damp and collapsed. That first rest pulls out the moisture that would otherwise weaken the batter and keep the bottom from browning. After rinsing, squeeze the zucchini hard in a towel or your hands until it feels dry and almost squeaky. If it still leaks water, keep pressing; this step decides whether the final texture is crisp or soggy.
Mixing the Thick Base
Whisk the flour, semolina, parmesan, eggs, olive oil, thyme, and pepper until you get a thick batter. It should look more like a heavy coating than pourable pancake batter. Fold in the zucchini and onion, then let the mixture rest for 15 minutes so the flour hydrates and the semolina softens just enough to bake cleanly. If you rush this, the mixture can sit loose on the pan and cook unevenly.
Spreading It Paper-Thin
Use a generously oiled rimmed baking sheet and spread the batter out thinly with a spatula. The layer should be even, with no thick piles hiding in the middle. A thin layer lets the heat reach the bottom fast, which is what builds the crisp crust before the zucchini releases more steam. Drizzle with a little more olive oil and finish with flaky salt so the top bakes into a savory, blistered surface.
Baking to the Right Color
Bake until the edges are deeply golden and the bottom has color, not just dryness. The top should look set and no longer glossy, but the real test is the underside if you can lift a corner. If the center still looks pale while the edges are browning, give it a few more minutes; underbaked scarpaccia can seem done on top and still feel soft and damp underneath.
How to Adapt Zucchini Scarpaccia Without Losing the Crisp Edge
Gluten-Free Version With Cornmeal
Swap the all-purpose flour for a good 1:1 gluten-free blend and replace the semolina with fine cornmeal. You’ll still get a sturdy, crisp edge, though the crumb will be a little more rustic and less elastic than the original.
Dairy-Free Scarpaccia
Leave out the parmesan and add a little extra salt plus a tablespoon of nutritional yeast if you want some savory depth. You’ll lose the nutty browning from the cheese, but the zucchini and olive oil still carry the dish well.
Using Yellow Squash or a Mix of Summer Squash
Yellow squash works the same way as zucchini, and a mix gives you a prettier, more layered look. Keep the same salting and squeezing step, since yellow squash can be just as watery.
Storage and Reheating
- Refrigerator: Store leftovers in an airtight container for up to 3 days. The crust softens a bit, but the flavor stays good.
- Freezer: It freezes, but the texture turns less crisp after thawing, so I only do it if I need to save a few squares. Wrap tightly and freeze in a single layer before moving them to a bag.
- Reheating: Reheat on a baking sheet in a 375°F oven until the edges crisp back up. The microwave will make it floppy, which is the one thing this dish doesn’t forgive.
Questions I Get Asked About This Recipe
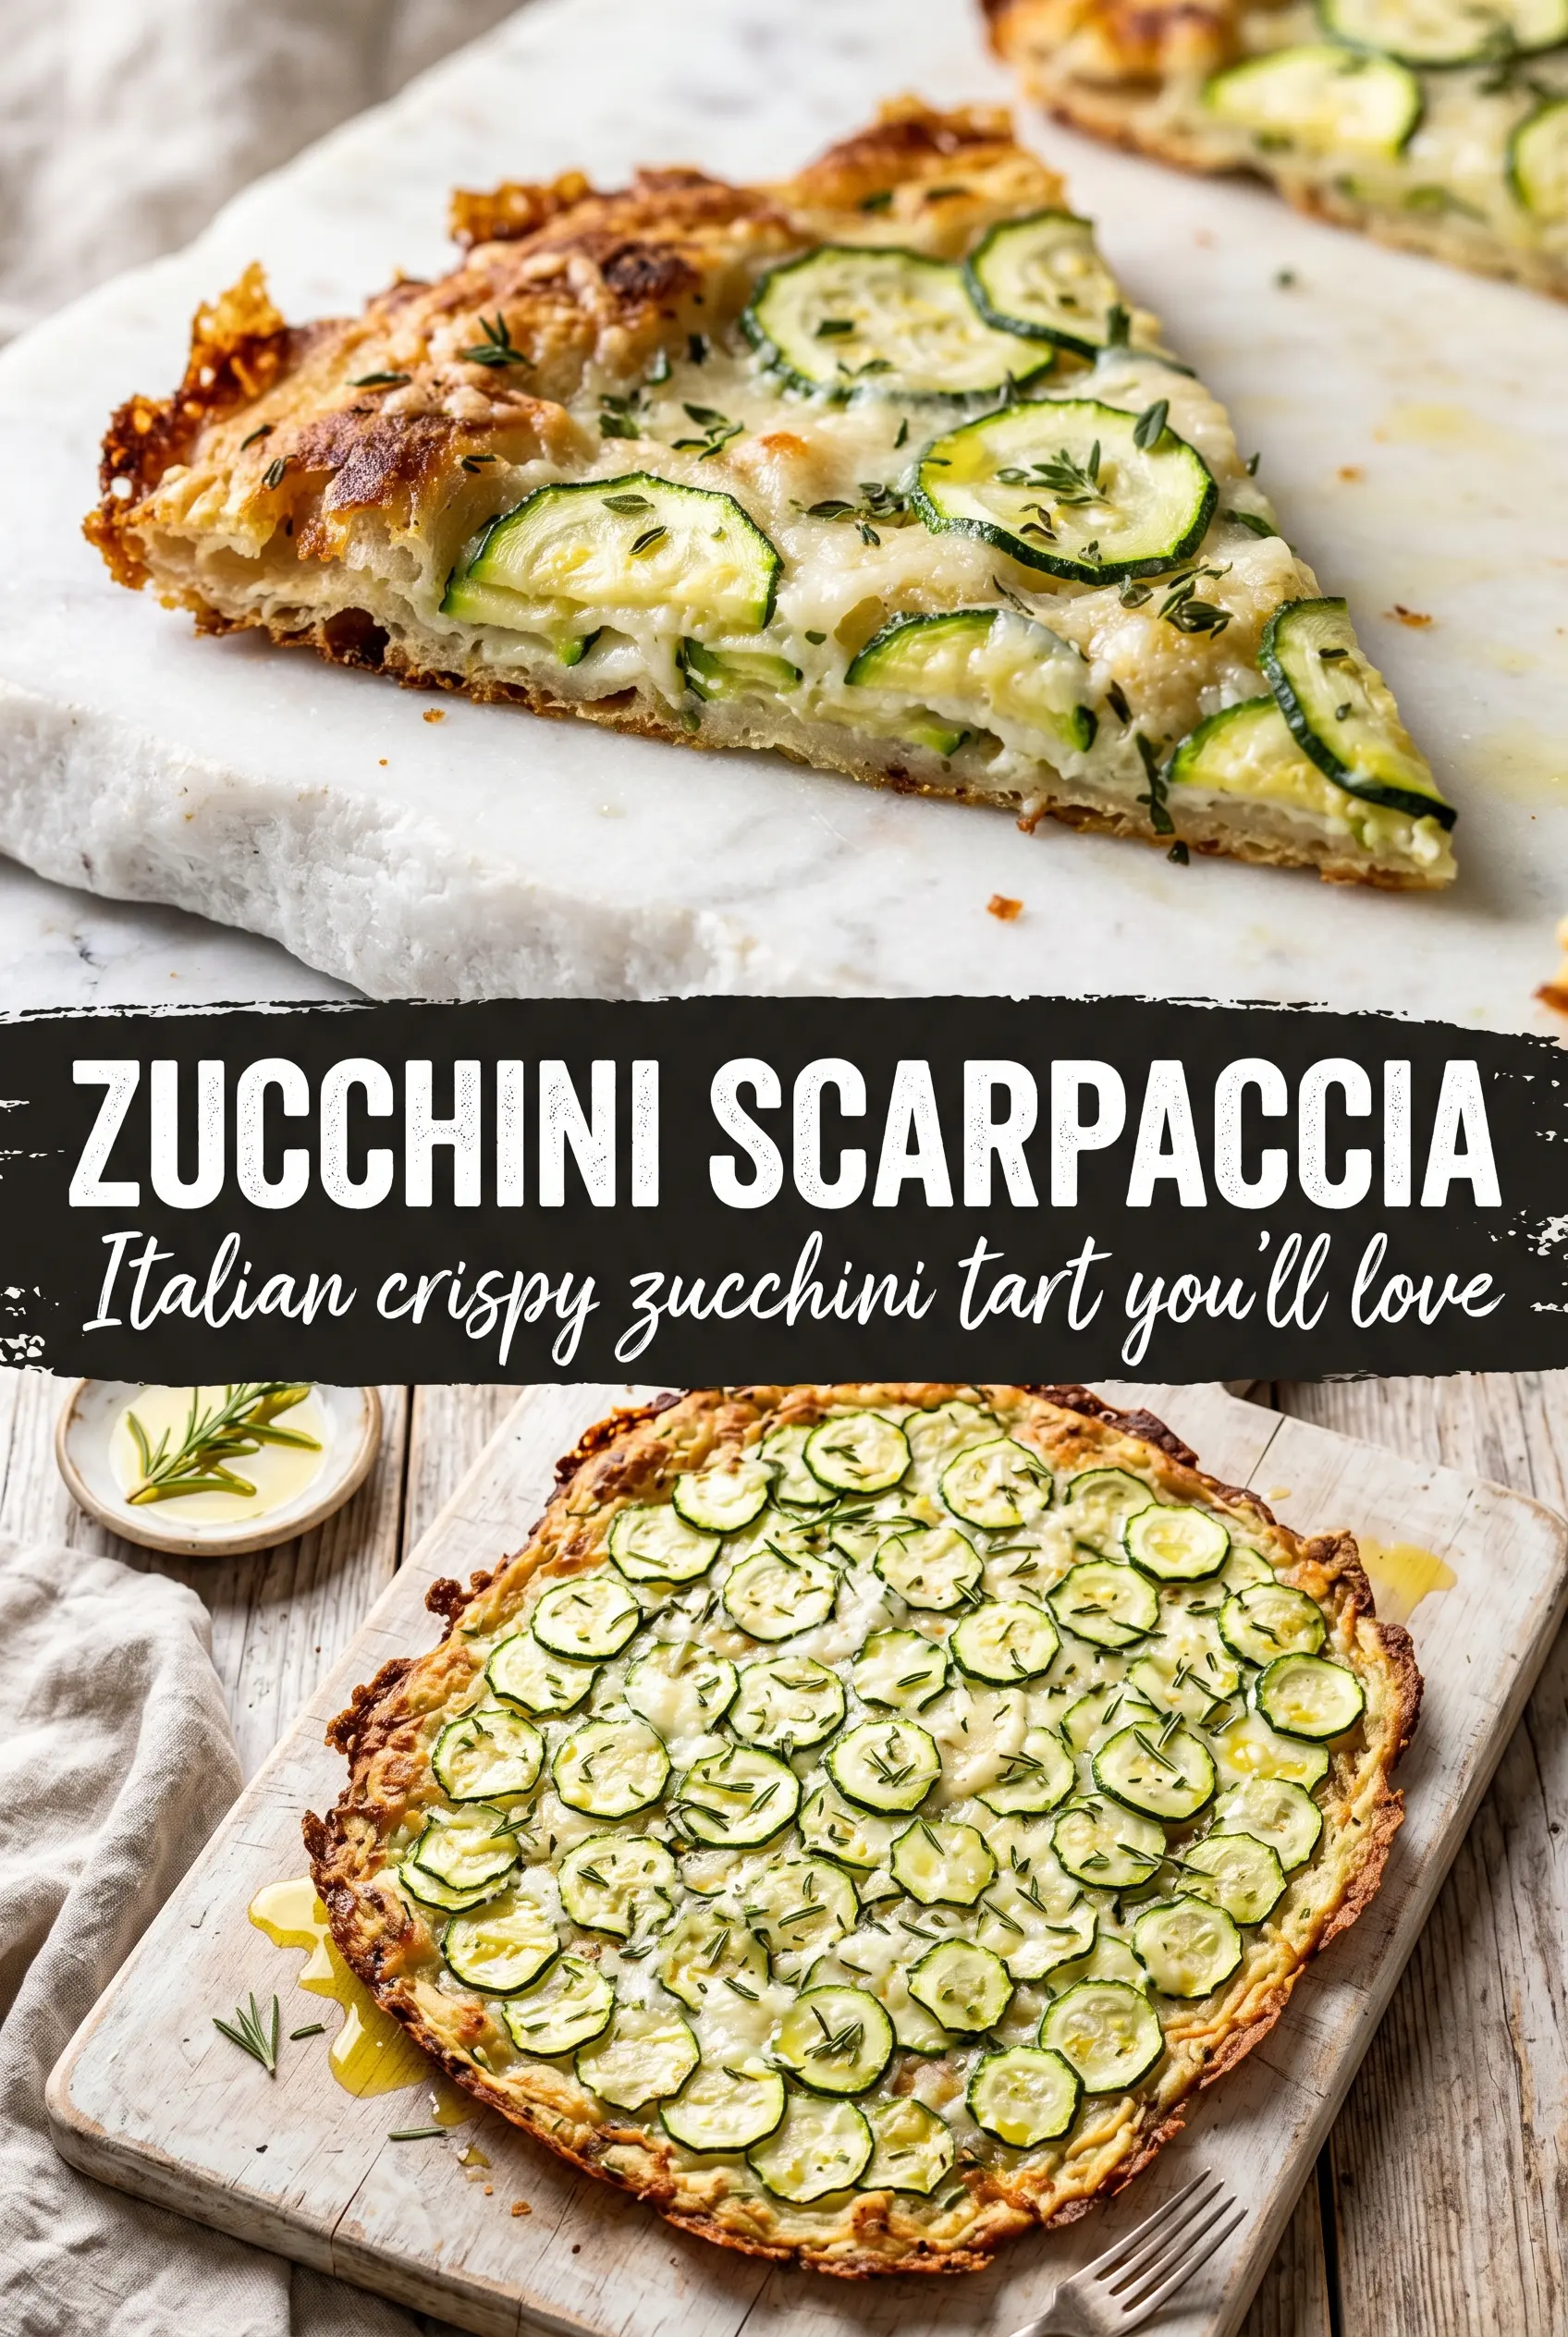
Zucchini Scarpaccia
Ingredients
Equipment
Method
- Toss the very thinly sliced zucchini with 1 tablespoon salt and let sit for 30 minutes to draw out moisture.
- Rinse the salted zucchini, then squeeze out as much moisture as possible and pat dry.
- Preheat the oven to 400°F and generously oil a large rimmed baking sheet.
- Whisk together the all-purpose flour, semolina, parmesan, eggs, olive oil, thyme, and black pepper until the batter is thick.
- Fold in the squeezed zucchini and the very thinly sliced onion, then let the batter rest for 15 minutes.
- Pour the batter onto the oiled baking sheet and spread very thin to about 1/4 inch or less.
- Drizzle the surface with olive oil and sprinkle flaky sea salt on top.
- Bake for 30–35 minutes at 400°F until deeply golden on the bottom and edges and the top is set, then cool 5 minutes.
- Cut into squares or rectangles after cooling and serve warm or at room temperature.