Walnut pear apple crisp lands in that sweet spot between homey and a little special: tender fruit underneath, a thick golden crumble on top, and enough cinnamon warmth to make the whole kitchen smell like you’ve been cooking all afternoon. The pears melt into the apples as they bake, so you get soft, jammy pockets next to slices that still hold their shape. Then the walnut-oat topping bakes into chunky, crisp crags instead of turning sandy or flat.
What makes this version work is the balance. Apples bring structure, pears bring moisture and perfume, and cornstarch keeps the juices from running all over the pan. The walnuts matter too; they toast in the oven and add a deep, earthy crunch that plain oat crumble just can’t match. Cold butter is the other piece that matters here. It has to stay in little pieces long enough to melt in the oven, because that’s what creates those crisp topping clusters everyone goes after first.
Below, I’ve included the details that matter most: how to keep the filling from turning soupy, how to get a crumbly topping instead of a dense one, and the swaps that still give you a good result if you need to adjust the recipe.
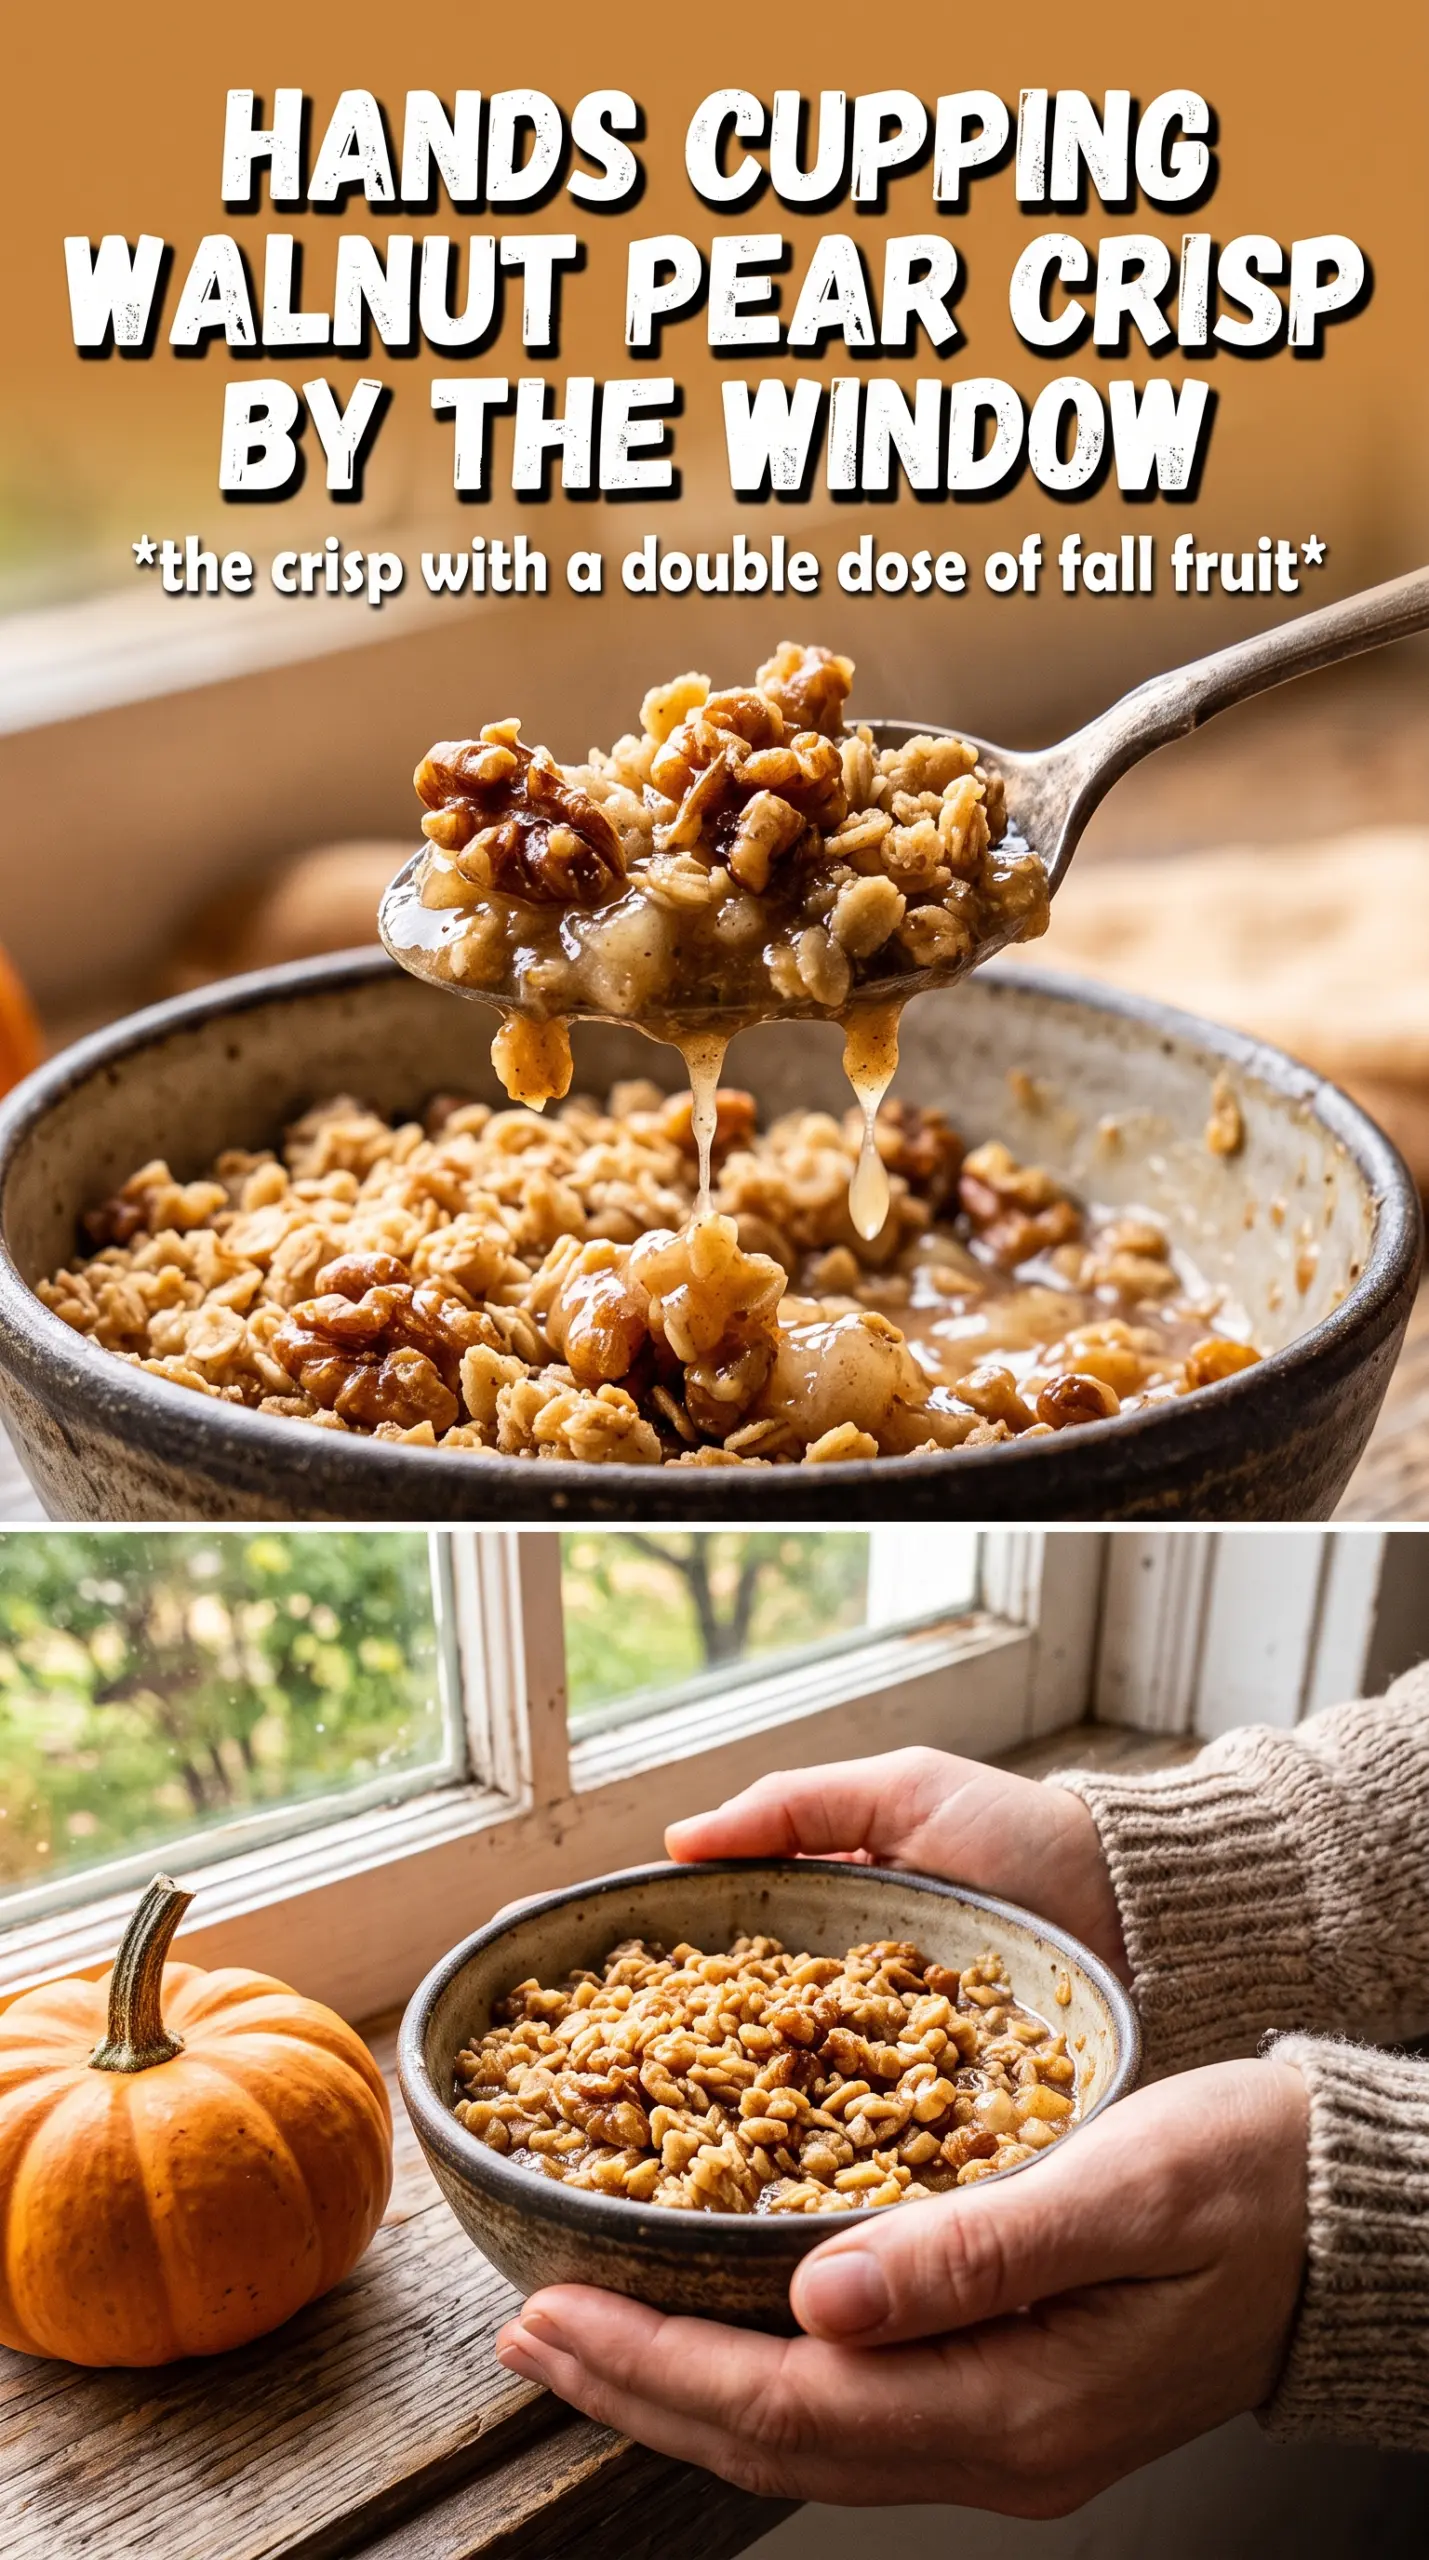
The filling bubbled up thick and glossy, and the topping stayed crisp even after we went back for seconds. The walnuts gave it such a good crunch with the soft pears.
Like this walnut pear apple crisp? Save it to Pinterest for the nights when you want a bubbling fruit dessert with a crunchy walnut crumble.
The Trick to Keeping the Fruit Juicy, Not Watery
The biggest mistake with fruit crisps is treating the filling like it can’t overcook. Apples and pears both release juice as they bake, and if you don’t thicken that juice before it hits the oven, you end up with a pan of loose syrup under a topping that’s already browned. Cornstarch fixes that, but it needs enough heat to activate, which is why the crisp has to bake until the filling is visibly bubbling in the center, not just around the edges. That bubbling is your sign that the starch has done its job.
Using both apples and pears gives you a better texture than either fruit alone. Apples keep some shape, while pears soften into the gaps and help the filling turn glossy instead of dry. The lemon juice matters more than it looks like it should; it sharpens the flavor and keeps the fruit from tasting flat once the sugars melt together.
What the Crumble Ingredients Are Doing Here
- Apples — Use a firm baking apple if you can. You want slices that soften without disappearing, so the crisp still has bite under the topping.
- Pears — Ripe pears add perfume and moisture. If they’re hard, they’ll stay a little too firm; if they’re overly soft, they can turn mushy, so aim for ripe but not collapsing.
- Cornstarch — This thickens the fruit juices into a glossy sauce as the crisp bakes. Flour can work in a pinch, but it won’t set as cleanly and can leave the filling a little cloudy.
- Walnuts — Roughly chopping them keeps the topping rustic and gives you bigger crunchy bits. Finely chopped walnuts disappear into the crumble and lose the texture that makes this version stand out.
- Cold butter — This is what creates the clumpy topping. Warm butter blends in too smoothly and gives you a dense layer instead of crisp crags.
Building the Crisp So the Topping Stays Chunky
Seasoning the Fruit First
Toss the sliced apples and pears with the sugars, cinnamon, ginger, cornstarch, and lemon juice until every piece looks lightly coated. The sugar draws out juice quickly, so don’t let the bowl sit around for long before transferring it to the baking dish. If you see a puddle forming, that’s fine; it’s exactly what the cornstarch will turn into once the heat gets to it.
Mixing the Crumble Without Overworking It
Combine the oats, flour, brown sugar, cinnamon, salt, and walnuts first, then cut in the cold butter until the mixture forms chunky clumps. Stop as soon as you can squeeze a few pieces together and they hold. If you keep going, the butter warms up and the topping turns pasty instead of craggy.
Baking Until the Center Bubbles
Scatter the crumble evenly over the fruit and bake until the top is deeply golden and the filling is actively bubbling in the middle, about 40 to 45 minutes. If the top is browning too quickly, lay a piece of foil loosely over the dish for the last stretch. Don’t pull it early just because the topping looks done; the fruit underneath still needs those last minutes for the sauce to thicken properly.
Letting It Rest Before Serving
Give the crisp about 10 minutes on the counter before you scoop it. That short rest lets the filling settle from loose and hot to spoonable and glossy. Cut into it immediately and the juices will run everywhere; wait a few minutes and you get neat scoops with the fruit still soft and the topping still crisp.
How to Adjust This Crisp Without Losing the Good Part
Make It Gluten-Free
Swap the all-purpose flour for a 1:1 gluten-free baking blend. The topping still bakes up crisp, but some blends are drier than others, so stop adding butter once you’ve got chunky clumps that hold together when squeezed.
Skip the Nuts
Leave out the walnuts and add an extra 1/4 cup oats for a nut-free version. You’ll lose some of the toasty, earthy crunch, but the topping still stays crisp and the oat clusters carry the texture nicely.
Use All Apples or All Pears
This works with just apples or just pears, but the texture changes. All apples give you a firmer, more structured filling, while all pears bake softer and juicier, so the result feels more spoonable and a little less defined.
Storage and Reheating
- Refrigerator: Store covered for up to 4 days. The topping softens a bit, but the flavor deepens by the second day.
- Freezer: It freezes well after baking. Cool completely, wrap tightly, and freeze for up to 2 months. Thaw overnight in the fridge before reheating.
- Reheating: Reheat in a 325F oven until warmed through and the top crisps back up. The microwave will warm the fruit, but it turns the crumble soft, which is the quickest way to lose the best part.
Answers to the Questions Worth Asking
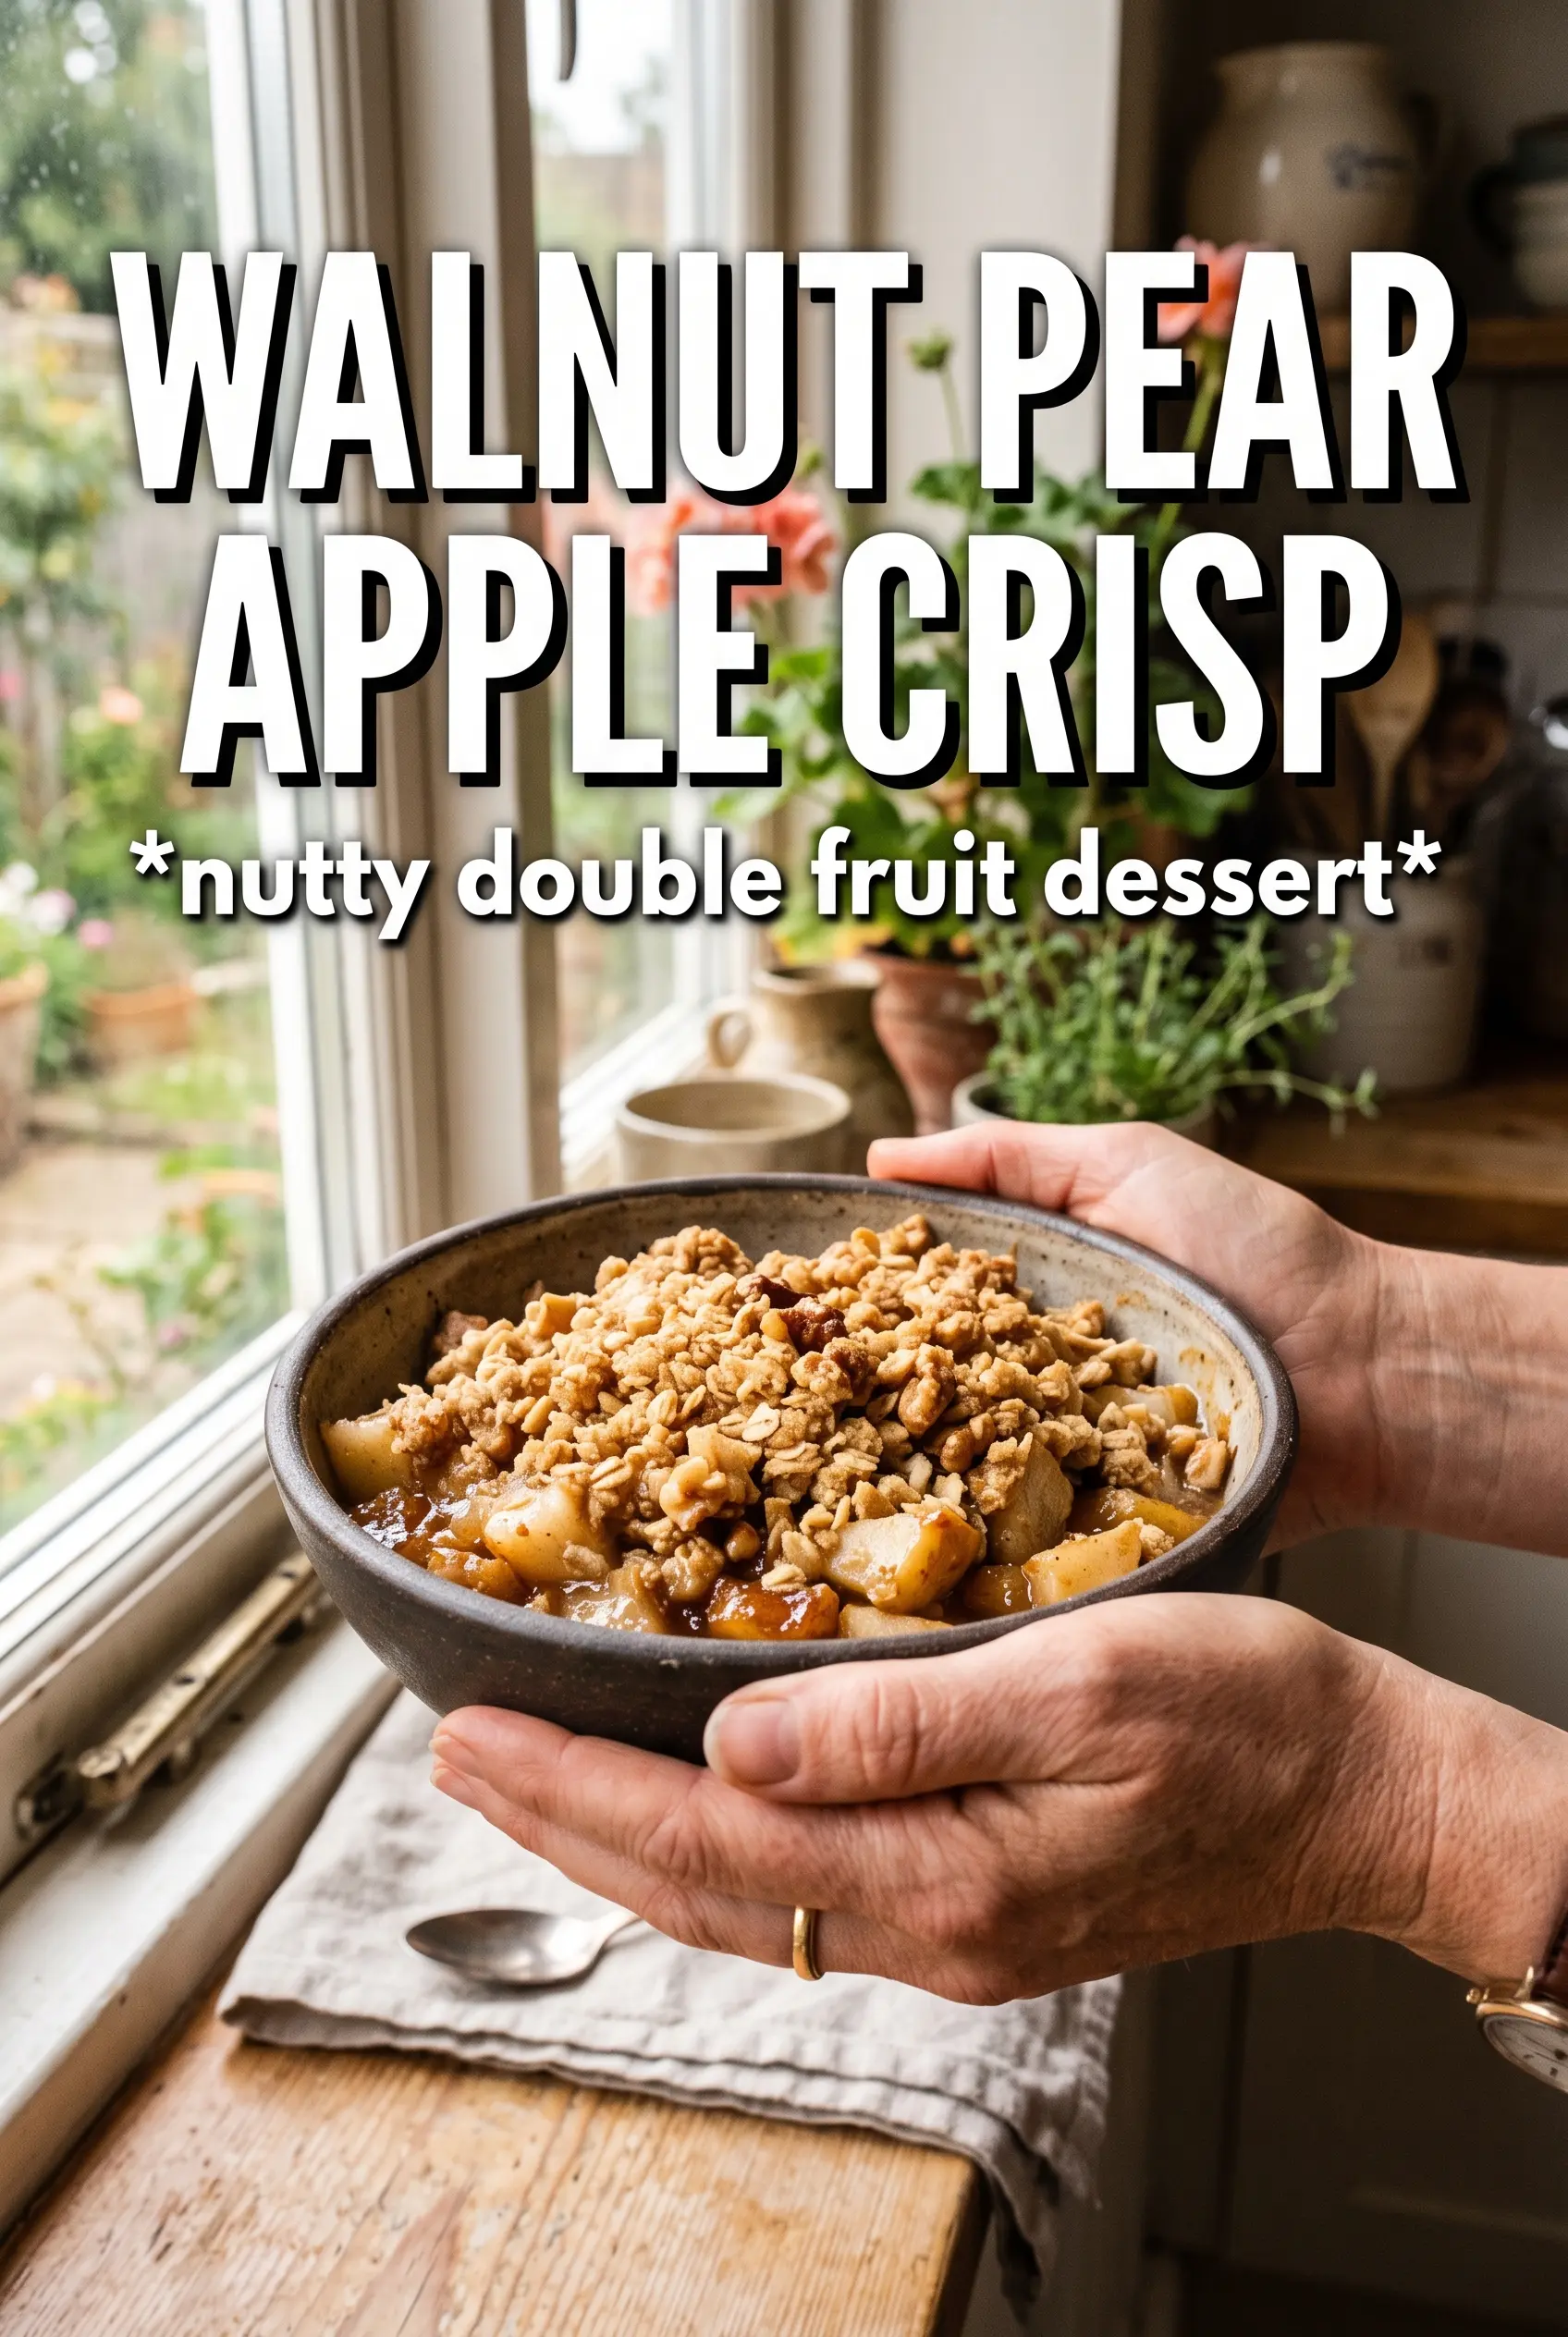
Walnut Pear Apple Crisp
Ingredients
Equipment
Method
- Preheat the oven to 375F, then grease a 9x13 baking dish.
- Toss the apple and pear slices with granulated sugar, brown sugar, cinnamon, ginger, cornstarch, and lemon juice, then spread them evenly in the dish.
- Combine rolled oats, all-purpose flour, brown sugar, cinnamon, salt, and chopped walnuts, then cut in cold unsalted butter until chunky clumps form.
- Scatter the crumble evenly over the fruit, then bake for 40-45 minutes at 375F until deeply golden and fruit is bubbling.
- Rest the crisp for 10 minutes so the filling thickens slightly before serving.