Tri-tip earns its place in the rotation because it gives you a crusty, well-seasoned exterior and a pink, juicy center without the fuss of a bigger roast. Sliced against the grain, it eats like something from a steakhouse, but it comes together with pantry spices and a short rest at the end. It’s the kind of main dish that feels generous on the table and still stays practical for a weeknight or a backyard dinner.
The seasoning here is bold enough to stand up to high heat: salt for flavor and moisture, pepper for a little bite, garlic and onion powder for savory depth, paprika for color, and oregano for that Santa Maria-style edge. The key is not crowding the meat with too much handling. A quick oil rub helps the spices cling, and the roast needs a rest before slicing so the juices stay where they belong.
Below, I’ll show you how to keep the center rosy without drying out the edges, what changes when you grill versus roast in the oven, and the one slicing mistake that can make a great tri-tip chew tougher than it should.
The crust got beautifully seasoned and the inside stayed pink and juicy after the rest. Slicing it against the grain made such a difference, and it was gone in minutes.
Love that crusty tri-tip and pink center? Save this grilled or oven-roasted tri-tip for your next BBQ or steak-night dinner.
The Sear Is Doing More Than Browning the Outside
Tri-tip has a reputation for drying out, but the real problem usually starts before the meat even goes into the oven or onto the grill. People treat it like a lean roast that needs long, gentle heat from start to finish, and that’s how you end up with a gray band under the crust and a center that never quite feels tender. This cut does best when it gets hit hard first, then finished just until it reaches medium-rare.
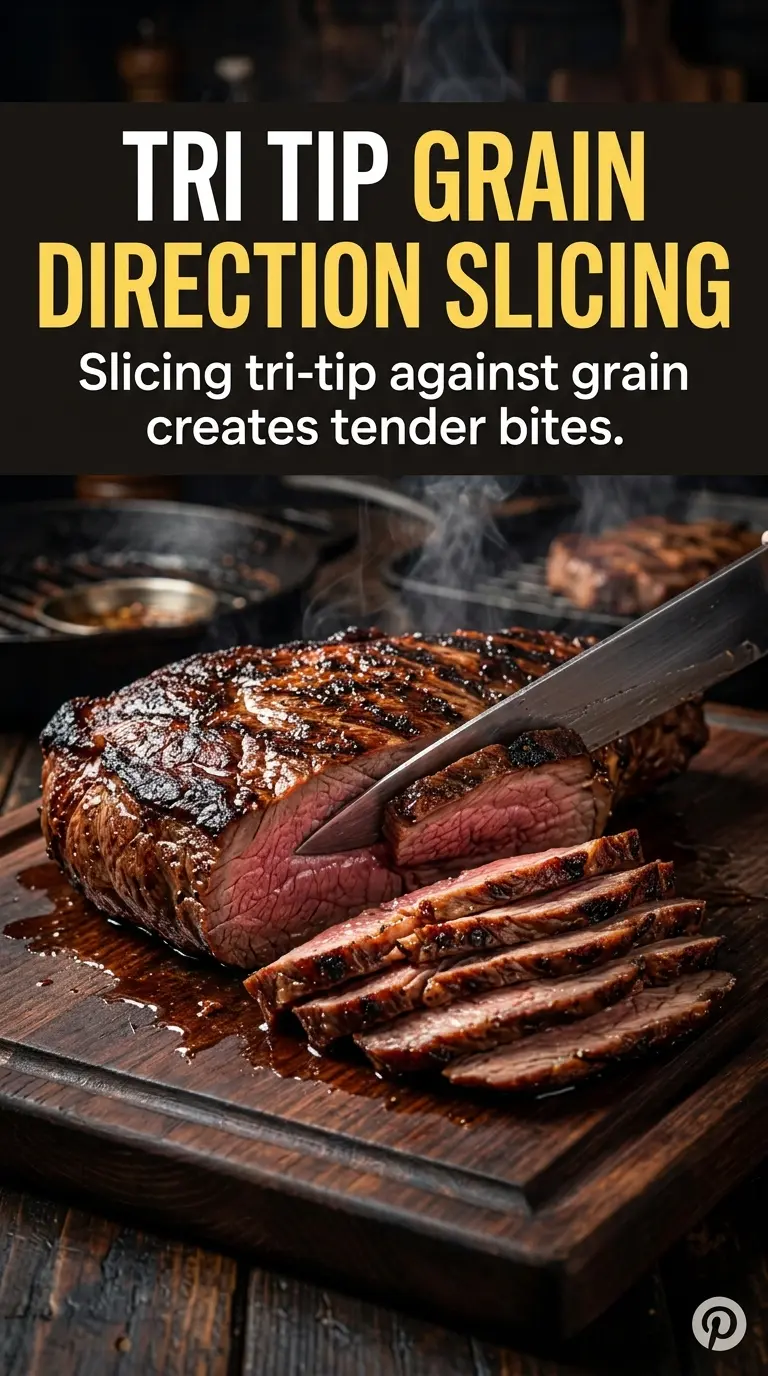
The high-heat sear gives you flavor and structure. After that, the roast only needs enough time to climb to 130-135°F, because carryover heat will finish the job while it rests. If you slice too early, the juices run out and the texture turns stringy. If you slice with the grain, even perfectly cooked tri-tip can eat tougher than it should.
What Each Spice Is Actually Doing Here
- Olive oil — This helps the rub cling and encourages a better crust in both the grill and oven versions. You don’t need much, just enough to coat the surface so the spices don’t fall off the moment the meat hits heat.
- Kosher salt — This is the one ingredient you don’t want to casually swap by volume. Kosher salt seasons the meat evenly and helps pull the surface just enough to dry it slightly, which is what gives you that better browning.
- Black pepper — Freshly cracked pepper gives the crust its sharp, steakhouse-style bite. Pre-ground pepper works in a pinch, but it won’t give the same punch.
- Garlic powder and onion powder — These build a savory base without burning the way fresh garlic can under high heat. They’re part of what makes the crust taste seasoned all the way through instead of just salty on the surface.
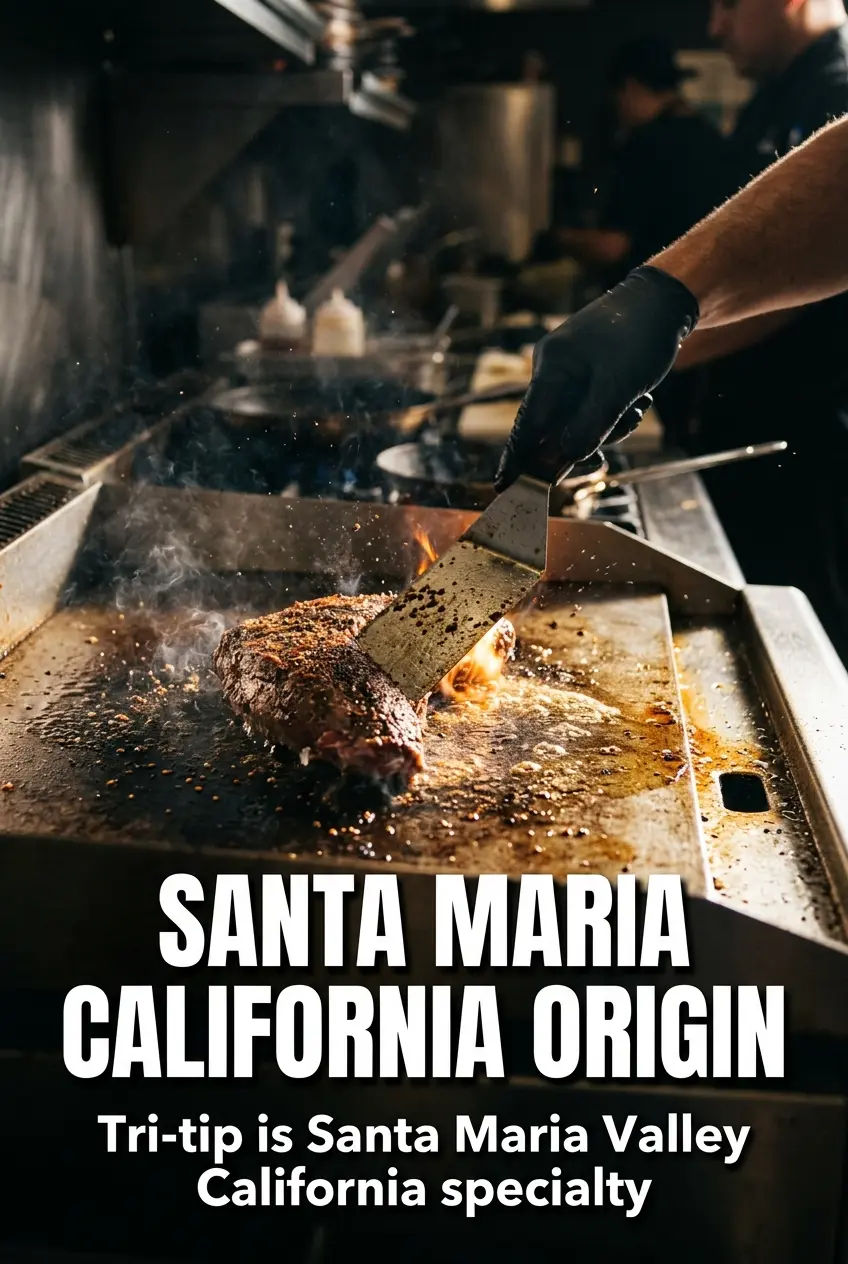
- Paprika and dried oregano — Paprika adds color and a faint sweetness, while oregano brings that Santa Maria-style herb note that plays well with beef. Smoked paprika can be used, but it will shift the flavor toward barbecue.
The Heat Pattern That Keeps Tri-Tip Juicy
Seasoning the Roast
Mix the salt, pepper, garlic powder, paprika, onion powder, and oregano before anything else so the seasoning is evenly distributed. Rub the tri-tip with olive oil first, then press on the spice mix generously on all sides. Let it sit at room temperature for about 30 minutes so the surface isn’t ice-cold when it hits the heat, which helps the roast cook more evenly.
Grilling Over Direct and Indirect Heat
Start the tri-tip over high heat for about 5 minutes per side to build a dark crust. Once both sides are seared, move it to indirect heat and cook until the thickest part reads 130-135°F. If the grill is too hot the whole time, the outside can burn before the center has a chance to catch up.
Roasting in the Oven
For the oven method, sear the tri-tip in a hot skillet first so you get that same browned exterior. Then roast it at 425°F until it reaches 130-135°F in the center, usually 20-25 minutes depending on thickness. If your skillet isn’t hot enough at the start, the meat will steam instead of sear and the crust won’t develop the way it should.
Resting and Slicing
Let the roast rest for 15 minutes before cutting into it. That pause keeps the juices inside the meat instead of sending them straight onto the cutting board. Slice against the grain, and if the grain changes direction as it often does with tri-tip, turn the roast as needed so every slice stays tender.
How to Adapt This Tri-Tip for Different Pans, Grills, and Dinner Plans
Dairy-Free and Naturally Gluten-Free
This recipe already fits both of those needs as written. The seasoning blend and beef don’t rely on dairy or flour, so the main thing to watch is any side dish or sauce you serve with it. Keep the rub dry and simple, and you’ll preserve the clean crust.
Using Smoked Paprika for a Deeper Grill Taste
Swap the regular paprika for smoked paprika if you want a more barbecue-forward flavor, especially for the oven version. It adds a woodsy note that reads a little richer, but it can overpower the oregano if you use too much, so keep the measure the same.
If You Only Have a Smaller Roast
A smaller tri-tip will cook faster, so start checking temperature early rather than following the clock too closely. The key is still the same: strong sear, then finish gently to medium-rare. Cutting time short on the rest is the mistake that makes a smaller roast lose its advantage.
Serving It for a Crowd
Tri-tip is great when you want something that slices cleanly and stretches well across a platter. Rest it fully, then slice it thin against the grain so the meat stays tender even after it’s been sitting out at the table for a few minutes. It pairs nicely with classic BBQ sides because the seasoning is bold without being heavy.
Storage and Reheating
- Refrigerator: Store sliced tri-tip in an airtight container for up to 4 days. It stays best if you keep a little of the cooking juice with it.
- Freezer: It freezes well for up to 2 months. Wrap tightly and freeze in slices or whole, then thaw overnight in the fridge.
- Reheating: Reheat gently in a low oven or covered skillet with a splash of beef broth. High heat will push it from rosy to dry in a hurry, so warm it just until heated through.
Answers to the Questions Worth Asking
Tri Tip - Grilled or Oven-Roasted
Ingredients
Equipment
Method
- In a small bowl, mix kosher salt, black pepper, garlic powder, paprika, onion powder, and dried oregano into a dry rub so the spices look evenly combined.
- Pat the tri-tip roast dry, then rub the entire surface with olive oil so the seasoning sticks.
- Coat the tri-tip generously with the spice rub, pressing lightly so a dense layer forms over the whole roast.
- Let the seasoned tri-tip sit at room temperature for 30 minutes so the surface comes closer to room temp for better crusting.
- Preheat the grill to high heat, then sear the tri-tip over direct high heat for 5 minutes per side until deeply browned.
- Move the tri-tip to indirect heat and continue cooking until the thickest part reads 130-135°F for medium-rare, with a pink center.
- Heat a hot cast iron skillet, then sear the tri-tip in the skillet until browned on the surface.
- Transfer to the oven and roast at 425°F for 20-25 minutes until the thickest part reaches 130-135°F for medium-rare.
- Rest the tri-tip for 15 minutes before slicing so the juices settle and the cut shows a pink interior.
- Slice the tri-tip against the grain to keep the slices tender and visible with a crusty, seasoned exterior.