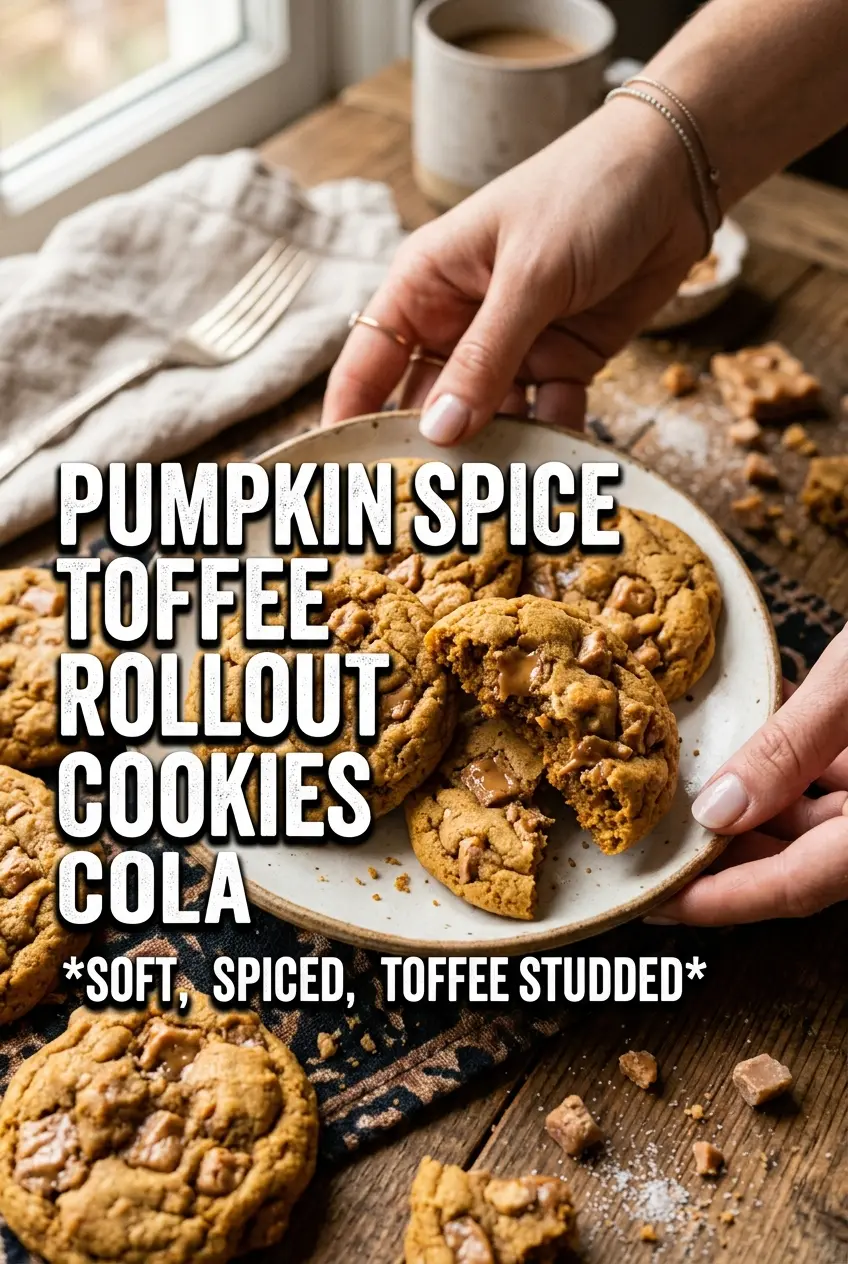
These pumpkin spice toffee rollout cookies bake up with crisp edges, a tender center, and those little buttery pockets of toffee that keep every bite interesting. The dough rolls cleanly after a short chill, which means the cut-out shapes hold their edges instead of spreading into soft blobs in the oven. A thin cinnamon glaze on top finishes them with just enough sweetness to balance the warm spice in the dough.
The trick here is the pumpkin puree. It has to be blotted dry before it goes into the bowl, or the dough turns sticky and loses that neat, cut-cookie texture. I also like using both granulated and brown sugar because the brown sugar gives the cookies a deeper, almost caramel note that works perfectly with the toffee bits. Once the dough is mixed, the chill time isn’t optional — it firms the butter back up and makes the rolling and cutting much easier.
Below you’ll find the part that matters most: how to keep the dough from getting soft too fast, how to handle the glaze so it drizzles instead of flooding, and a few smart swaps for making these cookies fit what you have in the pantry.
The dough rolled out beautifully after chilling, and the pumpkin shapes kept their edges. I loved that the toffee bits stayed crisp instead of melting away, and the cinnamon glaze set just enough for stacking.
Save these pumpkin spice toffee rollout cookies for when you want cut-out cookies that hold their shape and finish with a cinnamon glaze.
The Dough Needs to Be Dry Enough to Roll, Not Wet Enough to Spread
The biggest mistake with pumpkin rollout cookies is treating pumpkin puree like it behaves the same way in every dough. It doesn’t. Even a small amount adds enough moisture to soften the butter and blur the edges if you skip the blotting step, which is why these cookies start with pumpkin that’s been pressed dry on paper towels. That one move keeps the dough closer to a classic sugar-cookie texture while still bringing in the pumpkin spice flavor.
The second thing that matters is the chill. Warm dough cuts raggedly and loses shape in the oven before the flour has a chance to set. After an hour in the refrigerator, the dough should feel firm but still roll without cracking at the edges. If it feels sticky, it needs more chill time, not more flour.
What the Pumpkin, Toffee, and Glaze Are Each Doing Here

- Pumpkin puree — Use canned pumpkin, not pumpkin pie filling. Pie filling comes pre-sweetened and spiced, which throws off the dough. Blotting it dry is what keeps the cookies from turning cakey.
- Toffee bits — These give you the little caramelized crunch that makes the cookies feel special. The packaged bits hold their shape better than chopped homemade candy, so they stay visible in the finished cookie.
- Brown sugar — A quarter cup is enough to deepen the flavor without making the dough too soft. It adds a molasses note that plays nicely with cinnamon and pumpkin pie spice.
- Powdered sugar glaze — This is a thin finish, not a thick frosting. Milk loosens it just enough to drizzle cleanly, and the cinnamon ties the topping back to the dough so it tastes intentional instead of separate.
Rolling, Cutting, and Baking Before the Dough Warms Up
Mix the Butter Base Until It’s Light
Beat the softened butter with both sugars until the mixture looks pale and a little fluffy. That step builds air into the dough, which helps the cookies bake up with a tender bite instead of a dense one. Add the blotted pumpkin, egg, and vanilla after the butter mixture is ready so the dough stays smooth. If the pumpkin goes in while the butter is still clumpy, you’ll end up with streaks that don’t blend well later.
Fold in the Dry Ingredients Just Until the Flour Disappears
Once the flour, baking powder, salt, and spices are added, mix only until no dry patches remain. Overmixing makes rollout dough tough, and with these cookies it can also make the dough elastic and hard to cut cleanly. Stir in the toffee bits at the end so they stay distributed without getting crushed. The finished dough should be soft but not sticky enough to cling to your hands.
Chill, Roll, Cut, and Bake Fast
After the hour chill, roll the dough to about 1/4 inch thick on a lightly floured surface. Thicker dough gives you softer cookies, while thinner dough makes crisp edges and more defined cut-outs. Cut the shapes and transfer them to a lined baking sheet, then bake at 350°F until the edges are set and the centers no longer look wet, about 10 to 12 minutes. Pull them before they brown deeply; these cookies finish setting as they cool.
Glaze When the Cookies Are Fully Cool
Whisk the powdered sugar, milk, and cinnamon until smooth and spoonable, then drizzle it over completely cooled cookies. If the cookies are warm, the glaze slides right off and disappears into the surface. A thin drizzle works better than a heavy coat because it keeps the toffee bits visible and lets the spice flavor stay in front.
How to Adapt These Cookies for Different Kitchens and Different Holidays
Gluten-Free Version
Use a 1:1 gluten-free baking flour that includes xanthan gum. The dough may need an extra 10 to 15 minutes in the fridge because gluten-free blends often start softer, but the cookie edges still hold nicely if you roll and bake them while the dough is cold.
Dairy-Free Swap
Swap the butter for a stick-style plant butter that behaves like real butter in baking. The cookies will still roll well, though the flavor is a little less rich, so the cinnamon glaze helps bring back that buttery finish.
Swap the Cutters, Keep the Dough
Pumpkins are the obvious choice, but this dough works for leaves, stars, acorns, or simple circles just as well. Smaller shapes bake faster, so start checking a minute or two early if your cutter size is much smaller than the one used here.
Storage and Reheating
- Refrigerator: Store in an airtight container for 4 to 5 days. The glaze will soften a little, but the cookies stay pleasantly tender.
- Freezer: Freeze the baked cookies without glaze for up to 2 months. Layer them between sheets of parchment so the cut edges don’t stick together.
- Reheating: Thaw at room temperature. If you want them warm, give them just a few seconds in the microwave or a minute in a low oven. Too much heat melts the glaze and dries the cookies out.