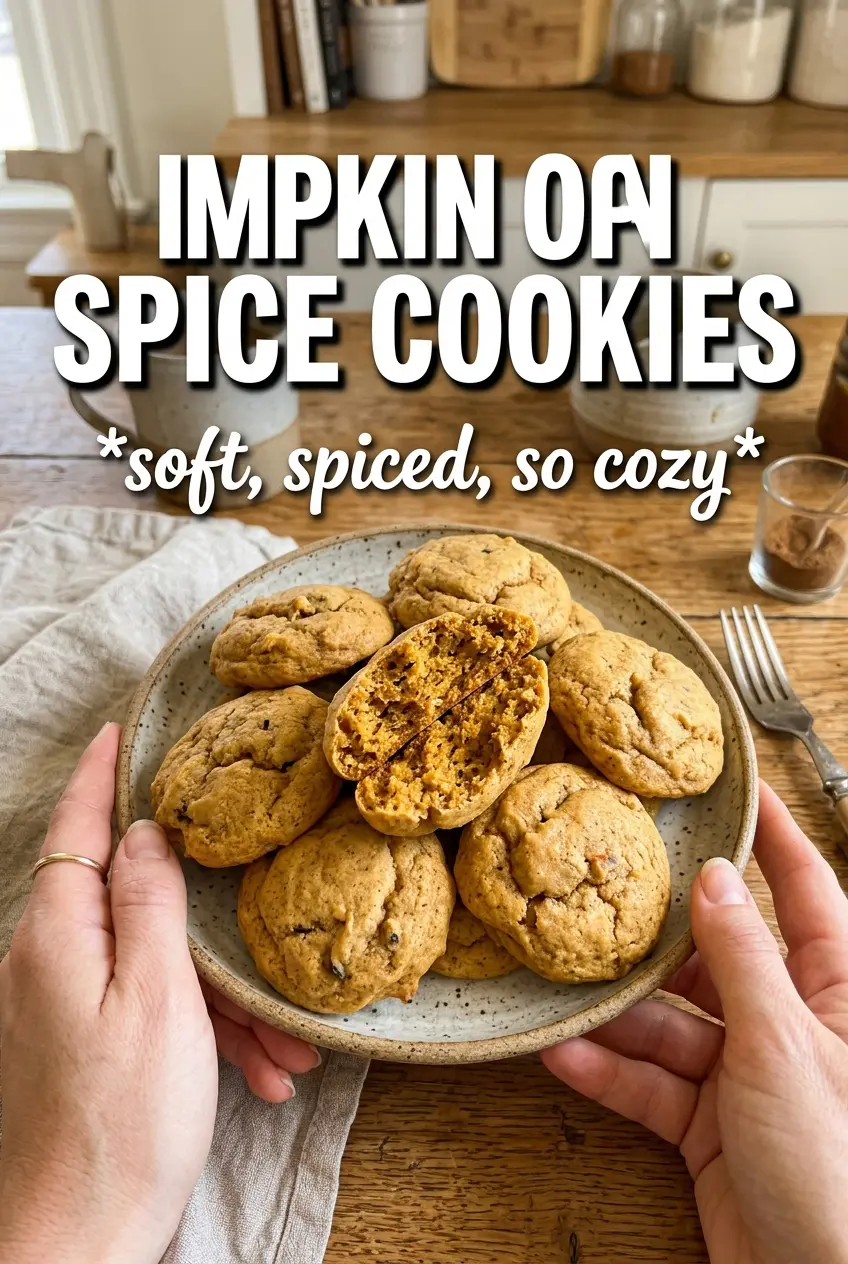
Pumpkin spice cookies should be soft in the center, lightly crisp at the edges, and packed with enough warm spice to taste like autumn without turning gummy. The best ones don’t spread into cakey little domes or dry out after a day on the counter. They hold a tender bite, keep their shape, and finish with a brown butter glaze that sets up in thin ribbons instead of soaking straight in.
What makes this version work is the dry pumpkin puree and the balance of sugar. Pumpkin adds moisture fast, so blotting it well matters more than most people think; too much water and the cookies bake up puffy and bread-like instead of chewy. Brown sugar brings softness and a deeper caramel note, while the egg yolk adds richness without extra lift. The glaze pulls everything together with browned butter and cinnamon, which gives the cookies a little bakery-style finish without making the dough overly sweet.
Below, I walk through the one step that keeps these from turning cakey, plus the glaze trick that gives you that glossy, spiced finish. If you’ve had pumpkin cookies that tasted flat or came out too soft to hold their shape, this version fixes both problems.
The cookies stayed soft in the middle with just enough edge, and blotting the pumpkin made a huge difference. The brown butter glaze set beautifully and didn’t run off the cookies.
Save these pumpkin spice cookies for the days when you want a soft, spiced cookie with a brown butter glaze that actually sets.
The Reason Pumpkin Cookies Turn Cakey Instead of Chewy
The problem with pumpkin cookie dough is moisture. Pumpkin puree carries a lot of water, and if it goes in straight from the can, it pushes the dough toward puffier, softer, more cake-like cookies. Blotting the pumpkin until it looks almost paste-like changes the texture at the source. You’re not trying to remove every trace of moisture; you’re trying to keep the dough from becoming batter.
The other place people lose control is mixing. Once the flour goes in, stop when the streaks disappear. Overmixing builds structure and gives you a sturdier, drier cookie, which is the opposite of what you want here. The dough should be soft enough to scoop but thick enough to hold a mound on the tray.
A few small details matter here:
- Dry pumpkin puree — This is what keeps the cookies from puffing like little muffins.
- Brown sugar — It adds chew and helps the centers stay tender after cooling.
- Egg yolk only — You get richness without the extra water in a whole egg white.
- Spice blend — Pumpkin pie spice plus extra cinnamon, ginger, nutmeg, and cloves gives the cookies a deeper, more layered finish.
What Each Ingredient Is Actually Doing in These Cookies
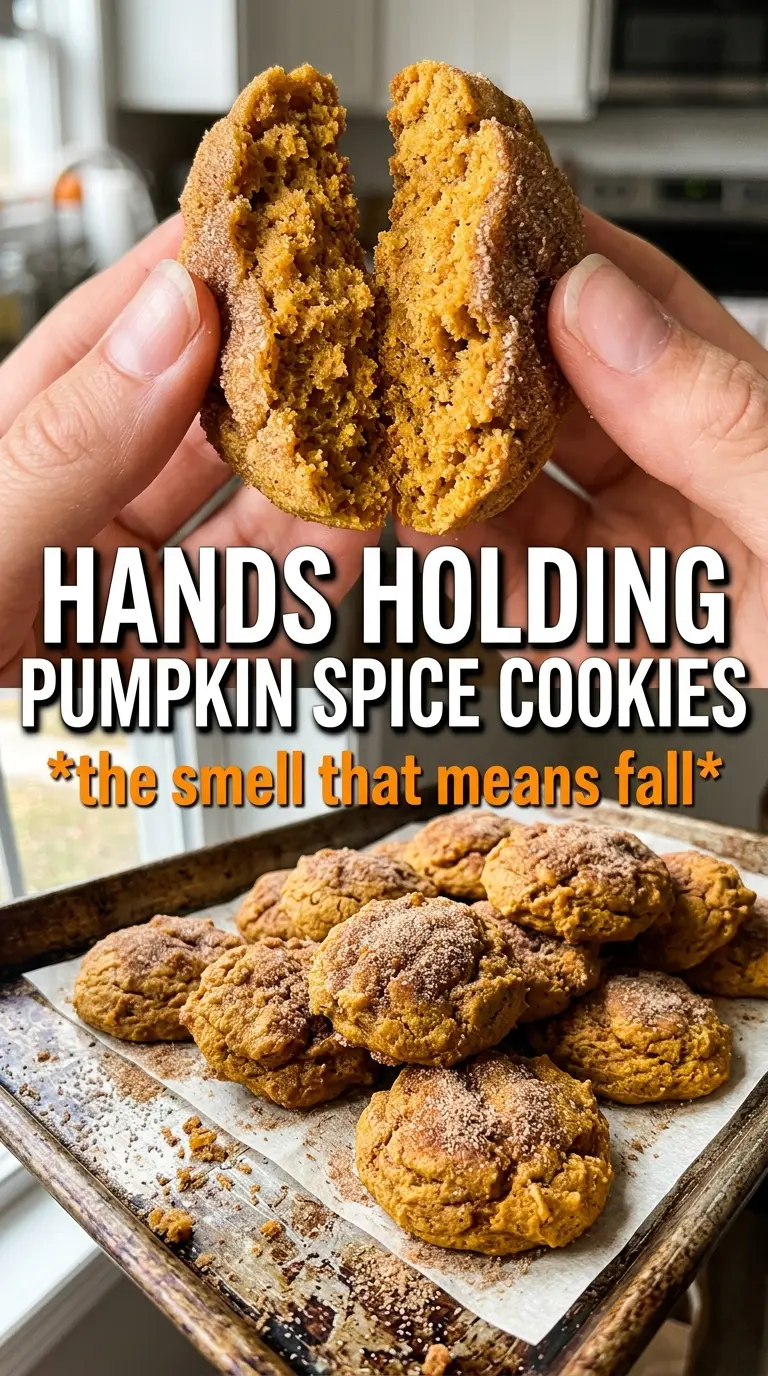
- All-purpose flour — This gives the cookies enough structure to hold their shape while still staying tender. Cake flour makes them too delicate; bread flour makes them tough.
- Pumpkin puree — Canned pumpkin works fine, but blot it dry on paper towels first. That step is not optional here.
- Butter — Softened butter creams with the sugars and creates the texture base. If it’s melted, the cookies spread too much and lose their lift.
- Brown sugar and granulated sugar — Brown sugar brings moisture and chew, while granulated sugar helps the edges bake up with a little snap. You need both for balance.
- Brown butter glaze — Browning the butter adds a nutty note that plain melted butter can’t match. If you skip it, the glaze still works, but the cookies lose that deeper finish.
- Milk in the glaze — Start with the full amount, then adjust a teaspoon at a time if needed. Too much at once makes the glaze runny and translucent instead of thick enough to sit on top.
The Bake Time That Keeps the Centers Soft
Creaming the Butter and Sugars
Beat the softened butter with both sugars until the mixture looks fluffy and a little lighter in color. That step traps air, which gives the cookies their gentle lift. If the butter is too cold, the mixture turns grainy and won’t whip properly; if it’s too warm, the dough spreads before the cookies set.
Mixing in the Pumpkin Without Breaking the Texture
Stir in the blotted pumpkin, egg yolk, and vanilla until the dough looks smooth. The pumpkin should disappear into the butter mixture without making it loose or glossy like cake batter. If it starts looking wet, the pumpkin wasn’t blotted enough and the final cookies will lean soft and puffy.
Adding the Flour at the Right Moment
Fold in the flour mixture just until no dry streaks remain. The dough should still look soft and scoopable, not sticky and slack. Overmixing here is the fastest way to lose the tender center you’re after.
Baking Until the Edges Set
Scoop the dough into 1 1/2 tablespoon rounds and bake at 375°F for 10 to 12 minutes. Pull them when the edges look set and the centers still look slightly underdone; they finish on the hot pan. If you wait until the tops look fully dry, they’ll bake past soft and turn cakier as they cool.
Finishing with Brown Butter Glaze
Cool the cookies completely before drizzling. If you glaze them while they’re warm, the icing melts into the surface and disappears. The glaze should be thick enough to ribbon off the spoon; if it runs, add more powdered sugar until it clings.
How to Adapt These Pumpkin Spice Cookies Without Losing the Texture
Dairy-Free Version
Use a plant-based butter that behaves like stick butter, not a soft tub spread. The cookies will still bake up tender, but the glaze won’t have quite the same nutty depth unless you brown a dairy-free butter alternative carefully.
Gluten-Free Swap
Use a 1:1 gluten-free baking blend with xanthan gum already included. The texture will be a touch more delicate, but the cookies still hold together well because the pumpkin is already low in moisture and the dough is scooped rather than rolled.
Extra-Spiced Bakery Style
Add another 1/4 teaspoon cinnamon and a small pinch more cloves if you want a stronger spice finish. That pushes the cookies toward a bolder, warmer flavor, but go light on the clove because it takes over fast.
Storage and Reheating
- Refrigerator: Store in an airtight container for 4 to 5 days. The cookies stay soft, though the glaze may firm up a bit more after day one.
- Freezer: Freeze the baked cookies without glaze for up to 2 months. Wrap them well and thaw at room temperature before adding the glaze, since condensation will thin it out.
- Reheating: Warm an unglazed cookie for 8 to 10 seconds in the microwave if you want that just-baked softness. Don’t heat glazed cookies too long or the icing will melt and lose its set.