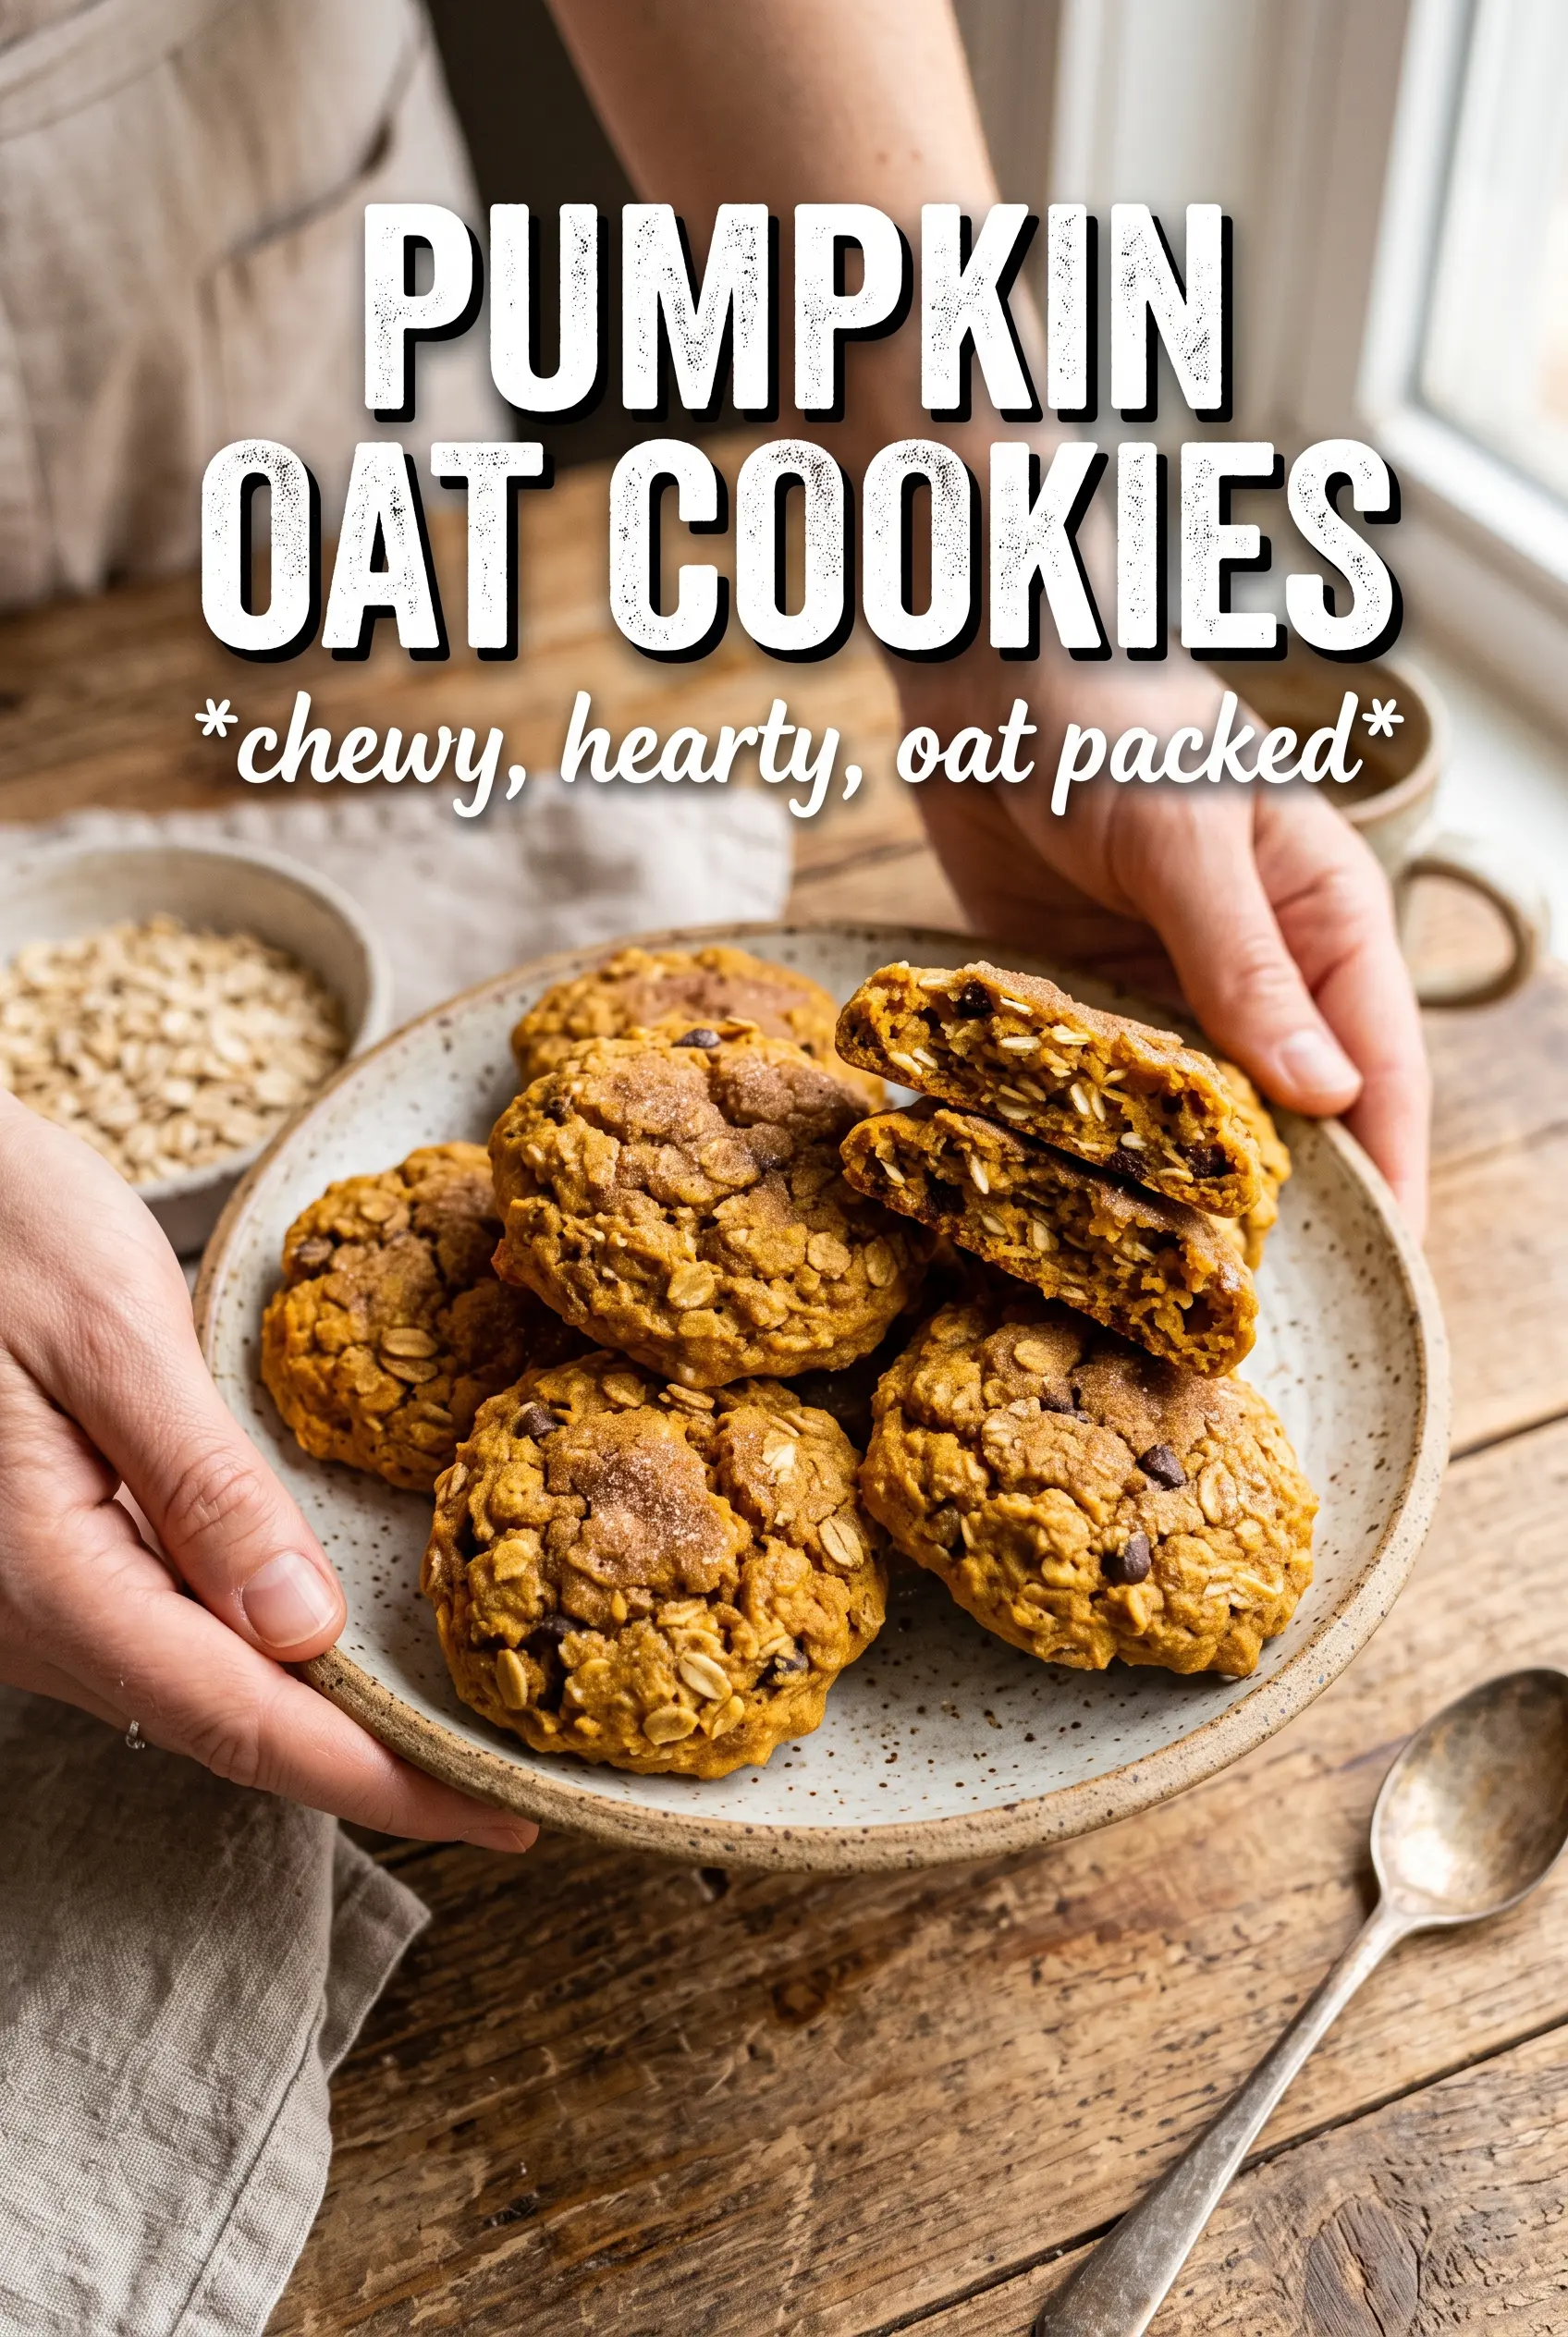
Pumpkin oat cookies hit that sweet spot between chewy and hearty, with crisp edges, a soft middle, and just enough pumpkin spice to make the whole kitchen smell like a fall bakery. The oats give them real texture, not just filler, and the cinnamon sugar on top bakes into a delicate crackly finish that makes each cookie feel finished, not flat.
The part that matters most is the pumpkin. Too much moisture turns these cookies cakey and puffed, which is why blotting the puree dry changes everything. You still get the pumpkin flavor and color, but the dough bakes up dense enough to hold its shape and tender enough to stay soft after cooling. I also like using both brown sugar and granulated sugar here: brown sugar gives moisture and depth, while granulated sugar helps the edges take on a little more structure.
Below you’ll find the small details that keep these cookies from spreading too much, plus a few smart swaps if you want to work with dried cranberries, make them dairy-free, or stash a batch in the freezer.
Blotting the pumpkin first made a huge difference. The cookies held their shape, stayed chewy in the middle, and the cinnamon sugar on top turned into the best little crackly crust.
These pumpkin oat cookies bake up chewy, golden, and spiced just right — pin them for the days when you want a quick batch with crisp edges and a soft center.
The Reason Pumpkin Cookies Turn Cakey Instead of Chewy
Pumpkin is the ingredient that can make or break this cookie. It adds flavor and moisture, but it also brings extra water that softens the dough and pushes the bake toward cakey if you use it straight from the can. Blotting it dry first is the difference between a cookie that spreads in a controlled way and one that puffs like a muffin top.
The oats help anchor the dough, but they can’t fix a wet base. That’s why the butter-and-sugar mixture needs to be fully combined before the pumpkin goes in, and why the flour should be folded in only until the last streaks disappear. Overmixing after the flour is added makes the cookies tougher, while underbaking leaves the centers gummy instead of chewy.
- Old-fashioned rolled oats — These hold their shape and give the cookies their hearty bite. Quick oats work in a pinch, but they make the texture softer and less distinct.
- Pumpkin puree — Blot it on paper towels until it looks visibly drier. That small step keeps the dough thick enough to scoop and helps the cookies bake up chewy instead of airy.
- Brown sugar — This brings moisture and a deeper caramel note that works with the spices. Light or dark brown sugar both work; dark brown sugar gives a more molasses-heavy finish.
- Cinnamon sugar topping — This is more than decoration. It bakes into a thin, sweet crust that gives the tops a little crunch and keeps the cookies from tasting flat.
What Each Ingredient Is Doing in These Cookies
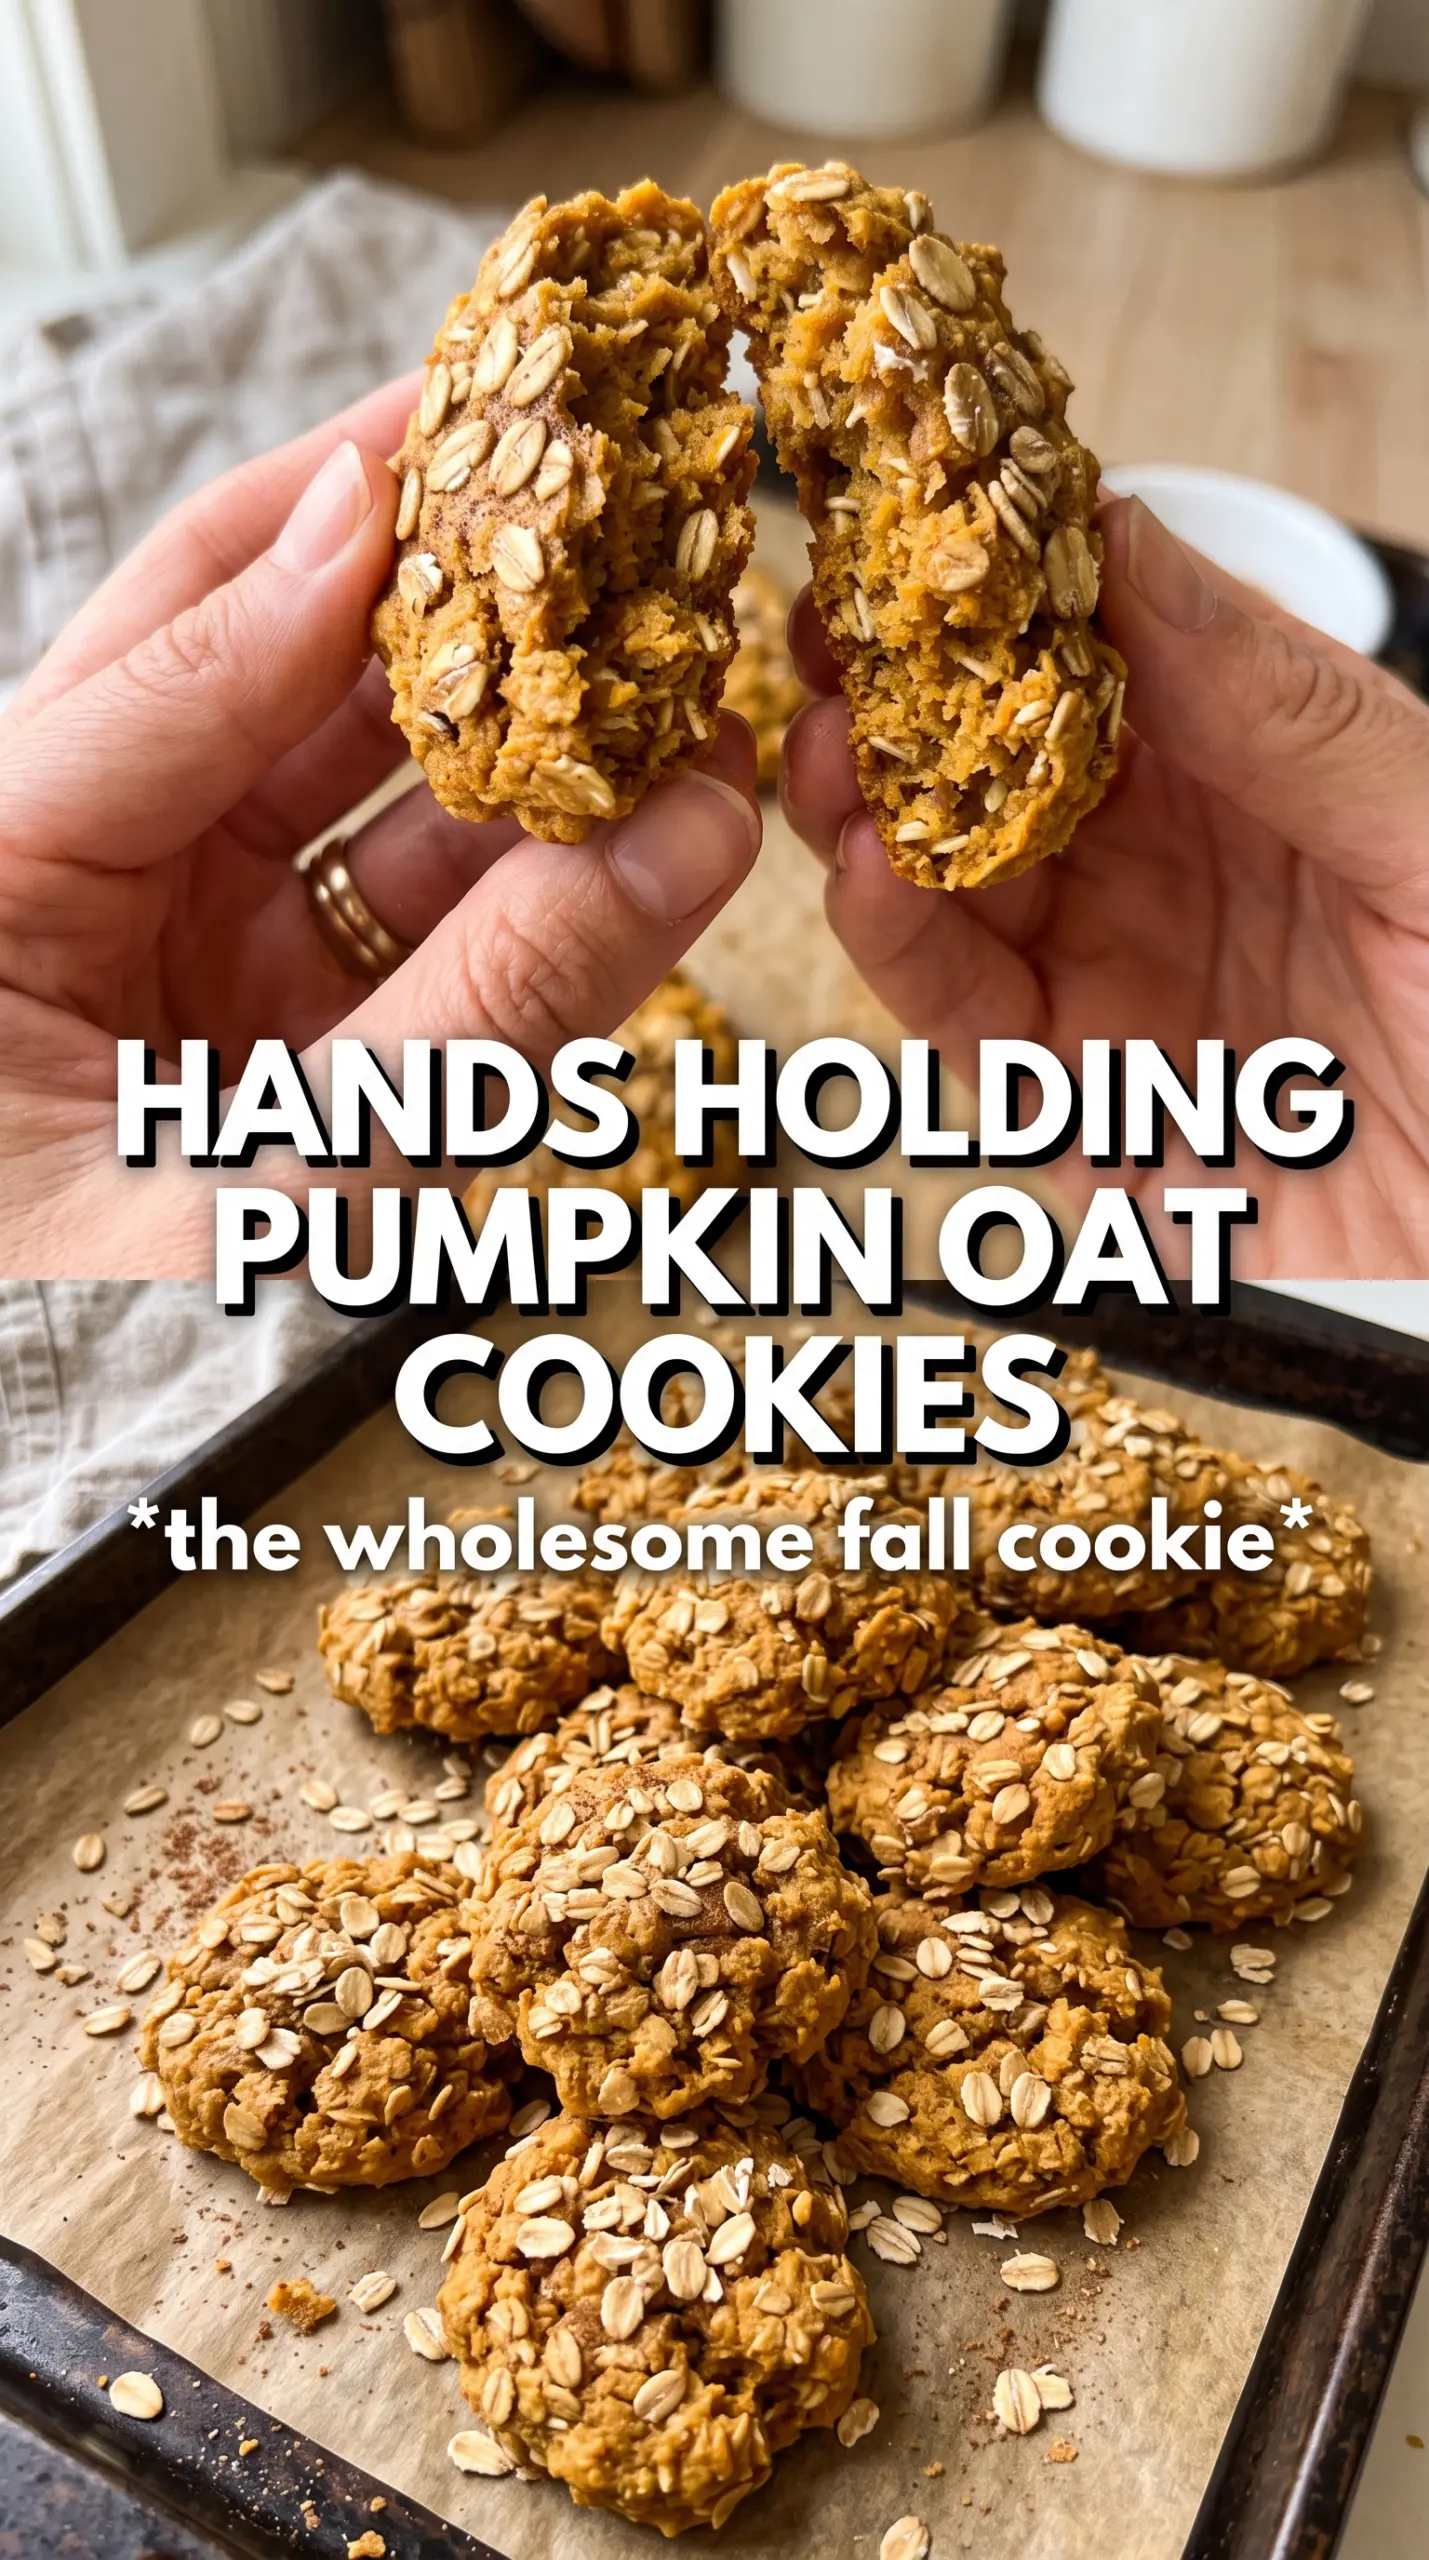
- All-purpose flour — Gives the cookies enough structure to hold the oats and pumpkin without turning crumbly. A gluten-free 1:1 baking blend can work here, but the cookies may spread a little more and finish softer.
- Baking soda — Helps the cookies lift just enough and encourages browning at the edges. Don’t swap in baking powder; it won’t give the same spread or texture.
- Pumpkin pie spice and cinnamon — Pumpkin pie spice gives the warm background notes, while extra cinnamon sharpens the topping and keeps the flavor from tasting muted. Fresh spices matter here because the dough itself is mild.
- Butter — Softened butter creams with the sugars to trap air and build a tender cookie. If the butter is melted, the cookies will spread too much and bake greasy around the edges.
- Egg — Binds the dough and helps the cookies set in the oven. One egg is enough; adding more would push the texture toward cake.
- Raisins or dried cranberries — Optional, but they add little chewy bursts that work well with the oats. Cranberries bring a sharper tartness, while raisins keep the flavor warmer and rounder.
How to Keep the Dough Thick Enough to Scoop
Blotting the Pumpkin Dry
Spread the pumpkin puree on a paper towel and press another towel on top until it feels noticeably thicker and less wet. You’re not removing all the moisture, just enough so the dough doesn’t slacken. If you skip this, the cookies tend to spread too much and lose that chewy middle.
Creaming the Butter and Sugars
Beat the softened butter with both sugars until the mixture looks fluffy and a little lighter in color. That step matters because it gives the cookies their tender bite. Once the pumpkin, egg, and vanilla go in, the mixture may look slightly curdled; that’s normal and it comes together once the dry ingredients are added.
Folding in the Oats
Add the flour mixture first, then the oats, and stop mixing as soon as the dough looks evenly combined. The dough should be thick and scoopable, not sticky enough to slump off a spoon. If it feels loose, let it sit for five minutes so the oats can absorb some moisture before you portion it.
Baking for the Right Finish
Scoop the dough into 2-tablespoon portions and leave a little space between them. Bake until the edges look set and the tops are just turning golden; the centers should still look soft. Pull them at that point, because they keep setting on the hot pan and overbaking steals the chew.
Make Them With Dried Cranberries Instead of Raisins
Cranberries add a brighter, tarter bite that cuts through the warm spices. They work best if you like a little contrast in each cookie, while raisins keep the flavor softer and more classic.
Gluten-Free Version
Use a good 1:1 gluten-free baking flour in place of the all-purpose flour. The oats already give these cookies a hearty texture, so the swap usually works well, though the centers may be a touch softer and the cookies may need an extra minute in the oven.
Dairy-Free Swap
Use a plant-based butter stick that’s made for baking, not a soft tub spread. The goal is to keep the same creamed structure, and baking sticks hold that better than most spreads.
Storage and Reheating
- Refrigerator: Store in an airtight container for up to 5 days. The oats will keep absorbing moisture, so the cookies get a little softer by day two.
- Freezer: Freeze baked cookies for up to 2 months, or freeze scooped dough balls and bake from frozen with 1 to 2 extra minutes. Dough freezes especially well and keeps the texture closer to freshly baked.
- Reheating: Warm cookies in a 300F oven for 4 to 5 minutes or give them 8 to 10 seconds in the microwave. Too much heat dries out the edges and makes the centers bready instead of soft.