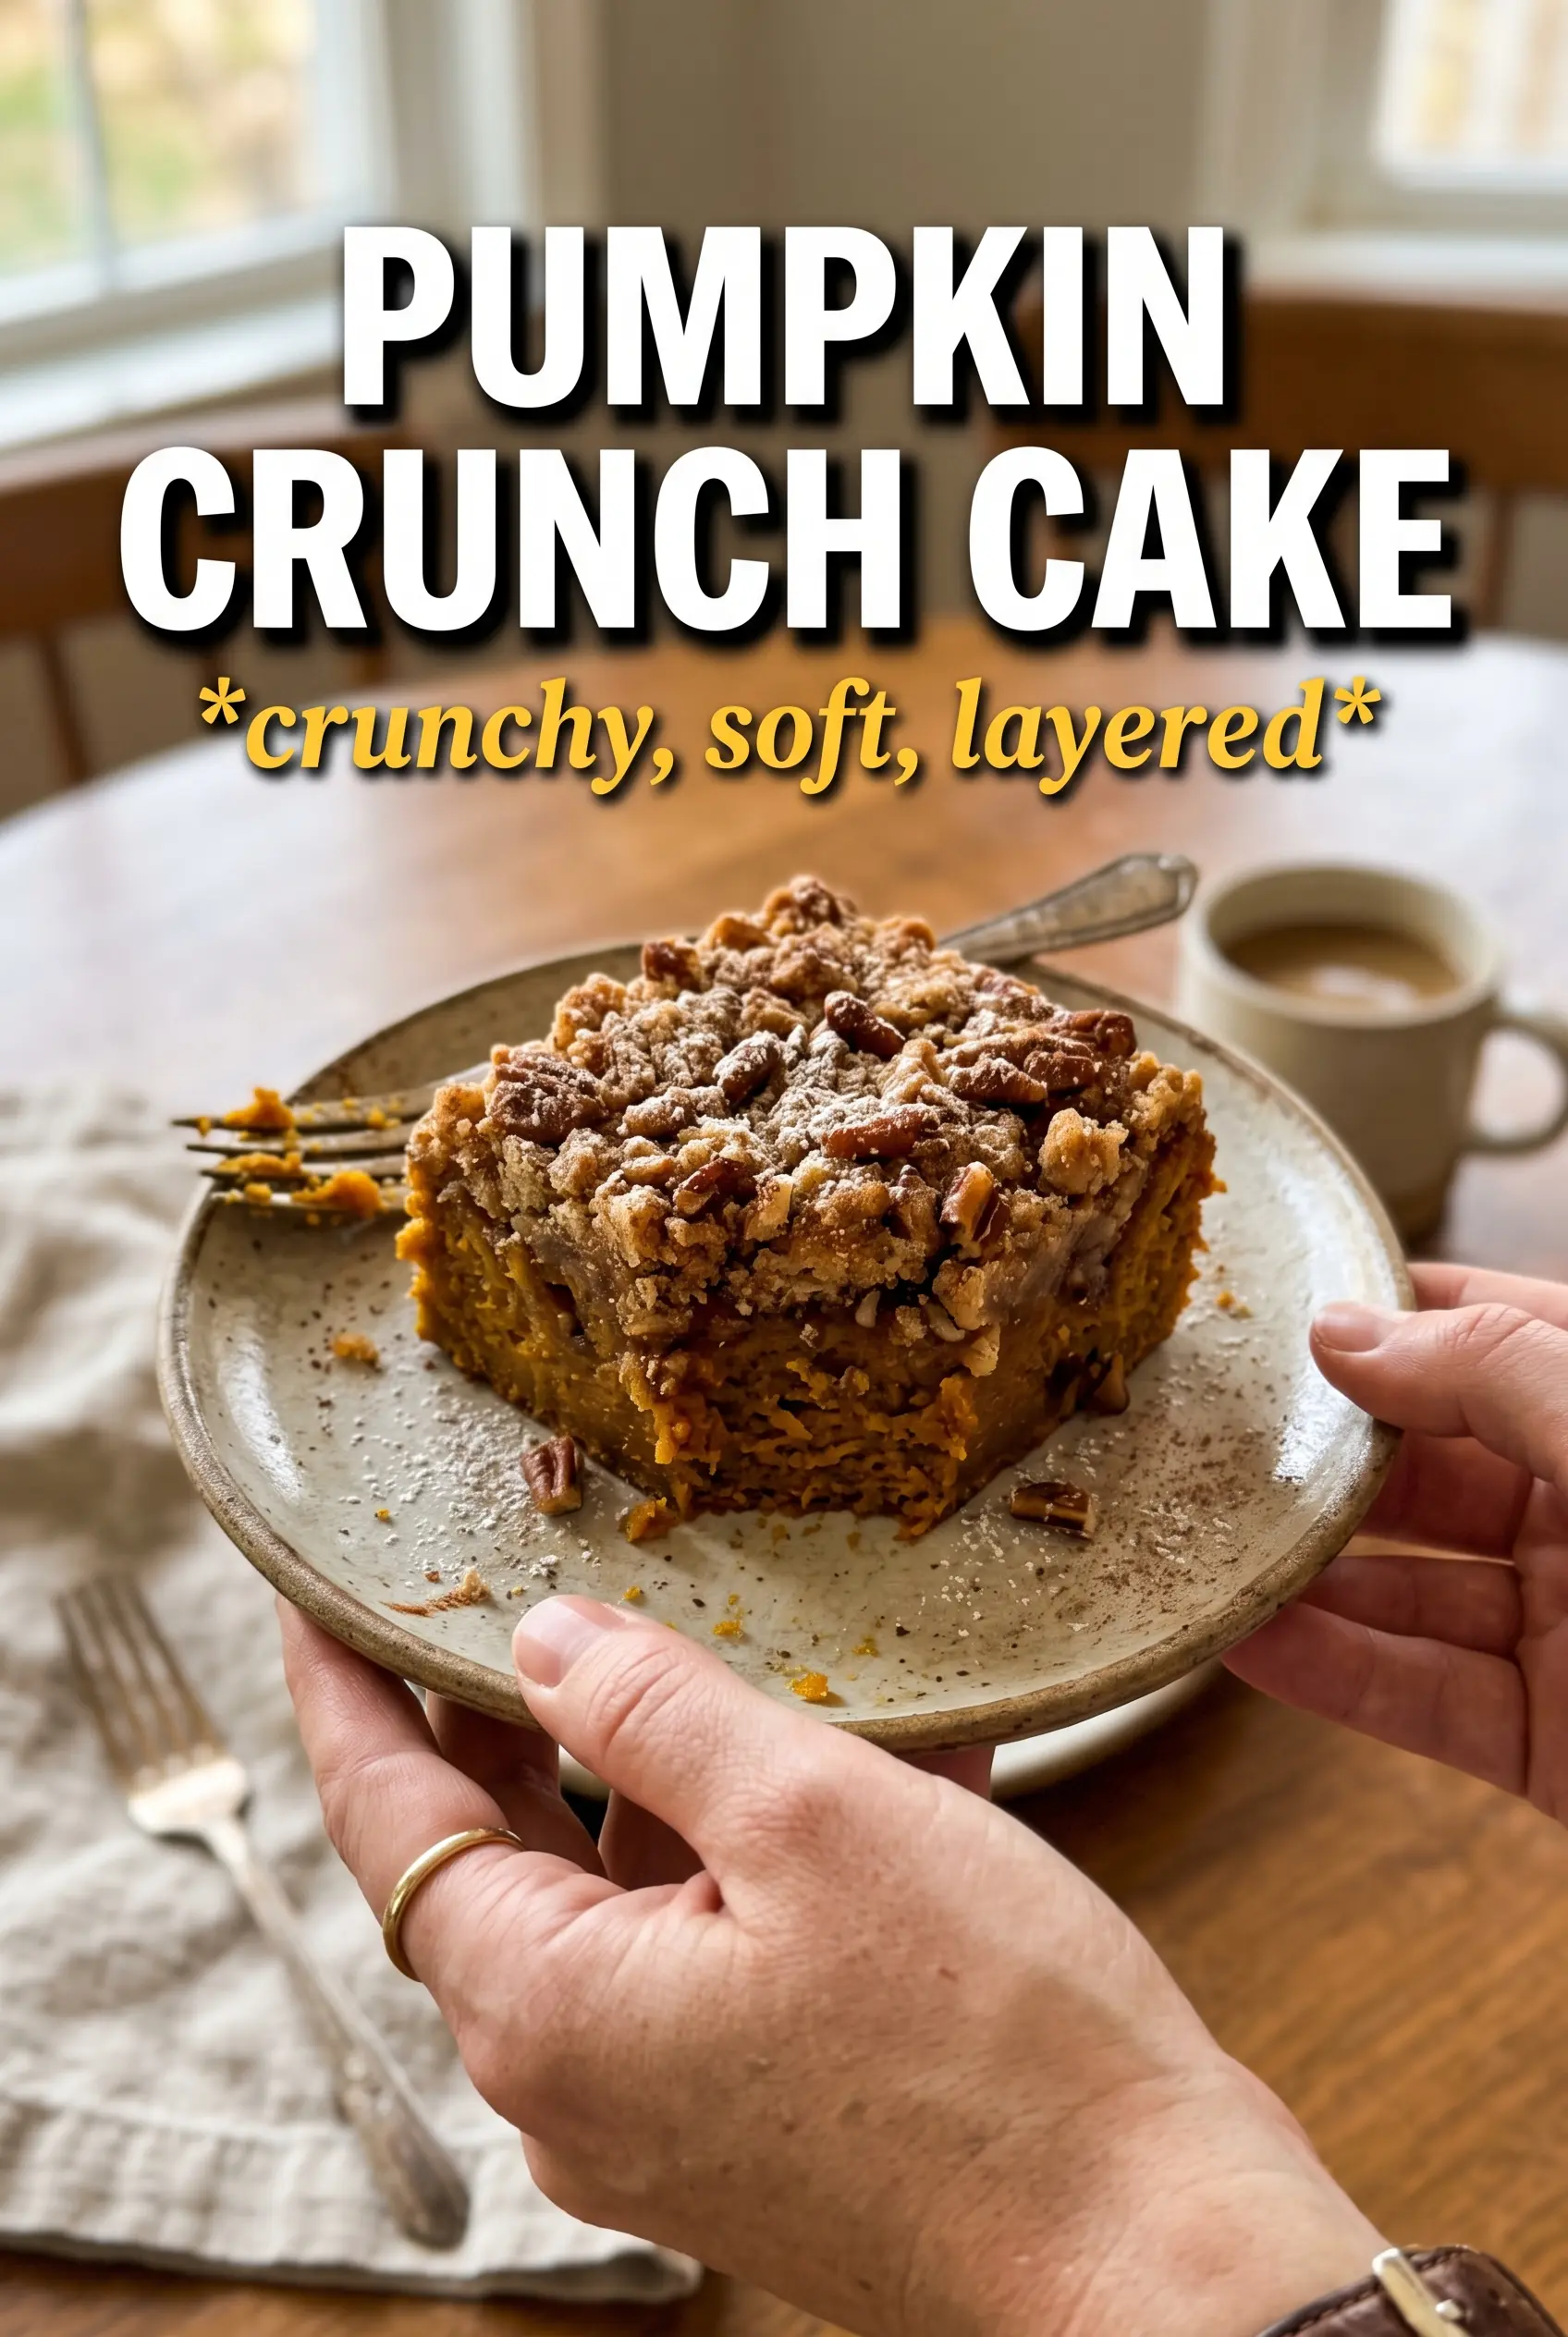
Pumpkin crunch cake lands somewhere between pumpkin pie and a buttery coffee cake, and that middle ground is exactly why it gets made again and again. The bottom bakes up soft and custardy with the warm spice of pumpkin pie, while the top turns into a golden, crackly layer of cake mix, butter, and pecans that stays crisp at the edges and tender in the center. Every bite gives you contrast, which is what makes it hard to stop at one square.
This version works because the layers stay separate in the oven. The pumpkin mixture goes in first, then the dry cake mix, then the pecans, then the melted butter. Don’t stir anything together. That dry cake mix needs the butter dripped evenly across the top so it can bake into a rough, crumbly crust instead of turning gummy. If you’ve ever had a crunch cake with dry spots on top, the butter was probably poured too quickly or not spread far enough.
Below, I’ll show you the little details that keep the topping crisp and the custard set, plus the easiest way to serve it depending on whether you want the rustic spoonable version or the flipped-over pecan-crust look.
The pumpkin layer set up beautifully and the topping stayed crisp even after cooling. I flipped it for serving and everyone kept going back for the buttery pecan side.
Save this pumpkin crunch cake for when you want a make-ahead dessert with a custardy pumpkin base and a buttery pecan crust on top.
The Part Everyone Gets Wrong: Keeping the Topping Dry Until the Butter Hits It
The biggest mistake with pumpkin crunch cake is treating the topping like a batter. It isn’t one. The dry cake mix has to stay loose on top of the pumpkin layer so the butter can seep through and create little pockets of crisp crumb instead of one dense, pasty sheet. If you stir it, the whole thing bakes up heavy.
The other place people run into trouble is butter coverage. Any dry patches of cake mix will stay powdery after baking, and any pool of butter in one corner can make that section greasy. I pour the butter slowly over the whole surface and tilt the pan a little if I need to nudge it into the corners.
- Pumpkin puree — Use plain pumpkin puree, not pumpkin pie filling. Pie filling already has sugar and spices added, which throws off the custard layer and makes the dessert cloying.
- Evaporated milk — This gives the pumpkin layer a richer, silkier texture than regular milk. It’s worth using here because it helps the filling bake up smooth instead of watery.
- Yellow cake mix — Boxed mix is the shortcut that makes this recipe work. Homemade dry cake mix won’t have the same consistency, and the balance of starch and leavener is what helps the top turn crumbly and crisp.
- Pecans — Roughly chopped pecans give the best texture because they catch in the buttery topping. If you use finely chopped nuts, you lose that crunchy bite.
What the Pumpkin Layer and Butter Topping Are Each Doing
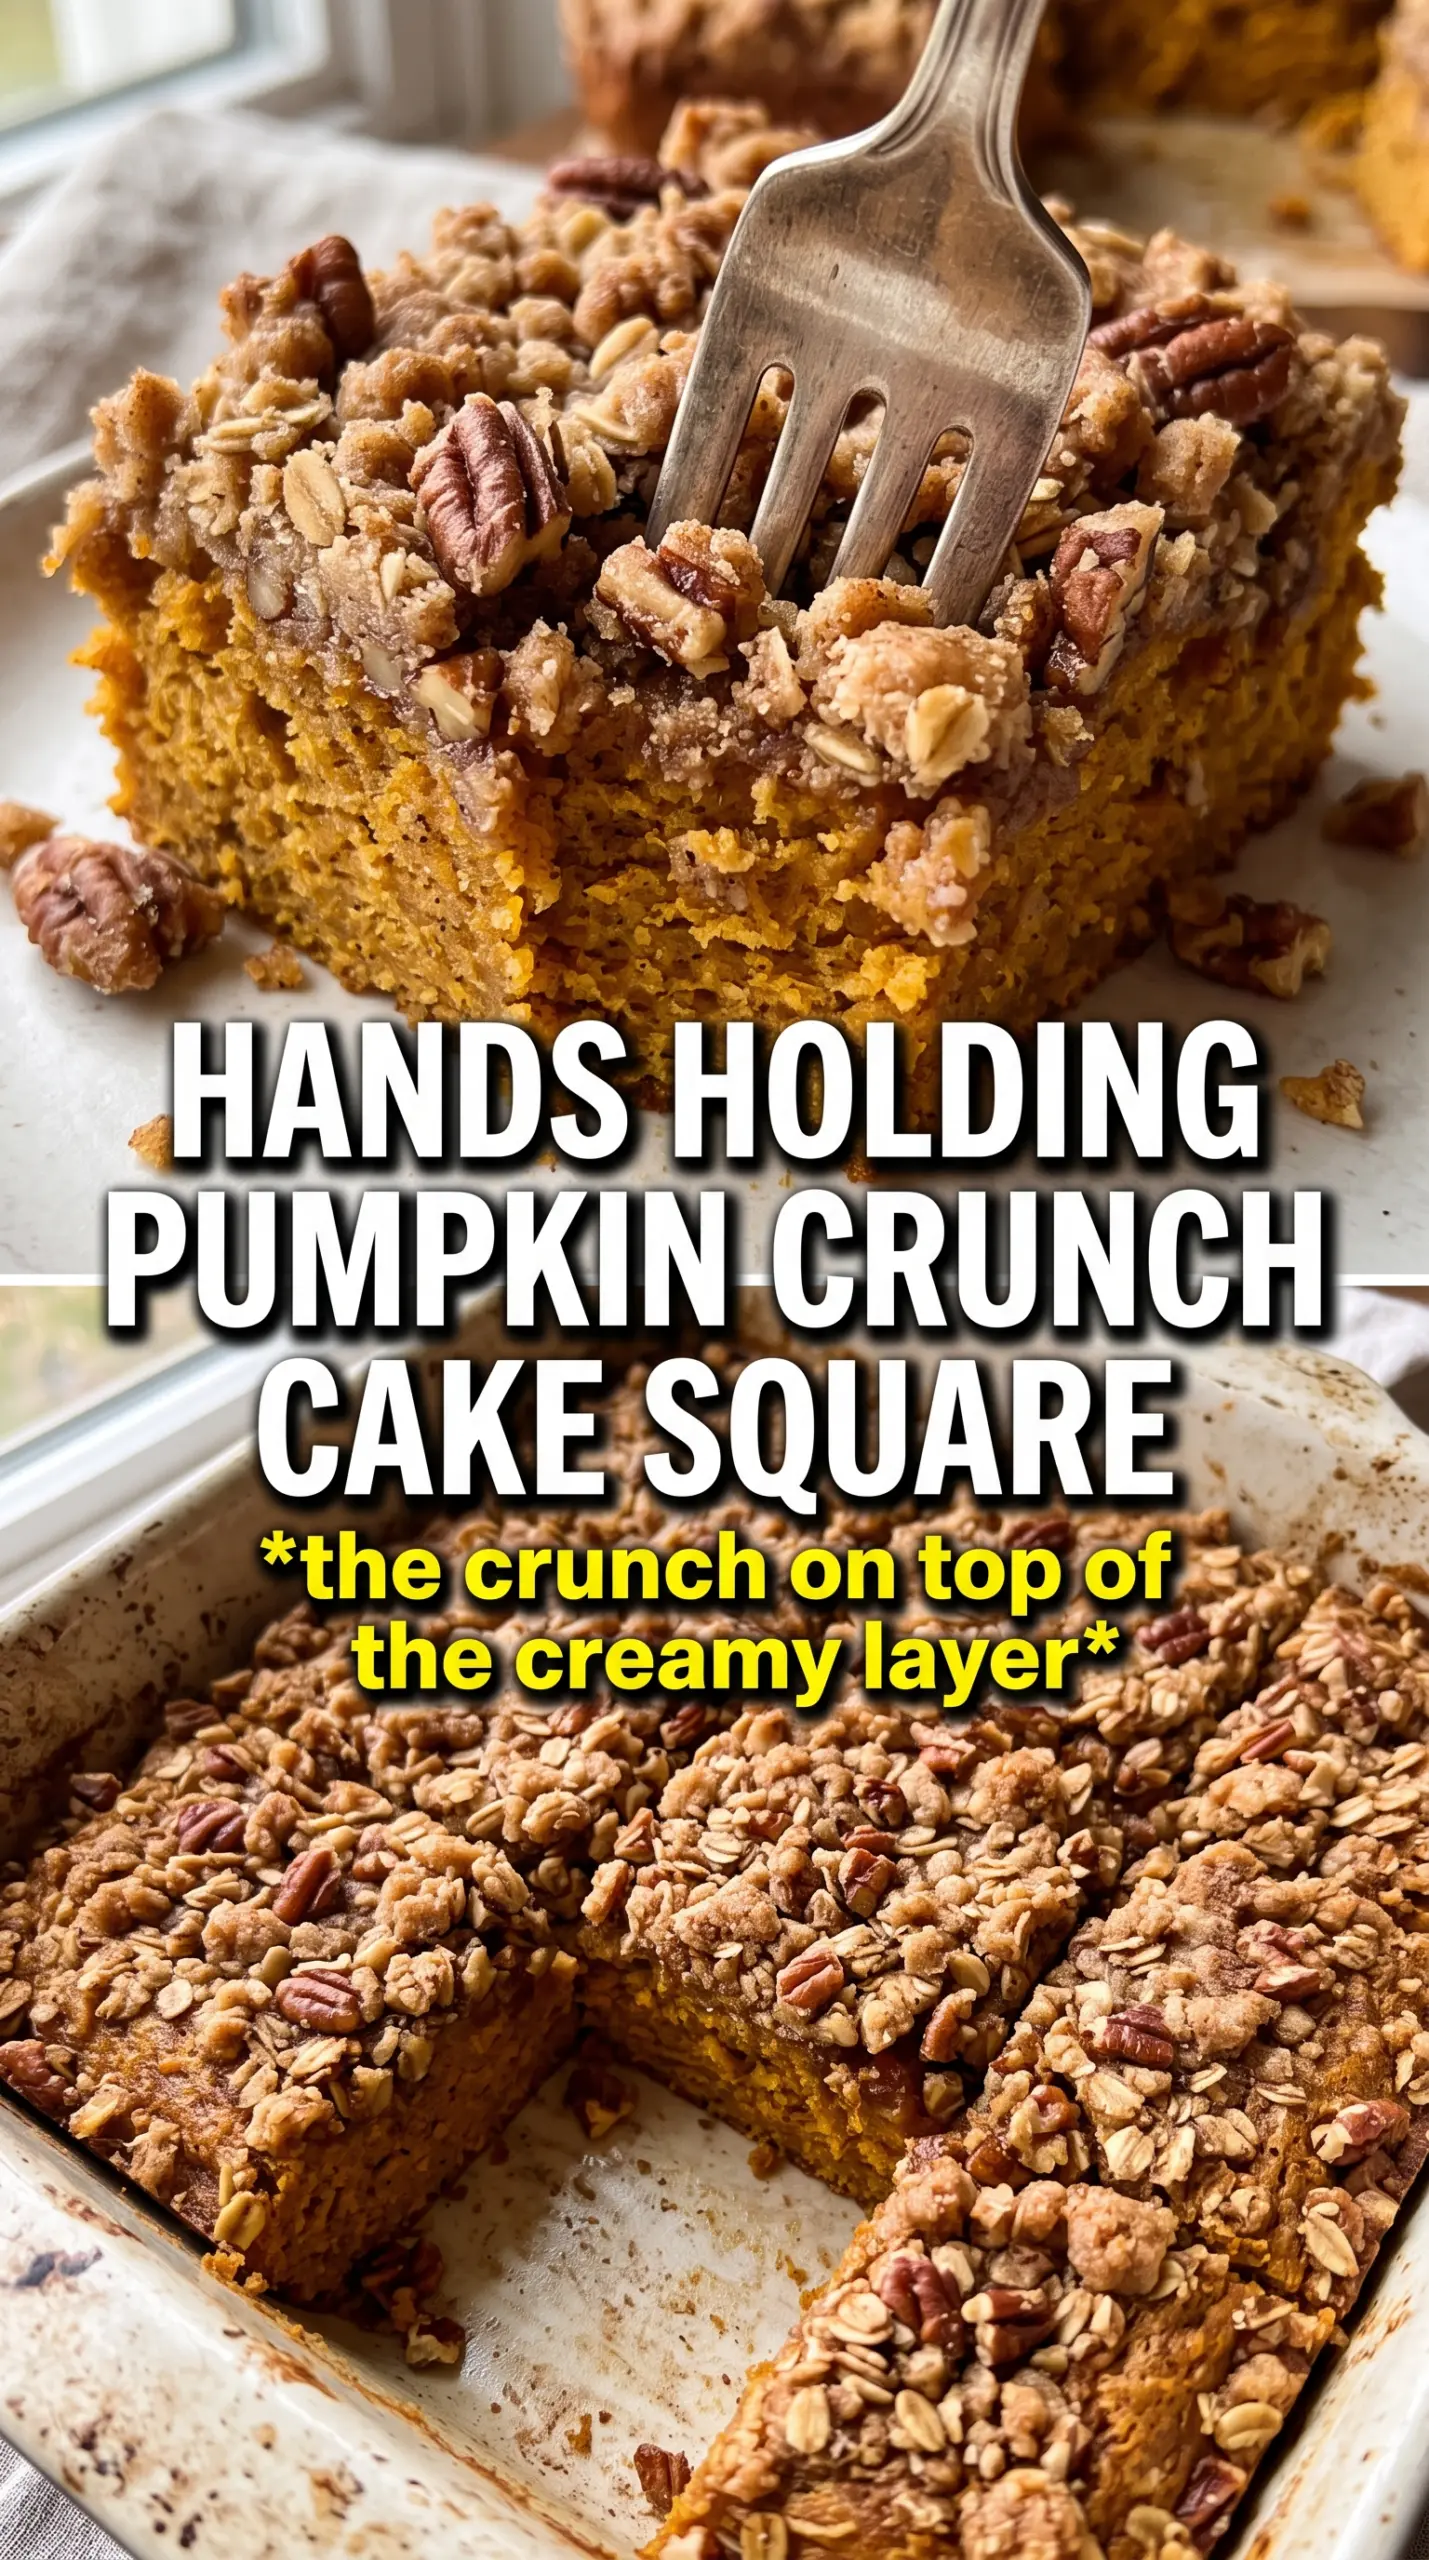
- Pumpkin puree — This is the base flavor and body of the dessert. It needs the eggs and evaporated milk to set into a soft custard, so don’t swap in canned pumpkin pie filling.
- Eggs — They hold the pumpkin layer together and give it that pie-like slice. If the filling seems loose when it comes out of the oven, it usually just needs more cooling time to finish setting.
- Butter — Melted butter is what turns the dry cake mix into the crunchy topping. Salted butter works in a pinch, but unsalted gives you more control because the cake mix and pecans already bring some salt.
- Pecans — They add the toasted, buttery finish that makes this dessert stand out. Walnuts can work, but they read sharper and less sweet than pecans.
How to Build the Layers So the Center Sets and the Top Stays Crumbly
Mixing the Pumpkin Base
Whisk the pumpkin puree, evaporated milk, eggs, sugar, spices, and salt until the mixture looks smooth and even in color. You want the sugar dissolved enough that it doesn’t sink or leave a gritty layer at the bottom of the pan. Pour it into a greased 9×13-inch dish and tap the pan once on the counter to release any big air bubbles.
Adding the Dry Topping
Sprinkle the dry cake mix evenly over the pumpkin layer and leave it alone. Don’t press it down. The loose layer is what lets the butter travel through the top as it bakes. If the cake mix looks patchy, stop and even it out now, because dry pockets won’t fix themselves in the oven.
Finishing With Butter and Pecans
Scatter the pecans over the cake mix, then drizzle the melted butter over the entire surface in a slow, steady pattern. Aim for complete coverage, especially along the edges and corners where dry spots like to hide. Bake until the top is deeply golden and the center no longer sloshes when you move the pan. The middle can still have a slight wobble, but it shouldn’t look wet.
Cooling Before You Slice or Flip
Let the cake cool completely before serving. This is the part that saves the texture. If you cut it hot, the pumpkin layer will run and the topping will collapse. Once it’s cool, you can spoon it out as-is or invert it for that showy pecan-crust top.
How to Adapt This for a Different Pantry or a Bigger Crowd
Dairy-Free Pumpkin Crunch Cake
Swap the evaporated milk for canned coconut milk, using the full-fat kind for the closest richness. The flavor leans a little more coconut, but the filling still sets well and stays creamy.
Gluten-Free Version
Use a gluten-free yellow cake mix and keep the rest of the recipe the same. The topping may bake up a touch more delicate, but you still get the same buttery crunch if you don’t overload it with butter.
Nut-Free Version
Leave out the pecans and add an extra 1/2 cup of cake mix over the top so you still get a decent crumb layer. You’ll lose the toasted nutty crunch, but the dessert will still bake up with plenty of texture from the buttery topping.
Making It Ahead
This dessert actually benefits from a full cool-down, so it’s a good make-ahead option. Bake it earlier in the day, let it cool on the counter, then cover it and serve at room temperature or lightly warmed later.
Storage and Reheating
- Refrigerator: Cover and refrigerate for up to 4 days. The topping softens a bit, but the flavor stays good.
- Freezer: It freezes well in slices. Wrap tightly and freeze for up to 2 months, then thaw overnight in the refrigerator.
- Reheating: Warm individual servings in the microwave in short bursts, or heat the whole pan in a low oven until just warmed through. If you overheat it, the custard layer turns loose and the topping loses what crunch it has left.