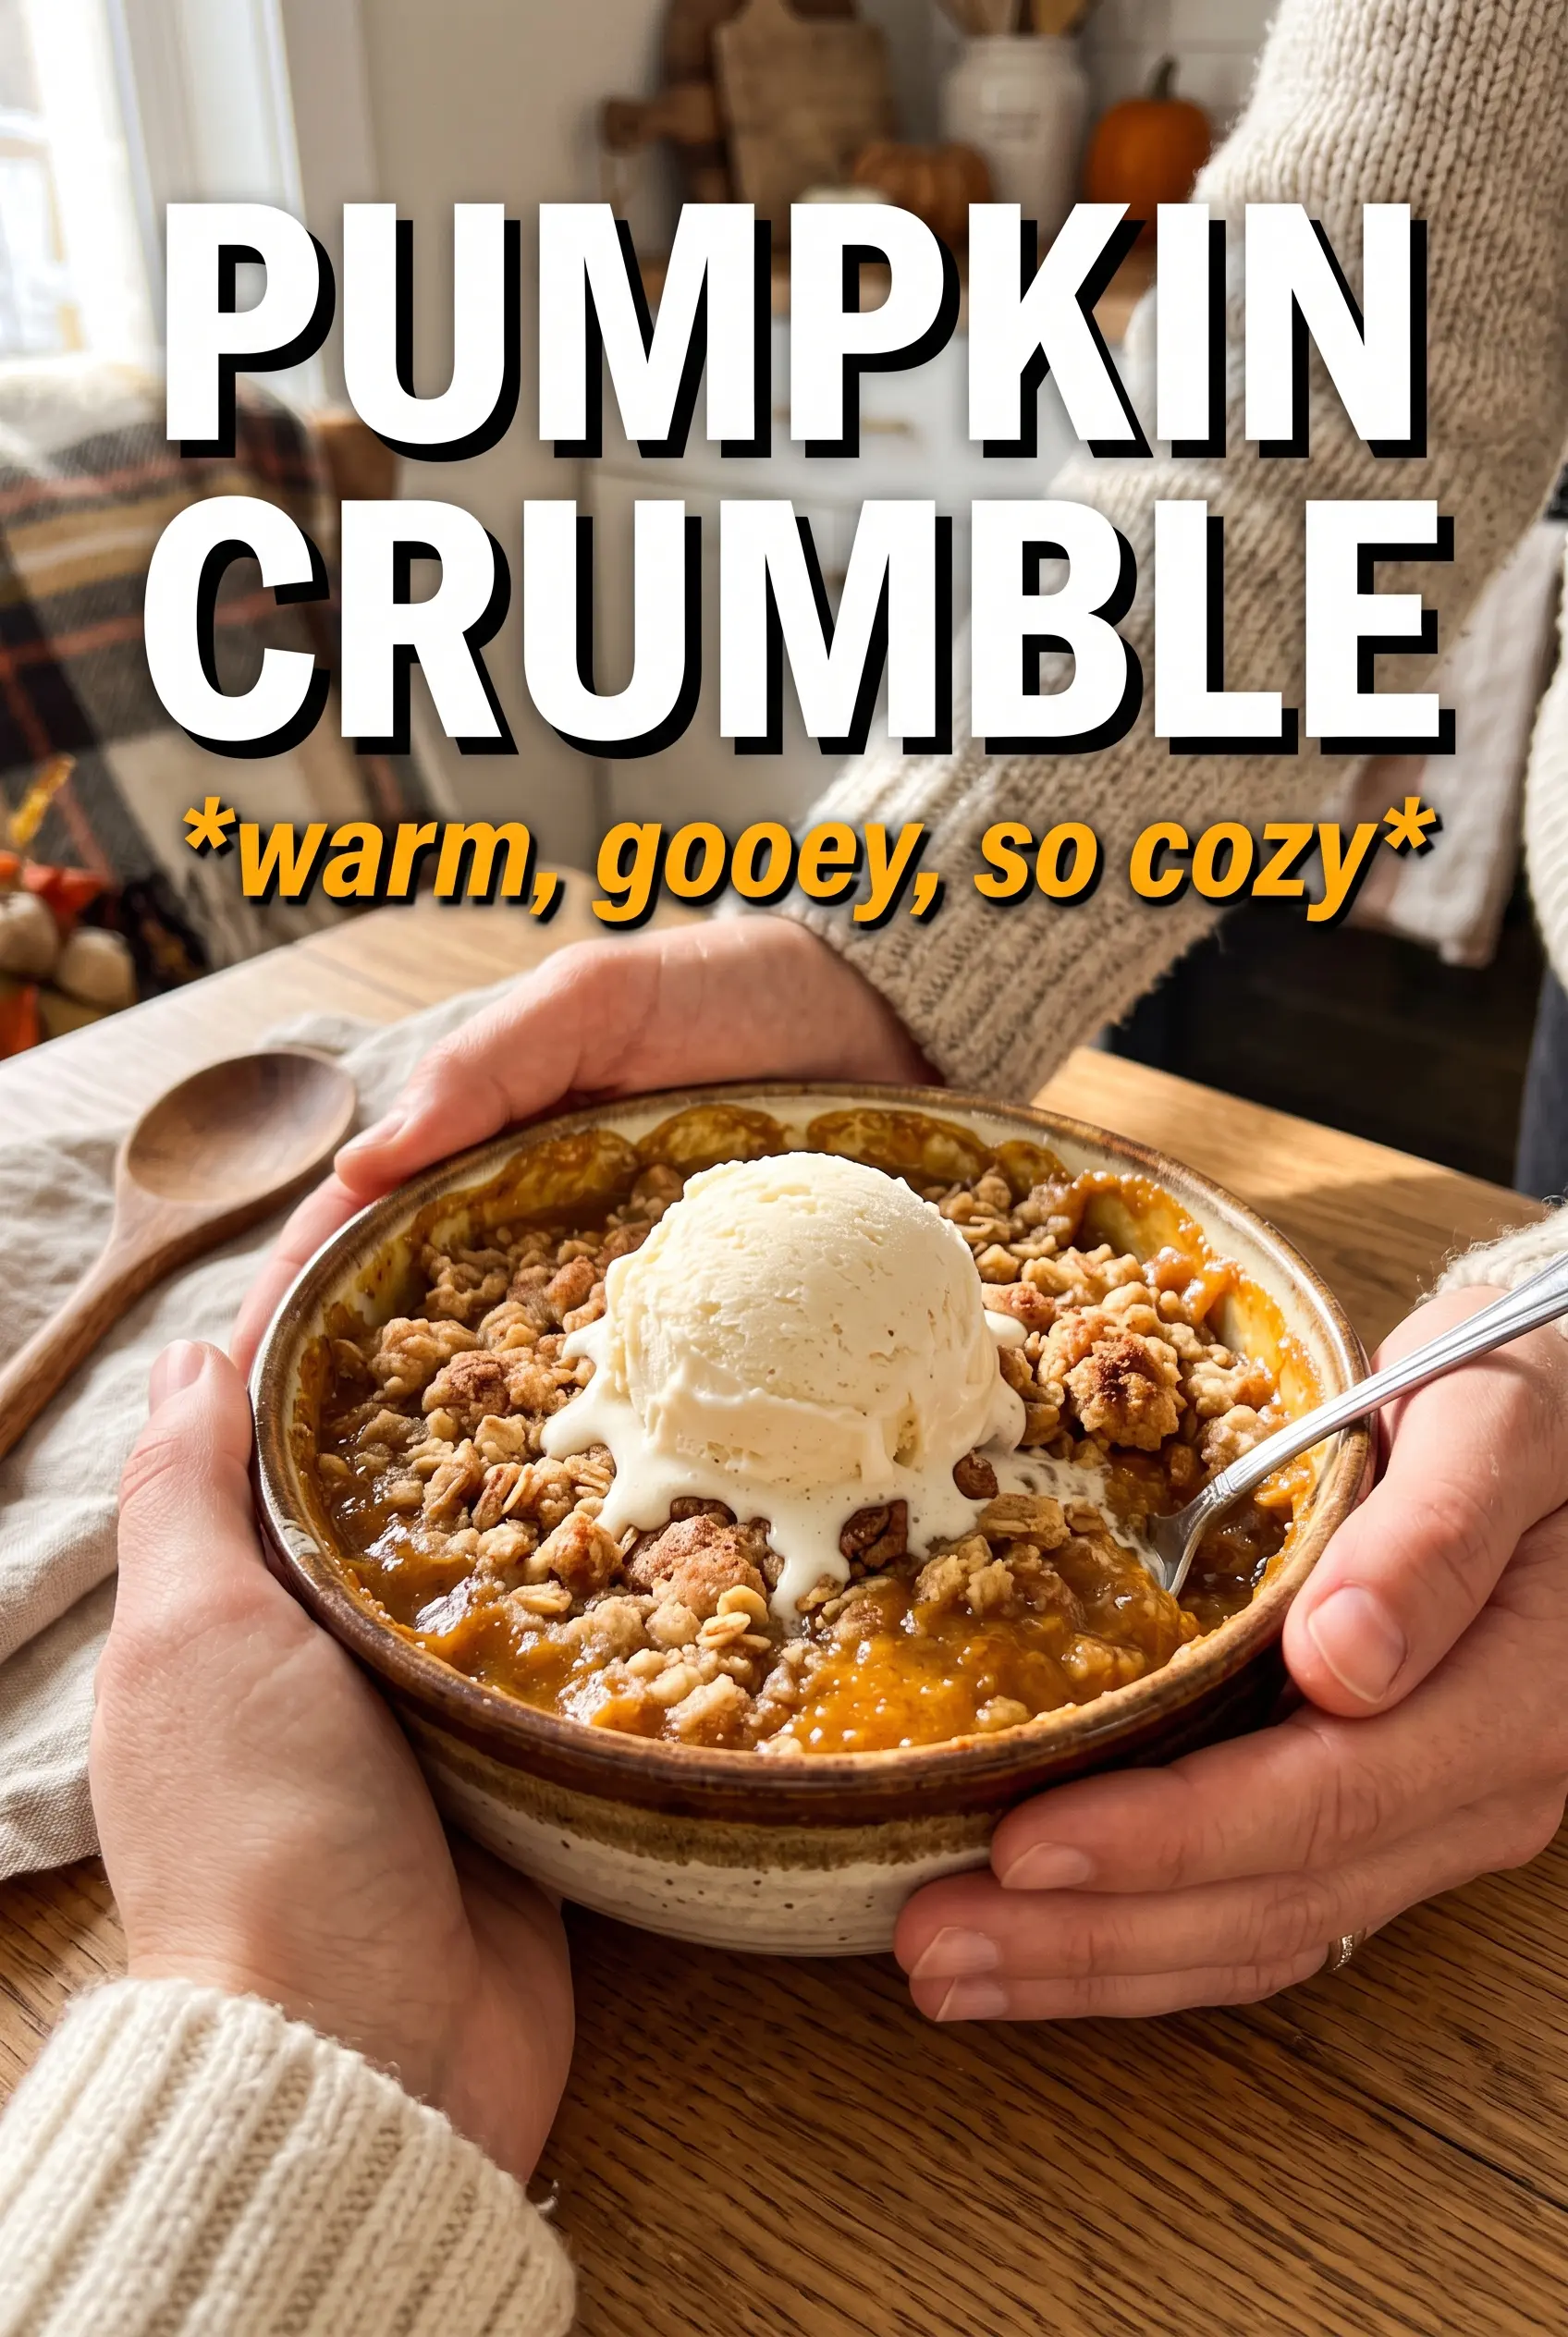
Silky pumpkin custard underneath a golden oat crumble is the kind of dessert that disappears fast and gets requested again before the dishes are done. The filling bakes up like a pumpkin pie without the fuss of a crust, and the topping brings that buttery, crisp contrast that keeps every bite from feeling heavy. Spoon it warm and the edges hold just enough structure while the center stays creamy. Add vanilla ice cream and the whole pan turns into something that feels a little more special than the effort it takes to make it.
This version works because the filling stays simple and balanced: pumpkin puree for body, evaporated milk for richness, and just enough spice to taste like pumpkin without going overboard. The crumble is built with cold butter, which is what keeps it nubby and crisp instead of melting into a sandy layer. If the butter softens too much before it goes into the oven, the topping bakes up dense instead of crunchy, so the chill really matters here.
Below you’ll find the exact texture cues I look for when the filling is set, plus a couple of smart swaps if you need to adjust the crumble or serve it a different way. The details matter more than the steps here, and once you see how the layers bake together, this one becomes easy to pull off without guesswork.
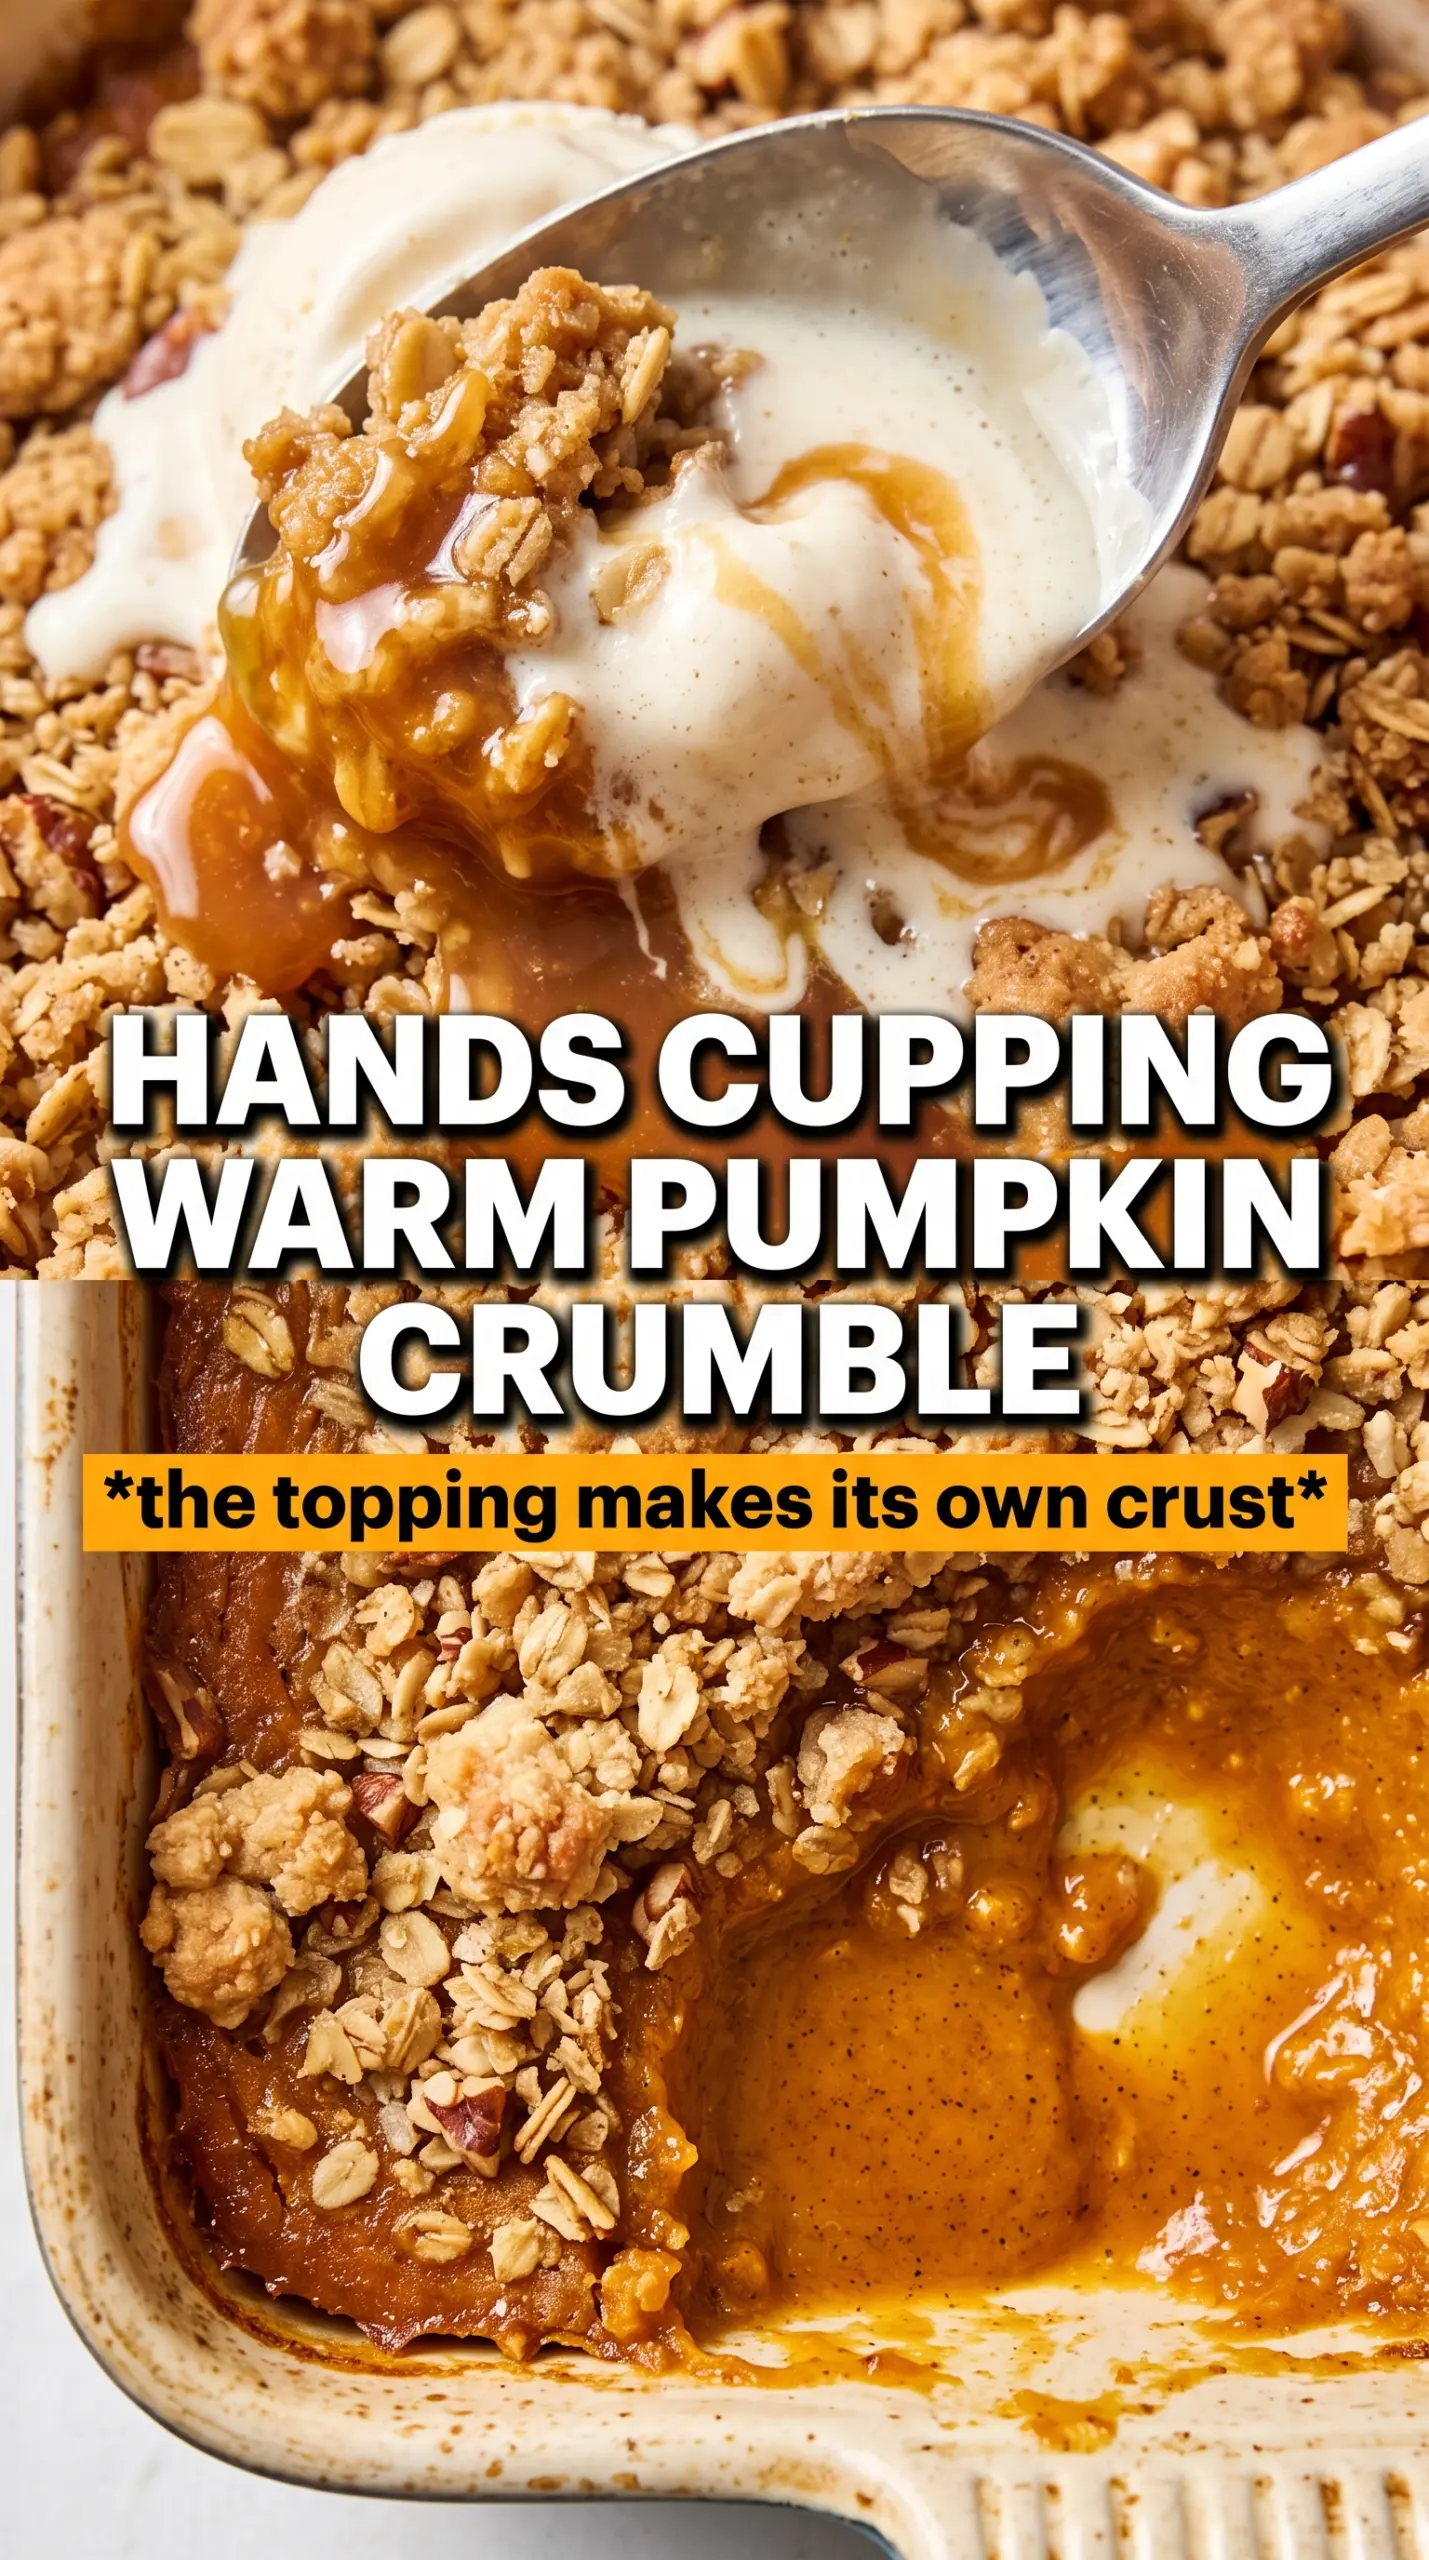
The crumble stayed crisp on top while the pumpkin layer baked into this smooth, spoonable custard. I loved that it sliced cleanly after a short rest, and the vanilla ice cream melted into it perfectly.
Save this pumpkin crumble for the night you want a creamy pumpkin filling and a crisp oat topping in one pan.
The Part That Keeps the Crumble Crisp Instead of Sinking In
The biggest mistake with pumpkin crumble is treating it like a dump-and-bake bar. The filling is loose going into the oven, and if the topping is too fine or the butter is too warm, it melts into the custard before the top has a chance to brown. Cold butter and a coarse crumble are what give you those crunchy nuggets on top instead of a blanket of paste. You want the topping to sit on the surface, not disappear into it.
The bake time matters too. Pumpkin filling keeps setting after it leaves the oven, so pull it when the center still has a slight wobble and the crumble is deep golden. If you wait until the middle looks totally firm in the oven, it usually bakes up dry by the time it cools. A short rest lets the custard finish tightening without losing that soft, spoonable texture.
What Each Ingredient Is Actually Doing in This Dessert
- Pumpkin puree — This is the backbone of the filling. Use pure pumpkin puree, not pumpkin pie filling, so you control the sweetness and spice yourself.
- Evaporated milk — It gives the filling that smooth, custardy texture without making it watery. Regular milk won’t give the same richness or body.
- Eggs — They set the filling as it bakes. If the custard seems loose after baking, it usually needed a few more minutes, not more eggs.
- Rolled oats — These keep the crumble textured and rustic. Quick oats work in a pinch, but the topping will bake up tighter and less crunchy.
- Cold butter — This is what makes the topping crumble instead of blend. Cube it straight from the fridge and cut it in until you have uneven bits, from sandy crumbs to pea-size clumps.
- Brown sugar — It adds molasses depth and helps the topping brown beautifully. Light or dark brown sugar both work; dark just gives a deeper, slightly richer finish.
Building the Filling and Topping So They Bake Together
Mixing the Pumpkin Base
Whisk the pumpkin, evaporated milk, eggs, sugar, spices, salt, and vanilla until the mixture looks completely smooth and evenly colored. You don’t want streaks of egg white or pockets of spice, because those bake into uneven spots. Pour it into a greased 9×13 dish and level it with the back of a spoon. The surface should look glossy and loose; that is exactly what you want before it goes into the oven.
Cutting in the Butter
Combine the oats, flour, brown sugar, cinnamon, and salt first, then work in the cold butter until the mixture looks clumpy and crumbly. Stop before it turns into a dough. If the butter has warmed up too much, the topping will go pasty and bake dense instead of crisp. I like to use my fingertips or a pastry cutter and leave plenty of uneven bits behind.
Baking Until the Center Sets
Scatter the crumble evenly over the pumpkin layer and bake at 375F until the top is golden and the center only has a slight jiggle, usually 40 to 45 minutes. The edges will look set first, and that is normal. If the topping is browning too fast before the custard is ready, lay a loose piece of foil over the top for the last part of baking. Let it rest at least 20 minutes before serving so the filling can finish setting.
How to Adapt This for Different Tables and Different Pantries
Gluten-Free Pumpkin Crumble
Swap the all-purpose flour for a cup-for-cup gluten-free baking blend. The topping still works well because the oats bring most of the structure, though the crumble may be a little softer and less sandy. Use certified gluten-free oats if cross-contamination matters.
Dairy-Free Version
Replace the evaporated milk with full-fat canned coconut milk for a richer filling. Swap the butter for a solid plant-based butter that behaves like real butter when cold. The result is still creamy and crisp, though the coconut note will come through a little in the filling.
Extra-Spiced Filling
If you like a warmer pumpkin pie flavor, add a pinch of nutmeg or clove to the filling. Keep it light, because the topping already brings cinnamon to the dessert. Too much spice can drown out the pumpkin and make the whole dish taste harsh.
Storage and Reheating
- Refrigerator: Store covered for up to 4 days. The topping softens a little, but the flavor stays excellent.
- Freezer: It freezes well after baking. Wrap tightly and freeze for up to 2 months, then thaw overnight in the fridge.
- Reheating: Warm individual portions in the microwave for about 20 to 30 seconds, or reheat the dish in a 300F oven until heated through. The mistake to avoid is blasting it too long, which dries out the custard and turns the crumble hard.