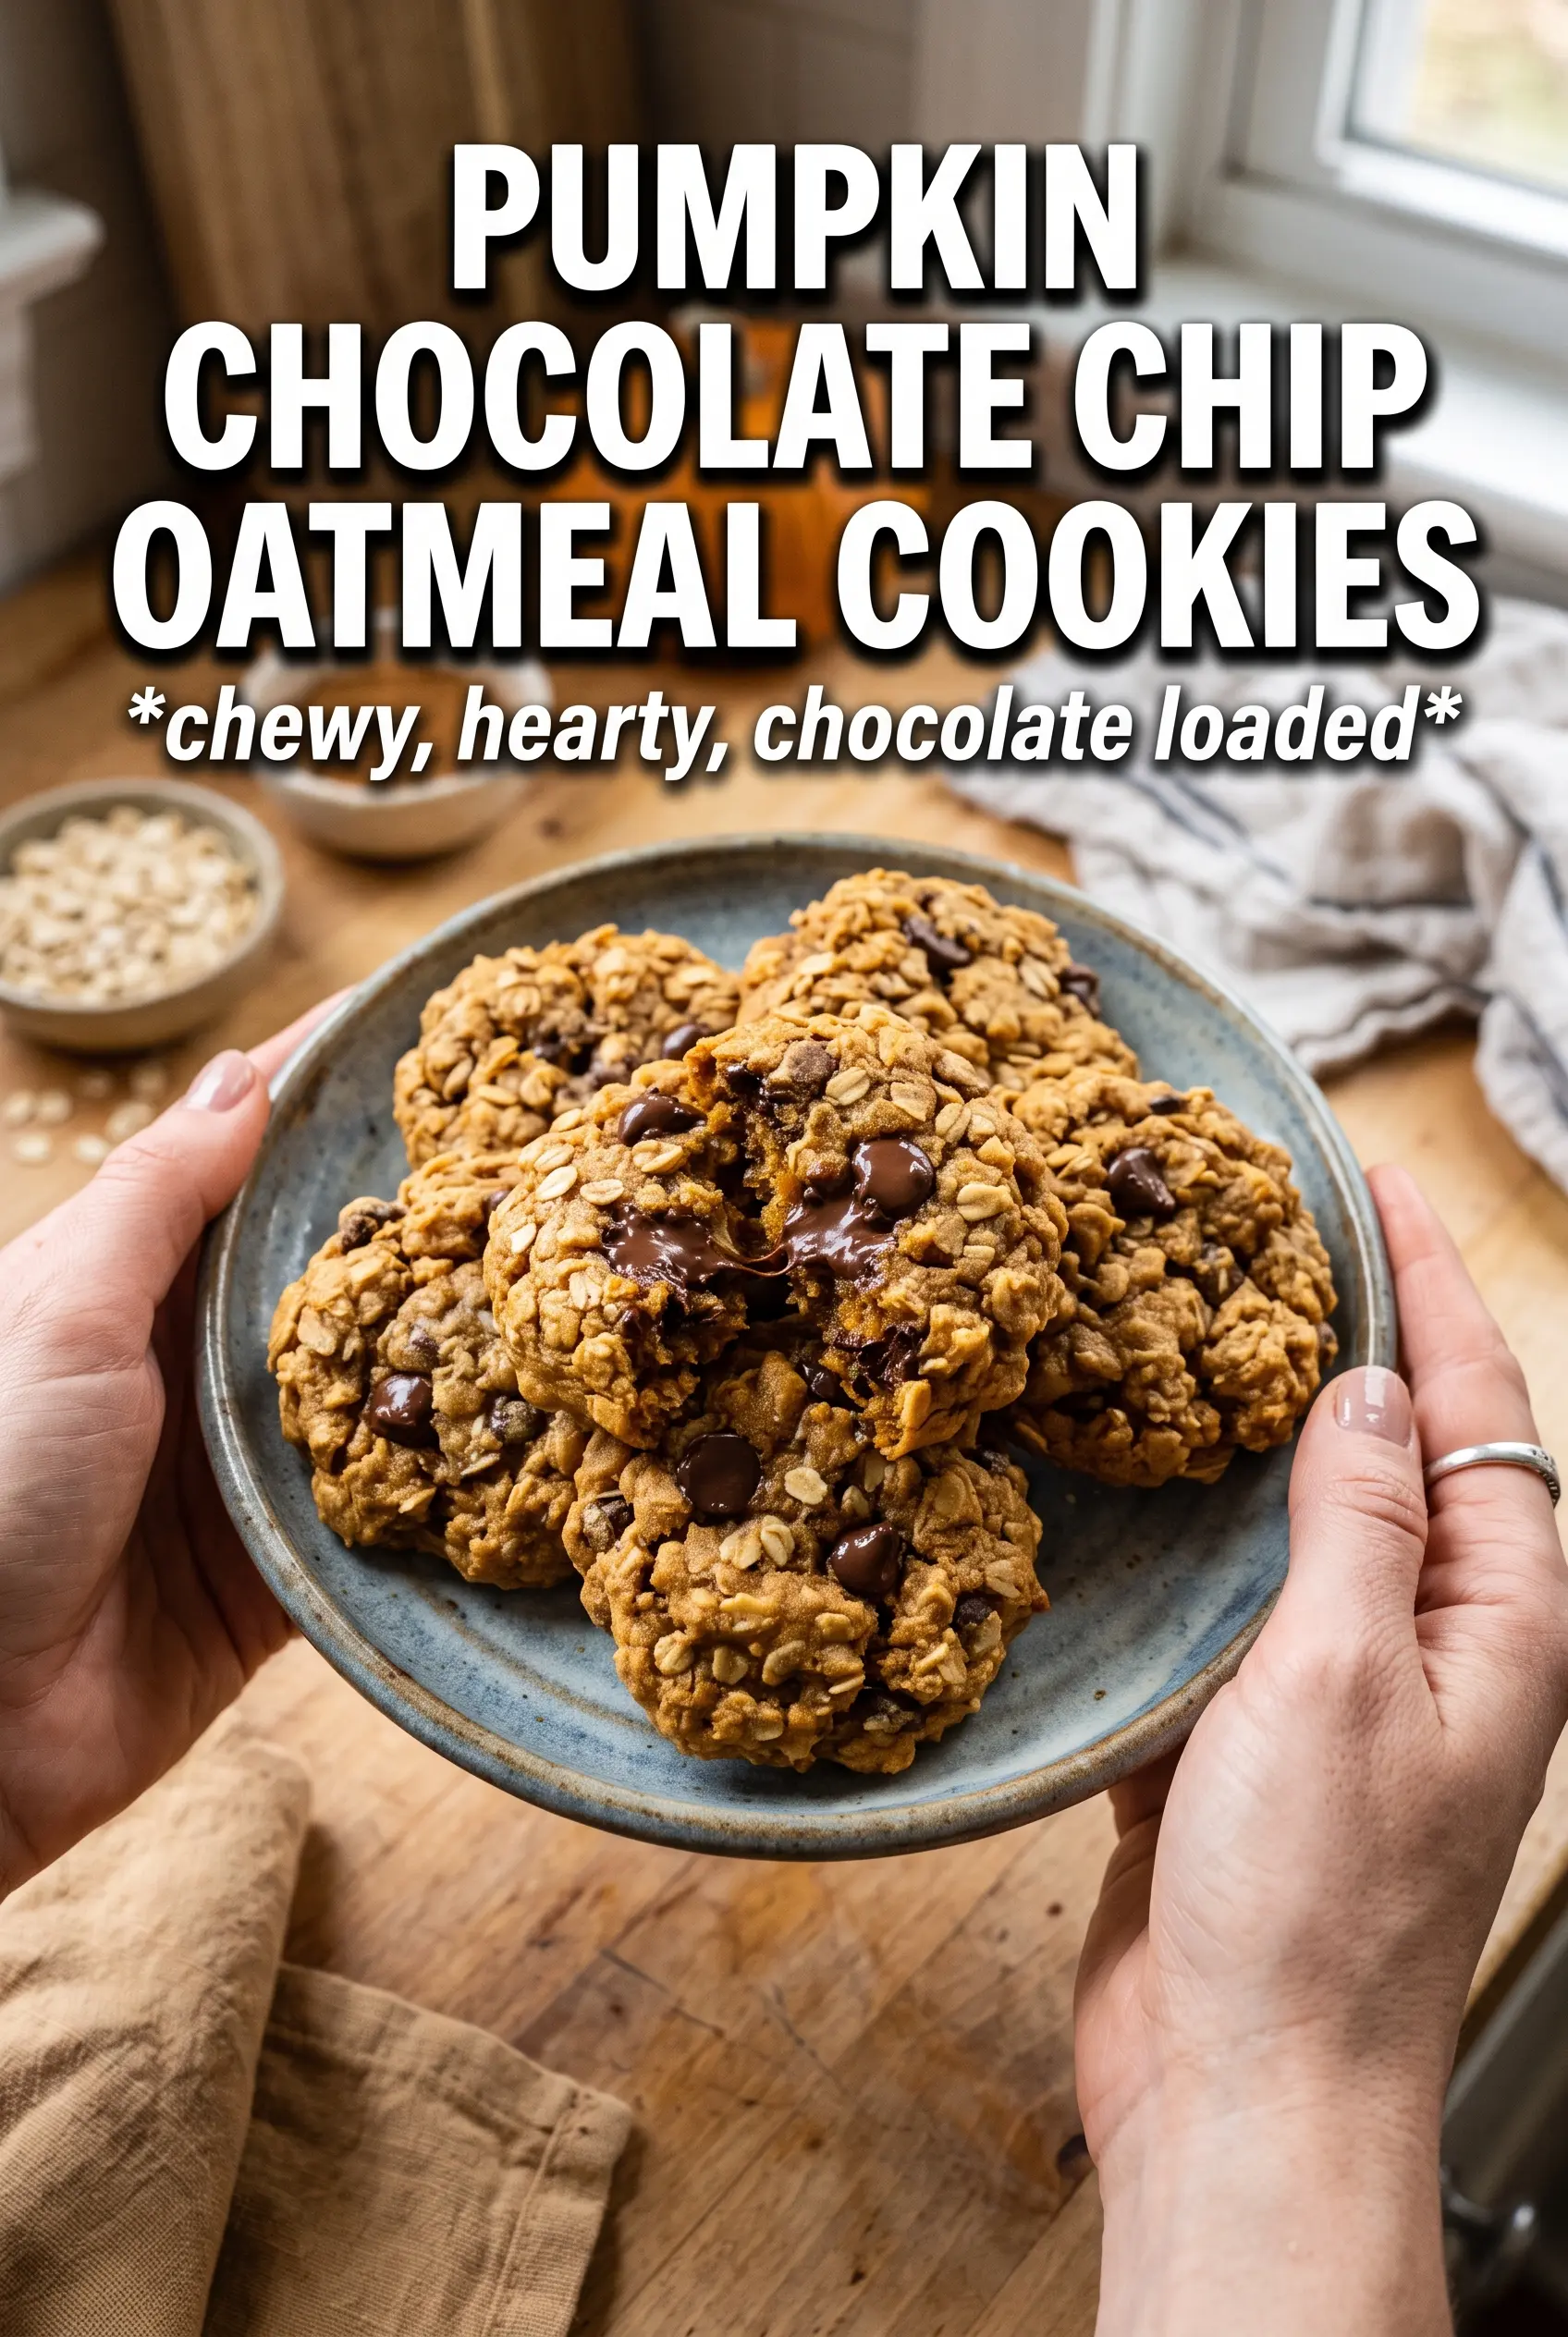
These pumpkin chocolate chip oatmeal cookies bake up thick, chewy, and packed with cozy spice, with melty pockets of chocolate and just enough pumpkin to keep the centers soft. The oats give them a hearty bite, while the edges set into that slightly crisp, bakery-style finish that makes it hard to stop at one.
The trick is keeping the pumpkin under control. Too much moisture and the cookies turn cakey instead of chewy, so blotting the pumpkin puree first matters more than it sounds. The other key is not overmixing once the oats go in; you want a dough that looks sturdy and a little rough, not whipped and fluffy.
Below, I’ve laid out the one step that keeps these cookies from spreading too much, plus the small ingredient choices that make the texture land where it should. If you’ve ever had pumpkin cookies that tasted good but baked up puffy and soft in the wrong way, this version fixes that.
I blotted the pumpkin like you said and the cookies came out thick instead of cakey. The oats gave them a great chew and the chocolate stayed soft in the middle. My husband grabbed two before they even cooled.
Love the thick, chewy texture and melty chocolate in these pumpkin chocolate chip oatmeal cookies? Save them to Pinterest for the next time you want a soft-baked cookie with real pumpkin spice flavor.
Why Blotted Pumpkin Keeps These Cookies Chewy Instead of Cakey
Pumpkin cookies have a habit of baking up soft and puffy, which sounds good until you bite into one and realize it eats like a muffin top. The problem is moisture. Pumpkin puree brings a lot of it, and that extra water changes the structure of the dough before the cookies ever hit the oven.
Blotting the pumpkin first pulls off enough excess moisture to keep the dough dense enough for a true cookie texture. It also helps the butter and sugars do their job, which is what gives you those crisp edges and a chewy center instead of a pale, airy crumb. The oats add structure too, but they can’t fix a wet base on their own.
If your cookies spread too little and stay dome-shaped, the dough was probably too dry. If they puff and never settle, the pumpkin was too wet or the flour was overmeasured. This recipe sits in the middle when the pumpkin is pressed dry and the dough is mixed just until combined.
What Each Ingredient Is Actually Doing in the Dough

- Pumpkin puree — Use plain pumpkin puree, not pumpkin pie filling. The puree gives the cookies their flavor and color, but it needs to be blotted dry so it doesn’t water down the dough.
- Brown sugar — This is what keeps the cookies soft and a little chewy. The molasses in brown sugar pairs with pumpkin spice better than white sugar alone, and it helps the centers stay tender.
- Old-fashioned rolled oats — These give the cookies their hearty texture and keep them from feeling cakey. Quick oats will work in a pinch, but the cookies will bake up softer and less defined.
- Semi-sweet chocolate chips — Semi-sweet gives enough contrast to balance the spice without turning the cookies overly sweet. If you use milk chocolate, the cookies will taste sweeter and a little softer overall.
- Pumpkin pie spice and cinnamon — The spice mix gives the cookies that familiar warm pumpkin flavor, while the extra cinnamon sharpens it. If you only have pumpkin pie spice, you can use all 3 teaspoons total and skip the cinnamon, but the flavor will be a little less layered.
How to Mix the Dough So the Cookies Bake Up Thick
Dry Ingredients First
Whisk the flour, baking soda, pumpkin pie spice, cinnamon, and salt together before you touch the butter. This keeps the leavener and spices evenly distributed, which matters because pumpkin dough is easy to overmix once the wet ingredients go in. If you skip this, you can end up with pockets of spice or cookies that rise unevenly.
Building the Base
Beat the softened butter with the brown sugar and granulated sugar until the mixture looks light and a little fluffy, but don’t keep going until it turns airy and whipped. You want it creamy enough to hold shape. Add the blotted pumpkin, eggs, and vanilla next, and expect the mixture to look slightly curdled before it comes together. That’s normal. Once the flour is added, mix just until no dry streaks remain.
Adding the Oats and Chocolate Chips
Fold in the oats and chocolate chips by hand or on the lowest mixer speed. This is where the dough turns from soft batter into a thick scoopable cookie dough. If you beat the oats aggressively, they break down and the cookies lose that hearty texture. The finished dough should be thick enough to mound on a spoon without running.
Baking to the Right Finish
Scoop the dough into 2-tablespoon portions and bake until the edges look set and lightly golden while the centers still look a touch underdone. That carryover heat is what finishes them on the pan. If you wait until the centers look fully baked in the oven, the cookies can dry out once they cool. Let them sit on the baking sheet for 5 minutes, then move them to a rack.
Ways to Adjust These Cookies Without Losing the Good Texture
Gluten-Free with a 1:1 Baking Flour
Swap the all-purpose flour for a good 1:1 gluten-free baking blend that includes xanthan gum. The oats already help with structure, so this works well, but don’t use a single flour like almond flour or coconut flour or the cookies will spread and dry out in a strange way.
Dairy-Free Version
Use a solid plant-based butter substitute in place of the unsalted butter and keep everything else the same. The cookies will still bake up soft and chewy, though the flavor will be a little less rich and buttery. Choose a stick-style product, not a tub spread, or the dough can get too soft.
Swap the Chocolate Chips for Chunks
Chocolate chunks give you bigger melted pockets and a slightly more rustic look. Chips distribute more evenly, so the cookies taste chocolatey in every bite. Either one works, but chunks make the cookies feel a little more bakery-style.
Storage and Reheating
- Refrigerator: Store in an airtight container for up to 5 days. The oats will soften a little more as they sit, which makes the cookies even chewier.
- Freezer: These freeze well baked or as portioned dough balls. Freeze the dough on a tray, then move it to a bag and bake straight from frozen, adding 1 to 2 minutes.
- Reheating: Warm baked cookies for 8 to 10 seconds in the microwave or a few minutes in a low oven. Too much heat makes the chocolate greasy and dries out the edges.