Peas with pancetta is the kind of side dish that disappears before the main course even lands on the table. The peas stay bright and sweet, the pancetta brings salty crunch, and the little hit of lemon at the end keeps the whole pan from tasting heavy. It’s quick, but it still eats like something you planned.
What makes this version work is the order. The pancetta renders first, so you get enough fat to soften the shallot and bloom the garlic without burning anything. Then the frozen peas go straight into the pan with a splash of broth, which keeps them tender instead of wrinkled and dull. A small knob of butter at the end rounds out the salty edges, and mint gives it that fresh, clean finish that makes peas taste like themselves.
You’ll find a few practical notes below on how to keep the peas vivid, what to use if you don’t have pancetta, and how to pull this together fast without losing that crisp-tender texture.
The pancetta got perfectly crisp and the peas stayed bright instead of turning mushy. I served it with roast chicken and the whole pan was gone in minutes.
Save this peas with pancetta recipe for a fast side dish with crispy pancetta, sweet peas, and minty lemon finish.
The Part That Keeps the Peas Green Instead of Grey
Frozen peas fail when they sit in the pan too long. They don’t need to be cooked from scratch; they need to be heated through fast enough to keep their color and snap. That’s why the broth goes in with the peas, and why the heat stays at medium instead of being cranked up. High heat can make the pancetta aggressive and leave the peas tired before they’re even hot.
The other thing worth watching is the garlic. It only needs about 30 seconds after the shallot softens. If it browns, the whole dish turns bitter, and there’s nowhere for that flavor to hide because this recipe is so spare. The goal is a glossy skillet with sweet peas, crisp pork, and just enough sauce to coat everything lightly.
What Each Ingredient Is Actually Doing in This Skillet
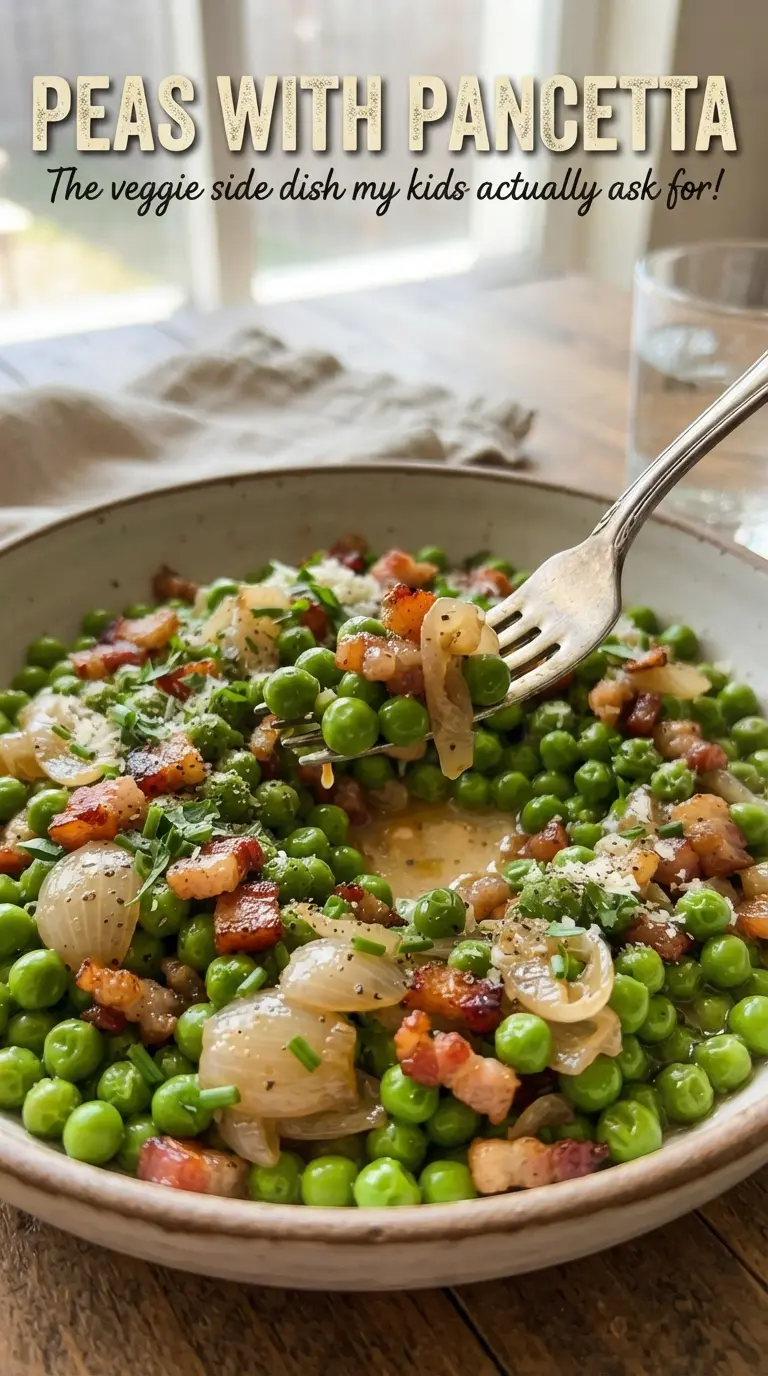
- Pancetta — This is the backbone of the dish. It renders into salty fat that seasons the peas as they cook, and the crispy bits on top give you the contrast that keeps the side dish from feeling soft all the way through. Bacon works in a pinch, but it brings a smokier flavor that changes the whole profile.
- Frozen sweet peas — Frozen peas are the right choice here because they’re picked and frozen at peak sweetness. Fresh peas can be lovely, but they’re a lot more work for a side dish this fast. Keep them frozen until the moment they hit the pan so they stay bright and don’t overcook from thawing on the counter.
- Shallot — Shallot adds gentle sweetness without the sharp bite of onion. Mince it finely so it melts into the fat instead of staying chunky. If you only have onion, use a small amount and cook it a little longer so it softens fully before the garlic goes in.
- Chicken broth — A small splash loosens the pan and helps steam the peas just enough to heat them evenly. Water will work, but the broth gives the peas a fuller, rounder taste, especially since this recipe doesn’t use a lot of sauce.
- Butter and lemon zest — Butter smooths out the salty pancetta, and lemon zest wakes the whole dish up at the end. Don’t skip the zest if you can help it; it’s what keeps the peas tasting fresh instead of rich and one-note. Use a microplane or fine grater so the zest melts into the pan.
- Mint or parsley — Mint gives the most classic lift here, especially with peas. Parsley is the easier substitute if that’s what you have, and it still brings freshness without competing with the pancetta.
How to Build the Skillet So the Pancetta Stays Crisp
Rendering the Pancetta
Start the pancetta in olive oil over medium heat and give it time to release its fat and turn deeply golden. If the heat is too high, the outside will brown before the inside crisps, and the rendered fat won’t be enough to carry the rest of the dish. Pull out about half once it’s crisp; leaving all of it in the pan makes the topping lose its crunch by the time the peas are done.
Softening the Shallot and Garlic
Stir the shallot into the hot fat and cook until it turns translucent and relaxed, not browned. Garlic goes in for just 30 seconds, long enough to smell fragrant. If the pan looks dry at this point, that means the heat was too high or the pancetta was very lean; add a tiny drizzle of olive oil rather than letting the garlic scorch on the pan.
Heating the Peas Without Overcooking Them
Add the peas and broth, then cook just until the peas are bright green and hot through. Stir gently so you don’t crush them against the pan. The moment they lose their frosty chill and look vivid, move on; overcooked peas turn dull and mealy fast, and there’s no fixing that texture later.
The Butter and Herb Finish
Turn off the heat before stirring in the butter and lemon zest so the butter melts into a light gloss instead of separating. Season at the end with salt and pepper, since pancetta already brings a lot of salt to the pan. Finish with the reserved pancetta and mint right before serving so the top stays crisp and the herbs stay fresh.
How to Adapt This When You’re Out of Pancetta or Want a Different Finish
Use bacon instead of pancetta
Bacon gives you the same salty-crisp texture, but it adds smoke, which makes the dish taste less Italian and a little more diner-style. Use the same amount, but keep an eye on the salt at the end because bacon can be smokier and saltier than pancetta depending on the brand.
Make it vegetarian
Skip the pancetta and start with olive oil and a tablespoon of butter for richness, then add a pinch of fennel seed or a few chopped capers if you want more savory depth. You won’t get the same crisp pork topping, but you’ll still have a fresh, buttery pea side dish with plenty of character.
Keep it dairy-free
Leave out the butter and finish with a little extra olive oil instead. The dish will taste a bit less round and luxurious, but the pancetta fat still gives you enough body that it won’t feel dry. Add the lemon zest at the very end so the flavor still pops.
Use parsley instead of mint
Parsley gives the dish a cleaner, more neutral finish, which works well if you’re serving it with roast chicken or fish. Mint is brighter and sweeter; parsley is the safer all-purpose choice if you want the pancetta and peas to stay front and center.
Storage and Reheating
- Refrigerator: Store leftovers in an airtight container for up to 3 days. The peas will soften a little, but they should still hold their shape.
- Freezer: I don’t recommend freezing this. The peas lose their snap and the pancetta turns soft once thawed.
- Reheating: Warm it in a skillet over low heat with a splash of broth or water. Microwave reheating works in a pinch, but it tends to toughen the pancetta and can turn the peas a little dull.
Answers to the Questions Worth Asking
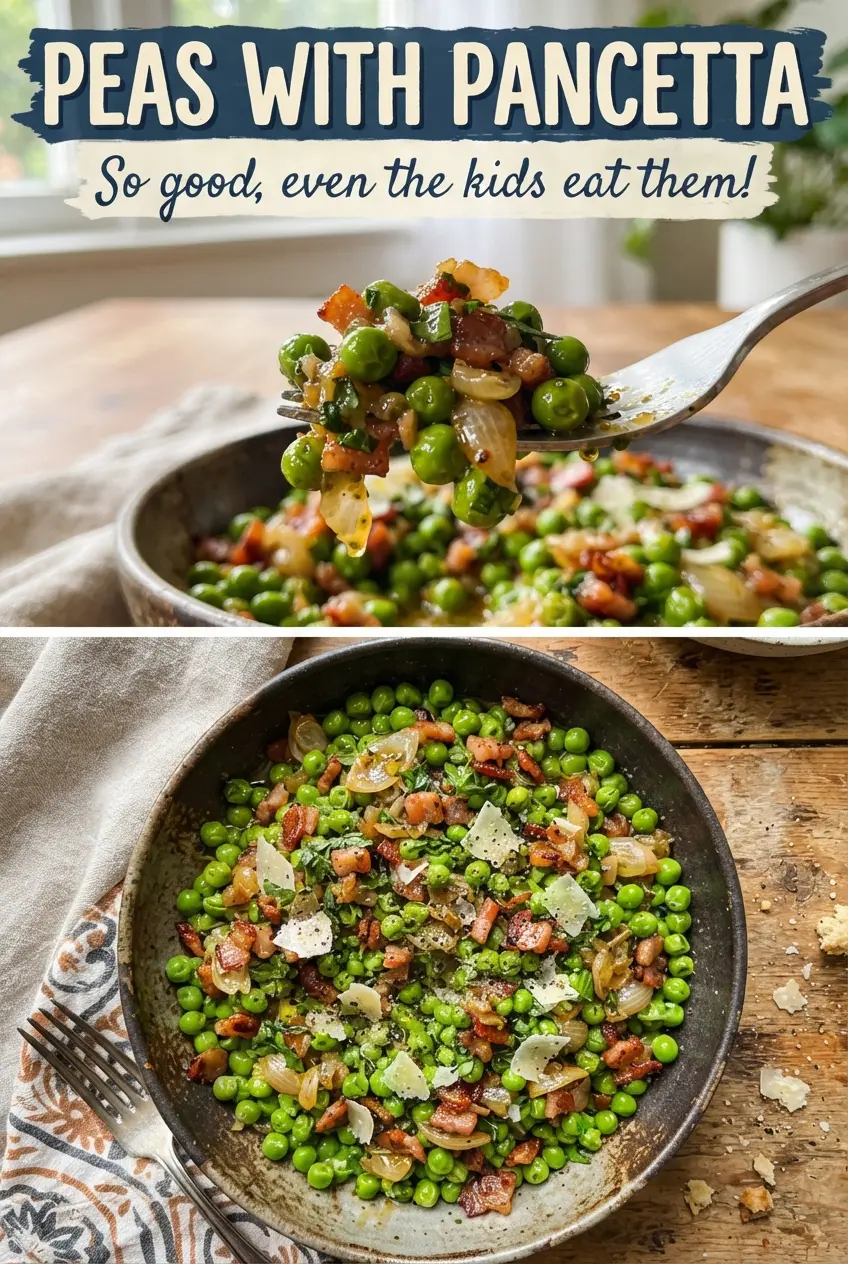
Peas with Pancetta
Ingredients
Equipment
Method
- Cook pancetta in olive oil over medium heat for 6-8 minutes, stirring occasionally, until crisp; transfer about half to a small bowl for topping (reserve the rest in the skillet).
- Add shallot to the skillet and cook for 2 minutes until softened, stirring to coat in pancetta fat; stir in garlic for 30 seconds until fragrant.
- Add frozen sweet peas and chicken broth, then cook for 4-5 minutes until the peas are bright green and hot, stirring once or twice to distribute the heat.
- Stir in butter and lemon zest, then season with salt and pepper to taste until glossy and evenly coated.
- Top with the reserved pancetta and chopped fresh mint or parsley, then serve immediately.