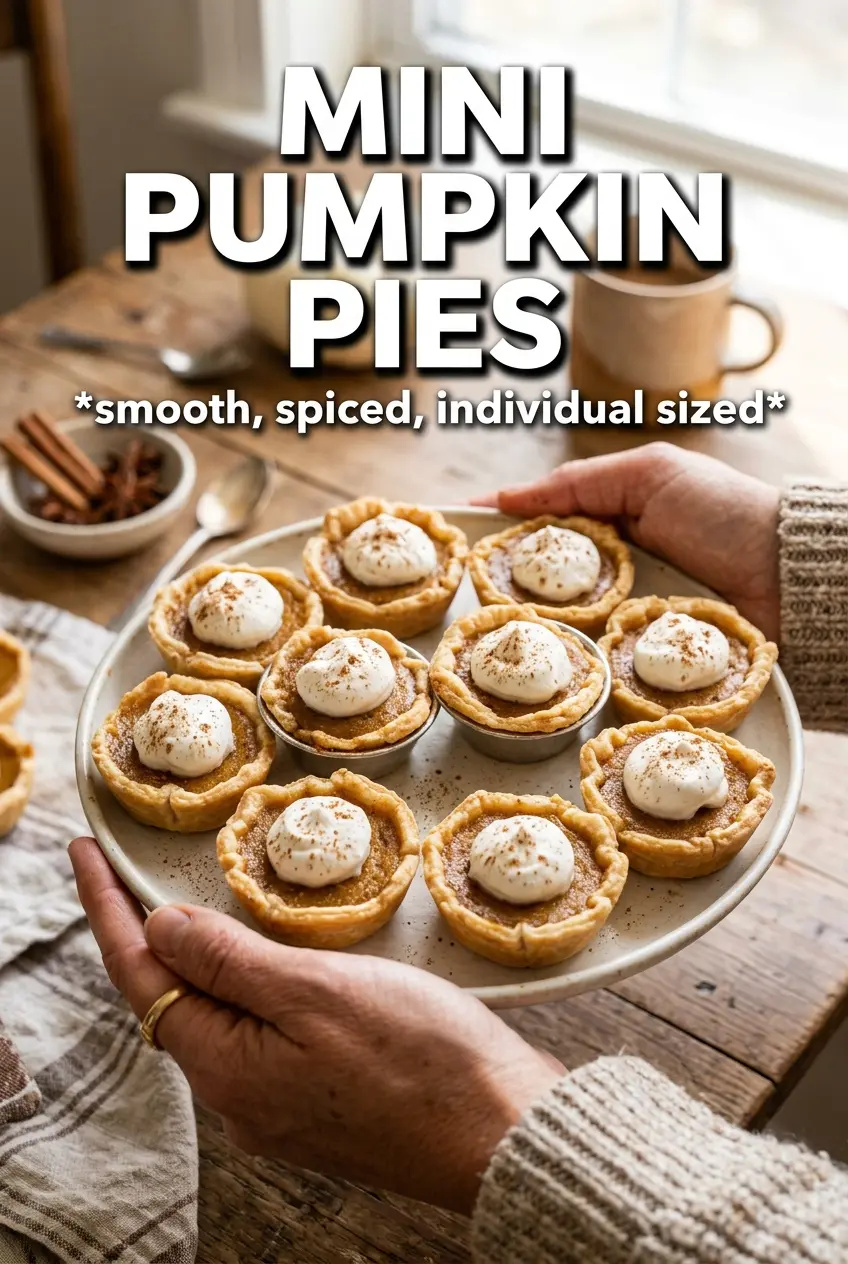
Mini pumpkin pies hit the table with the best kind of contrast: flaky, buttery crust on the outside and smooth, gently spiced custard in the center. The small size makes them easy to serve, but it’s the texture that keeps people reaching for a second one. They bake up neat, hold their shape, and don’t need a knife, which is exactly what you want from a dessert that disappears fast.
This version leans on refrigerated pie crust for a crisp shell without extra work, and the filling is mixed just until smooth so it stays silky after baking. Evaporated milk gives a slightly richer finish, but heavy cream works too if that’s what you have. The key is stopping the bake when the centers still have the slightest wobble; overbaking is what turns a delicate custard into something dry and puffy.
Below, I’ll walk through the little details that matter most, from getting the crusts into the muffin tin without tearing to knowing exactly when the filling is set. There’s also a storage note, because these are even better after they’ve had time to chill.
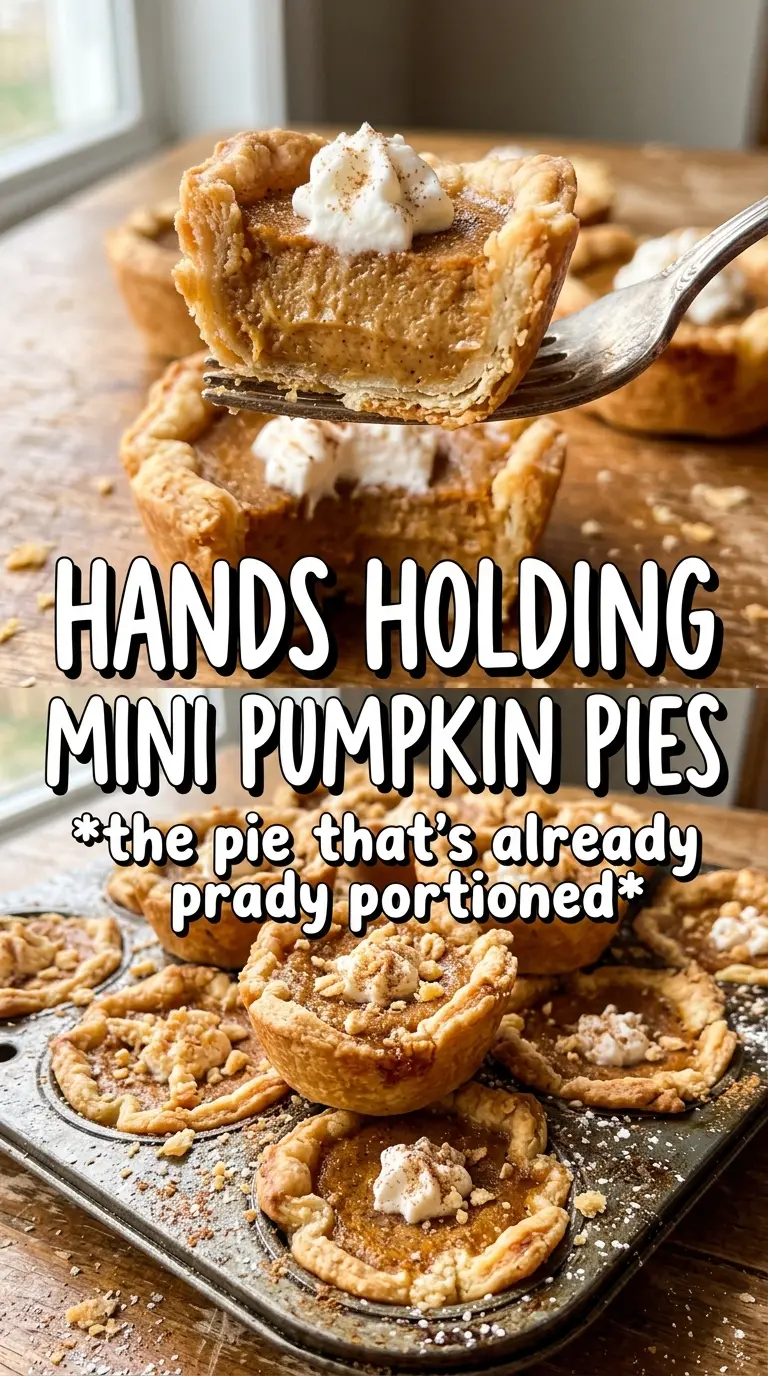
The crusts baked up golden and the filling set perfectly after chilling. I used heavy cream and they came out silky, not grainy, with just the right pumpkin spice balance.
Save these mini pumpkin pies for the crisp crust and smooth custard filling that bake neatly in a muffin tin.
The Small-Batch Trick That Keeps the Custard From Overbaking
Mini pies bake faster than a full pie, which sounds convenient until the filling goes from just-set to overdone in a matter of minutes. The goal is a center that still has the tiniest wobble when the tin comes out of the oven. It will finish setting as it cools, and that carryover heat is what gives you a smooth sliceable custard instead of a dry, cracked top.
The other place these can go sideways is the crust. If the dough gets too warm before baking, the edges slump in the muffin cups and the bottoms bake up pale. Press the circles in firmly, then chill the pan briefly if your kitchen is warm. That short rest helps the pastry keep its shape long enough to turn crisp.
What Each Ingredient Is Actually Doing in This Recipe
- Primary ingredient (the star) — Quality matters most. Choose the best you can find.
- Cooking medium (oil, butter, or broth) — This carries flavors and prevents dryness.
- Seasonings (salt, pepper, spices, herbs) — Layer flavors so nothing overpowers. Build depth gradually.
- Aromatics (garlic, onion, herbs) — Cook with fat to bloom flavors. Become the foundation.
- Supporting ingredients — Complement the main ingredient without overpowering it.
- Sauce or liquid (if applicable) — Brings flavors together. Balance richness with acid.
- Acid (lemon, vinegar, wine, or other) — Brightens and prevents flat-tasting results.
- Final finish (garnish, glaze, or sauce) — Prevents one-dimensional taste and adds visual appeal.
What Each Ingredient Is Actually Doing in These Mini Pumpkin Pies
- Refrigerated pie crust — This is what gives you the flaky shell without extra work. Homemade crust works too, but the store-bought version is sturdy and reliable here, especially when you’re cutting small circles and fitting them into a muffin tin.
- Pumpkin puree — Use plain pumpkin puree, not pumpkin pie filling. The filling already has sugar and spices mixed in, which throws off the balance and can make the pies overly sweet and loose.
- Evaporated milk or heavy cream — Evaporated milk gives a classic pumpkin pie texture, while heavy cream makes the custard a touch richer. Either one works; just don’t swap in regular milk, which thins the filling too much.
- Brown sugar — This adds depth and a soft molasses note that plays nicely with pumpkin spice. Light or dark brown sugar both work, though dark brown sugar gives a little more warmth.
- Eggs — Eggs set the filling. Whisk them in until the mixture is smooth, but don’t beat air into it or the pies can puff and crack as they bake.
- Pumpkin pie spice, cinnamon, and ginger — The spice blend does the heavy lifting, while the extra cinnamon and ginger sharpen the flavor. If all you have is pumpkin pie spice, use that and skip the extras.
- Vanilla — Vanilla rounds out the filling and keeps the spice from tasting one-note. It won’t stand out on its own, but you’ll miss it if it’s gone.
Getting the Crust and Custard to Bake at the Same Pace
Cutting and Fitting the Pastry
Roll or unfold the pie crust and cut clean 3.5-inch circles, then press each one into a greased mini muffin cup. The dough should sit snugly against the bottom and sides without stretching, because stretched dough shrinks back in the oven. If a circle tears, patch it with a small scrap and press the seam flat with your fingertip.
Mixing the Filling Without Whipping Air Into It
Whisk the pumpkin, eggs, milk or cream, sugar, spices, salt, and vanilla until the mixture looks smooth and even in color. Stop as soon as the streaks disappear. Too much whisking adds air, and air is what makes custard rise, crack, and bake with tiny holes instead of a clean, creamy set.
Baking Until the Centers Are Just Set
Fill each crust about three-quarters full, then bake at 375°F for 18 to 22 minutes. The tops should look set around the edges, and the centers should still have a slight jiggle when you nudge the pan. If the crust is browning before the filling is done, keep baking; mini pies need the custard set more than they need extra crust color.
Cooling Before You Top Them
Let the pies cool completely in the pan, then refrigerate them for about an hour. This is when the custard finishes firming up, and it’s the difference between a soft warm filling and one that slices cleanly off the paper-thin edge of the crust. Add whipped cream only after they’re chilled, or it melts and slides off the top.
How to Adapt These Mini Pumpkin Pies for Different Kitchens
Dairy-Free Version
Use the refrigerated pie crust if it’s dairy-free, then swap the evaporated milk or cream for full-fat canned coconut milk. The filling will be a little richer and you may notice a faint coconut note, but the texture stays smooth and stable.
Gluten-Free Crust Swap
Use a gluten-free pie crust that rolls and cuts cleanly, then chill the circles before pressing them into the tin. Gluten-free dough can be a little more fragile, so colder dough helps it keep its shape and bake up crisp instead of crumbly.
Make-Ahead for a Crowd
Bake the pies a day in advance and chill them uncovered until fully cold, then cover lightly. The flavor deepens overnight and the filling firms up beautifully, which makes them easier to plate without smearing the tops.
Storage and Reheating
- Refrigerator: Store covered for up to 4 days. The crust stays best in the first two days, but the filling holds well.
- Freezer: These freeze well without the whipped cream. Freeze on a tray until solid, then transfer to an airtight container for up to 2 months.
- Reheating: Thaw in the refrigerator overnight and serve chilled or at cool room temperature. If you want them warm, use a low oven for a few minutes; the common mistake is microwaving, which softens the crust and makes the custard weep.