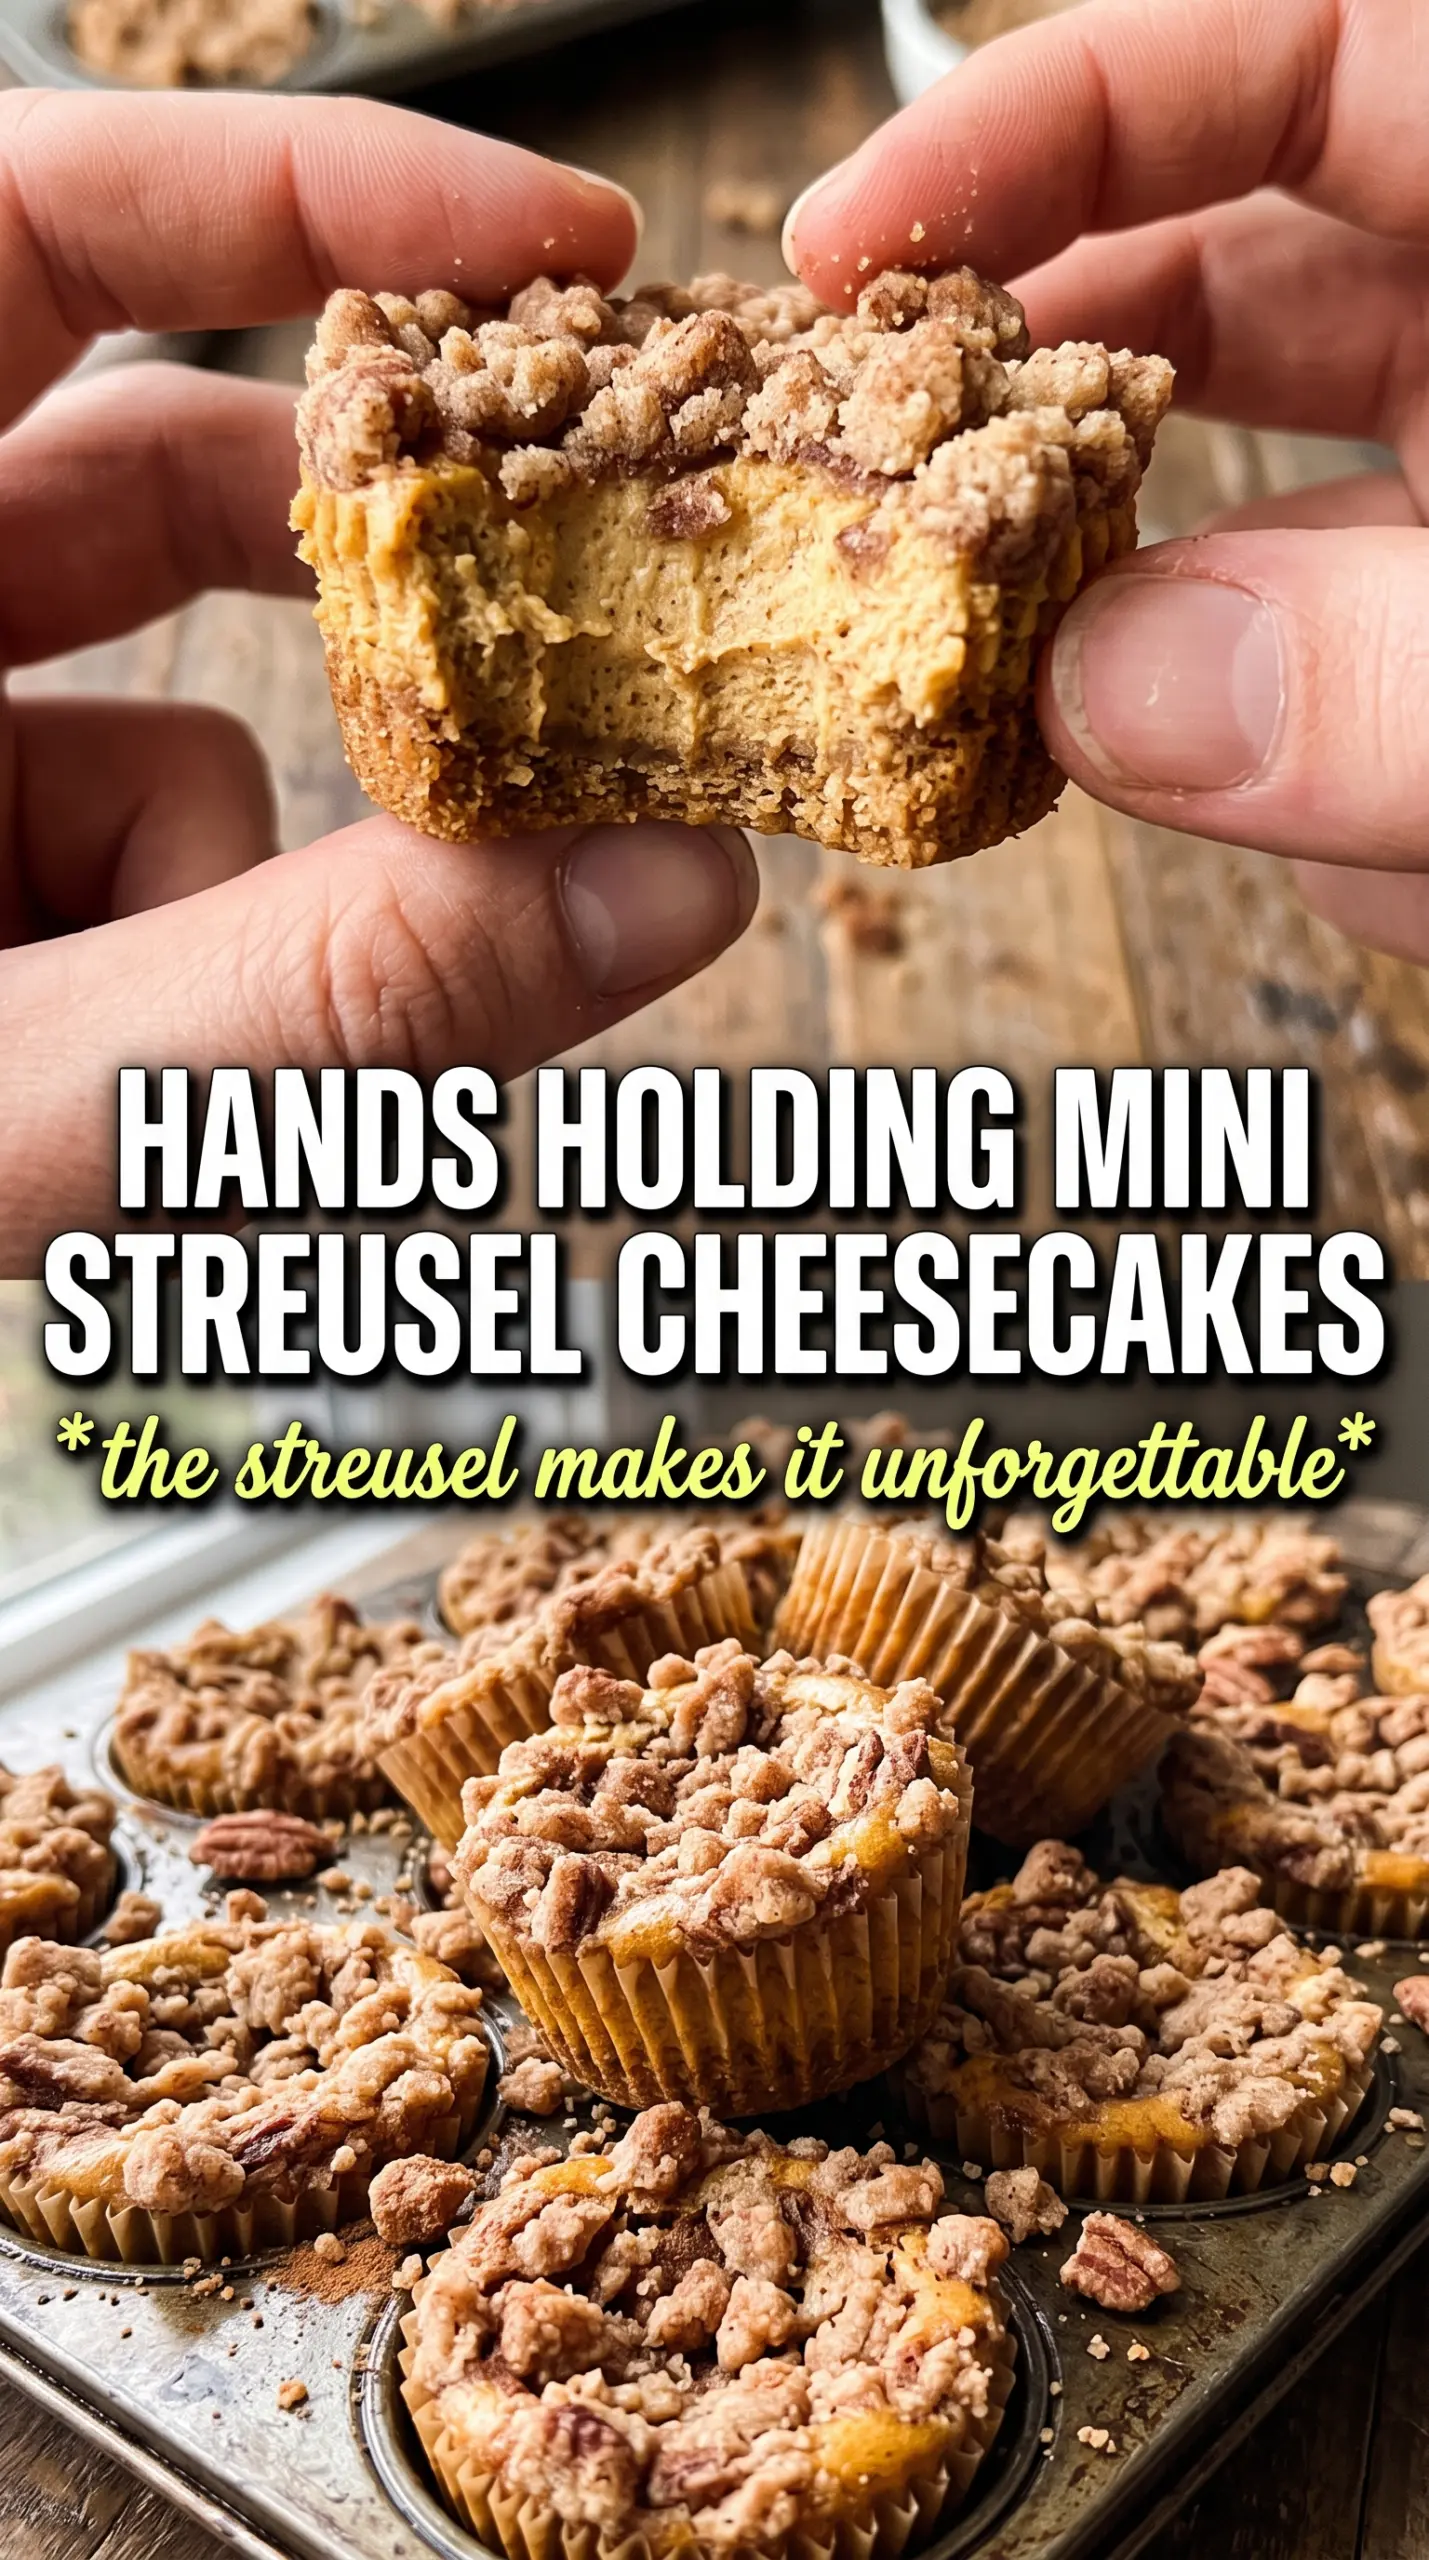
Mini pumpkin cheesecakes with streusel topping hit that sweet spot between creamy and crumbly that makes people go back for a second one before they’ve finished the first. The gingersnap crust brings a little snap and spice, the pumpkin filling stays smooth and tangy, and the oat streusel bakes into a golden lid that keeps each bite from feeling too rich. A drizzle of caramel at the end ties everything together without hiding the pumpkin.
The trick here is keeping the filling light enough to bake cleanly in muffin cups while still tasting like a proper cheesecake. Cream cheese, sour cream, and pumpkin each do a different job: the cream cheese gives body, the sour cream keeps the texture from turning dense, and the pumpkin adds moisture and flavor without making the filling loose. The streusel goes on before baking, which means it settles into the top just enough to stay crisp around the edges instead of sliding off after the cheesecake cools.
Below you’ll find the little details that matter most, including how to get the crust firmly packed, why the filling should look just barely set when it comes out of the oven, and how to keep the streusel from sinking into the batter.
The gingersnap crust stayed crisp and the filling set up perfectly after chilling. I loved that the streusel kept its texture instead of melting into the cheesecake, and the caramel drizzle made them taste bakery-level.
Mini pumpkin cheesecakes with streusel topping are perfect for fall dessert trays, and the gingersnap crust makes them easy to spot on the table.
The Part That Keeps the Centers Creamy, Not Cracked
Mini cheesecakes fail for one of two reasons: the filling gets beaten too much, or the oven runs too hot for such a small dessert. Overmixing traps air, and that air expands in the oven and collapses as the cheesecakes cool. A smooth batter is the goal, but smooth does not mean whipped. Beat until the cream cheese is free of lumps, then stop as soon as the eggs disappear.
The other key point is doneness. These should look set around the edges with a slight wobble in the center when you pull them from the oven. They finish firming up in the fridge, and that chill time is what gives you the clean slice and dense-creamy texture people want from cheesecake.
What Each Layer Is Actually Doing Here
- Gingersnap crumbs — These bring more than crunch. The spice in the cookies backs up the pumpkin better than a plain graham crust would, and the deeper flavor keeps the base from tasting bland under the filling. If you only have graham crackers, add a pinch more cinnamon and a little extra ginger.
- Cream cheese — Use full-fat brick cream cheese here. Tub-style cream cheese is softer and can leave you with a filling that bakes up loose instead of sliceable. Let it soften fully before mixing so you don’t have to beat the batter aggressively.
- Pumpkin puree — Use plain pumpkin puree, not pumpkin pie filling. Pie filling already has sugar and spices mixed in, which throws off the balance and can make the cheesecakes taste muddled. Pumpkin adds flavor and color without turning the batter thin.
- Sour cream — This is what keeps the texture from becoming heavy. It adds a little tang and loosens the batter just enough so the cheesecakes bake up creamy instead of dense.
- Oats in the streusel — They give the topping that nubby, crumbly texture that stays interesting after baking. Quick oats work if that’s what you have, but old-fashioned oats give a better crumble and a little more chew.
Building the Cups So the Tops Stay Crisp
Pressing the Crust
Mix the gingersnap crumbs, melted butter, and sugar until every crumb looks evenly coated, then press the mixture firmly into the bottom of each lined muffin cup. A flat-bottomed measuring spoon works well here because it compacts the crust without making a mess. Bake the crusts for 5 minutes so they set before the filling goes in. If you skip that quick bake, the butter can seep into the cheesecake and soften the base.
Mixing the Filling Without Whipping Air Into It
Beat the cream cheese and sugar until completely smooth before adding the eggs, pumpkin, sour cream, spices, and vanilla. Once the eggs go in, mix just until the batter looks uniform and glossy. If you see fluffy streaks or a lot of bubbles, you’ve gone too far and the cheesecakes are more likely to puff and crack. Scrape the bowl well so the pumpkin and spices don’t hide at the bottom.
Adding the Streusel and Baking to the Right Point
Scatter the streusel over the top of each cup before baking so it sets into the surface as the cheesecake cooks. The topping should look sandy and clumpy, not paste-like; if the butter melts too much, the crumble turns into a sheet instead of a streusel. Bake until the centers still have a small jiggle, then let the cheesecakes cool before moving them to the fridge. Pulling them out at the exact moment they look barely set is what keeps them creamy after chilling.
How to Adapt These Without Losing What Makes Them Good
Gluten-Free Crust Swap
Use certified gluten-free gingersnap cookies for the crust, and swap the flour in the streusel for a cup-for-cup gluten-free blend. The texture stays close to the original, though the streusel may be a little more delicate. Press the crust firmly so it doesn’t crumble when you peel off the liners.
Dairy-Free Version
Use a dairy-free cream cheese that bakes well and replace the butter in both the crust and streusel with plant-based butter. The filling will still taste like pumpkin cheesecake, but it usually sets a little softer, so give it the full chill time before serving. Skip the caramel drizzle unless you have a dairy-free version on hand.
Make Them Ahead for a Crowd
These are a good make-ahead dessert because the flavor improves after chilling. Bake them the day before, chill overnight, and add the caramel just before serving so the topping stays neat. If you’re transporting them, leave them in the muffin tin until they’re fully cold and firm.
Storage and Reheating
- Refrigerator: Store covered for up to 4 days. The streusel softens a bit, but the filling stays creamy.
- Freezer: These freeze well without the caramel. Wrap each cheesecake tightly and freeze for up to 2 months, then thaw overnight in the refrigerator.
- Reheating: Don’t reheat these. Cheesecake is best served cold or cool, and heat will change the texture. If they need to soften slightly, let them sit at room temperature for 10 to 15 minutes before serving.
Answers to the Questions Worth Asking

Mini Pumpkin Cheesecakes With Streusel Topping
Ingredients
Equipment
Method
- Preheat the oven to 325°F, then line a 12-cup muffin tin with liners and set aside.
- Press gingersnap crumbs mixture firmly into each liner and bake for 5 minutes.
- Beat the cheesecake filling until smooth, then divide it among the muffin cups.
- Make the streusel and scatter it over each cheesecake.
- Bake for 20-22 minutes, until the centers are just set with a slight wobble.
- Refrigerate for 3 hours to fully set the cheesecakes.
- Drizzle caramel sauce over each cheesecake before serving.