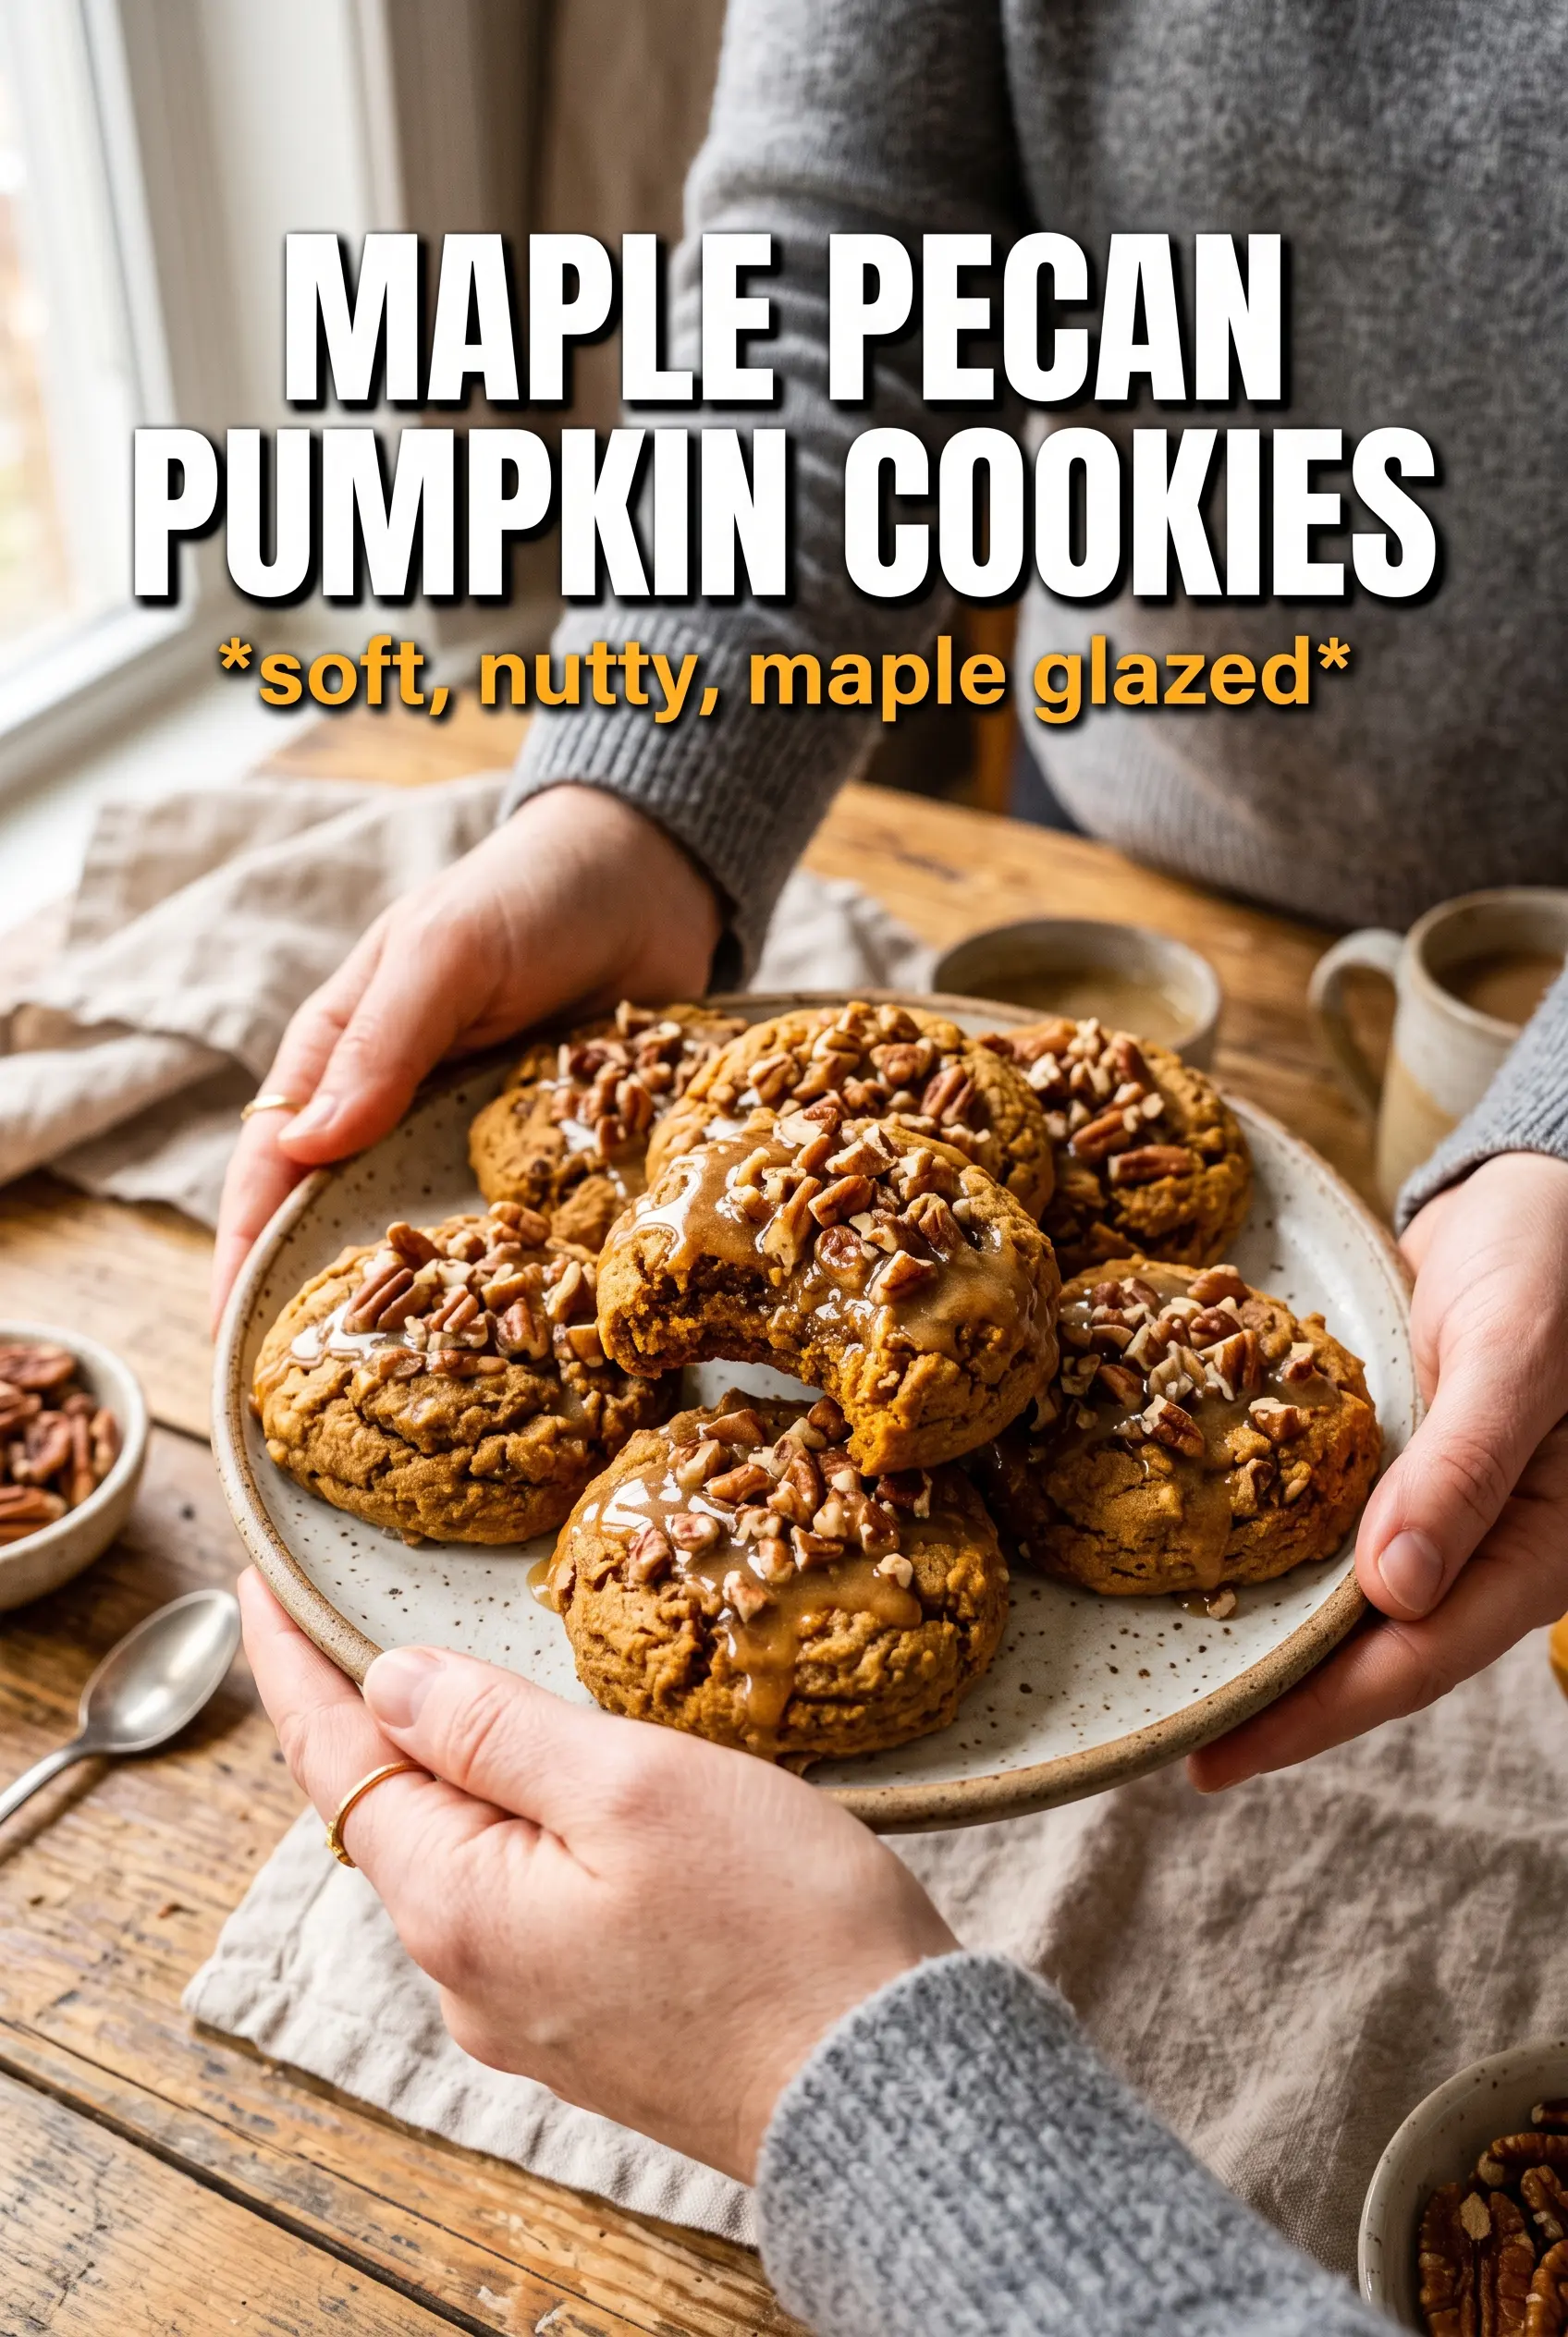
Soft pumpkin cookies can go flat and cakey fast, but these bake up with plush centers, lightly crisp edges, and little pockets of toasted pecan in every bite. The maple glaze finishes them with a sticky sweetness that settles into the warm spices instead of sitting on top like an afterthought. A pinch of flaky sea salt at the end keeps the whole cookie from tipping into candy-sweet.
The part that makes these work is control. Pumpkin puree brings moisture, so blotting it dry keeps the dough from spreading too much and turning dense. Brown sugar and maple syrup add depth, but the egg yolk keeps the texture tender without making the cookies puffy and bready. Toasting the pecans matters here too; raw nuts get lost, but toasted ones stay fragrant and give each bite a little crunch.
Below, I’m walking through the texture cues that matter most, the best swaps if you’re out of maple extract, and how to keep the glaze glossy instead of grainy.
The pumpkin stayed soft and the maple glaze set up just enough that the cookies didn’t get sticky. I toasted the pecans like you said and it made a huge difference.
Save these maple pecan pumpkin cookies for when you want soft centers, toasted pecans, and a maple glaze that sets beautifully.
The Tiny Moisture Problem That Changes Everything
Pumpkin cookie dough fails for one of two reasons: too much moisture, or too much flour added to compensate. Either one gives you cookies that bake up cakey, domed, and dry at the edges before the center has a chance to stay tender. Blotting the pumpkin puree changes the whole texture. It concentrates the flavor and keeps the dough from becoming a soft batter.
The other detail that matters is the ratio of fat to spice. These cookies have enough butter and brown sugar to stay plush, but not so much pumpkin that they spread into thin rounds. The maple syrup in the dough adds flavor and helps with browning, but it also means the cookies need a short bake and a full cool before glazing. Pull them too soon and the centers collapse; leave them in the oven until the edges are set and the tops look just matte.
What Each Ingredient Is Actually Doing Here
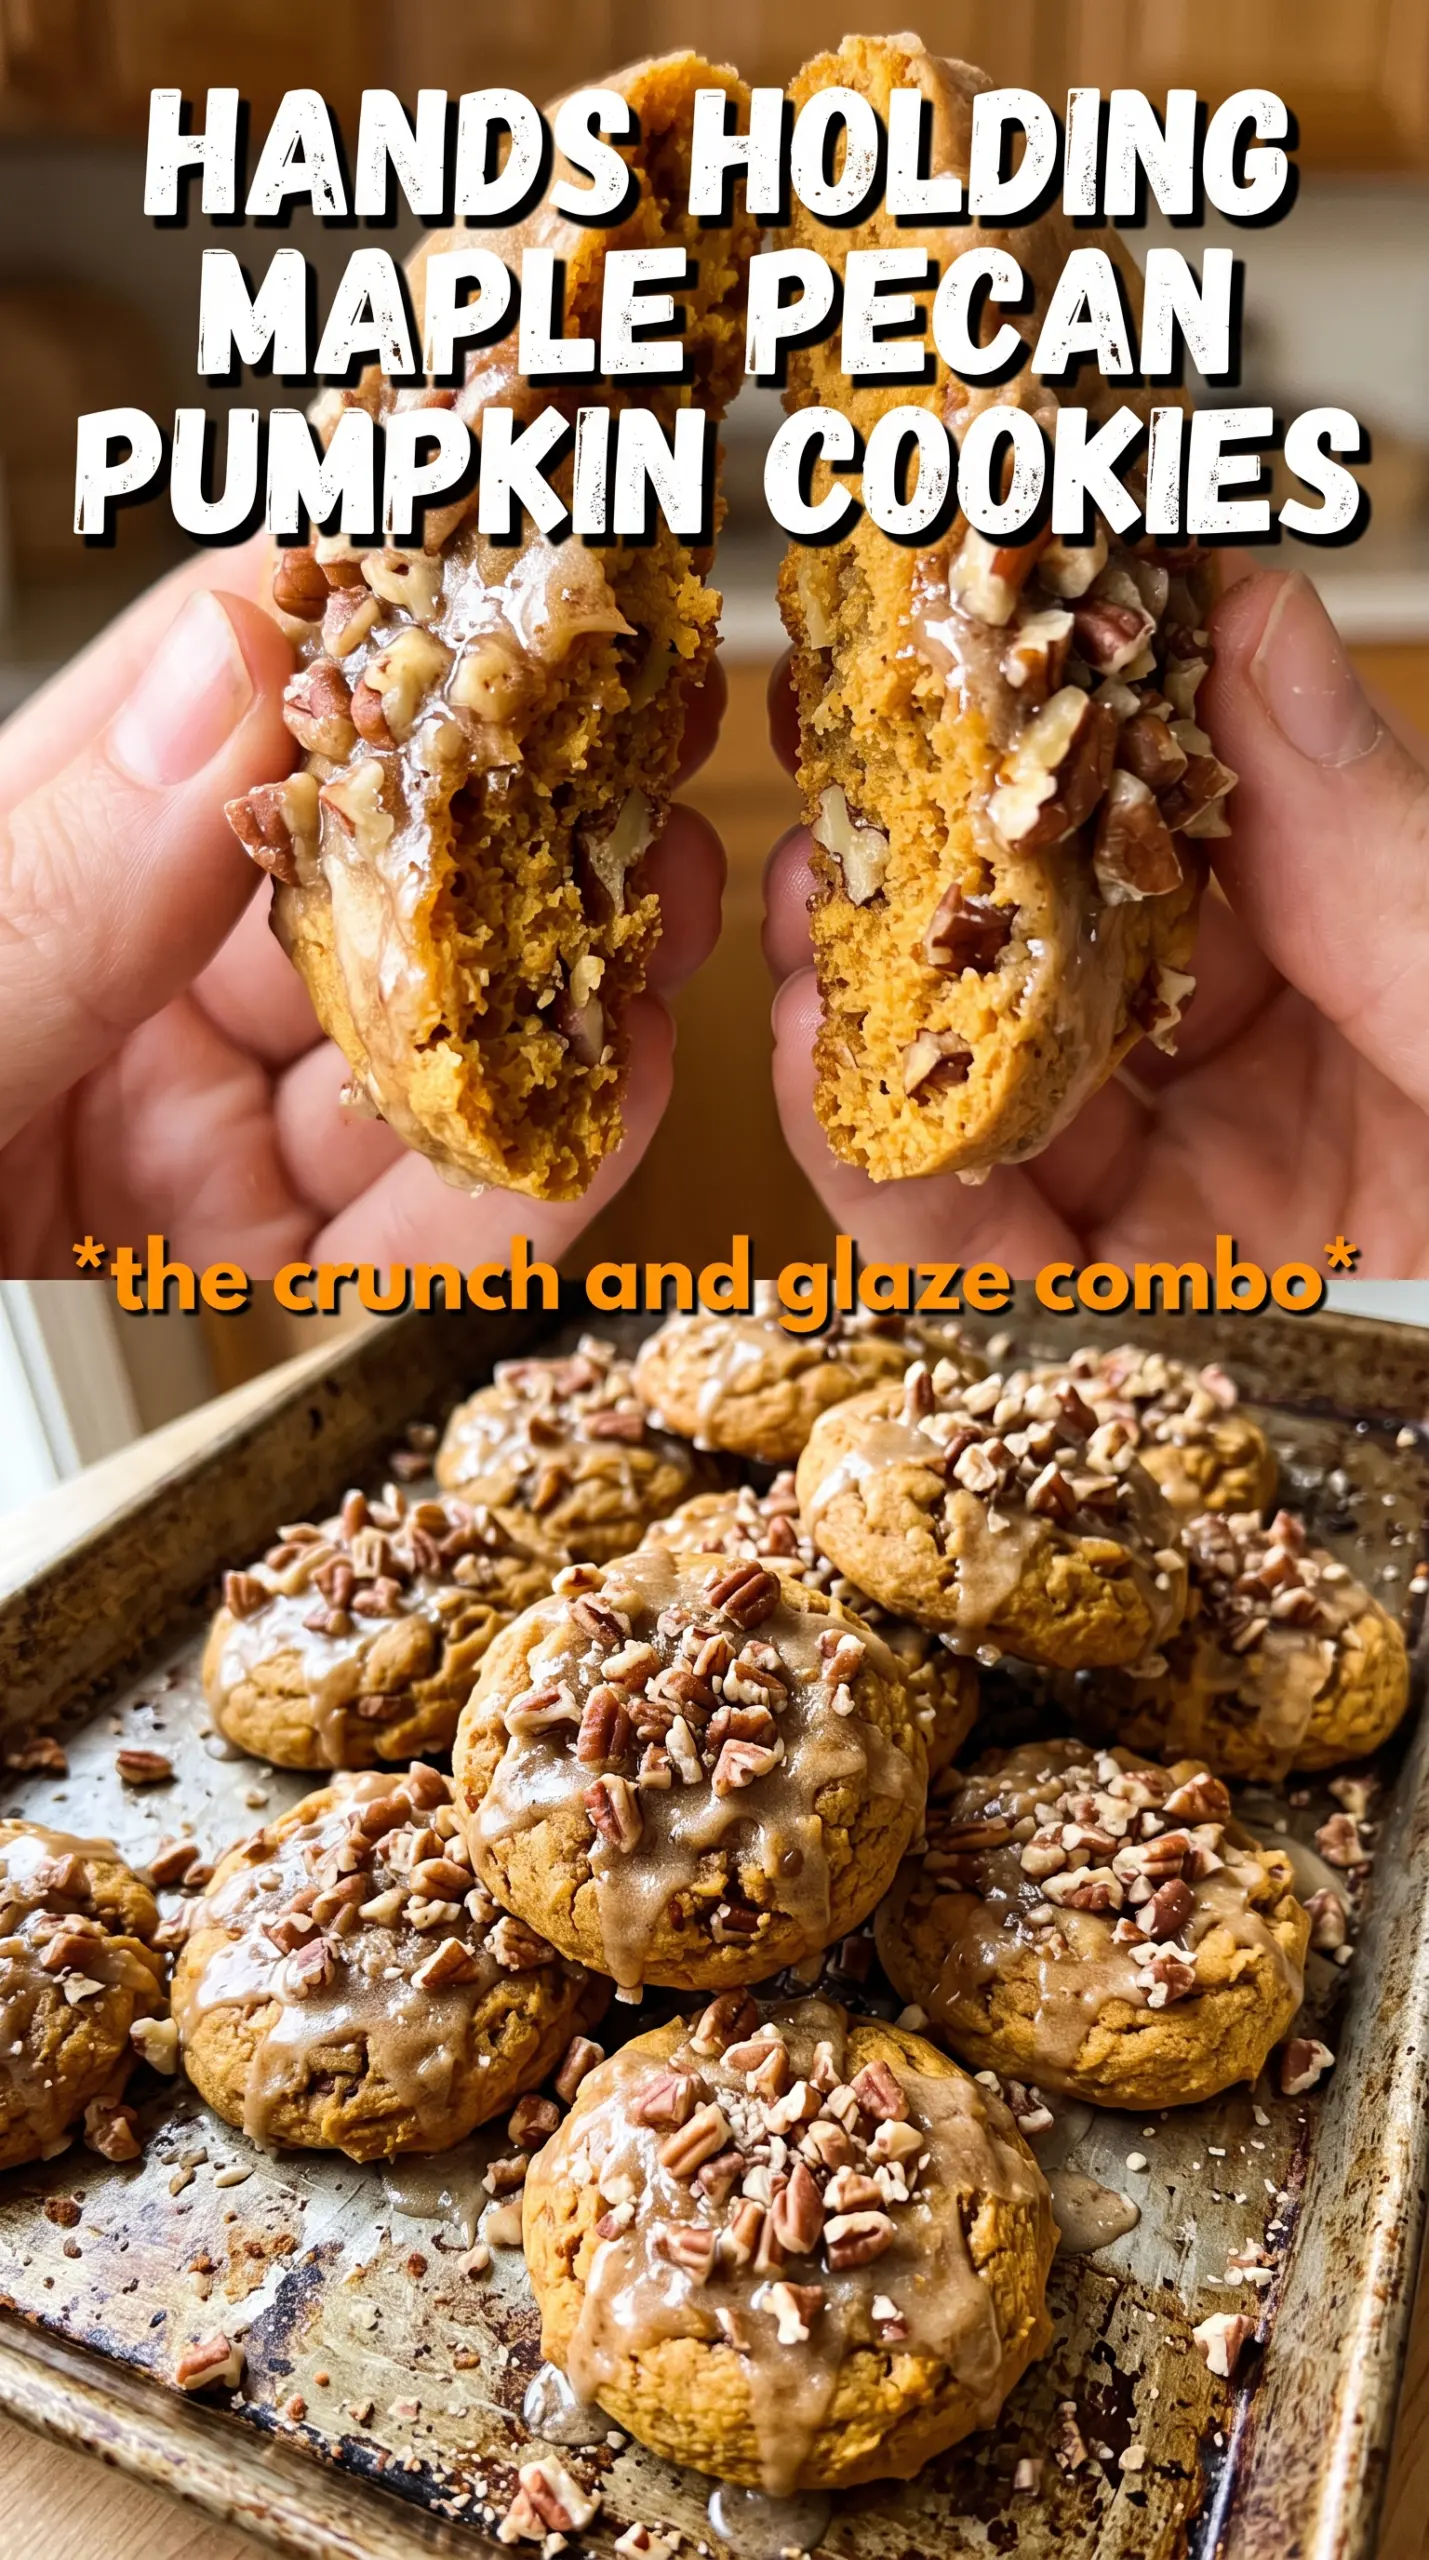
- Pumpkin puree — Blot it dry before measuring the rest of the dough. That single step keeps the cookies from turning heavy and spoon-bready. Canned puree works fine; just don’t use pumpkin pie filling.
- Maple syrup and maple extract — The syrup gives sweetness and real maple depth, while the extract pushes the maple note through the spices. If you skip the extract, the cookies still work, but the glaze tastes softer and less distinct.
- Brown sugar — This is what gives the cookies a chewy middle and a little caramel edge. Light brown sugar works, but dark brown sugar adds a deeper molasses note that plays nicely with the pumpkin.
- Toasted pecans — Toasting wakes up their flavor and keeps them from tasting bland inside the soft dough. This is the place to use good pecans, because their flavor stays visible even after baking.
- Egg yolk — The yolk enriches the dough without adding extra water the way a whole egg would. That keeps the cookies tender instead of cakey.
- Powdered sugar glaze — This sets into a thin, shiny finish that clings to the tops. If it gets too thick, add the milk a few drops at a time; thin glaze disappears into the cookie instead of sitting on it.
Building Soft Centers Without Losing the Edges
Mix the Wet Ingredients Until They Look Smooth, Not Fluffy
Cream the butter and brown sugar first, then beat in the maple syrup until the mixture loosens and looks glossy. Add the blotted pumpkin, egg yolk, vanilla, and maple extract just until combined. If you beat it too long at this stage, the dough can look airy and bake up unevenly. A smooth, thick batter is the goal.
Fold the Flour In Only Until the Streaks Disappear
Once the dry ingredients go in, stir only until you stop seeing flour. Overmixing here builds enough gluten to make the cookies tough instead of tender. Fold in the toasted pecans last so they stay intact. The dough should be soft and scoopable, not runny.
Bake for Color at the Edges, Not Deep Browning All Over
Scoop the dough into 1 1/2 tablespoon rounds and give them room to spread. The cookies are done when the edges look set and the tops lose their wet sheen, even if the centers still look slightly soft. That carryover heat finishes the middle on the tray. If you wait for full browning, they’ll come out dry.
Glaze Only After the Cookies Cool
Warm cookies melt the glaze into a puddle, and the pretty finish disappears. Let them cool until the tops feel just barely warm, then drizzle the glaze in thin ribbons. A pinch of flaky sea salt right away gives the glaze something sharp to bounce against. The salt is small, but it keeps the sweetness in check.
How to Adapt These Cookies Without Losing the Texture
Gluten-Free Version
Use a 1:1 gluten-free flour blend that includes xanthan gum. The cookies will still be soft, but they may spread a touch less and need the full baking time. Don’t replace the flour with almond flour alone or the dough will turn greasy and fragile.
Dairy-Free Swap
Use a plant-based butter that behaves like sticks of butter, not a soft tub spread. The flavor changes a little, but the texture stays close if the butter is firm enough to cream. Keep the glaze with non-dairy milk and check the consistency one teaspoon at a time.
Nut-Free Option
Leave out the pecans and add the same amount of toasted pumpkin seeds or rolled oats for texture. You lose the buttery crunch of the nuts, but the cookies still bake up with good structure. If you use oats, the cookies feel a little heartier and less delicate.
How to Make Them Ahead
Scoop the dough onto a lined tray and chill or freeze the mounds before baking. Chilled dough holds its shape better and gives you thicker cookies; frozen dough just needs a minute or two longer in the oven. Bake from cold for the best edges and the most even spread.
Storage and Reheating
- Refrigerator: Store in an airtight container for up to 5 days. The glaze may soften a little, but the cookies stay tender.
- Freezer: Freeze the baked cookies without glaze for up to 2 months. Thaw at room temperature, then glaze after they’re fully defrosted.
- Reheating: If you want that just-baked texture, warm an unglazed cookie for 8 to 10 seconds in the microwave. Don’t reheat glazed cookies for long or the topping will melt and lose its finish.