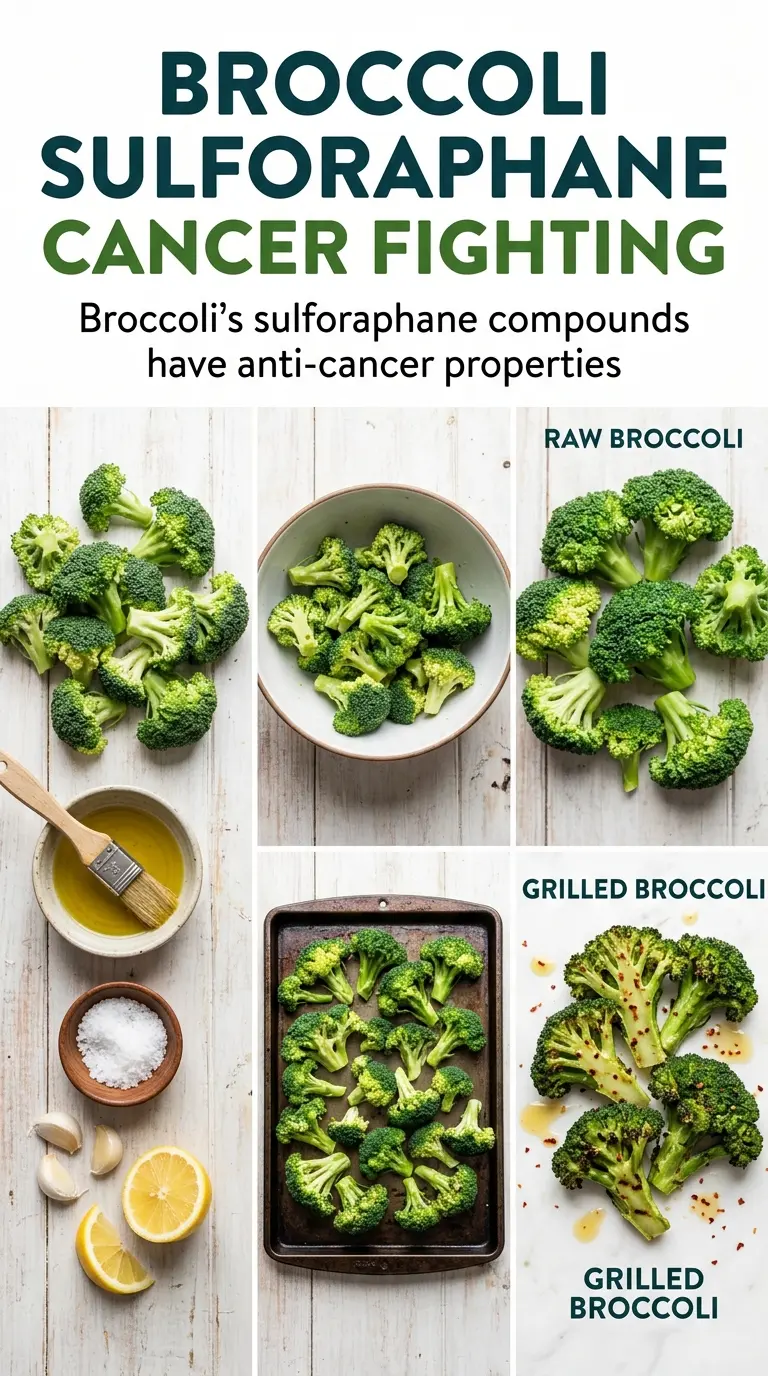
Charred broccoli with crispy edges and a lemon-garlic finish turns a basic side dish into the one everyone reaches for first. The blanching step softens the stalks just enough so they’ll take on the grill quickly, while the florets keep their shape and pick up those deep, smoky marks without turning dry or stringy.
The trick is in the balance: enough oil to coat every rough edge, enough garlic to perfume the broccoli without burning, and just enough lemon to brighten the char instead of fighting it. Grilling broccoli straight from raw often leaves you with burnt exteriors and tough stems. A short blanch keeps the texture even from the outside in.
Below, I’ve included the timing that keeps the broccoli crisp-tender, the best way to avoid losing the garlic to the fire, and a few smart ways to change this up depending on what you’re serving it with.
The blanching made all the difference — the stems were tender, the florets picked up gorgeous grill marks, and the lemon-garlic topping tasted fresh instead of burnt.
Like this charred broccoli? Save it to Pinterest for an easy lemon-garlic side with crispy grill-kissed edges.
The Reason Grilled Broccoli Stays Tender Instead of Turning Brittle
Broccoli gets disappointing on the grill when the florets blacken before the stems have time to soften. Blanching first solves that problem. It gives the thicker parts a head start, so the grill can focus on char and flavor instead of forcing the whole vegetable to cook from raw.
The other thing that matters is surface moisture. If the broccoli goes onto the grill wet, it steams and sputters instead of searing. Drain it well, then let the oil and seasoning cling to dry florets. That’s what helps the edges crisp up instead of slipping through the grates.
- Blanching — This is what keeps the stalks tender enough to eat without over-grilling the florets.
- Olive oil — It carries the seasoning and helps the broccoli brown instead of drying out.
- Lemon zest and juice — Zest gives you bright citrus aroma; juice adds acidity at the finish. Skip either one and the dish tastes flatter.
- Garlic — Fresh minced garlic adds sharpness, but it can scorch. Coating the broccoli in oil first helps protect it on the grill.
What Each Ingredient Is Doing on the Grill
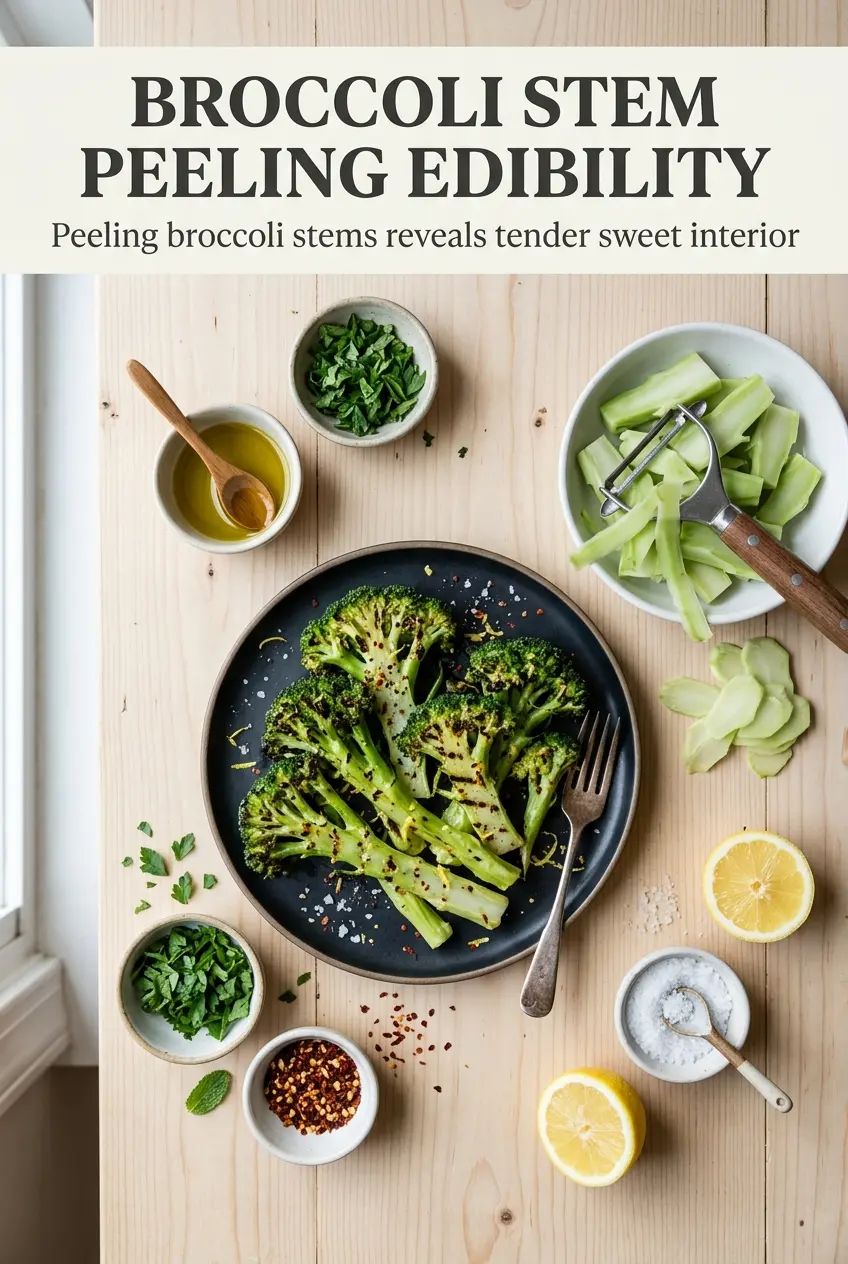
- Broccoli — Choose large, sturdy florets with a bit of stem attached. That stem helps them stay intact on the grill and gives you a better mix of crisp edges and tender centers.
- Olive oil — Use enough to lightly coat every piece. Too little and the broccoli sticks; too much and it turns greasy before it has a chance to char.
- Garlic — Mince it finely so it spreads evenly, but don’t leave clumps on the outside of the florets or they’ll burn before the broccoli is done. If you want a milder result, grate the garlic instead of mincing it.
- Lemon zest and juice — Zest goes in before grilling because the oils hold up to heat. The juice wakes everything up after cooking and keeps the final flavor clean.
- Parmesan — This is optional, but a light shower of finely grated Parmesan adds salt and a savory edge that works especially well with the char.
From Blanching Pot to Grill Marks
Blanching the Broccoli
Drop the florets into boiling water for 2 minutes, then drain them well. You’re not cooking them through; you’re just softening the thickest parts so the grill can finish the job evenly. If they stay in the water too long, they’ll go limp and lose the crisp bite that makes this dish worth making.
Seasoning Without Losing the Garlic
Toss the broccoli with the olive oil, garlic, lemon zest, lemon juice, salt, and pepper while it’s still warm. Warm broccoli grabs seasoning better than cold broccoli, and the oil helps the garlic and zest spread across every floret. If you see loose bits of garlic pooling at the bottom of the bowl, toss again until everything looks lightly coated and glossy.
Grilling for Char, Not Burn
Set the broccoli over medium-high heat and cook it for 4 to 5 minutes per side. You want dark grill marks and deeply browned edges, but the florets should still hold their shape when you lift them with tongs. If the garlic starts to darken too fast, move the pieces to a cooler part of the grill; garlic burns quickly and turns bitter once it goes past golden.
Finishing at the Table
Transfer the broccoli to a platter as soon as it comes off the grill and add red pepper flakes or Parmesan while it’s still hot. That’s when the cheese melts into the ridges and the seasoning sticks best. Serve it right away, while the edges are crisp and the lemon still smells fresh.
How to Adapt Grilled Broccoli for Different Plates and Preferences
Dairy-Free and Still Savory
Skip the Parmesan and finish with an extra pinch of salt plus a little more lemon zest. You’ll lose the salty, nutty finish from the cheese, but the broccoli will taste brighter and the char will stand out more clearly.
No Grill, Same Smoky Edges
Use a grill pan or a hot cast-iron skillet if you’re cooking indoors. You won’t get the same open-flame flavor, but you’ll still get browned edges if the pan is hot before the broccoli goes in and the pieces are spaced out instead of crowded.
Spicier Broccoli with More Bite
Add the red pepper flakes before grilling instead of after. The heat blooms into the oil and clings to the florets, which gives the whole dish a warmer, more even spice than a last-minute sprinkle.
Make It a Bigger Vegetable Tray
Double the broccoli, but grill in batches so the heat stays high and the pieces char instead of steaming. Crowding the grill is the fastest way to get soft, pale vegetables instead of crisp, browned ones.
Storage and Reheating
- Refrigerator: Store leftovers in an airtight container for up to 3 days. The broccoli softens a little, but it still holds onto good flavor.
- Freezer: I don’t recommend freezing it. The texture turns watery and the char disappears once it thaws.
- Reheating: Rewarm in a hot skillet or a 400°F oven until heated through. The microwave will make it limp, which is the fastest way to lose the crisp edges.
Answers to the Questions Worth Asking
Grilled Broccoli
Ingredients
Equipment
Method
- Bring a pot of boiling water to a full boil, then blanch the broccoli florets for 2 minutes so they soften without fully cooking through.
- Drain the broccoli well right after blanching to prevent steaming and keep the edges ready to char.
- Toss the drained broccoli with olive oil, minced garlic, lemon zest, lemon juice, salt, and black pepper until evenly coated.
- Let the seasoned broccoli sit for 2 minutes while the grill heats, so the flavors start to cling to the florets.
- Preheat the grill to medium-high heat and place broccoli on the grates, leaving space between florets.
- Grill for 4-5 minutes per side until charred and tender, turning once halfway through each side for even browning.
- Transfer charred broccoli to a serving platter.
- Sprinkle with red pepper flakes and Parmesan cheese if desired, then serve with lemon wedges if using.