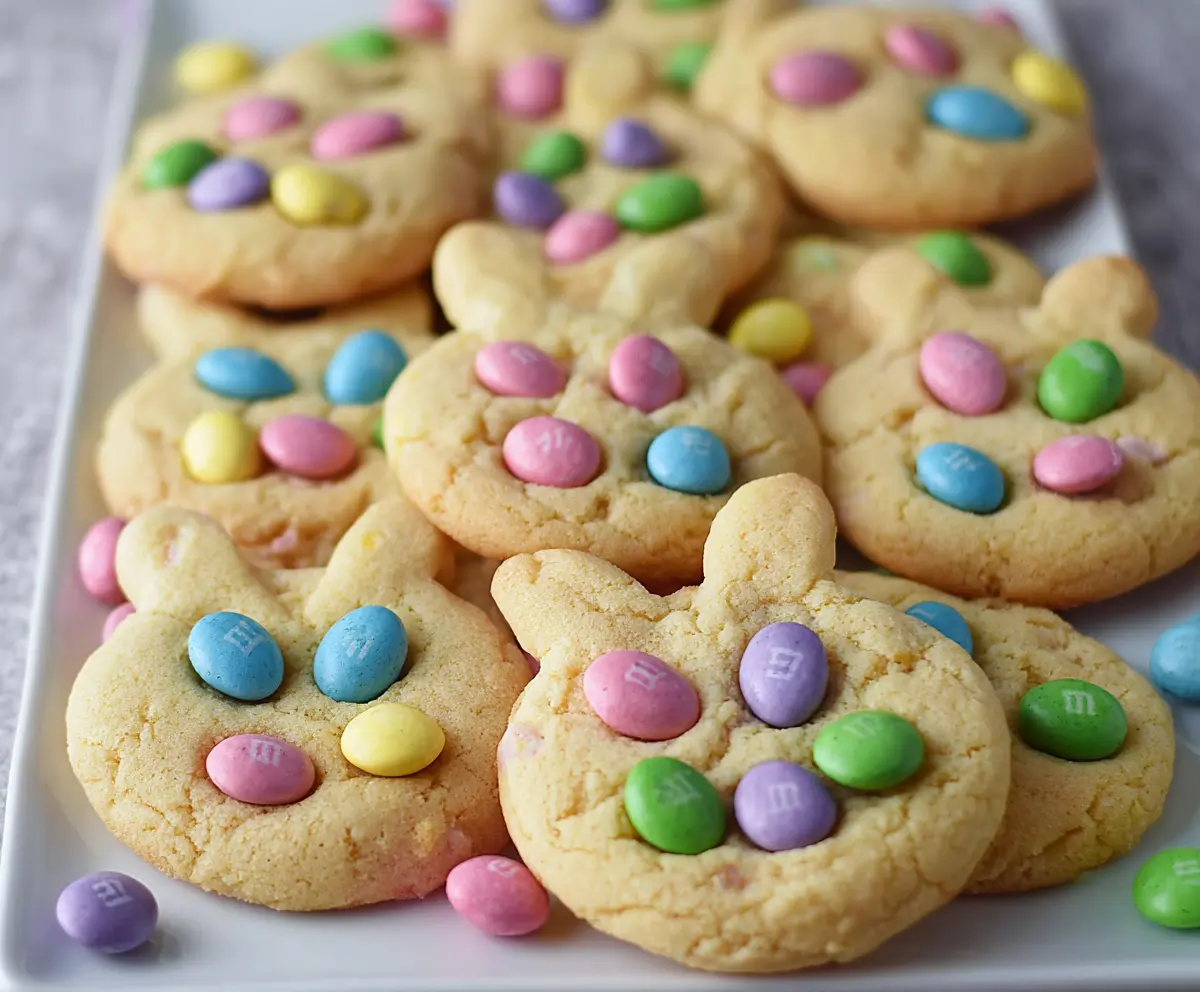
These colorful Easter Bunny M&M’s Cookies are a fun treat filled with chocolatey goodness! Soft, chewy, and packed with vibrant M&M’s, they are perfect for sharing.
Baking these cookies always makes me smile, especially when I see the kids enjoy them! Just mix, scoop, and bake—easy peasy! Who knew cookies could be this much fun? 🐰🍪
Key Ingredients & Substitutions
Butter: Unsalted butter is preferred for controlling saltiness. If you’re looking for a dairy-free option, use coconut oil or a vegan butter substitute.
Sugars: The mix of granulated and brown sugar gives a nice texture and flavor. If you’re avoiding refined sugars, you can try using coconut sugar or a sugar alternative like stevia, keeping in mind it may affect texture.
Easter M&M’s: These candies add a fun pastel pop! If you can’t find them, regular M&M’s or even chocolate chips work well. For a healthier choice, try mini dried fruit pieces or yogurt-covered raisins.
Flour: All-purpose flour is standard here, but you can substitute with a gluten-free blend to cater to gluten sensitivities. Just make sure it has xanthan gum for the right texture.
How Do I Cream Butter and Sugar Like a Pro?
Creaming butter and sugar is crucial for a light, fluffy cookie. Start with softened butter for it to blend easily. Beat together with sugar for about 3-5 minutes until it’s pale and fluffy. This step adds air into the mixture, helping your cookies rise and become soft.
- Use a hand mixer or stand mixer on medium speed for best results.
- Scrape down the sides of the bowl occasionally to ensure even mixing.
Why Should I Flatten the Dough Balls Slightly?
Gently flattening the dough before baking helps the cookies spread evenly, avoiding overly thick and doughy centers. This also creates a better surface for the M&M’s to adhere to.
- Press each ball down lightly with your fingers before adding M&M’s.
- A slight flattening encourages an even bake, producing that delightful cookie texture.
How to Make Easter Bunny M&M’s Cookies
Ingredients You’ll Need:
For the Cookie Dough:
- 1 cup (225g) unsalted butter, softened
- 1 cup (200g) granulated sugar
- 1 cup (220g) packed brown sugar
- 2 large eggs
- 1 tsp vanilla extract
- 3 cups (375g) all-purpose flour
- 1 tsp baking soda
- 1/2 tsp baking powder
- 1/2 tsp salt
For Decoration:
- 1 1/2 cups Easter-themed M&M’s (small-sized chocolate candies in pastel colors)
- Black edible marker or small dots of black icing for eyes/nose decoration (optional)
How Much Time Will You Need?
This delightful cookie recipe takes about 15 minutes of prep time and about 12 minutes of baking time. You’ll need a little extra time for the cookies to cool, so plan for about 40-50 minutes in total before you can enjoy your tasty Easter treats!
Step-by-Step Instructions:
1. Preheat and Prepare Your Workspace:
Start by preheating your oven to 350°F (175°C). While the oven is heating up, line your baking sheets with parchment paper or silicone baking mats. This will ensure your cookies don’t stick and make clean-up easier later on.
2. Cream the Butter and Sugars:
In a large mixing bowl, combine the softened butter, granulated sugar, and brown sugar. Using a hand mixer or a stand mixer, beat them together until the mixture is light and fluffy, which usually takes about 2-3 minutes. This step is important for achieving a soft and tender cookie texture!
3. Add Eggs and Vanilla:
Next, add the eggs one at a time to the butter and sugar mixture, mixing well after each addition. Then, stir in the vanilla extract until everything is well combined.
4. Combine Dry Ingredients:
In a separate bowl, whisk together the all-purpose flour, baking soda, baking powder, and salt. This helps to evenly distribute the leavening agents throughout the flour.
5. Mix Dry and Wet Ingredients:
Gradually add the dry ingredients to the wet mixture. Using a spatula or a wooden spoon, mix until just combined. Avoid overmixing, as this can make your cookies tough.
6. Scoop the Dough:
Using a tablespoon or cookie scoop, portion out the cookie dough and place the balls on the prepared baking sheets, making sure to space them about 2 inches apart. This allows enough room for spreading while baking!
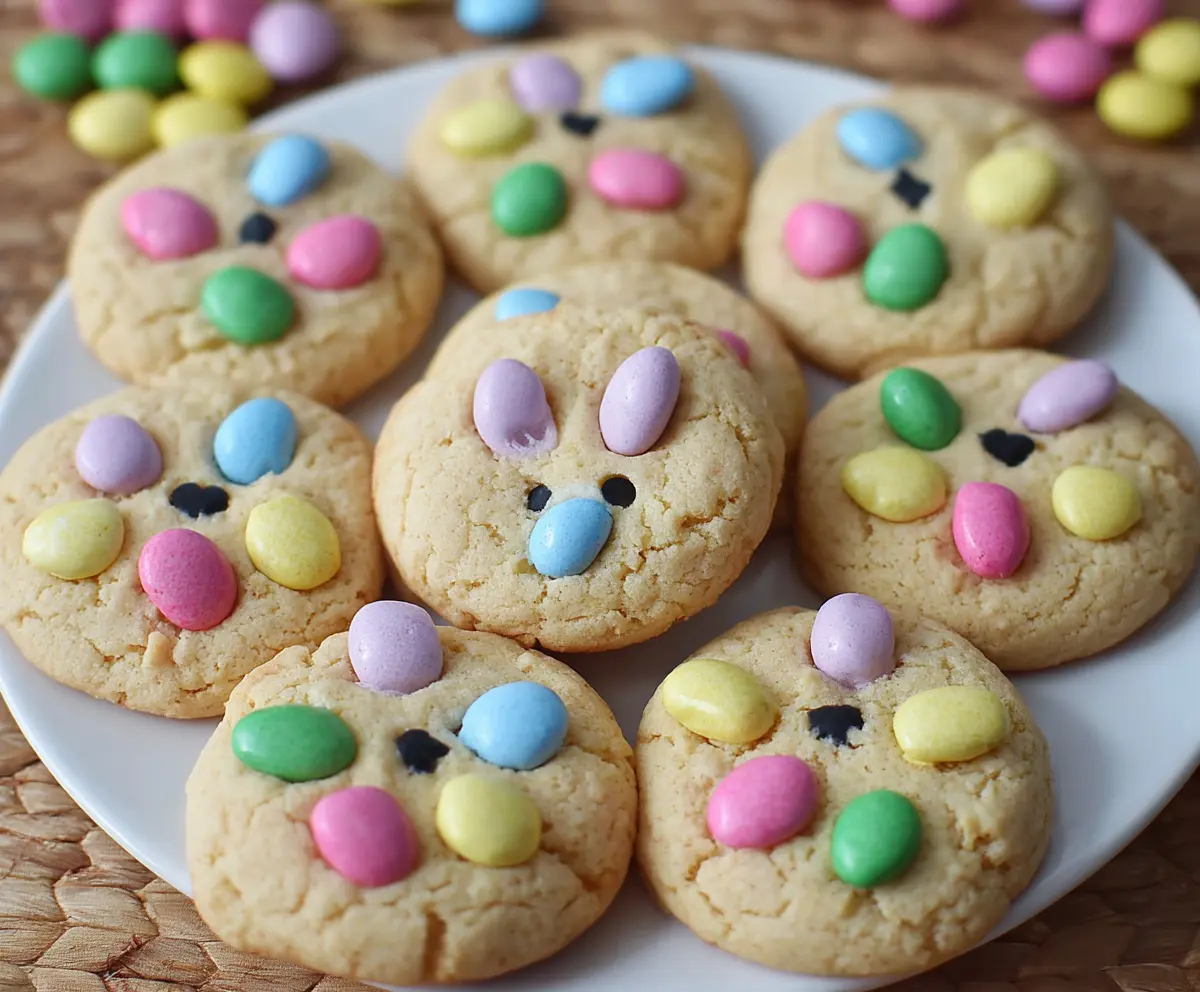
7. Flatten and Decorate:
Gently press each dough ball down slightly with your fingers to flatten them. Now, it’s time to get creative! Place the pastel-colored Easter M&M’s on each cookie, arranging them to create a fun “bunny face” design: two at the top for ears and three below for cheeks and the nose.
8. Bake the Cookies:
Pop the baking sheets into your preheated oven and bake for 10-12 minutes, or until the edges start to turn golden brown. Keep an eye on them; you want them just set, not overbaked!
9. Cool the Cookies:
Once baked, remove the cookies from the oven and let them cool on the baking sheet for about 5 minutes. Then, carefully transfer them to a wire rack to cool completely.
10. Add the Finishing Touches:
If you’re using a black edible marker or icing, now’s the time to add bunny eyes and a cute little nose between the M&M’s to bring your bunny faces to life!
11. Serve and Enjoy:
Your festive Easter Bunny M&M’s Cookies are ready to be served! Enjoy their deliciousness with family and friends!
Can I Use Margarine Instead of Butter?
Yes, you can use margarine as a substitute for unsalted butter, but keep in mind that it may alter the flavor slightly. For best results, choose a stick version rather than soft spreads to ensure the correct texture in the cookies.
Can I Make These Cookies Gluten-Free?
Absolutely! Substitute the all-purpose flour with a gluten-free flour blend. Make sure it contains xanthan gum for the right texture. The cookies should turn out just as delicious!
How Do I Store Leftover Cookies?
Store any leftover cookies in an airtight container at room temperature for up to 5 days. If you want to keep them longer, you can freeze the cookies for up to 3 months. Just thaw at room temperature when you’re ready to enjoy them again!
Can I Add Other Mix-Ins?
Definitely! Feel free to add in chocolate chips, nuts, or dried fruit to customize the flavor. Just make sure not to overload the dough so it maintains its shape while baking.