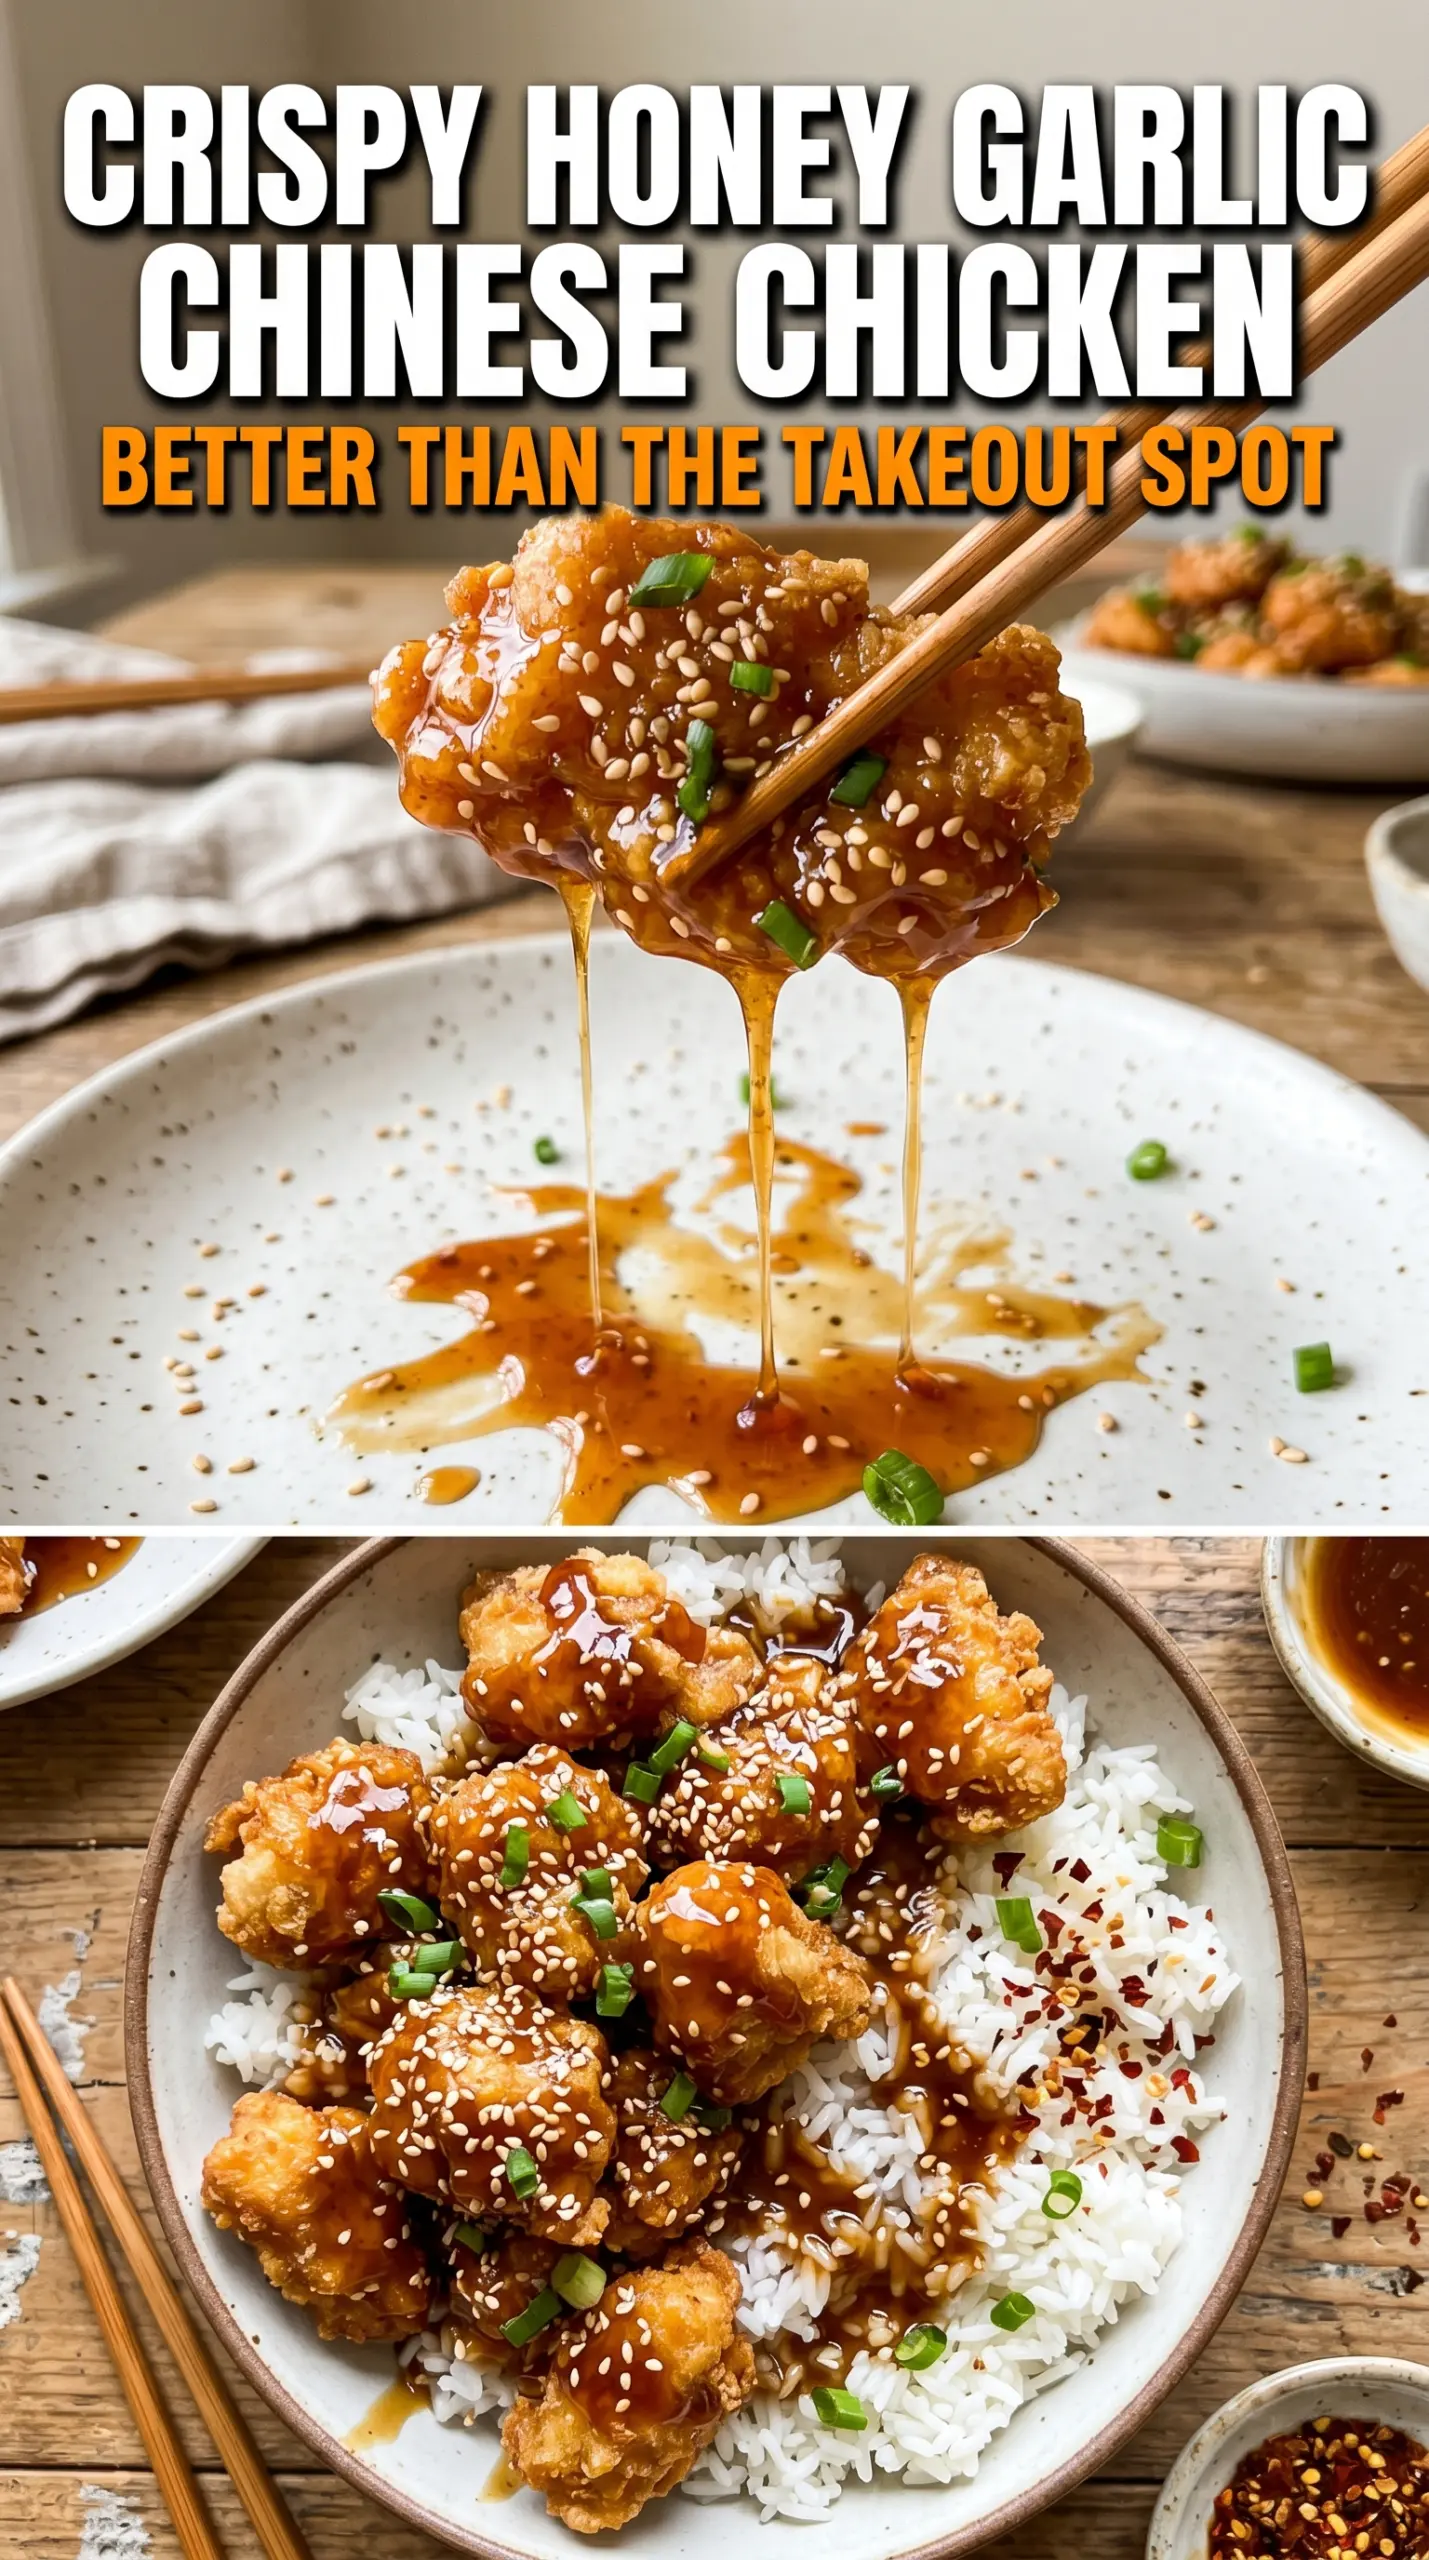
Shatteringly crisp chicken coated in a sticky honey garlic glaze has a way of disappearing fast, especially when the sauce clings in a glossy layer instead of pooling at the bottom of the bowl. This version leans into contrast: crunchy edges, tender chicken inside, and a sweet-savory sauce that lands with enough garlic and vinegar to keep the whole dish from tasting one-note.
The coating uses both cornstarch and flour, which gives you a lighter, more craggy crust than flour alone. Frying the chicken in batches keeps the oil hot enough for real browning, and the sauce thickens separately so it can be tossed on at the very end without turning the coating soggy. That last step matters more than people think.
Below you’ll find the detail that keeps the chicken crispy even after saucing, plus a few smart swaps and storage notes for the nights when you want this to taste like takeout without the delivery wait.
The coating stayed crisp even after tossing it in the sauce, and the garlic honey glaze thickened up to that perfect sticky texture instead of turning runny. My husband asked for rice refills before he finished the chicken.
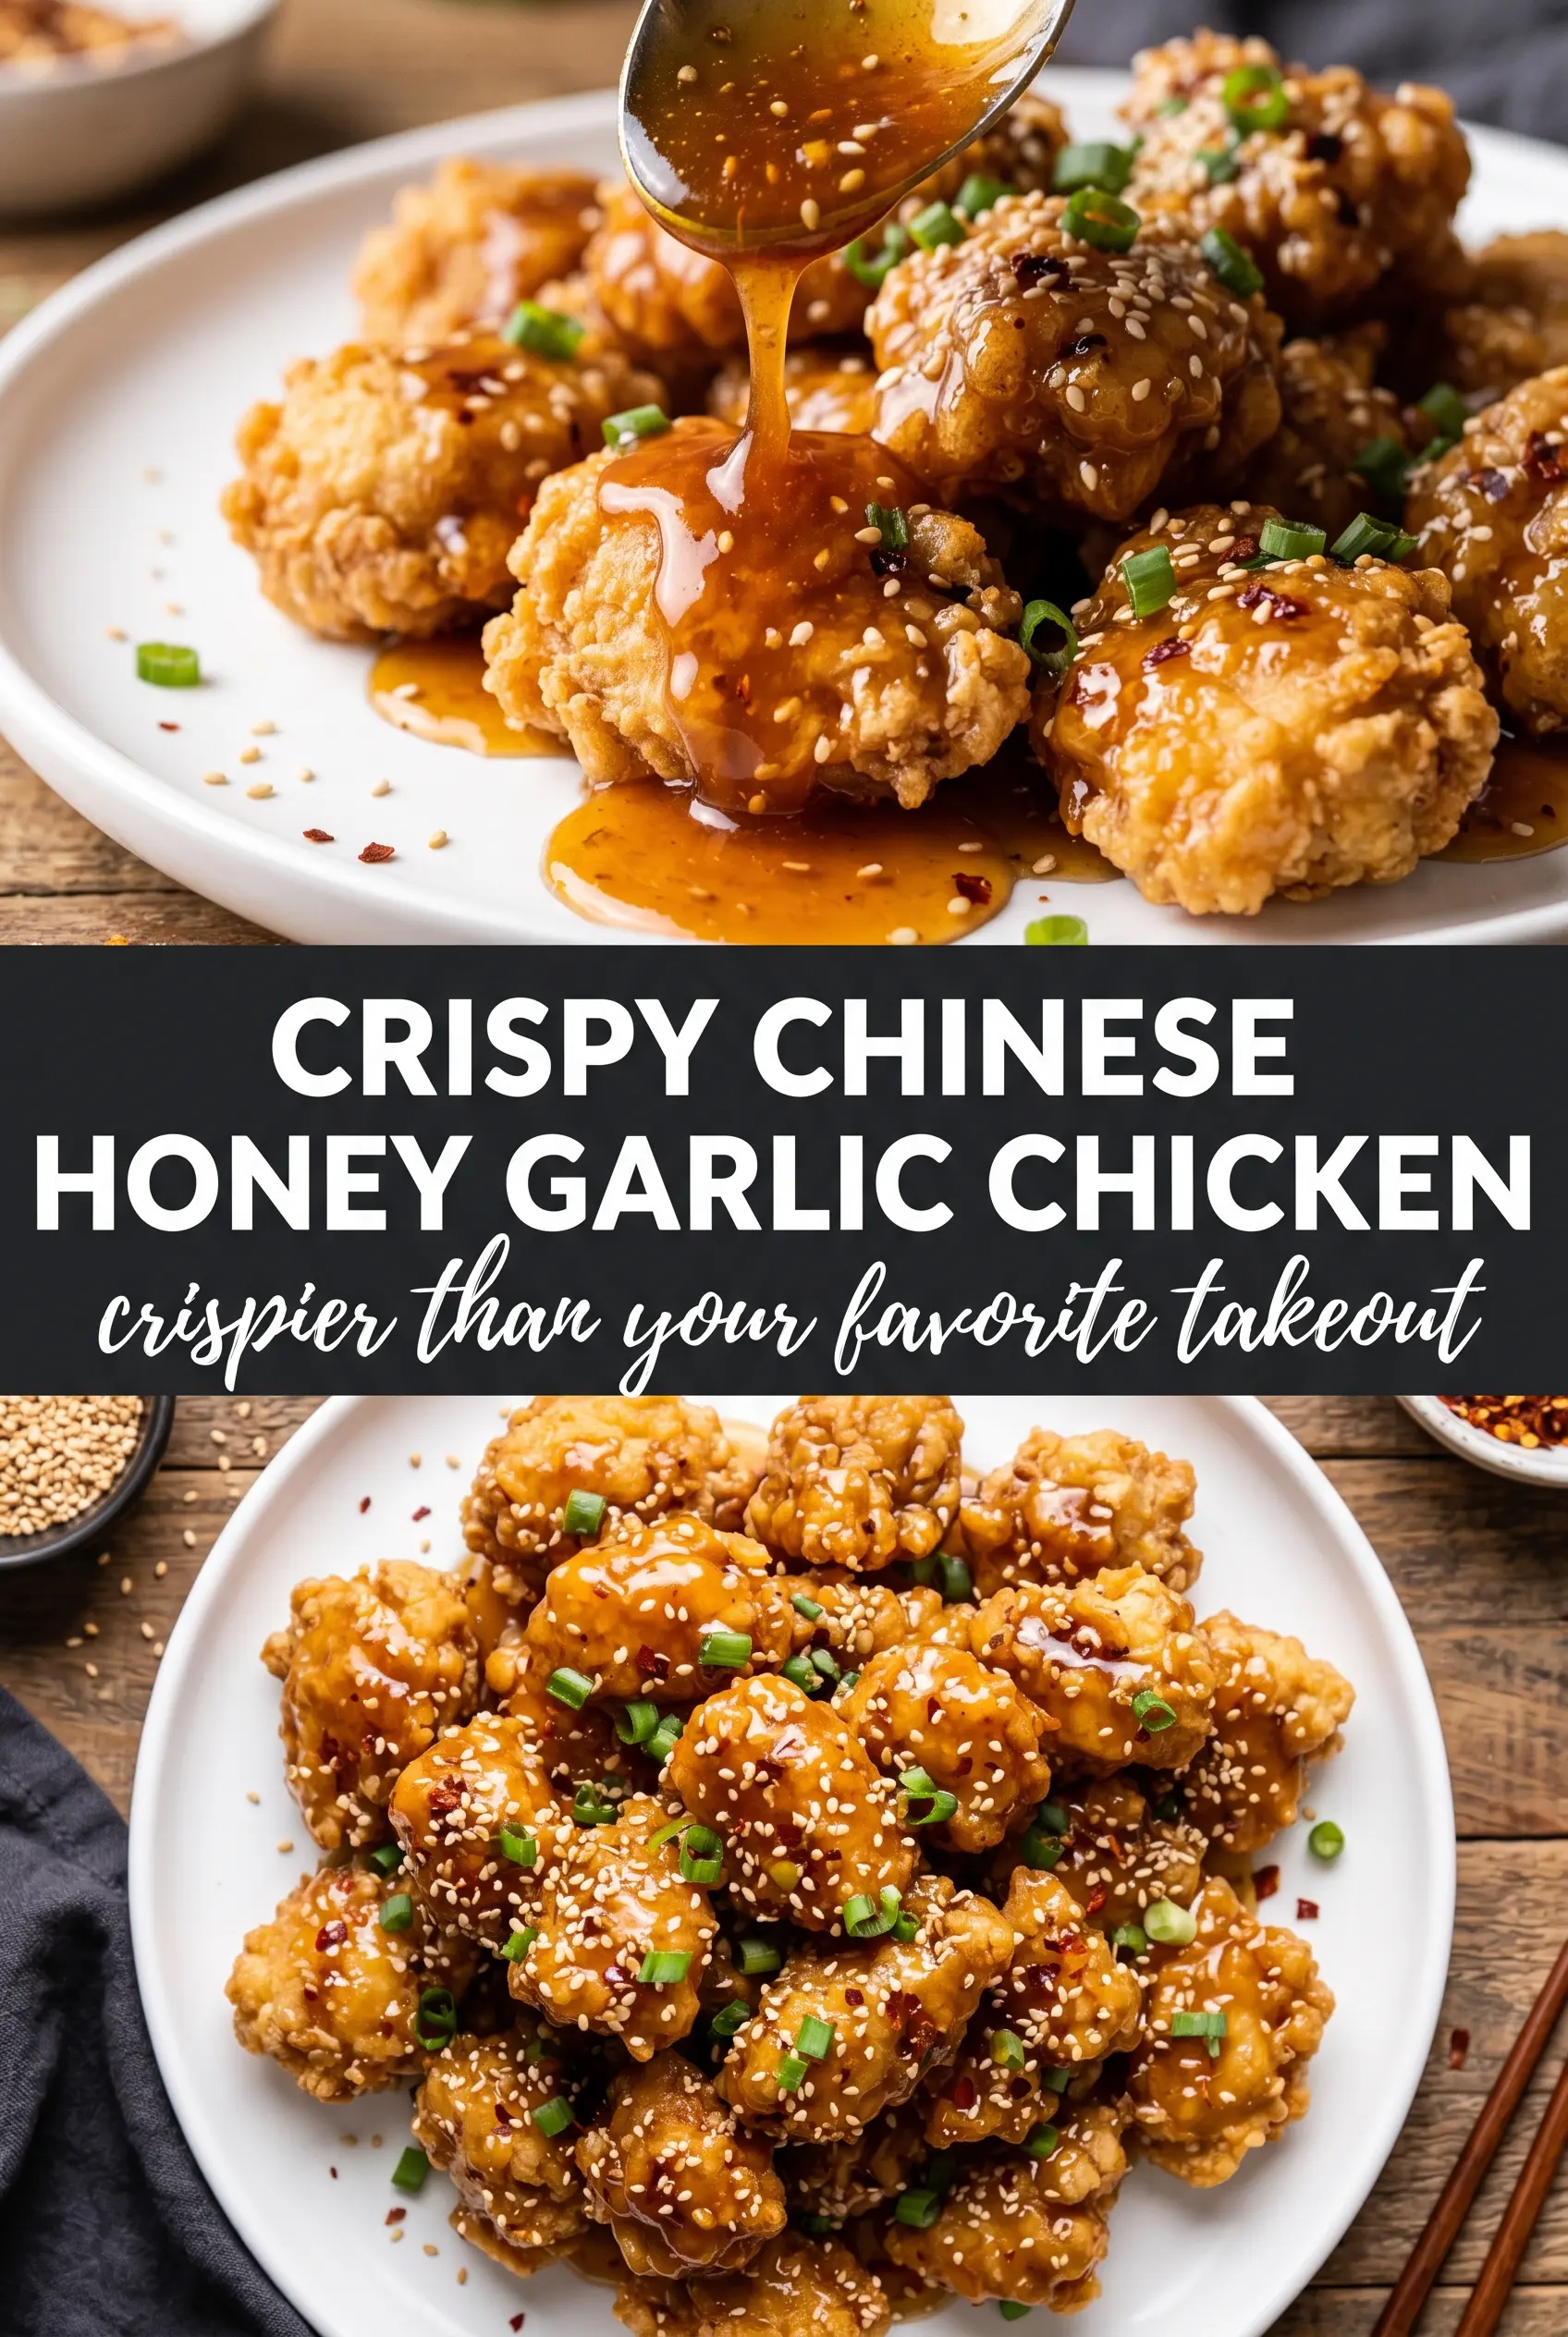
Save this crispy Chinese honey garlic chicken for the night you want a sticky, glossy takeout-style dinner with shattering edges and fast cleanup.
The Reason the Coating Stays Crisp Instead of Going Soft
The biggest mistake with honey garlic chicken is saucing it too early. Honey pulls moisture, and once that sticky glaze hits a wet coating, the crispness fades fast. Frying the chicken until it is fully golden and then tossing it with a sauce that has already been reduced gives you a lacquered finish instead of a soggy one.
Cornstarch matters here because it fries up lighter and crisper than flour alone, while the flour gives the coating enough structure to stay on the chicken. The egg helps the dredge cling, but don’t let the pieces sit around after coating them. Straight into the oil is the move if you want that rough, crunchy shell.
What Each Ingredient Is Actually Doing in This Dish
- Chicken thighs — Thighs stay juicier than breast meat and hold up better under frying and tossing. You can use breast if that’s what you have, but cut it a little larger so it doesn’t dry out before the coating browns.
- Cornstarch and flour — This is the texture team. Cornstarch brings the crisp snap, flour gives the crust some body, and together they fry into a rough, craggy coating that stands up to sauce.
- White pepper and garlic powder — These season the coating from the inside out. White pepper has a gentle heat that fits the dish better than black pepper’s sharp bite.
- Honey, soy sauce, rice vinegar, and garlic — Honey builds the sticky gloss, soy brings salt and depth, vinegar keeps the sauce from tasting flat, and garlic gives it the punch you expect from a good takeout-style glaze.
- Cornstarch slurry — This is what turns the sauce from thin and shiny into thick enough to cling. If you skip it, the sauce will run off the chicken and pool under the rice.
- Sesame oil — Stir it in off the heat at the end. It adds nutty aroma, but if it cooks hard for too long, the flavor turns muted.
Frying and Glazing the Chicken Without Losing the Crunch
Mixing the Dredge
Whisk the cornstarch, flour, garlic powder, salt, and white pepper together before you touch the chicken. An even mix keeps the coating from tasting patchy, and it helps every piece fry at the same rate. Dip each piece in beaten egg, then press it into the flour mixture until it looks shaggy and well coated. If the coating looks thick and pasty instead of dry and craggy, there is too much egg clinging to the chicken, so let the excess drip off before dredging.
Frying in Hot Oil
Heat the oil to 375°F and fry in batches. If the oil drops too low, the coating absorbs grease and turns heavy before it has time to crisp; if it runs too hot, the outside browns before the chicken cooks through. You want a steady hiss as the pieces go in and a deep golden color by the end of 5 to 6 minutes. Drain the chicken on a rack or paper towels as soon as it comes out so the underside doesn’t steam itself soft.
Reducing the Sauce
Combine the honey, soy sauce, garlic, and rice vinegar in a saucepan and bring it to a simmer. Once it bubbles, stir in the cornstarch slurry and keep cooking for 2 to 3 minutes until the sauce turns glossy and thick enough to leave a brief trail on the spoon. If it looks cloudy or loose, it hasn’t cooked long enough for the starch to activate. Pull it from the heat before adding the sesame oil so the flavor stays clean and nutty.
Tossing and Serving
Add the chicken to the sauce and toss quickly until every piece is coated. Don’t let it sit in the pan for minutes on end, because even a good crust softens once it soaks too long. Serve it over hot rice right away, then finish with sesame seeds and green onions for crunch and a fresh, sharp edge against the sticky sauce.
How to Adapt the Chicken Without Losing the Takeout Feel
Gluten-Free Version
Use a gluten-free flour blend in place of the all-purpose flour and tamari instead of soy sauce. The crust still fries up crisp, though the coating will be a little more delicate, so toss the chicken gently once the sauce is ready.
Baked Instead of Fried
Bake the coated chicken on a wire rack set over a sheet pan at 425°F until cooked through and deeply browned, then toss it with the sauce right before serving. You won’t get the same shattering crunch as frying, but you’ll still get good color and a much lighter finish.
Lower-Sugar Sauce
Reduce the honey slightly and add a touch more vinegar to keep the glaze from becoming cloying. The sauce will taste a little sharper and less sticky, but it still clings well if you cook it down until it coats the back of a spoon.
Make-Ahead Storage
Fry the chicken and cook the sauce ahead, then store them separately. The chicken stays much crisper that way, and you only need a quick reheat and toss right before dinner.
Storage and Reheating
- Refrigerator: Store leftovers for up to 3 days. The chicken will lose some crunch once sauced, but it still tastes good.
- Freezer: Freeze the fried chicken and sauce separately for best results. The coated chicken freezes better than sauced chicken, which turns soft after thawing.
- Reheating: Reheat the chicken in a 400°F oven or air fryer until hot and crisp, then warm the sauce separately and toss together at the end. Microwaving the finished dish will soften the coating quickly.
Questions I Get Asked About This Recipe
Crispy Chinese Honey Garlic Chicken
Ingredients
Equipment
Method
- Whisk together cornstarch, all-purpose flour, garlic powder, salt, and white pepper in a bowl; reserve for dredging.
- Dip the beaten large egg into the coating process, then dredge each chicken piece in the flour mixture until evenly coated.
- Heat about 2 inches of vegetable oil to 375°F.
- Fry the chicken in batches for 5-6 minutes until golden and cooked through, then drain.
- Combine honey, soy sauce, garlic, and rice vinegar in a saucepan and bring to a simmer.
- Stir in the cornstarch slurry (cornstarch mixed with water) and cook 2-3 minutes until thickened and glossy.
- Remove from heat and stir in sesame oil.
- Toss the crispy chicken in the honey garlic sauce until fully coated and sticky.
- Serve over steamed rice with sesame seeds and green onions for garnish.