Cinnamon fried apples land somewhere between a warm side dish and a dessert, with tender slices wrapped in a glossy brown sugar syrup that clings to every bite. The apples soften just enough to stay structured, while the sauce turns silky instead of watery. That balance is what makes this version worth keeping around.
The trick is starting with firm apples and cooking them covered long enough to soften without collapsing. A little cornstarch finishes the pan juices into a sauce that coats the fruit instead of pooling at the bottom, and the vanilla goes in at the end so it stays fragrant. It’s a small detail, but it keeps the whole skillet tasting fresh and rounded.
Below, I’ve included the substitutions that still keep the apples tender, plus the one thing that matters most if you want the sauce glossy instead of thin.
The apples kept their shape, and the sauce thickened up into that glossy cinnamon coating instead of turning watery. I served it with pork chops and my husband asked if I could make it again the next night.
Love cinnamon fried apples with that glossy brown sugar syrup? Save this skillet side for pork chops, pancakes, or spooning warm over ice cream.
The Part That Keeps the Apples Tender Instead of Mushy
The biggest mistake in fried apples is treating them like a fast stir-fry. Apples need a little time under cover so the heat can move through the slices evenly before the sauce thickens around them. If you cook uncovered from the start, the liquid reduces too quickly and the outside softens while the centers stay firm.
Covering the skillet for the first stretch traps enough steam to soften the apples without forcing them to break apart. Then, once they’re just tender, the cornstarch slurry goes in and the lid comes off so the sauce can tighten up. That order matters more than extra cinnamon or sugar ever will.
What the Butter, Cornstarch, and Apple Choice Are Doing Here
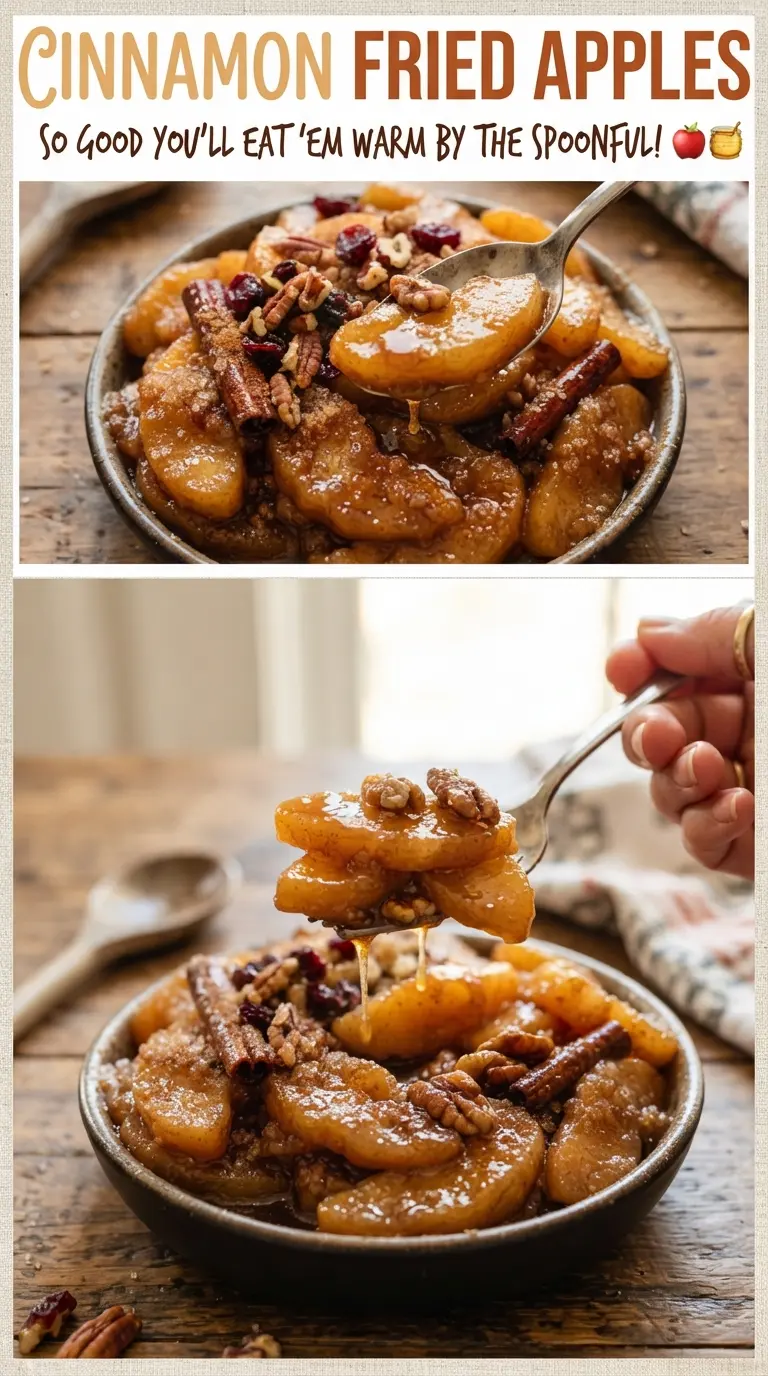
- Firm apples — Honeycrisp gives you a sweeter finish with some snap left in the center. Granny Smith stays a little more tart and holds up even better if you like the fruit to stand out against the syrup. Softer apples turn to sauce before the pan has time to thicken.
- Butter — This gives the apples a round, rich base and helps the sugar melt into an even coating. Don’t swap in oil here unless you need a dairy-free version; you’ll lose the flavor that makes the pan sauce taste lush instead of flat.
- Brown sugar — Packed brown sugar melts into the butter and apple juices, then deepens the sauce with molasses notes. White sugar works in a pinch, but the flavor will be cleaner and less caramelly.
- Cornstarch — This is what turns the liquid in the skillet into a glossy sauce. Flour won’t give you the same clear sheen, and if the cornstarch goes in dry, it can clump, so whisk it with the water until smooth before adding it to the pan.
- Vanilla — It goes in at the very end because long simmering dulls it. Stir it in off the heat or right before serving so the aroma stays bright.
Building the Sauce So It Clings to Every Slice
Softening the Apples First
Melt the butter over medium heat, then add the apples with the sugar, cinnamon, nutmeg, and salt. Stir until every slice looks coated and glossy. Once the lid goes on, the apples should steam gently, not boil hard; if the heat is too high, the sugars can scorch before the fruit has time to soften.
Turning Juices Into a Glossy Syrup
When the apples are just tender, whisk the cornstarch with the water until the mixture looks completely smooth, then pour it into the skillet. Stir while it simmers for a couple of minutes and watch for the sauce to go from thin and cloudy to clear, shiny, and slightly thickened. If it still looks loose, give it another minute; cornstarch needs a full simmer to do its job.
Finishing With Vanilla
Take the pan off the heat and stir in the vanilla. That last step keeps the flavor from fading and stops the sauce from cooking down too far. Serve the apples warm while the syrup still clings to the spoon.
Make It Tart With Granny Smith
Granny Smith apples keep the dish brighter and a little less dessert-like. They hold their shape well, but they also stay firmer than Honeycrisp, so let them cook the full covered time before thickening the sauce. The result is sharper, less sweet fried apples that work especially well alongside pork.
Dairy-Free Version
Use a good plant-based butter with a neutral flavor. The texture will still work, but you’ll lose a little of that classic buttery finish, so lean on the cinnamon and vanilla for warmth. Avoid coconut oil unless you want the coconut note to show through.
Less Sweet Skillet Apples
Cut the brown sugar back to 1/4 cup if you want the apples to taste more like a side dish than a dessert topping. The sauce will be a little lighter and the apple flavor will come forward more clearly. Keep the cornstarch the same or the juices will stay thin.
Storage and Reheating
- Refrigerator: Store in an airtight container for up to 4 days. The sauce will thicken a little more as it chills.
- Freezer: It freezes, but the apples soften after thawing, so the texture won’t be quite as nice. Freeze only if you plan to use them later as a topping or filling.
- Reheating: Warm gently in a skillet over low heat with a splash of water if needed. Microwaving works, but it can make the sauce separate and push the apples past tender.
Questions I Get Asked About This Recipe
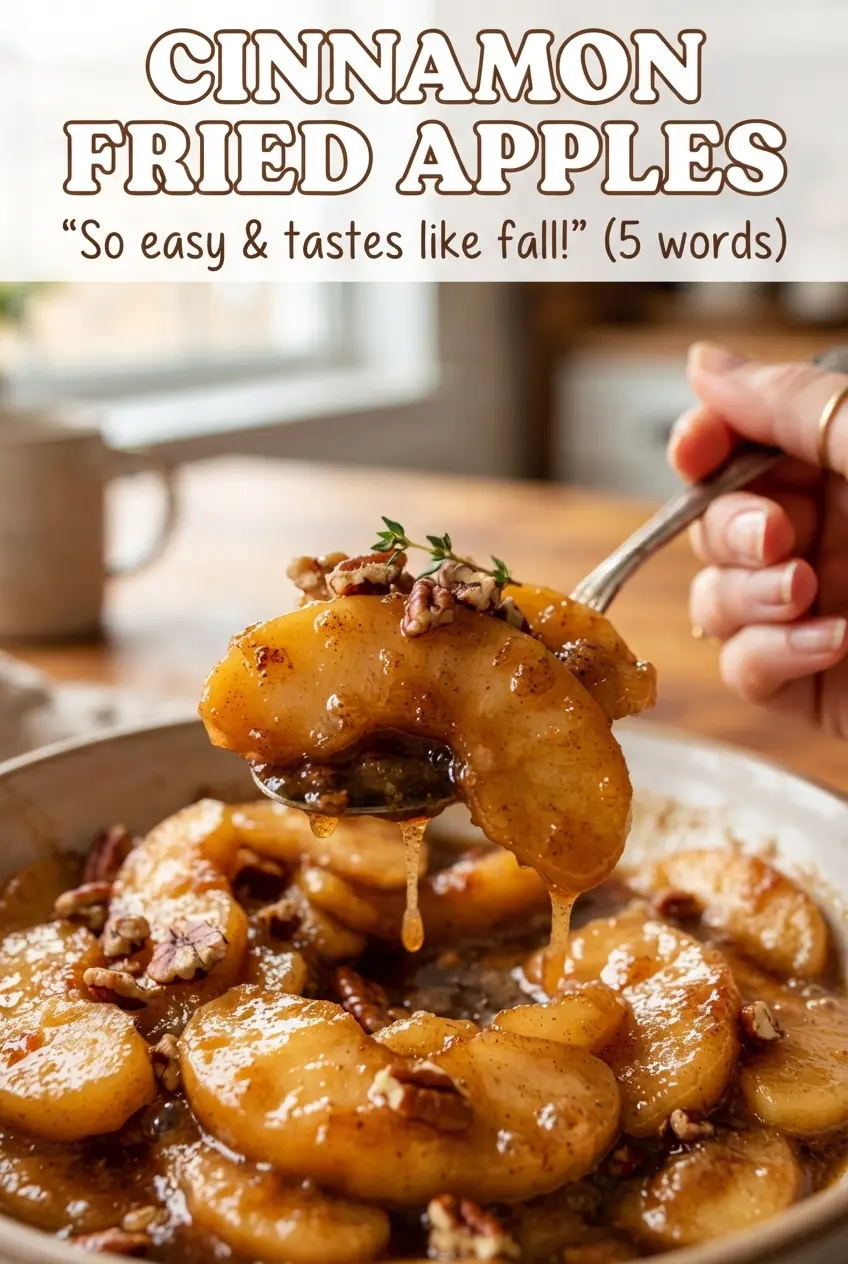
Cinnamon Fried Apples
Ingredients
Equipment
Method
- Melt butter in a large skillet over medium heat until fully melted and shimmering.
- Add firm apples, brown sugar, ground cinnamon, nutmeg, and salt, then stir to coat the slices evenly.
- Cover the skillet and cook 8-10 minutes, stirring occasionally, until the apples are just tender and glossy at the edges.
- Whisk cornstarch with water until smooth, then pour into the skillet while stirring.
- Simmer 2-3 minutes until the sauce thickens and turns glossy, coating the apples.
- Stir in vanilla extract and serve warm.