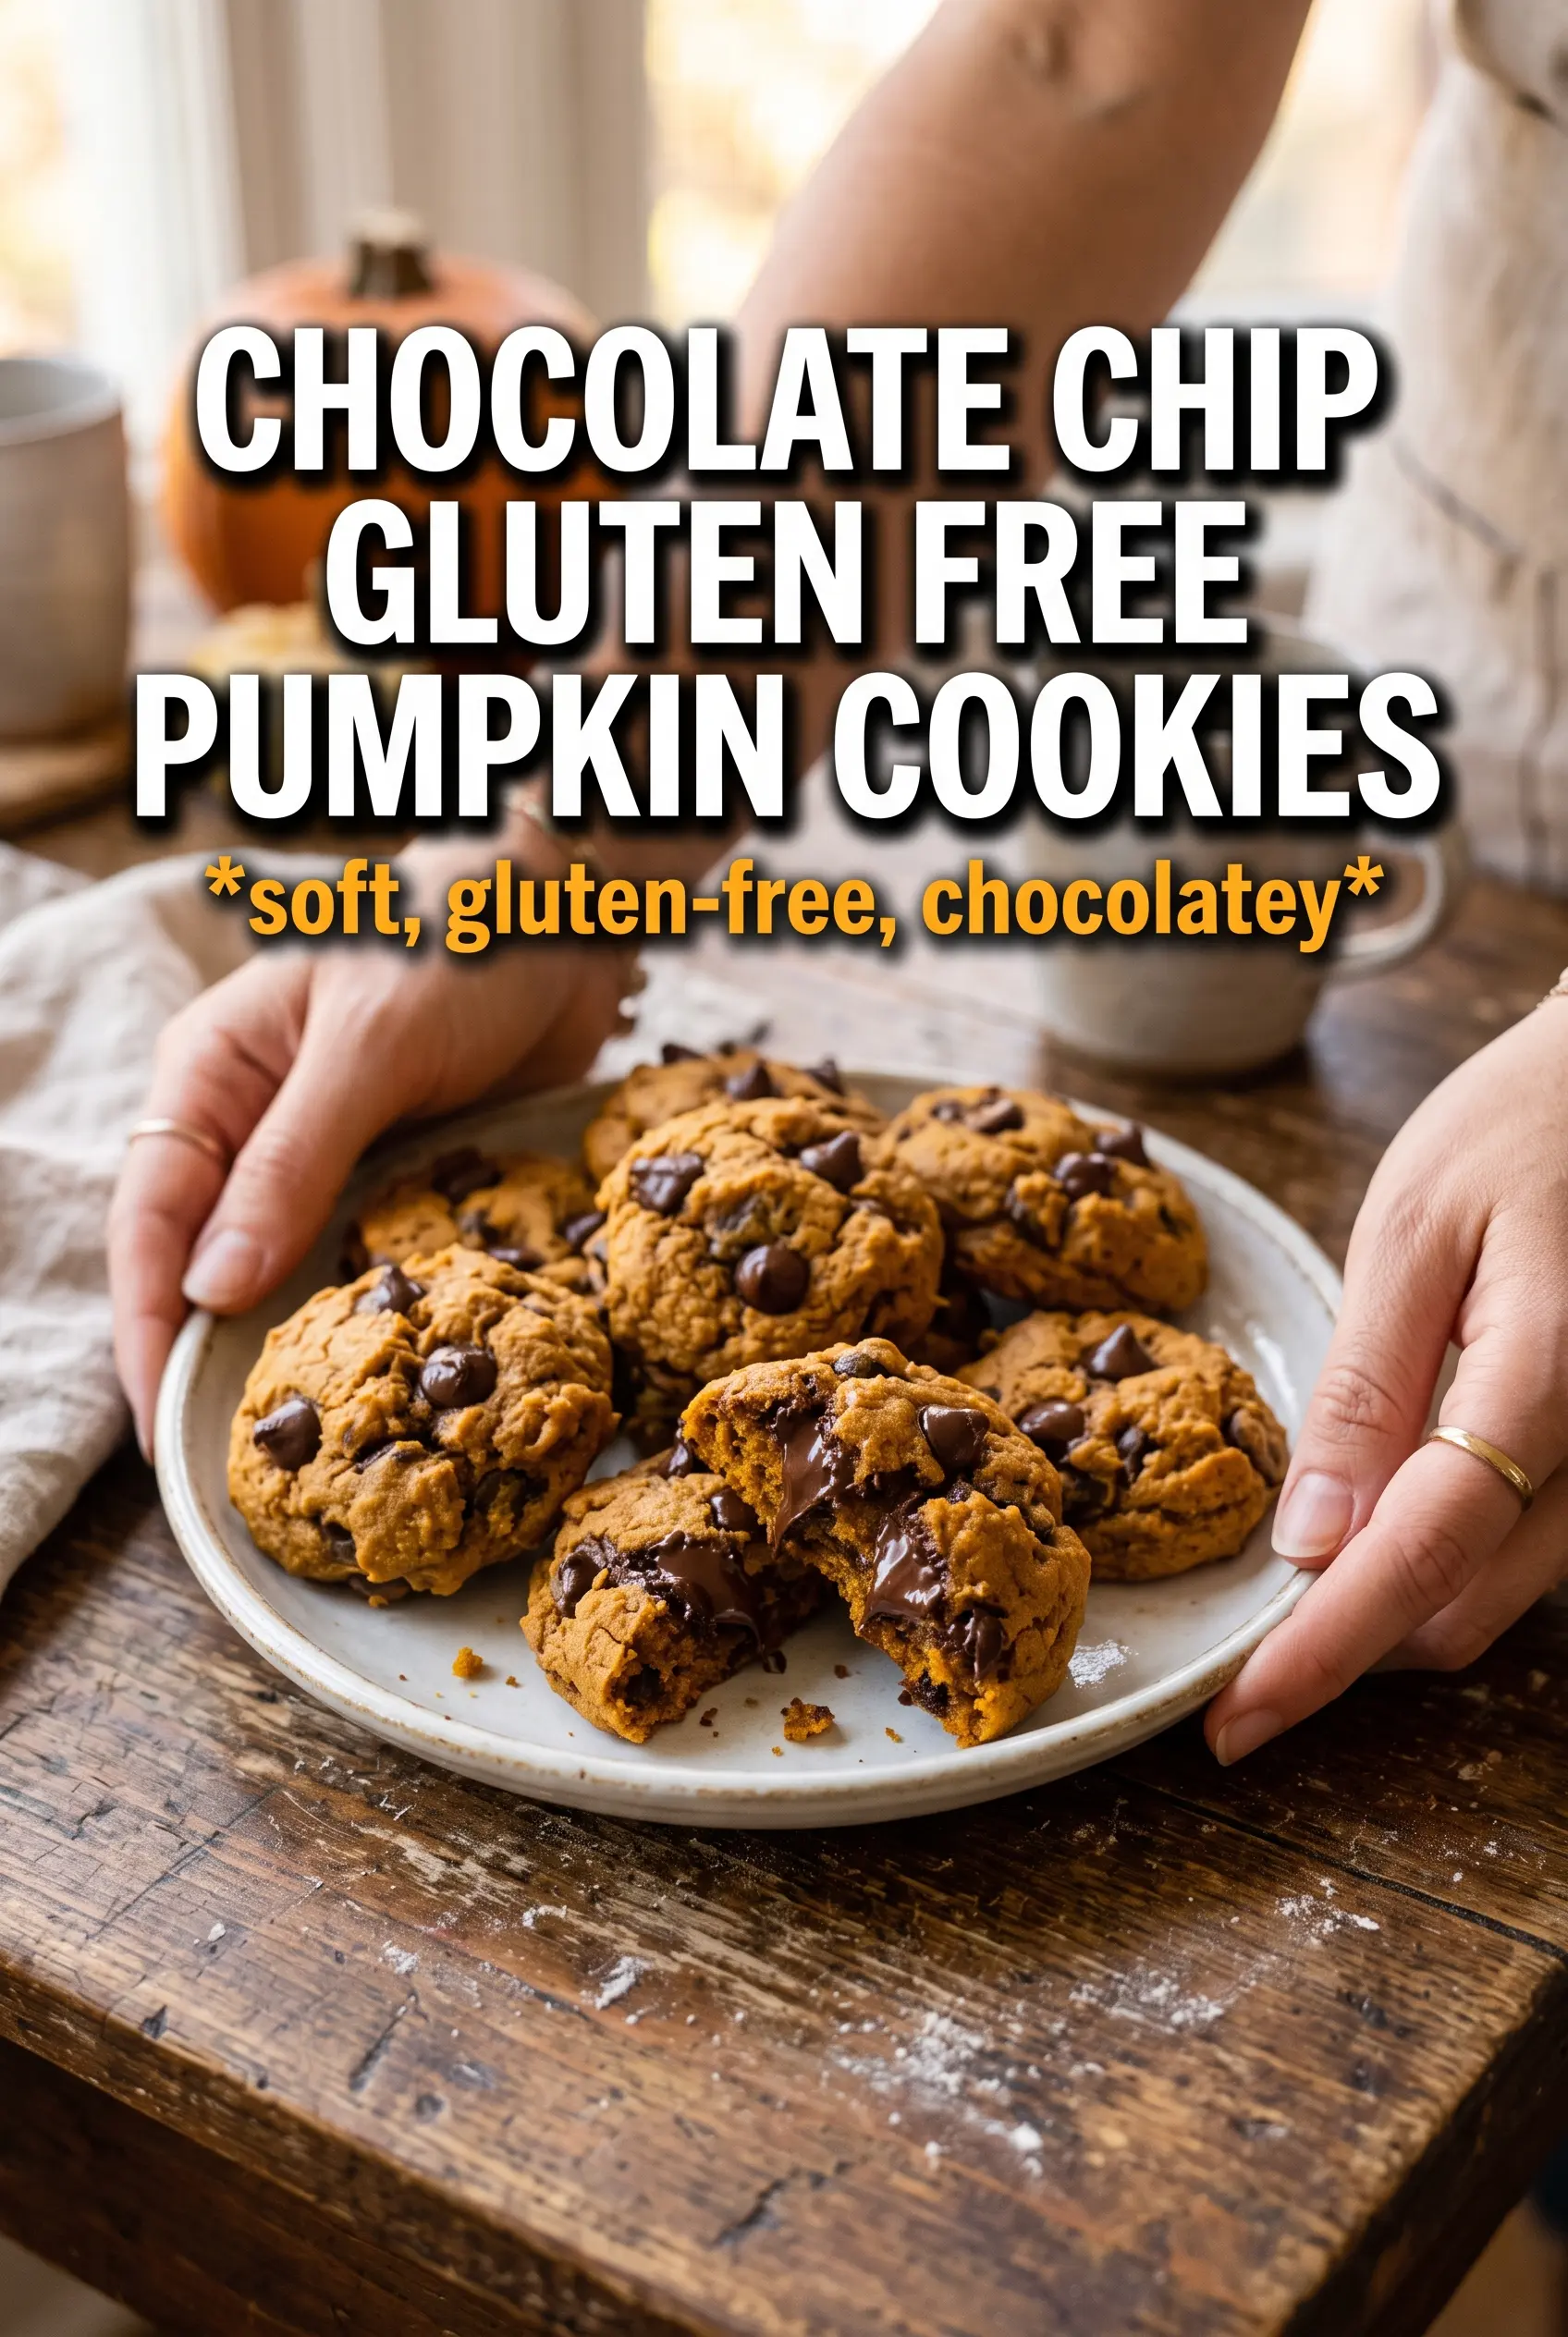
Soft, thick pumpkin cookies with pockets of melted chocolate and a salty finish land right in that sweet spot between cake-like and chewy. The gluten-free flour blend keeps the crumb tender without turning sandy, and the blotted pumpkin adds just enough moisture and flavor without making the dough spread into a puddle. What you get is a cookie that stays plush in the center, sets at the edges, and tastes like actual pumpkin, not just spice.
The trick here is controlling moisture before the cookies ever hit the oven. Pumpkin puree carries a lot of water, and if you stir it in straight from the can, the dough turns loose and the cookies bake up pale and bready. Blotting it dry gives you better structure and a more concentrated pumpkin flavor. The other key move is not overbaking. These cookies should come out when the edges are golden and the centers still look slightly soft; they finish setting on the pan.
Below, I’ve included the exact texture cues I watch for, plus a few swaps that keep these cookies working even if you need a dairy-free or different chocolate option.
I blotted the pumpkin like you said and the cookies baked up thick instead of cakey. The edges set beautifully, the centers stayed soft, and the chocolate stayed in little melty pockets.
Save these chocolate chip gluten free pumpkin cookies for the batch that bakes up thick, soft, and chocolate-studded every time.
The Reason These Cookies Stay Thick Instead of Spreading
Gluten-free cookies can go one of two ways: too dry and crumbly, or too wet and flat. This version lands in the middle because the dough is built for structure before it ever meets heat. The flour blend brings the backbone, the egg plus yolk adds richness and binding, and the blotted pumpkin gives flavor without flooding the dough with extra water.
The other thing that matters is the sugar balance. Brown sugar keeps the centers soft and adds a little chew, while granulated sugar helps the edges set and gives the tops a slight crackle. If your cookies spread too much, the first thing to check is the pumpkin. It needs to be dry enough that it looks more like damp paste than puree.
What the Ingredients Are Doing in the Dough
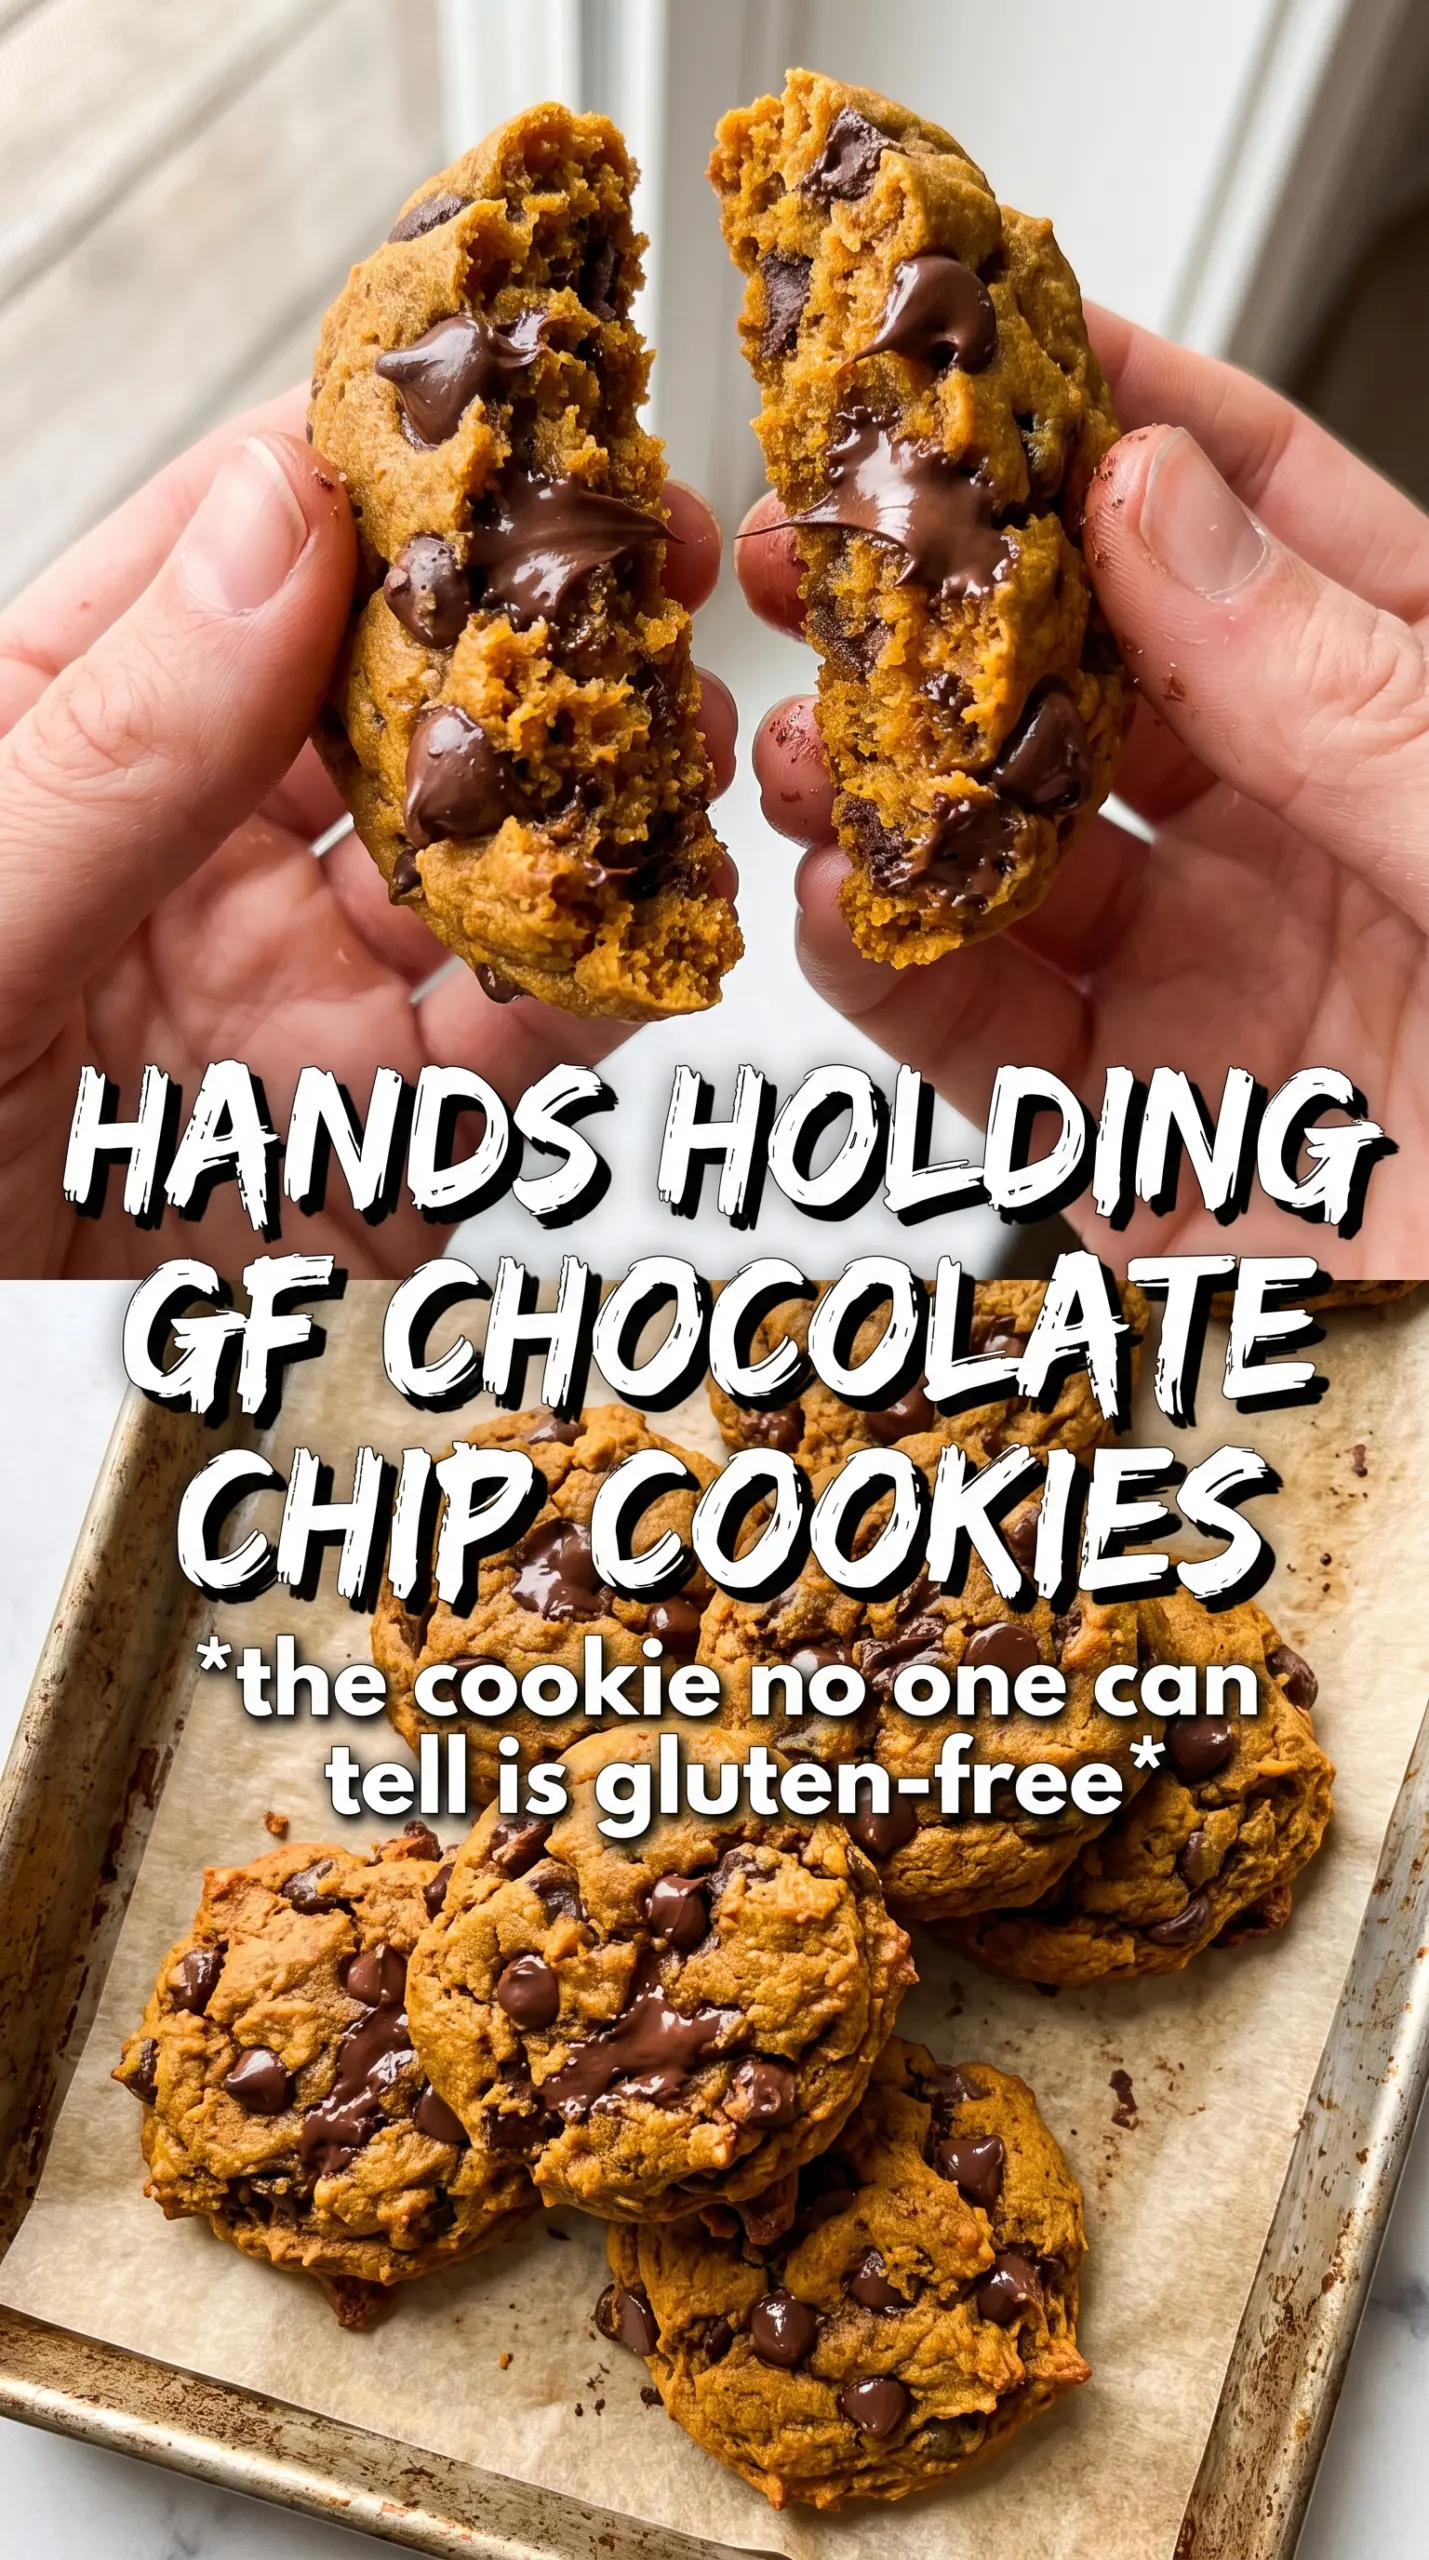
- Gluten-free all-purpose flour blend with xanthan gum — This gives the cookies their structure and keeps them from crumbling apart. A blend with xanthan gum is the easiest path here because it mimics the bind you’d normally get from gluten. If your blend doesn’t include it, the cookies can fall apart after cooling.
- Pumpkin puree, blotted very dry — This is the ingredient that gives the cookies their pumpkin flavor and soft texture, but the moisture has to be controlled. Blot it between paper towels until it stops leaving a wet smear. That one step makes the difference between thick cookies and cakey ones.
- Butter — Softened butter creams with the sugars to trap air, which helps the cookies bake up tender instead of dense. Use real butter here; the flavor and texture are worth it. Margarine tends to make the dough looser and the cookies flatter.
- Brown sugar and granulated sugar — Brown sugar brings moisture and a deeper caramel note, while white sugar helps with spread and crisp edges. The combination keeps these cookies from eating like little pumpkin muffins.
- Semi-sweet chocolate chips — Semi-sweet chips balance the spice and pumpkin without making the cookies taste overly sweet. If you use darker chocolate, the pumpkin comes through more; if you use milk chocolate, the cookies will taste sweeter and softer.
- Flaky sea salt — This isn’t just garnish. The salt on top wakes up the chocolate and keeps the cookies from tasting flat after they cool.
Building the Dough So It Bakes Up Soft, Not Cakey
Dry the Pumpkin First
Spread the pumpkin puree on a few layers of paper towel and press gently until it gives up a good amount of moisture. You want it damp, not wet. If it still looks glossy and loose, keep blotting. This is the step that keeps the dough from turning into a batter-like mess.
Cream the Butter and Sugars
Beat the butter with both sugars until the mixture looks lighter in color and a little fluffy around the edges of the bowl. That air helps the cookies bake with some lift. If the butter is too cold, the mixture stays sandy; if it’s melted, the cookies spread too much. Softened butter should hold a fingerprint without looking greasy.
Fold, Don’t Beat, Once the Flour Goes In
After you add the dry ingredients, mix only until the flour disappears. Gluten-free dough can get gummy if you overwork it, and you don’t need extra mixing to make it come together. Fold in the chocolate chips at the end so they stay evenly distributed without dragging the dough down. Scoop immediately for the most even shape.
Bake Until the Centers Still Look a Little Soft
At 375°F, these cookies usually need 10 to 12 minutes. Pull them when the edges are golden and the tops no longer look wet, even if the centers still seem slightly underdone. They firm up on the pan during the five-minute rest. If you wait until the cookies look fully set in the oven, they’ll end up dry once they cool.
How to Adapt These Cookies Without Losing the Good Texture
Dairy-Free Version
Swap the butter for a firm dairy-free baking stick, not a soft tub spread. You want the same creaming behavior and structure, and the firmer stick-style option holds up much better in the oven. The cookies will still be tender, but the flavor will be a little less rich.
Different Chocolate Options
Use chopped chocolate bars if you want bigger melted pockets and a more bakery-style look. Chocolate chunks create uneven puddles of chocolate, while chips hold their shape more cleanly. Either works, but chopped chocolate gives the most dramatic texture contrast.
Gluten-Free Flour Substitution
Use a 1:1 gluten-free baking blend that includes xanthan gum. A single-ingredient flour like almond flour won’t give the same shape or chew, and the cookies will spread and break apart. If your blend is on the starchy side, chill the dough for 20 minutes before baking for a slightly thicker cookie.
Storage and Reheating
- Refrigerator: Store in an airtight container for up to 5 days. They stay soft, though the chocolate firms up after chilling.
- Freezer: These freeze well. Freeze baked cookies in a single layer, then transfer to a bag for up to 2 months, or freeze scooped dough balls and bake from frozen with 1 to 2 extra minutes.
- Reheating: Warm a cookie in the microwave for 8 to 10 seconds or in a 300°F oven for a few minutes. Long reheating dries out the centers, so stop as soon as the chocolate softens.