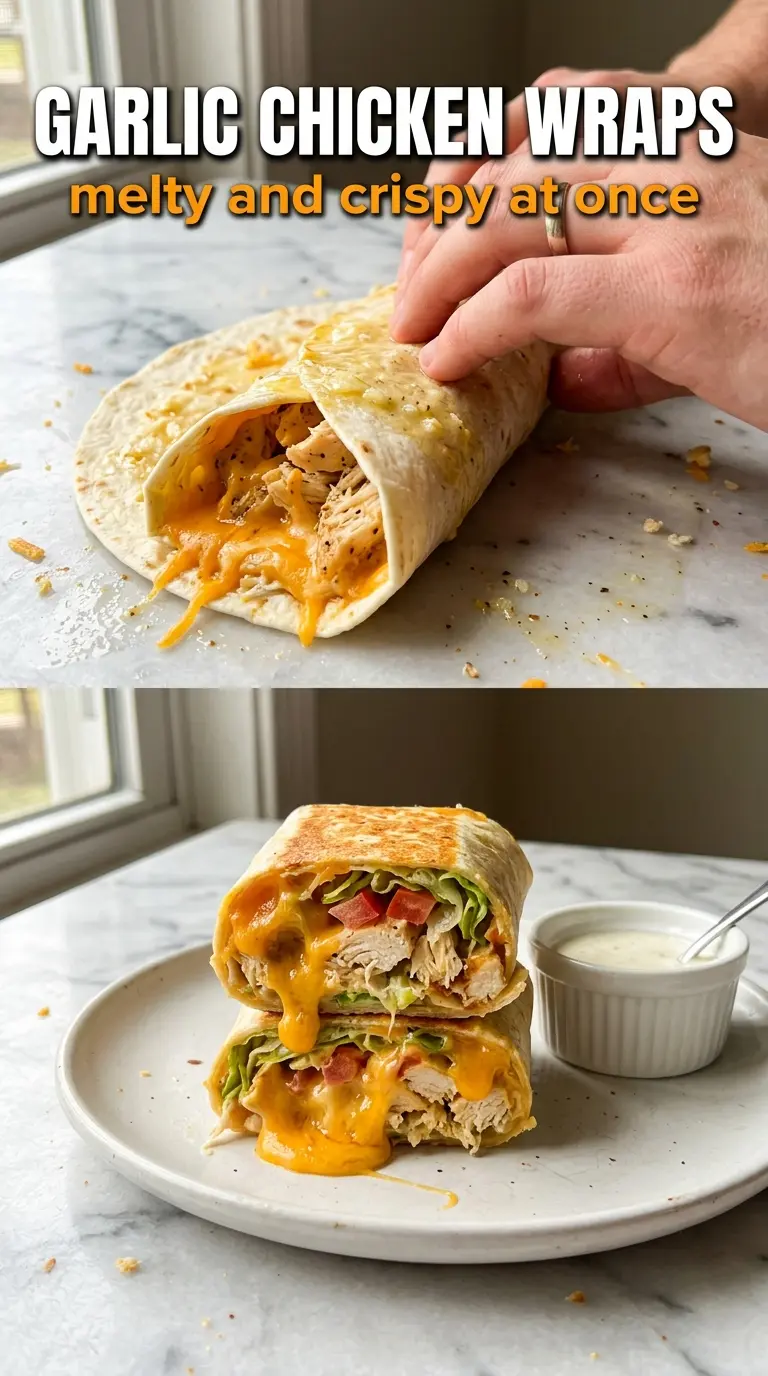
Golden, toasted tortillas wrapped around garlicky chicken and melted mozzarella hit that sweet spot between handheld and craveable. The outside gets crisp in the skillet, the cheese melts into the chicken, and the fresh romaine and tomatoes keep every bite from feeling heavy.
What makes these wraps work is the order. The chicken gets cooked first so it can pick up color, then it goes back into the pan with butter and garlic just long enough to coat without burning the garlic. That keeps the filling rich instead of bitter. A quick toast in the skillet at the end seals the wrap and gives you that cut-open stretch of cheese everyone wants.
Below you’ll find the small details that matter most: how to keep the tortillas from tearing, how to get the wrap to stay closed in the pan, and a few swaps that still give you a solid lunch or fast dinner.
The chicken stayed juicy and the garlic butter soaked right into it without turning greasy. I also loved that the wrap crisped up in the pan and held together until the last bite.
Save these cheesy garlic chicken wraps for the nights when you want a crisp tortilla, melted mozzarella, and dinner on the table in under 30 minutes.
The Reason These Wraps Stay Crisp Instead of Soggy
The biggest mistake with chicken wraps is building them too wet. Dressing, tomatoes, and hot chicken can turn a tortilla soft fast if they sit together too long before toasting. These wraps hold up because the chicken cools just enough after the garlic butter step, the lettuce stays dry, and the wrap gets a final skillet toast that sets the seam and crisps the outside.
The other detail that matters is heat control. High heat is fine for the chicken, but the final wrap toast should be over medium heat so the tortilla browns before the cheese leaks out. If the pan is too hot, the outside will scorch before the filling has time to melt together.
What the Garlic Butter Is Doing Here
- Chicken breasts — Cut into strips so they cook quickly and stay tender. Thin, even pieces brown better than thick chunks. If you swap in chicken thighs, reduce the risk of dryness, but keep the pieces bite-size so they wrap cleanly.
- Butter — This gives the garlic a rich base and helps the chicken brown. You need real butter here because it carries the garlic flavor into the filling and helps the final tortilla toast evenly. If you use half butter and half oil, you’ll get less richness but a slightly higher smoke point.
- Garlic — Fresh minced garlic matters. Jarred garlic can taste flat and harsh once it hits the butter. Cook it just until fragrant, not browned, or the whole filling takes on a bitter edge.
- Mozzarella — This is the cheese that gives you the melt and stretch. Pre-shredded works, but freshly shredded melts a little smoother because it doesn’t have the same anti-caking coating. If you want more flavor, mix in a little provolone or Monterey Jack, but keep mozzarella as the main cheese for the best pull.
- Romaine and tomatoes — These add crunch and freshness, but they should be dry. Pat the lettuce and tomatoes before assembling or the wrap will steam from the inside out.
- Ranch or Caesar dressing — This is the creamy layer that ties everything together. Ranch makes the wrap milder and more familiar; Caesar adds more savory punch. Use just enough to coat the tortilla so the filling stays balanced instead of slippery.
Building the Filling Without Losing the Melt
Cooking the Chicken First
Season the chicken strips with salt and pepper, then cook them in butter over medium-high heat until they’re golden on the outside and cooked through to 165°F. The strips should sizzle as soon as they hit the pan and pick up color fast. If the pan is crowded, the chicken will steam instead of brown, so work in batches if needed. Pull it as soon as it’s done; overcooked chicken turns stringy once it gets wrapped and toasted again.
Turning the Pan Into Garlic Butter
Use the same skillet and add the garlic to the remaining butter for about a minute, just until it smells sweet and sharp at the same time. Stir the cooked chicken back through so every piece gets coated. The garlic should look glossy, not browned. If it darkens, start over, because burnt garlic will taste harsh in every bite.
Assembling for a Clean Fold
Warm the tortillas first so they bend without cracking. Spread the dressing in a thin layer, then add the cheese before the chicken; that helps anchor the filling and gives you the best melt. Keep the lettuce and tomatoes in the middle rather than all the way to the edges. If you overfill the wrap, it will split when you roll and toast it.
Toasting the Wraps
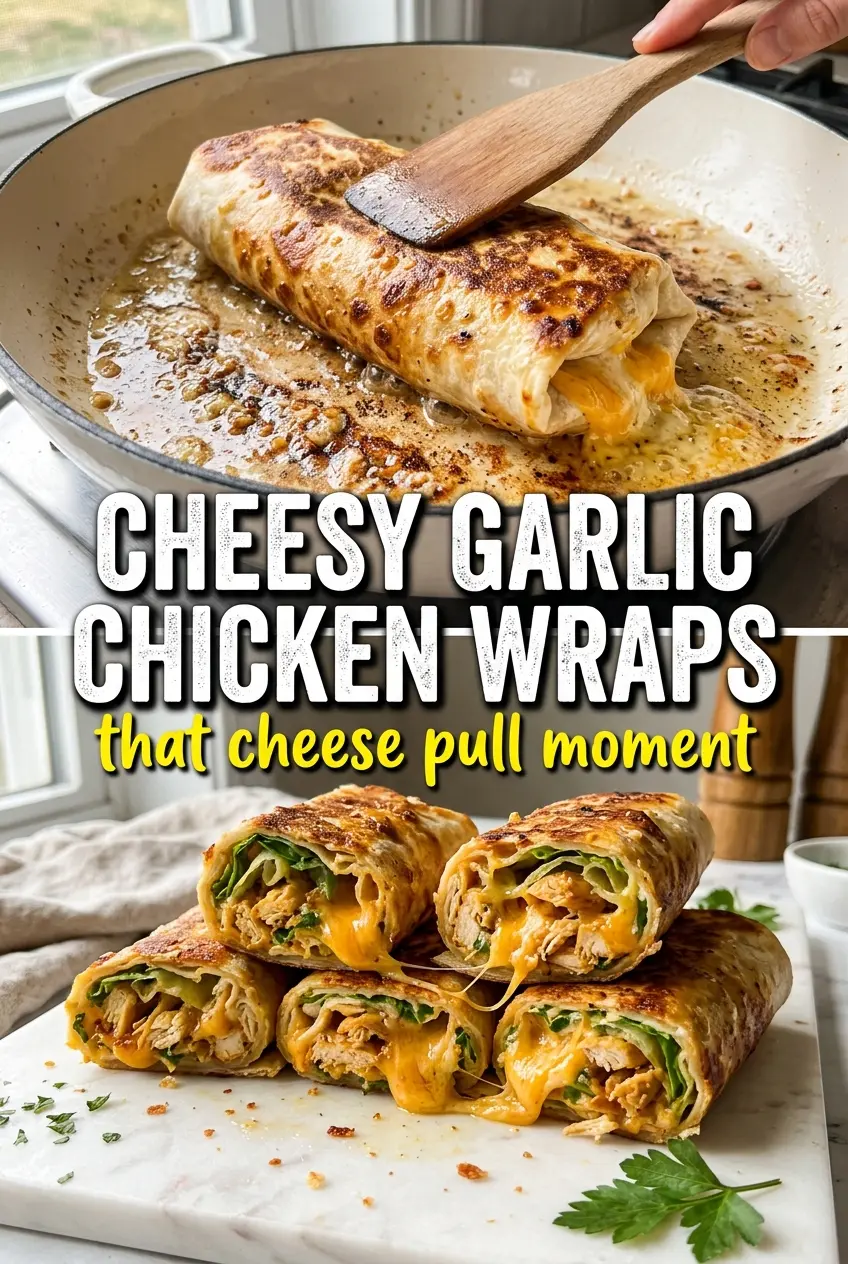
Roll the tortillas tightly and place them seam-side down in a lightly oiled or dry skillet over medium heat. Let them sit long enough for the surface to turn deep golden before flipping. The cheese should be melting as the second side browns. If the tortilla colors too quickly and the center still feels cool, lower the heat and give it another minute.
How to Change These Wraps Without Breaking the Texture
Make It with Chicken Thighs
Boneless thighs give you a juicier, more forgiving filling with a little more richness. They still need to be cut into even strips so they cook fast and roll neatly. Expect a slightly softer bite and a deeper savory flavor.
Dairy-Free Version
Use a plant-based butter and a meltable dairy-free cheese if you need to skip dairy. The wrap will still toast well, but you’ll lose some of the stretch and rich coating that real mozzarella gives. Choose a dressing that’s also dairy-free, since ranch and Caesar often hide milk ingredients.
Low-Carb or Gluten-Free Serving Style
For gluten-free, use certified gluten-free tortillas and toast them gently because they can split faster than standard flour tortillas. For a lower-carb option, skip the tortilla and turn the filling into a warm bowl over chopped romaine. You’ll keep the garlic chicken and cheese flavor, but you’ll lose the handheld crispness that makes the wrap feel like a wrap.
Storage and Reheating
- Refrigerator: Store assembled wraps for up to 2 days, but the lettuce will soften and the tortilla will lose some crispness. For better texture, keep the filling separate and assemble fresh.
- Freezer: These don’t freeze well once assembled because the lettuce and tomatoes turn watery. The cooked chicken filling can be frozen for up to 2 months.
- Reheating: Reheat the chicken filling in a skillet over medium-low heat, then assemble and toast the wrap fresh. Microwaving the whole wrap makes the tortilla rubbery and the cheese greasy.
Questions I Get Asked About This Recipe
Cheesy Garlic Chicken Wraps
Ingredients
Equipment
Method
- Season the chicken strips with salt and pepper. Cook them in 2 tablespoons butter in a skillet over medium-high heat for 5-6 minutes, turning once, until golden and cooked through to 165°F.
- In the remaining 2 tablespoons butter, cook the minced garlic for 1 minute until fragrant. Toss the cooked chicken strips in the garlic butter, then stir in the chopped parsley to coat.
- Warm the tortillas until pliable in a dry skillet or warm pan. Spread ranch dressing over each tortilla so the surface is evenly coated.
- Layer shredded mozzarella, garlic chicken strips, romaine, and cherry tomatoes down the center of each tortilla. Roll tightly, keeping the filling compact and aligned.
- Toast the wraps seam-side down in a skillet over medium heat for 2 minutes per side until golden. Continue cooking until the cheese is melted and the wrap holds together when lifted.
- Slice each wrap diagonally and serve immediately. Keep the cut face up so the melted mozzarella shows at the edge.