Blackstone fries land with the kind of crunch you can hear across the patio. The edges go deeply golden, the centers stay fluffy, and the buttered seasoning clings to every ridge instead of sliding off into the grease. When they come off the griddle hot and steaming, they taste like the best part of a diner basket made at home.
The trick is starting with russet potatoes, soaking off the surface starch, and drying them all the way. Any water left on the fries turns to steam on the griddle, and steam is the enemy of browning. A mix of oil and butter gives you the high-heat cooking you need plus that rich, salty finish that makes these fries worth repeating.
Below, you’ll find the timing that gives you crisp edges without drying out the middle, plus the one seasoning move that keeps the fries from tasting flat. If you’ve ever had griddle fries that came out pale or limp, this version fixes that.
The fries got crisp on the outside and stayed fluffy inside, and seasoning them right off the griddle made the garlic and paprika stick perfectly. We ate the whole batch before the burgers were even done.
Save these Blackstone fries for the nights when you want crispy griddle fries with buttery seasoning and zero oven waiting.
The Reason These Fries Crisp on the Blackstone Instead of Going Soft
The biggest mistake with griddle fries is crowding them before the surface has time to set. If the fries are piled up, they steam each other and never get that dry, blistered exterior that makes them worth the effort. A single layer on a hot Blackstone gives each fry direct contact with the metal, which is where the crisping happens.
The other piece that matters is seasoning at the end, not in the beginning. Garlic powder, paprika, and onion powder can scorch on the griddle if they go in too early, and scorched spices taste harsh fast. Tossing them on while the fries are still hot lets the butter carry the seasoning across the surface without burning it.
What Each Ingredient Is Actually Doing in These Fries
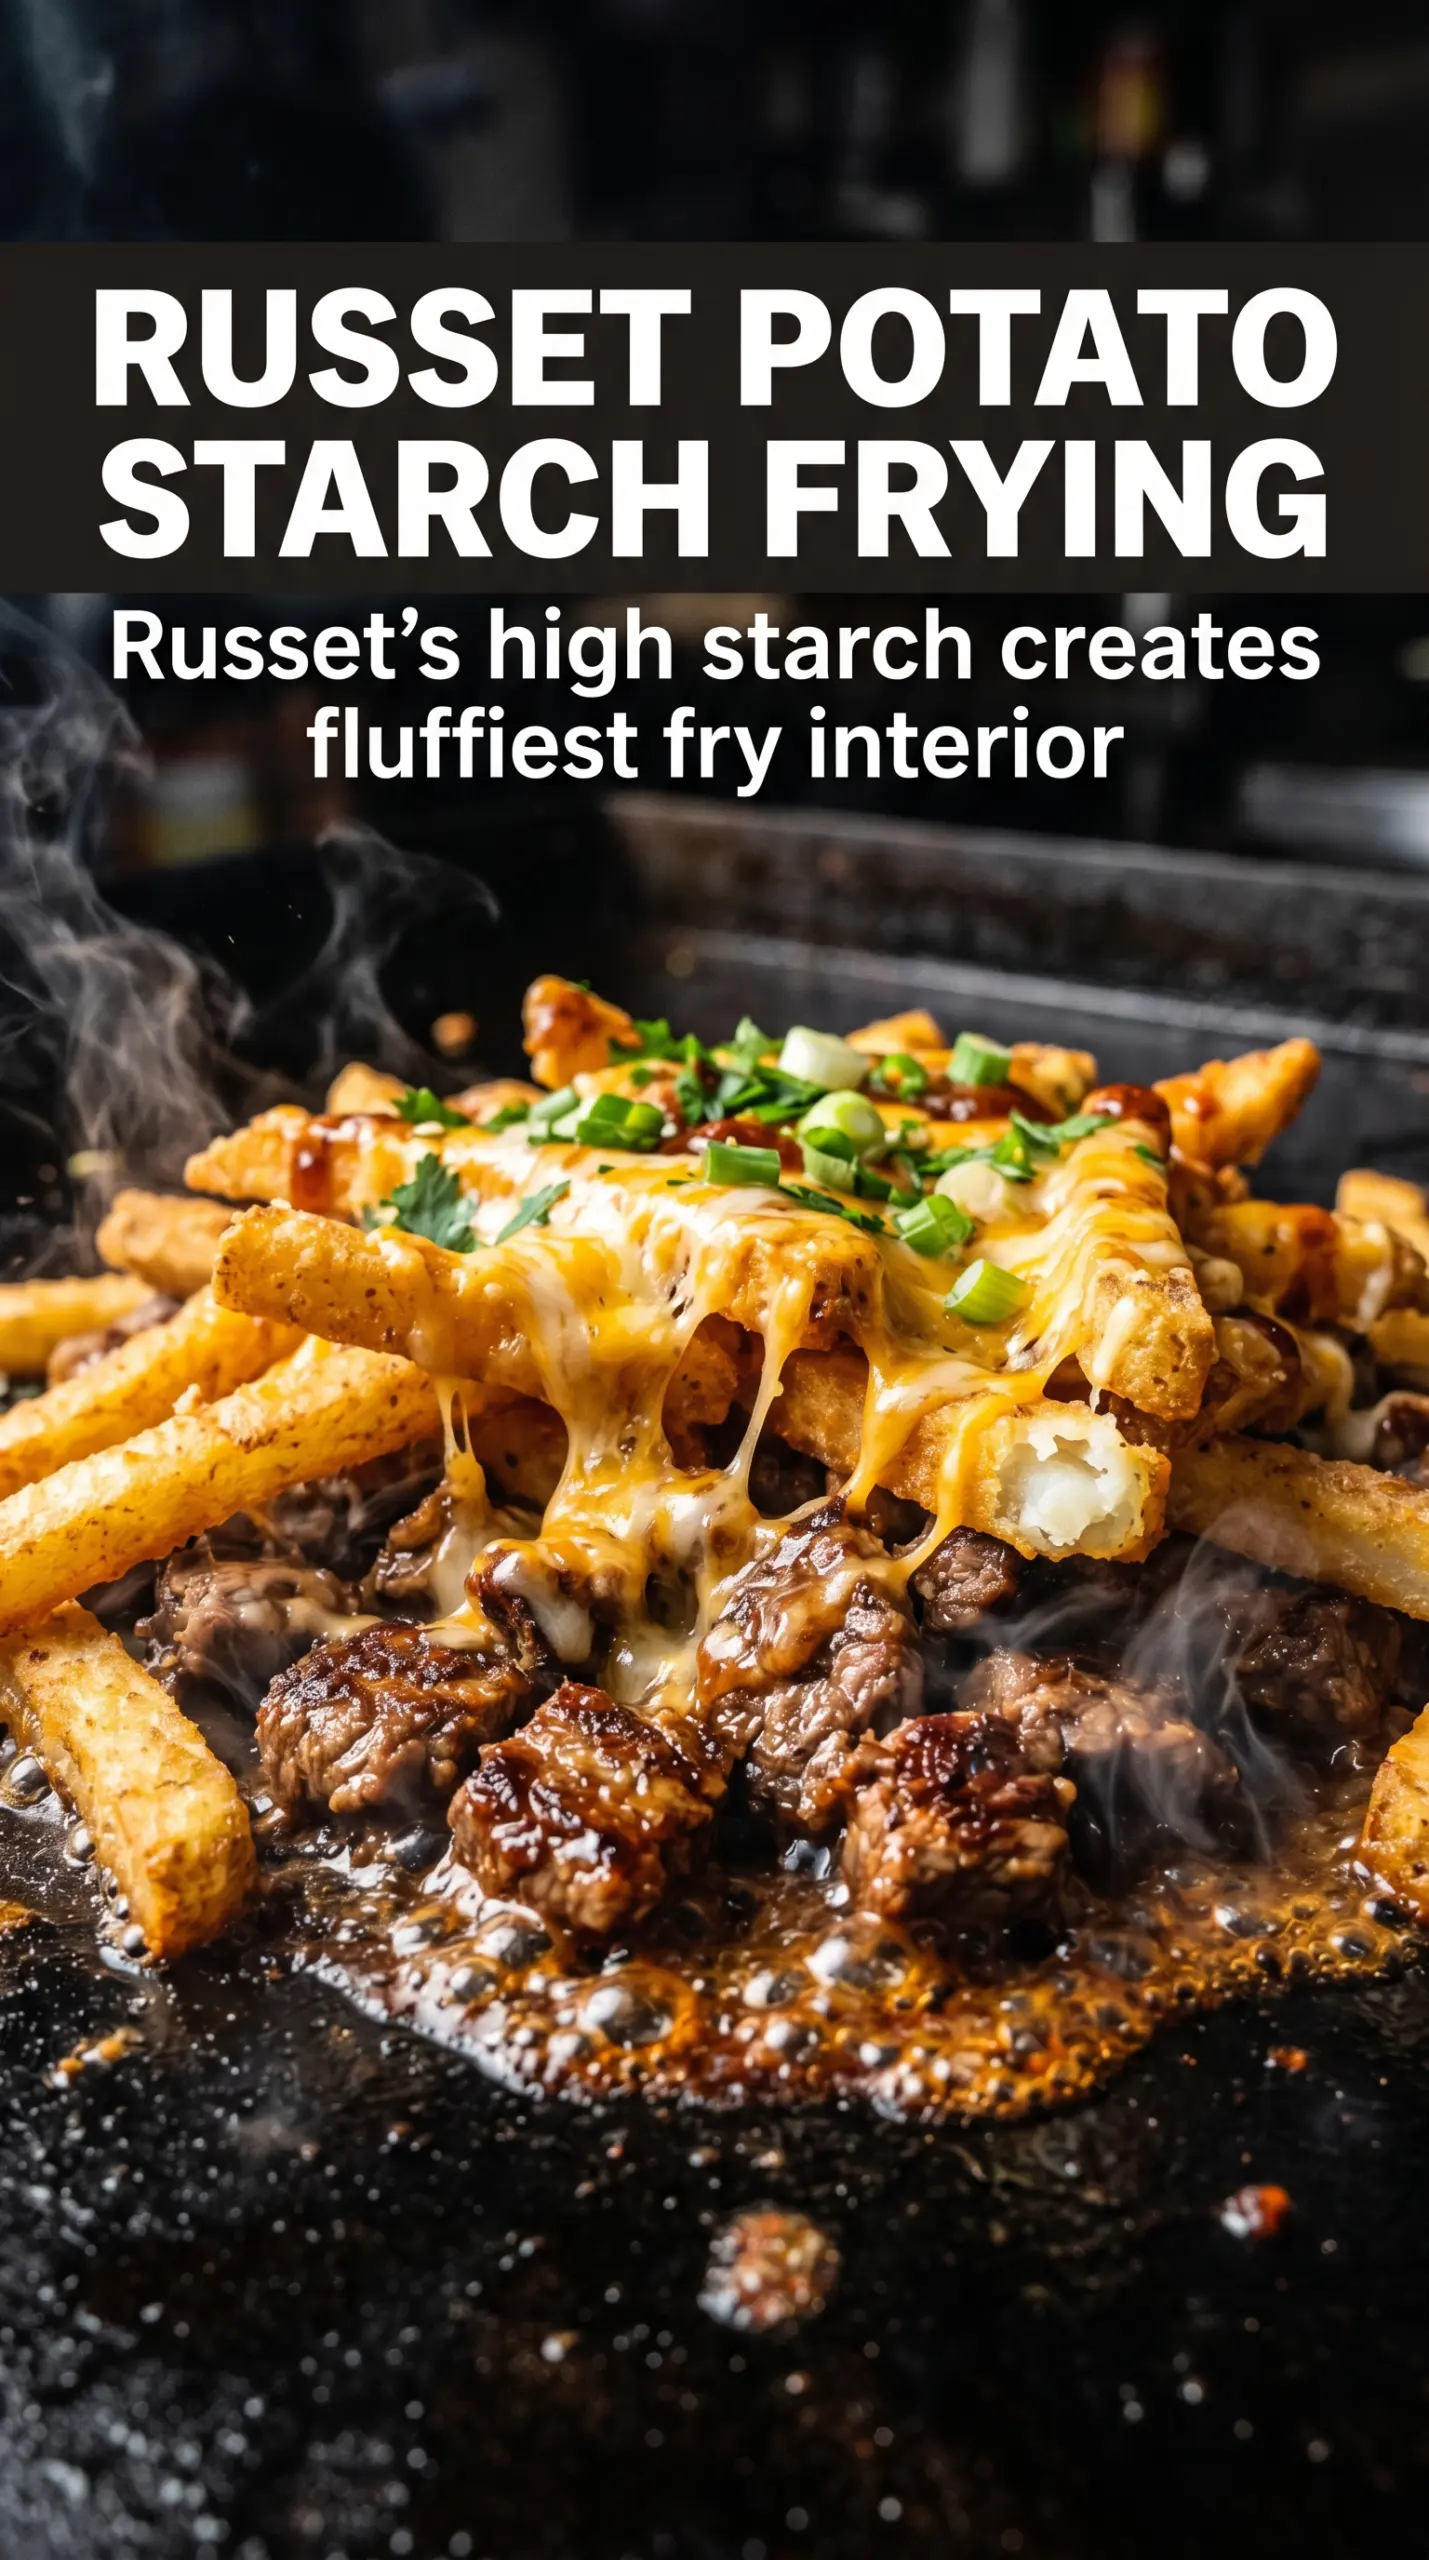
- Russet potatoes — These are the right potato for crisp fries because they’re starchy and dry out beautifully on the griddle. Waxy potatoes hold more moisture and tend to go dense instead of fluffy inside. Cut them evenly so they finish at the same pace.
- Vegetable oil — This gives you the high heat needed for browning without burning quickly. Canola or avocado oil works the same way. Don’t use olive oil here unless you’re cooking at a lower temperature, because its flavor can turn sharp on a hot griddle.
- Butter — Butter adds flavor and helps the seasoning cling. Straight butter alone can brown too fast, which is why it works best paired with oil. If you want a dairy-free version, use all oil and finish with a little extra salt.
- Garlic powder, paprika, and onion powder — This blend gives the fries that diner-style seasoning without needing a sauce. Garlic powder brings savoriness, paprika adds color and a little warmth, and onion powder rounds everything out. Add them after cooking so they stay fragrant instead of bitter.
- Fresh parsley — This is a small finish, but it wakes up the whole basket. It adds freshness after the rich butter and potato. Chop it fine so it sticks and doesn’t fall straight to the plate.
The 20 Minutes That Turn Sliced Potatoes Into Crisp Blackstone Fries
Soaking and Drying the Potatoes
Cut the potatoes into 1/4-inch fries, then soak them in cold water for 10 minutes. That brief soak pulls off surface starch, which helps the fries brown instead of glueing themselves together. The drying step matters just as much: pat them until they feel dry all over, because any water left behind will fight the crisping.
Heating the Griddle the Right Way
Heat the Blackstone to medium-high before the fries go on, then add the oil and butter. You want the fat hot enough that the fries sizzle on contact, but not smoking hard enough to brown the butter instantly. If the griddle is too cool, the potatoes absorb fat and turn greasy before they ever crisp.
Leaving the Fries Alone Long Enough to Brown
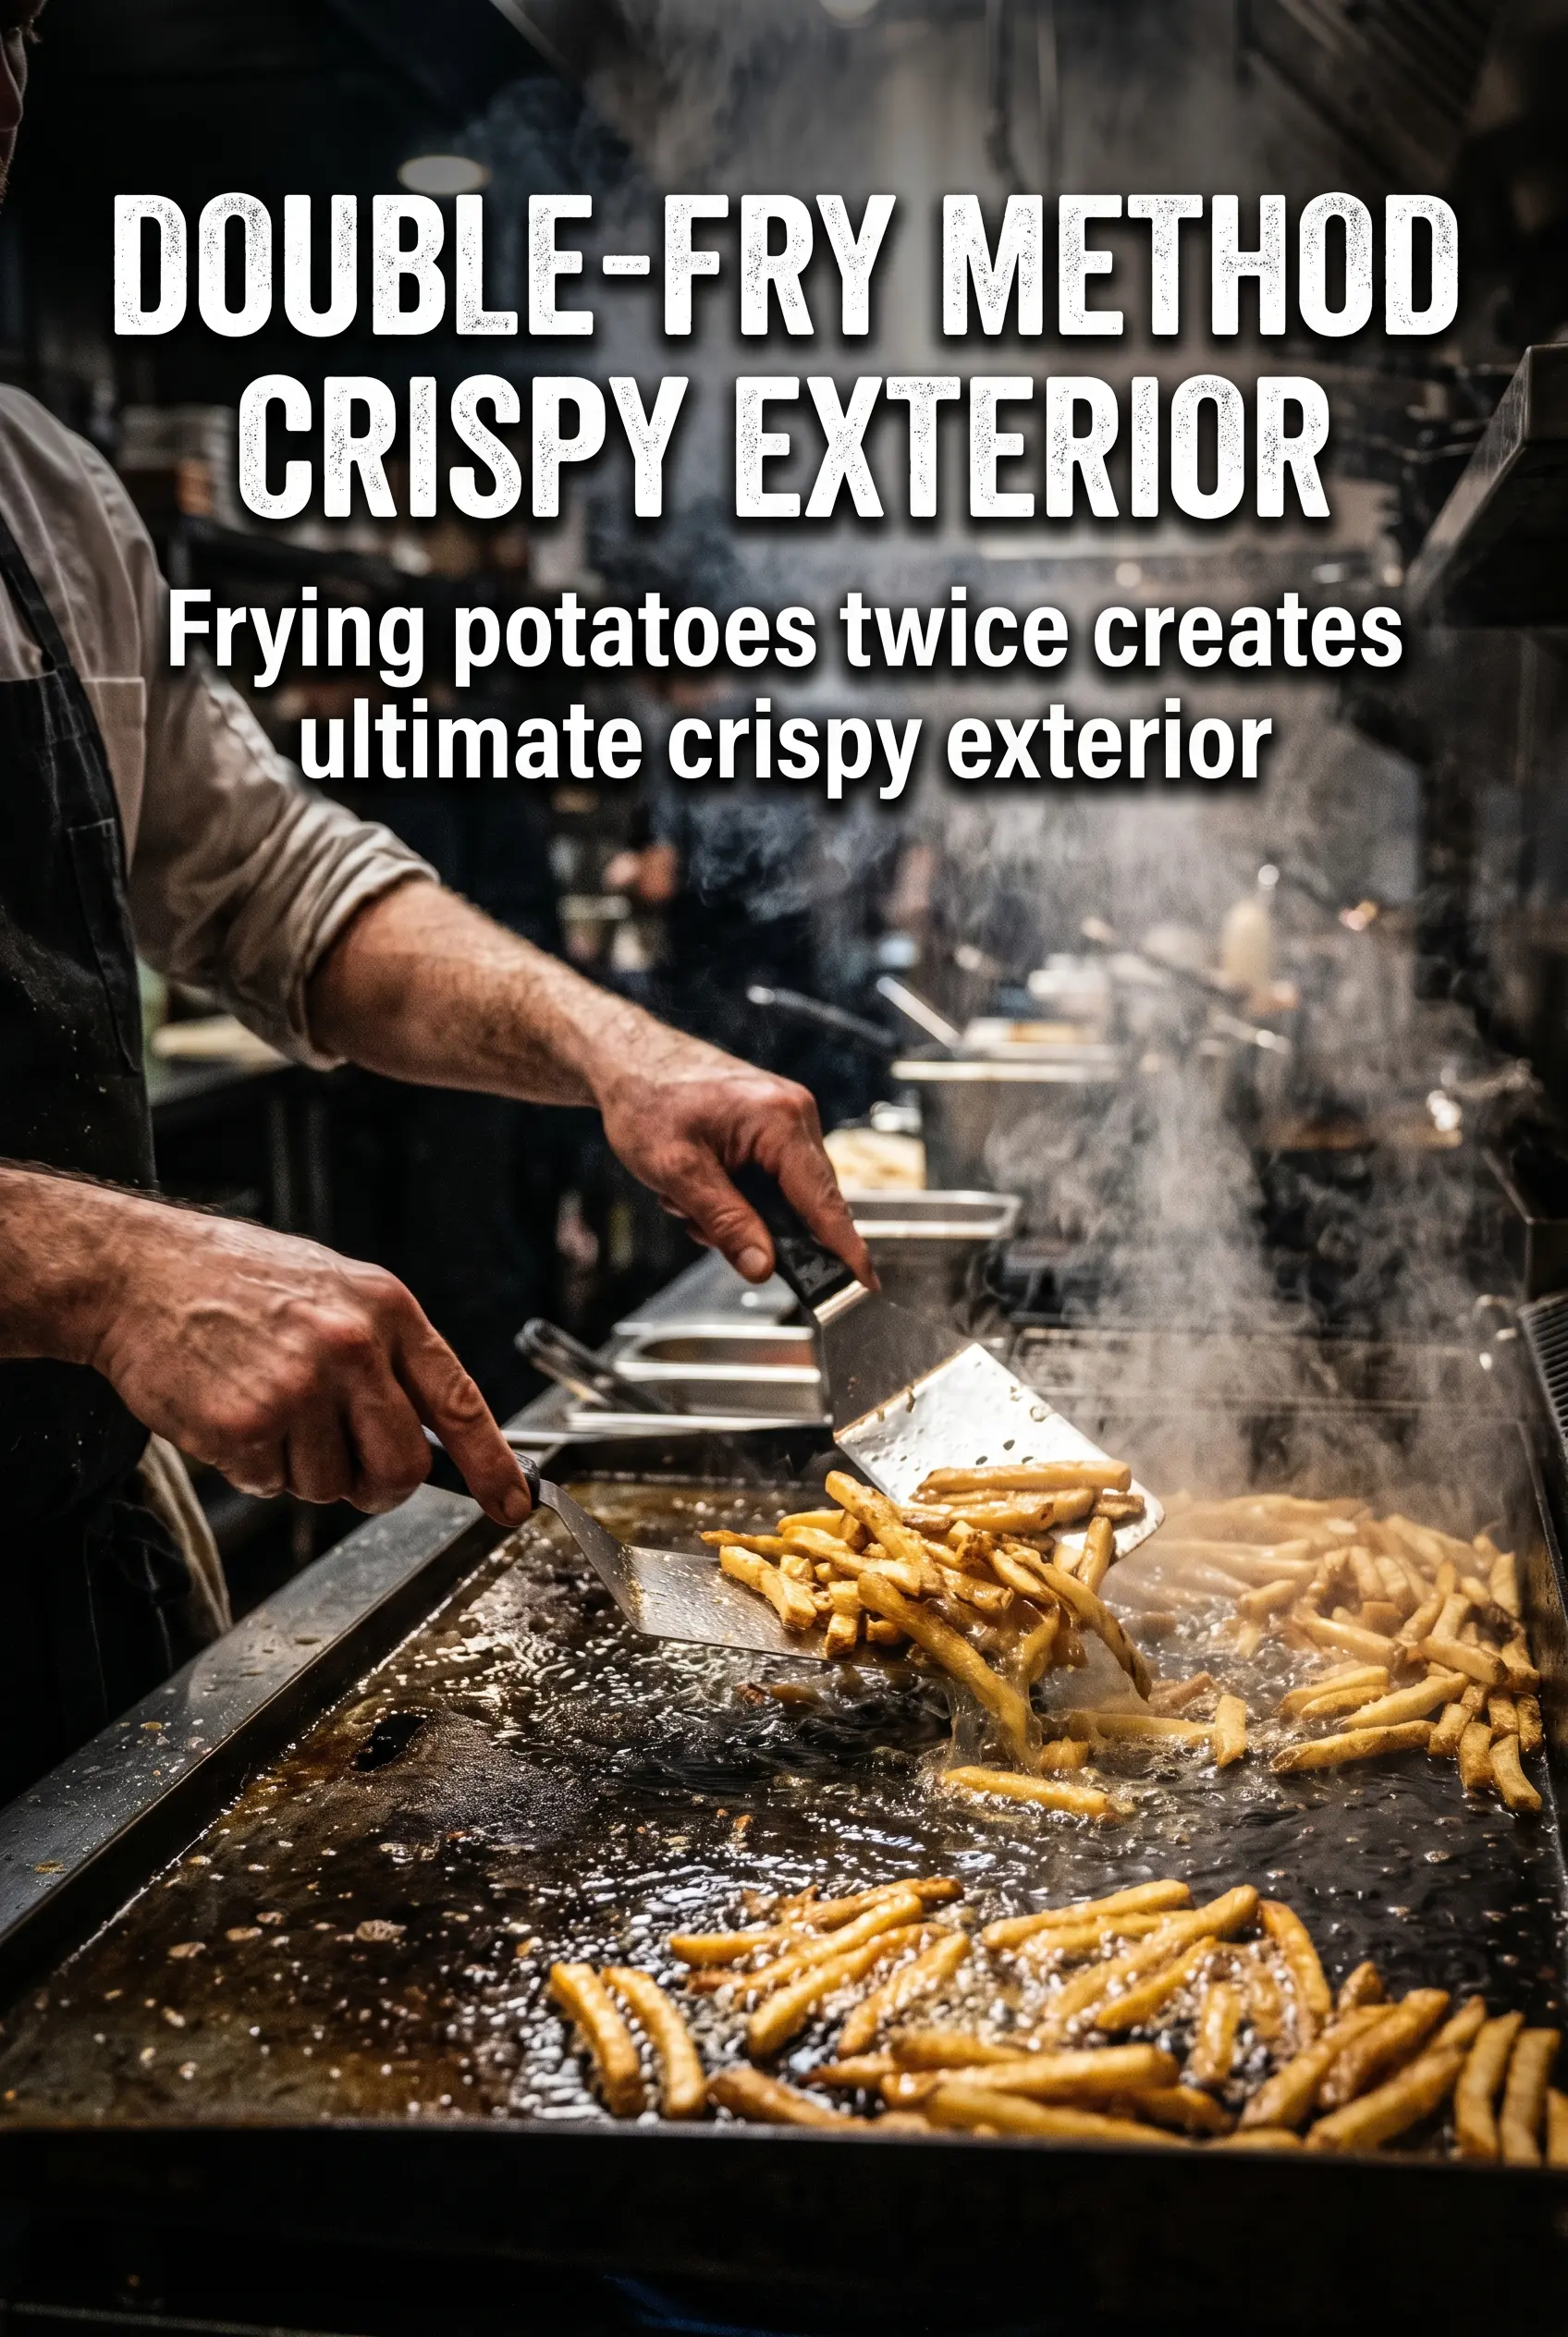
Spread the fries in a single layer and let them cook for 8 to 10 minutes without moving them. This is the part people rush, and that’s usually why their fries tear or stick. Once the first side has a set crust, the fries will release more easily, and that’s your signal to flip.
Finishing the Color and Seasoning
After flipping, cook another 8 to 10 minutes until the fries are golden on all sides and tender in the middle. Season them immediately while the butter is still slick on the surface, then toss with parsley and serve right away. If they sit too long in a pile, trapped steam softens the crust, so get them into a basket or onto plates fast.
How to Change These Fries Without Losing the Crispy Edges
Dairy-Free Griddle Fries
Swap the butter for another tablespoon of oil and finish with extra salt while the fries are hot. You lose a little of that buttery diner flavor, but the fries stay crisp and still taste full and seasoned.
Smokier, Spicier Fries
Add a pinch of smoked paprika or cayenne to the seasoning mix. Smoked paprika gives a deeper grill-style flavor, while cayenne adds heat without changing the fry texture.
Loaded Fries Style
Top the finished fries with shredded cheese, chopped bacon, or scallions and let them melt for a minute on the warm griddle. This turns them from a side into a full snack, but the fries need to be crisp first or the toppings will weigh them down.
Keeping Them Gluten-Free and Vegetarian
The base recipe is already both gluten-free and vegetarian as written, as long as your dipping sauces are too. That makes this an easy side to serve with burgers, grilled vegetables, or sandwiches without changing the method.
Storage and Reheating
- Refrigerator: Store leftovers in an airtight container for up to 3 days. They’ll soften as they sit, but they still re-crisp well.
- Freezer: These fries freeze, but the texture is never as good as fresh. Freeze in a single layer first, then bag them, and expect a softer center after reheating.
- Reheating: Reheat on a hot skillet or back on the Blackstone over medium-high heat until the edges crisp again. Don’t use the microwave if you want crunch; it turns the fries limp and steamy fast.
Answers to the Questions Worth Asking
Blackstone Fries
Ingredients
Equipment
Method
- Cut the russet potatoes into 1/4-inch thick fries and soak them in cold water for 10 minutes, keeping them fully submerged. Visual cue: the fries look plump and slightly cloudy in the water.
- Pat the fries completely dry with towels so no surface moisture remains. Visual cue: the fries look matte instead of wet-shiny.
- Heat the Blackstone griddle to medium-high and add the vegetable oil and butter. Visual cue: the butter foams lightly as the surface shimmers.
- Spread the fries in a single layer and cook for 8-10 minutes without moving them. Visual cue: edges begin to dry out and turn lightly golden.
- Flip the fries and cook another 8-10 minutes until golden and crispy on all sides. Visual cue: steam rises from the griddle fries as they crisp.
- Season immediately with garlic powder, paprika, onion powder, salt, and pepper while the fries are hot. Visual cue: seasoning clings visibly to the rough, crisp surfaces.
- Garnish with chopped fresh parsley and serve right away with ketchup and other dipping sauces. Visual cue: a fresh green topping contrasts the golden fries in the basket.