Baked Caesar chicken turns plain chicken breasts into a dinner that tastes layered and intentional, with a salty Parmesan crust, tangy dressing, and enough garlic and lemon to keep every bite sharp instead of heavy. The top bakes into a golden, crackled finish while the chicken underneath stays juicy from the short marinade, so you get contrast instead of dry, one-note chicken.
The trick is letting the Caesar dressing do double duty: it seasons the meat and helps the Parmesan cling before the panko goes on. Freshly grated Parmesan matters here because the pre-shredded stuff won’t melt and brown the same way, and the lemon zest keeps the whole dish from tasting flat. The rest is mostly about heat and timing — hot oven, short marinate, and a crust that’s pressed on firmly enough to stay put.
Below, I’m walking through the one step people usually rush, the ingredient swap that still keeps the crust crisp, and the best way to serve it so it feels like more than just chicken with dressing on top.
The crust turned out golden and stayed on the chicken instead of sliding off, and the lemon in the marinade kept the Caesar flavor from getting too heavy. I served it with romaine and croutons like you suggested and my husband asked if I could put it on the menu again next week.
Love the golden Parmesan crust on this baked Caesar chicken? Save it to Pinterest for an easy chicken dinner that bakes up crispy, savory, and weeknight-ready.
The Step That Keeps the Crust Attached
The crust on baked Caesar chicken fails for one main reason: the topping gets added loosely, then the chicken gives off steam and the whole layer slides. Pressing the Parmesan-panko mixture onto the chicken after the marinade has coated it gives the crumbs something to grip, and baking in a hot oven helps the top set before the chicken has time to dry out. If you’ve ever pulled chicken out of the oven and found the topping pooled at the bottom of the pan, this is the fix.
Marinating for 20 minutes is enough here. Much longer and the dressing can start to soften the surface of the chicken too much, which works against the crisp finish you want. The balance is a short soak, a firm topping, and enough heat to brown the cheese without burning it.
What Each Ingredient Is Actually Doing in This Dish
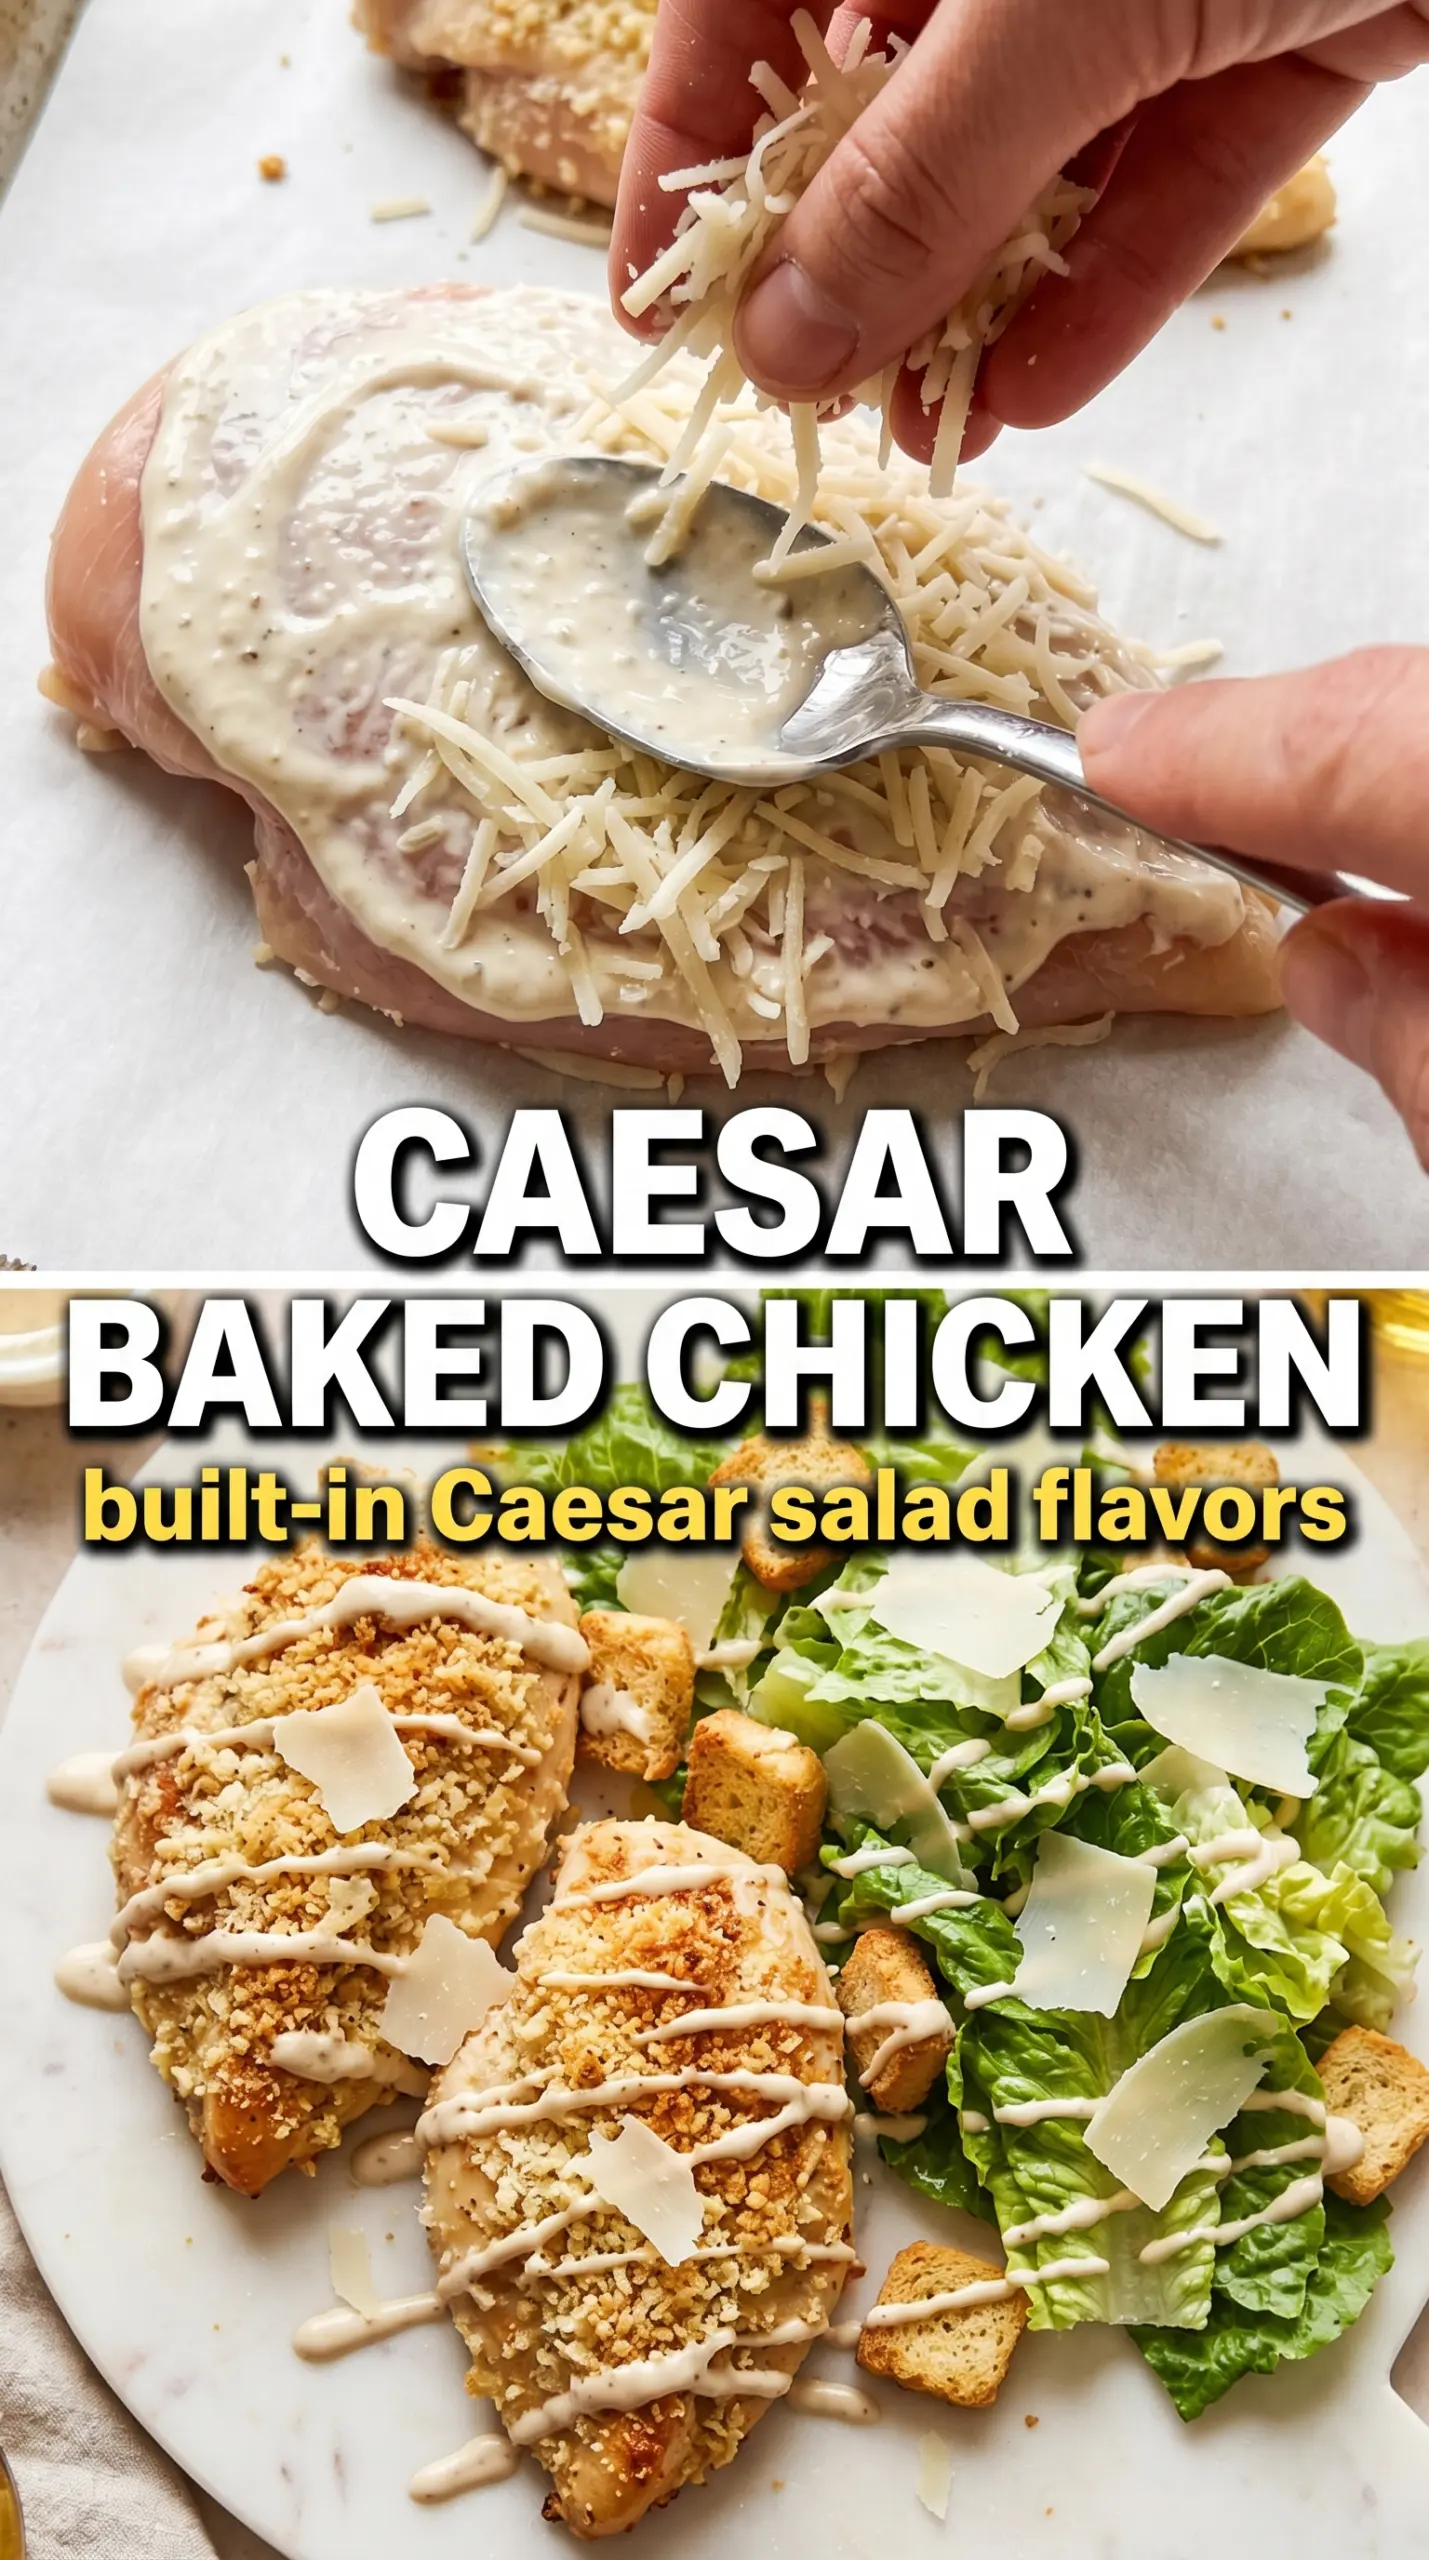
- Caesar dressing — This is the backbone of the flavor and the marinade. It brings salt, acid, fat, and seasoning in one move, which is why it does more than plain oil and lemon ever could. Store-bought works fine here, especially if you’re using it in the marinade only.
- Freshly grated Parmesan — This is where the crust gets its sharp, nutty edge and most of its browning power. Freshly grated melts into the dressing and turns into a real crust; the shelf-stable shredded kind tends to stay dry and gritty. If you need a swap, Pecorino Romano will give a saltier, firmer finish.
- Panko breadcrumbs — Panko keeps the topping light and crisp instead of dense. Regular breadcrumbs work in a pinch, but the crust will be tighter and less crackly. For a gluten-free version, use gluten-free panko and keep the layer thin so it still browns.
- Lemon zest — This lifts the dressing and keeps the chicken tasting bright. Don’t skip it unless your Caesar dressing is already heavily lemon-forward, because the zest is what keeps the Parmesan from tasting heavy once it bakes.
- Romaine and croutons — These aren’t just garnish. The cool crunch on the plate turns the chicken into a proper Caesar-style dinner and makes the richness feel balanced. If you’re serving this with pasta or roasted potatoes instead, the romaine is still worth keeping on the side.
Getting the Chicken to Bake Juicy Under a Crisp Top
Mix the Marinade Until It Looks Smooth
Stir the Caesar dressing, half the Parmesan, garlic powder, and lemon zest together until the mixture looks thick and evenly speckled. Coat the chicken all over and let it sit for 20 minutes, not much longer, so the surface takes on flavor without turning slippery. If the chicken seems extra thick in the middle, pound it lightly first so it bakes at the same rate.
Press the Crust on Before It Goes in the Oven
After the chicken is in the baking dish, mix the remaining Parmesan with the panko and press it onto the top of each breast with your fingertips. Don’t scatter it over the surface and hope for the best; a gentle press is what keeps the topping in place while it bakes. If some of the marinade pools in the dish, leave it there — that moisture helps the pan stay from looking dry, but it shouldn’t cover the crust.
Bake Until the Top Is Deep Gold and the Center Reaches Temperature
Bake at 400°F for 22 to 25 minutes, until the topping is golden and the thickest part of the chicken reads 165°F. The crust should look crisp at the edges and smell nutty, not pale or soft. If the top browns before the chicken is done, tent it loosely with foil and keep baking; pulling it early leaves you with a raw center and a nice-looking top that doesn’t help much.
Serve It While the Crust Still Has Some Crunch
Finish with chopped romaine, croutons, extra dressing, and a few shavings of Parmesan. The contrast matters here, and it disappears fast if the chicken sits too long before serving. Slice after a short rest so the juices settle, then get it on the plate while the crust still has texture.
How to Adapt It Without Losing the Caesar Character
Dairy-Free With a Different Finish
Use a dairy-free Caesar dressing and swap the Parmesan for a finely ground dairy-free Parmesan alternative. The crust won’t brown quite as deeply, but the seasoning and creamy tang still come through. Choose one that melts a little when heated, not a dry powder, or the topping stays sandy instead of cohesive.
Gluten-Free Without Losing the Crunch
Swap the panko for gluten-free panko or crushed gluten-free crackers. You still want something coarse enough to toast, because fine crumbs can turn pasty against the dressing. Keep the layer thin and press it on well so it browns instead of steaming.
Thighs Instead of Breasts
Boneless skinless chicken thighs work if you want more moisture and a little more forgiveness in the oven. Add a few extra minutes and check for doneness in the thickest part, since thighs usually need longer than breasts. The crust still gets crisp, but the final texture is juicier and a little richer.
Make-Ahead for Busy Nights
You can mix the marinade earlier in the day and keep it chilled, then coat the chicken shortly before baking. I don’t recommend adding the panko topping until right before the pan goes into the oven, because it softens if it sits too long in the dressing. That last-minute topping is what keeps the crust crisp.
Storage and Reheating
- Refrigerator: Store leftovers in an airtight container for up to 3 days. The crust softens, but the flavor holds up well.
- Freezer: It freezes, but the topping loses its crispness. Wrap tightly and freeze for up to 2 months if you need to, then thaw in the fridge overnight.
- Reheating: Reheat in a 350°F oven until warmed through, about 10 to 15 minutes. The microwave makes the crust soggy, which is the main thing to avoid with this dish.
Answers to the Questions Worth Asking
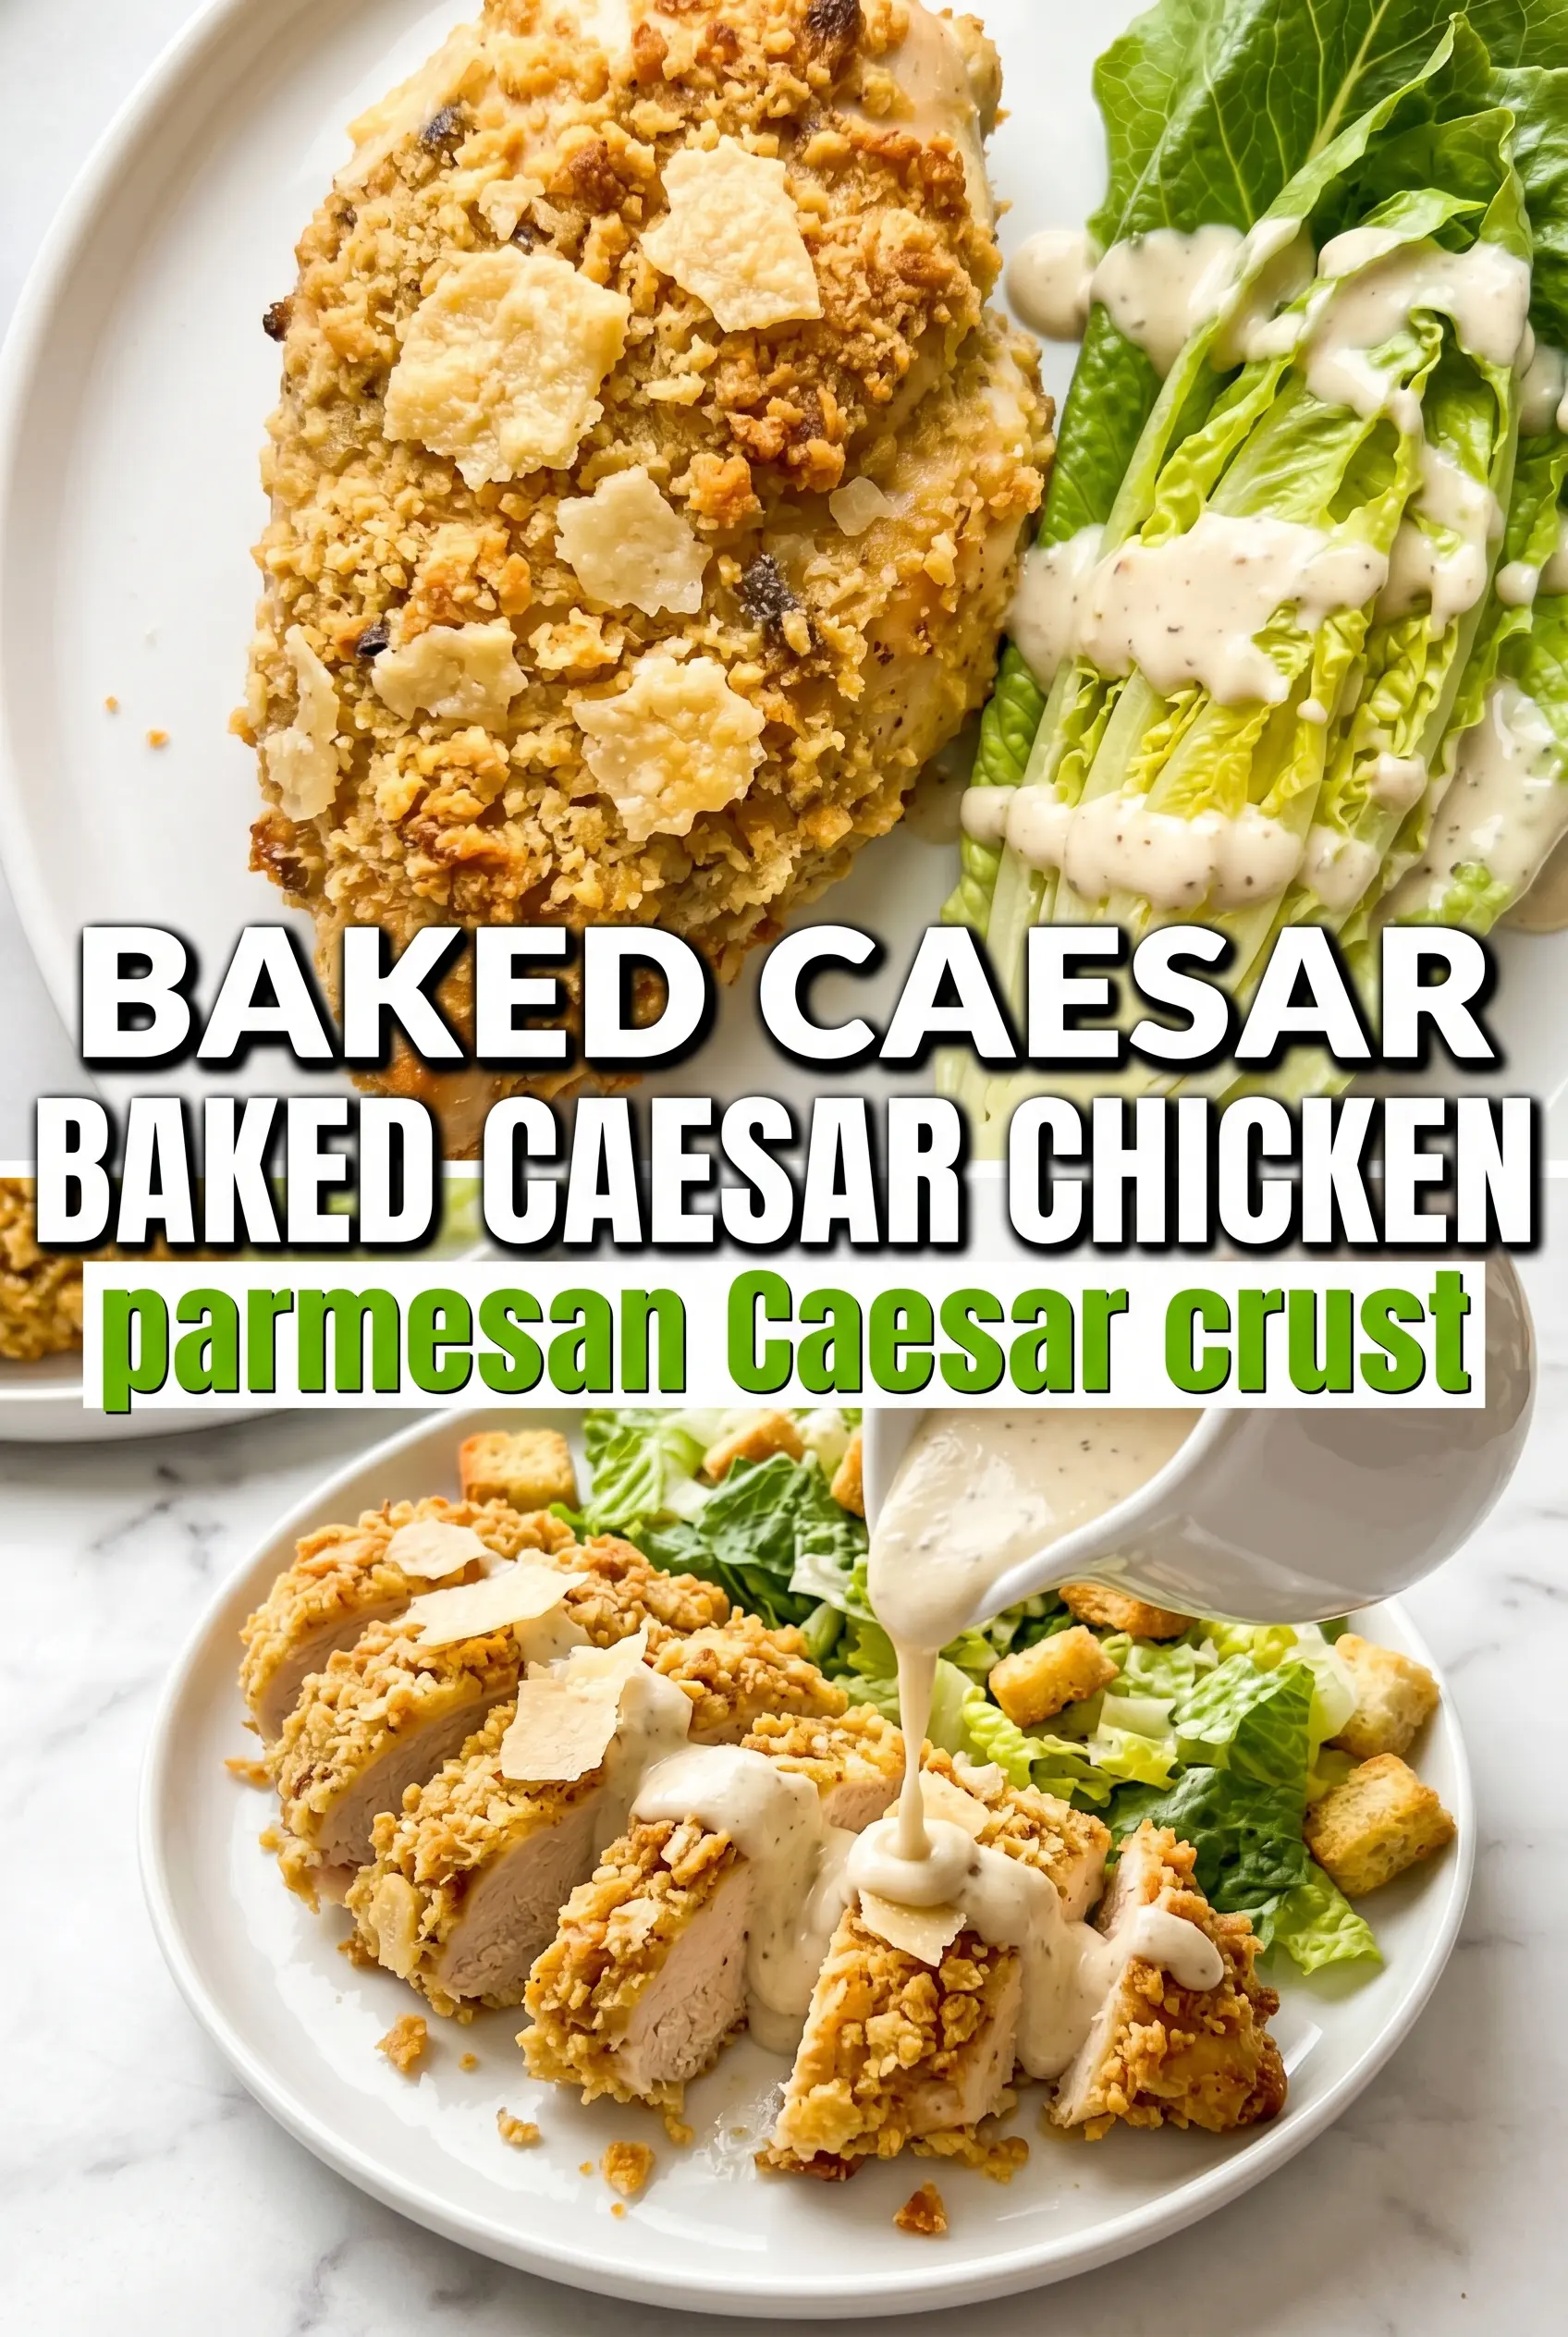
Baked Caesar Chicken
Ingredients
Equipment
Method
- In a bowl, mix Caesar dressing, 1/2 cup Parmesan, garlic powder, and lemon zest until evenly combined, then set aside. Marinate the chicken in the mixture for 20 minutes for best flavor penetration.
- Preheat the oven to 400°F and grease a baking dish to prevent sticking. Arrange the baking dish for quick loading once the oven is ready.
- Place the marinated chicken in the dish, then press the remaining 1/4 cup Parmesan mixed with panko over the top of each breast. Press firmly so the crust adheres as it bakes.
- Bake for 22-25 minutes at 400°F until the crust is golden and the internal temperature reaches 165°F. Look for a caramelized, crackled top and juices running clear near the thickest part.
- Serve the baked chicken topped with chopped romaine, croutons, and an extra drizzle of Caesar dressing. Finish with shaved Parmesan right before eating for the freshest, most fragrant bite.