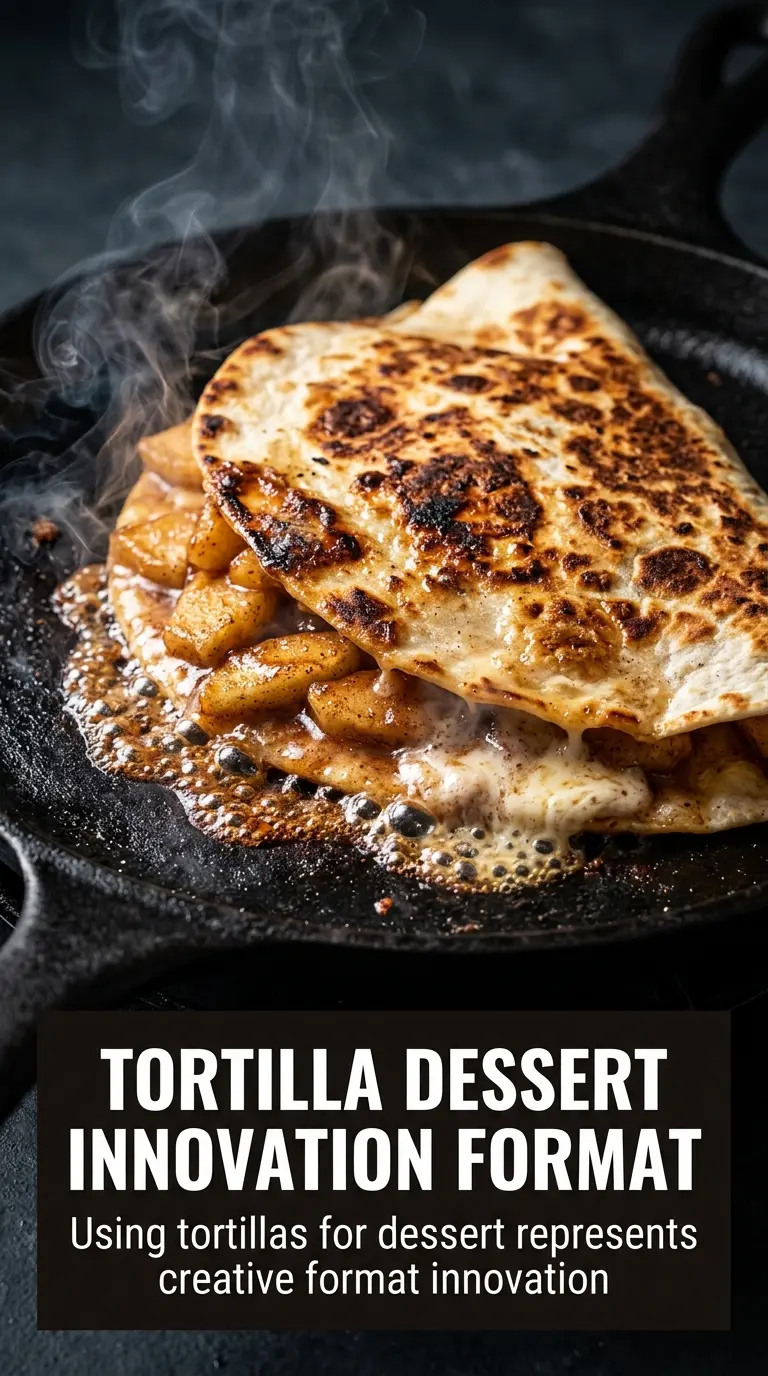
Golden, crisp tortillas wrapped around warm cinnamon apples hit that sweet spot between pie and hand pie, but without the time it usually takes to make pastry. The tortilla turns shatter-crisp in the oil, the filling stays soft and glossy, and the cinnamon sugar clings the second it comes out of the pan. Served hot with vanilla ice cream, the whole thing eats like a dessert you meant to make on purpose, not a shortcut you settled for.
What makes this version work is the contrast. The apple filling gets cooked first so the fruit softens and the juices reduce before it ever goes into the tortilla. A little cornstarch finishes the job and keeps the center from leaking out when you fry it. That matters, because too-wet filling is the fastest way to get soggy seams and spattering oil.
Below, I’ve included the texture cue I watch for in the apples, the trick for rolling the tortillas without tearing them, and a few swaps if you want to change the fruit or skip the fryer.
The filling thickened up just enough that it didn’t ooze out, and the tortillas stayed crisp even after I added ice cream on top. My kids asked if I could make these again the next night.
Save these apple pie tortillas for the nights when you want crisp cinnamon apples, a fast fry, and a scoop of ice cream melting over the top.
The Trick to Keeping the Filling Thick Instead of Runny
The filling has to be cooked down before it ever touches the tortilla. Raw apples release a lot of moisture as they soften, and if you skip that step, the tortilla absorbs the juices instead of frying into a crisp shell. The cornstarch slurry goes in near the end, after the apples have started to tenderize, so it can thicken the juices without turning pasty.
Granny Smith gives you a sharper pie-style bite, while Honeycrisp or Gala will lean sweeter and softer. If your apples collapse too fast, the filling turns jammy and loses the little chunks that make each bite interesting. Pull the pan off the heat as soon as the mixture looks glossy and spoonable, not wet.
What the Tortillas, Apples, and Cinnamon Sugar Are Each Doing
- Small flour tortillas — These fry up into a thin, blistered shell that tastes closer to a crisp pastry than bread. Corn tortillas won’t give you the same pliable roll or the same flaky crunch, so stick with flour here.
- Apples — This is the center of the dessert, so use firm apples that hold some shape after cooking. Softer apples turn mushy fast and make the filling leak; peeled and diced fruit cooks more evenly and rolls easier.
- Brown sugar — It melts into the apples and gives the filling that caramel note you expect from apple pie. White sugar works in a pinch, but the filling tastes flatter.
- Cornstarch — This is what keeps the apple juices from running out the second you cut into the tortilla. Mix it with water first so it disperses smoothly; dry cornstarch dumped straight into the pan tends to clump.
- Cinnamon sugar — Coat the tortillas while they’re still hot so the sugar sticks in a thin, even layer. If you wait too long, it won’t cling and you’ll lose that crackly finish.
Rolling, Frying, and Coating Without Losing the Crunch
Cooking the apples until they’re just tender
Melt the butter first, then add the apples, brown sugar, cinnamon, and nutmeg. Cook over medium heat until the apples soften and the pan starts to look syrupy at the bottom, which usually takes 5 to 7 minutes. If the heat is too high, the sugar can scorch before the apples soften, so keep the fruit moving and lower the heat if the pan starts smoking.
Thickening the filling so it stays inside
Stir the cornstarch and water together before adding it to the skillet. Pour it in and cook just until the filling turns glossy and thick enough to mound on a spoon. If it still looks loose, it will escape during frying; if you cook it too long, it can turn stiff and gummy once it cools.
Rolling the tortillas tightly
Spoon 2 to 3 tablespoons of filling into the center of each tortilla, then roll it snugly and secure the seam with toothpicks. Don’t overfill them or they’ll split open in the oil. If the tortillas feel stiff, warm them for a few seconds first so they bend without cracking.
Frying to a deep golden crust
Heat the oil over medium heat until a small corner of tortilla sizzles right away but doesn’t brown instantly. Fry the rolls for 2 to 3 minutes per side until they’re evenly golden and crisp. If the oil is too cool, they soak up grease; if it’s too hot, the outside darkens before the tortilla shell crisps through.
Coating while the surface is still hot
Roll the fried tortillas in cinnamon sugar the second they come out of the oil. The residual heat helps the sugar stick, and that’s what gives you the crunchy, bakery-style finish. Let them sit on a rack for a minute before serving so the coating sets instead of melting into a wet glaze.
How to Change These for Different Pans, Diets, and Fruit Swaps
Baked Instead of Fried
Brush the rolled tortillas with melted butter or a little oil, then bake them at 400°F until crisp and lightly browned. You’ll lose some of the shattering crunch from frying, but you also lose the mess and the extra oil. This works best if you use a hot oven and place the rolls seam-side down on a lined sheet pan.
Gluten-Free Version
Use certified gluten-free flour tortillas that are soft and flexible, not dry or brittle. They won’t crisp exactly the same way, but the filling and cinnamon sugar still carry the dessert. Warm them first so they roll without cracking.
Pear or Apple-Pear Filling
Swap part of the apples for peeled pears if that’s what you have on hand. Pears cook faster and soften more, so keep some apple in the mix for structure. The flavor turns a little softer and more floral, which works nicely with the cinnamon sugar.
Storage and Reheating
- Refrigerator: Store leftovers for up to 3 days. The tortillas soften as they sit, but the filling stays good.
- Freezer: Freeze the filled, unfried rolls for up to 1 month. Wrap them well and thaw just enough to fry; freezing after frying makes them lose their crisp texture.
- Reheating: Warm leftovers in a 375°F oven or air fryer until the shell crisps again. The microwave will turn the tortilla chewy and the sugar coating sticky, which is the fastest way to lose the texture that makes these worth making.
Answers to the Questions Worth Asking
Apple Pie Tortillas
Ingredients
Equipment
Method
- Melt the butter in a skillet over medium heat, then add the diced apples, brown sugar, cinnamon, and nutmeg. Cook for 5-7 minutes, stirring occasionally, until the apples are tender and glossy.
- In a small bowl, mix the cornstarch with the water until smooth, then add it to the skillet. Cook for 1-2 minutes more until the juices thicken into a spoonable filling.
- Spoon 2-3 tablespoons of the hot apple filling into the center of each tortilla. Roll tightly and secure with toothpicks so the seam stays closed.
- Heat oil in a skillet over medium heat until shimmering, then fry the rolled tortillas for 2-3 minutes per side. Fry until deep golden and crispy with visible browning.
- Remove the tortillas from the oil and immediately roll them in the cinnamon sugar while still hot. The coating should cling as the surface stays crisp.
- Serve the apple pie tortillas warm with vanilla ice cream on the side. Let the ice cream start to melt for a soft, sweet contrast.