Apple crisp shortbread bars hit that sweet spot between a bakery-style dessert and something you can cut into neat squares without losing the best part of the filling. The base bakes up buttery and sturdy, the apples turn soft but not mushy, and the oat crumble on top stays crisp enough to give every bite some texture. A drizzle of caramel over the cooled bars takes the whole pan from good to one of those desserts people hover around until the last piece is gone.
The trick here is building the shortbread crust from the same mixture that becomes the crumble topping. That means one dough does double duty, but only if the butter stays cold and the mixture looks sandy with a few larger clumps. The other detail that matters is the quick bake on the crust before the apples go on. That sets the bottom so the fruit doesn't soak straight through and turn it soggy.
Below you'll find the small details that make these bars slice cleanly, hold their shape, and still taste like a proper apple crisp. I've also included the swaps that work when you need to change the apples or make the bars ahead.
The crust held together beautifully and the apples thickened up instead of running everywhere. I chilled the pan overnight, and the bars sliced into clean squares the next day with the caramel still tasting fresh.
Love the buttery crumble and spiced apple layers in these bars? Save them to Pinterest for the times you want an easy dessert that slices cleanly and still tastes like apple crisp.
The Crust Needs to Be Packed Before the Apples Ever Go On
The biggest mistake with bars like these is treating the base like loose crumble from the start. If you don't press the first layer firmly into the pan, the bottom falls apart when you slice it and the filling leaks into every gap. Baking that base for 12 minutes gives it enough structure to stand up to the apples, while still leaving it tender instead of hard.
The apple layer also needs a little insurance. Cornstarch catches the juices as the fruit bakes, and lemon juice keeps the slices tasting bright instead of flat. If your apples are especially juicy, slice them thin so they soften evenly before the top browns too much.
What Each Ingredient Is Doing in These Bars
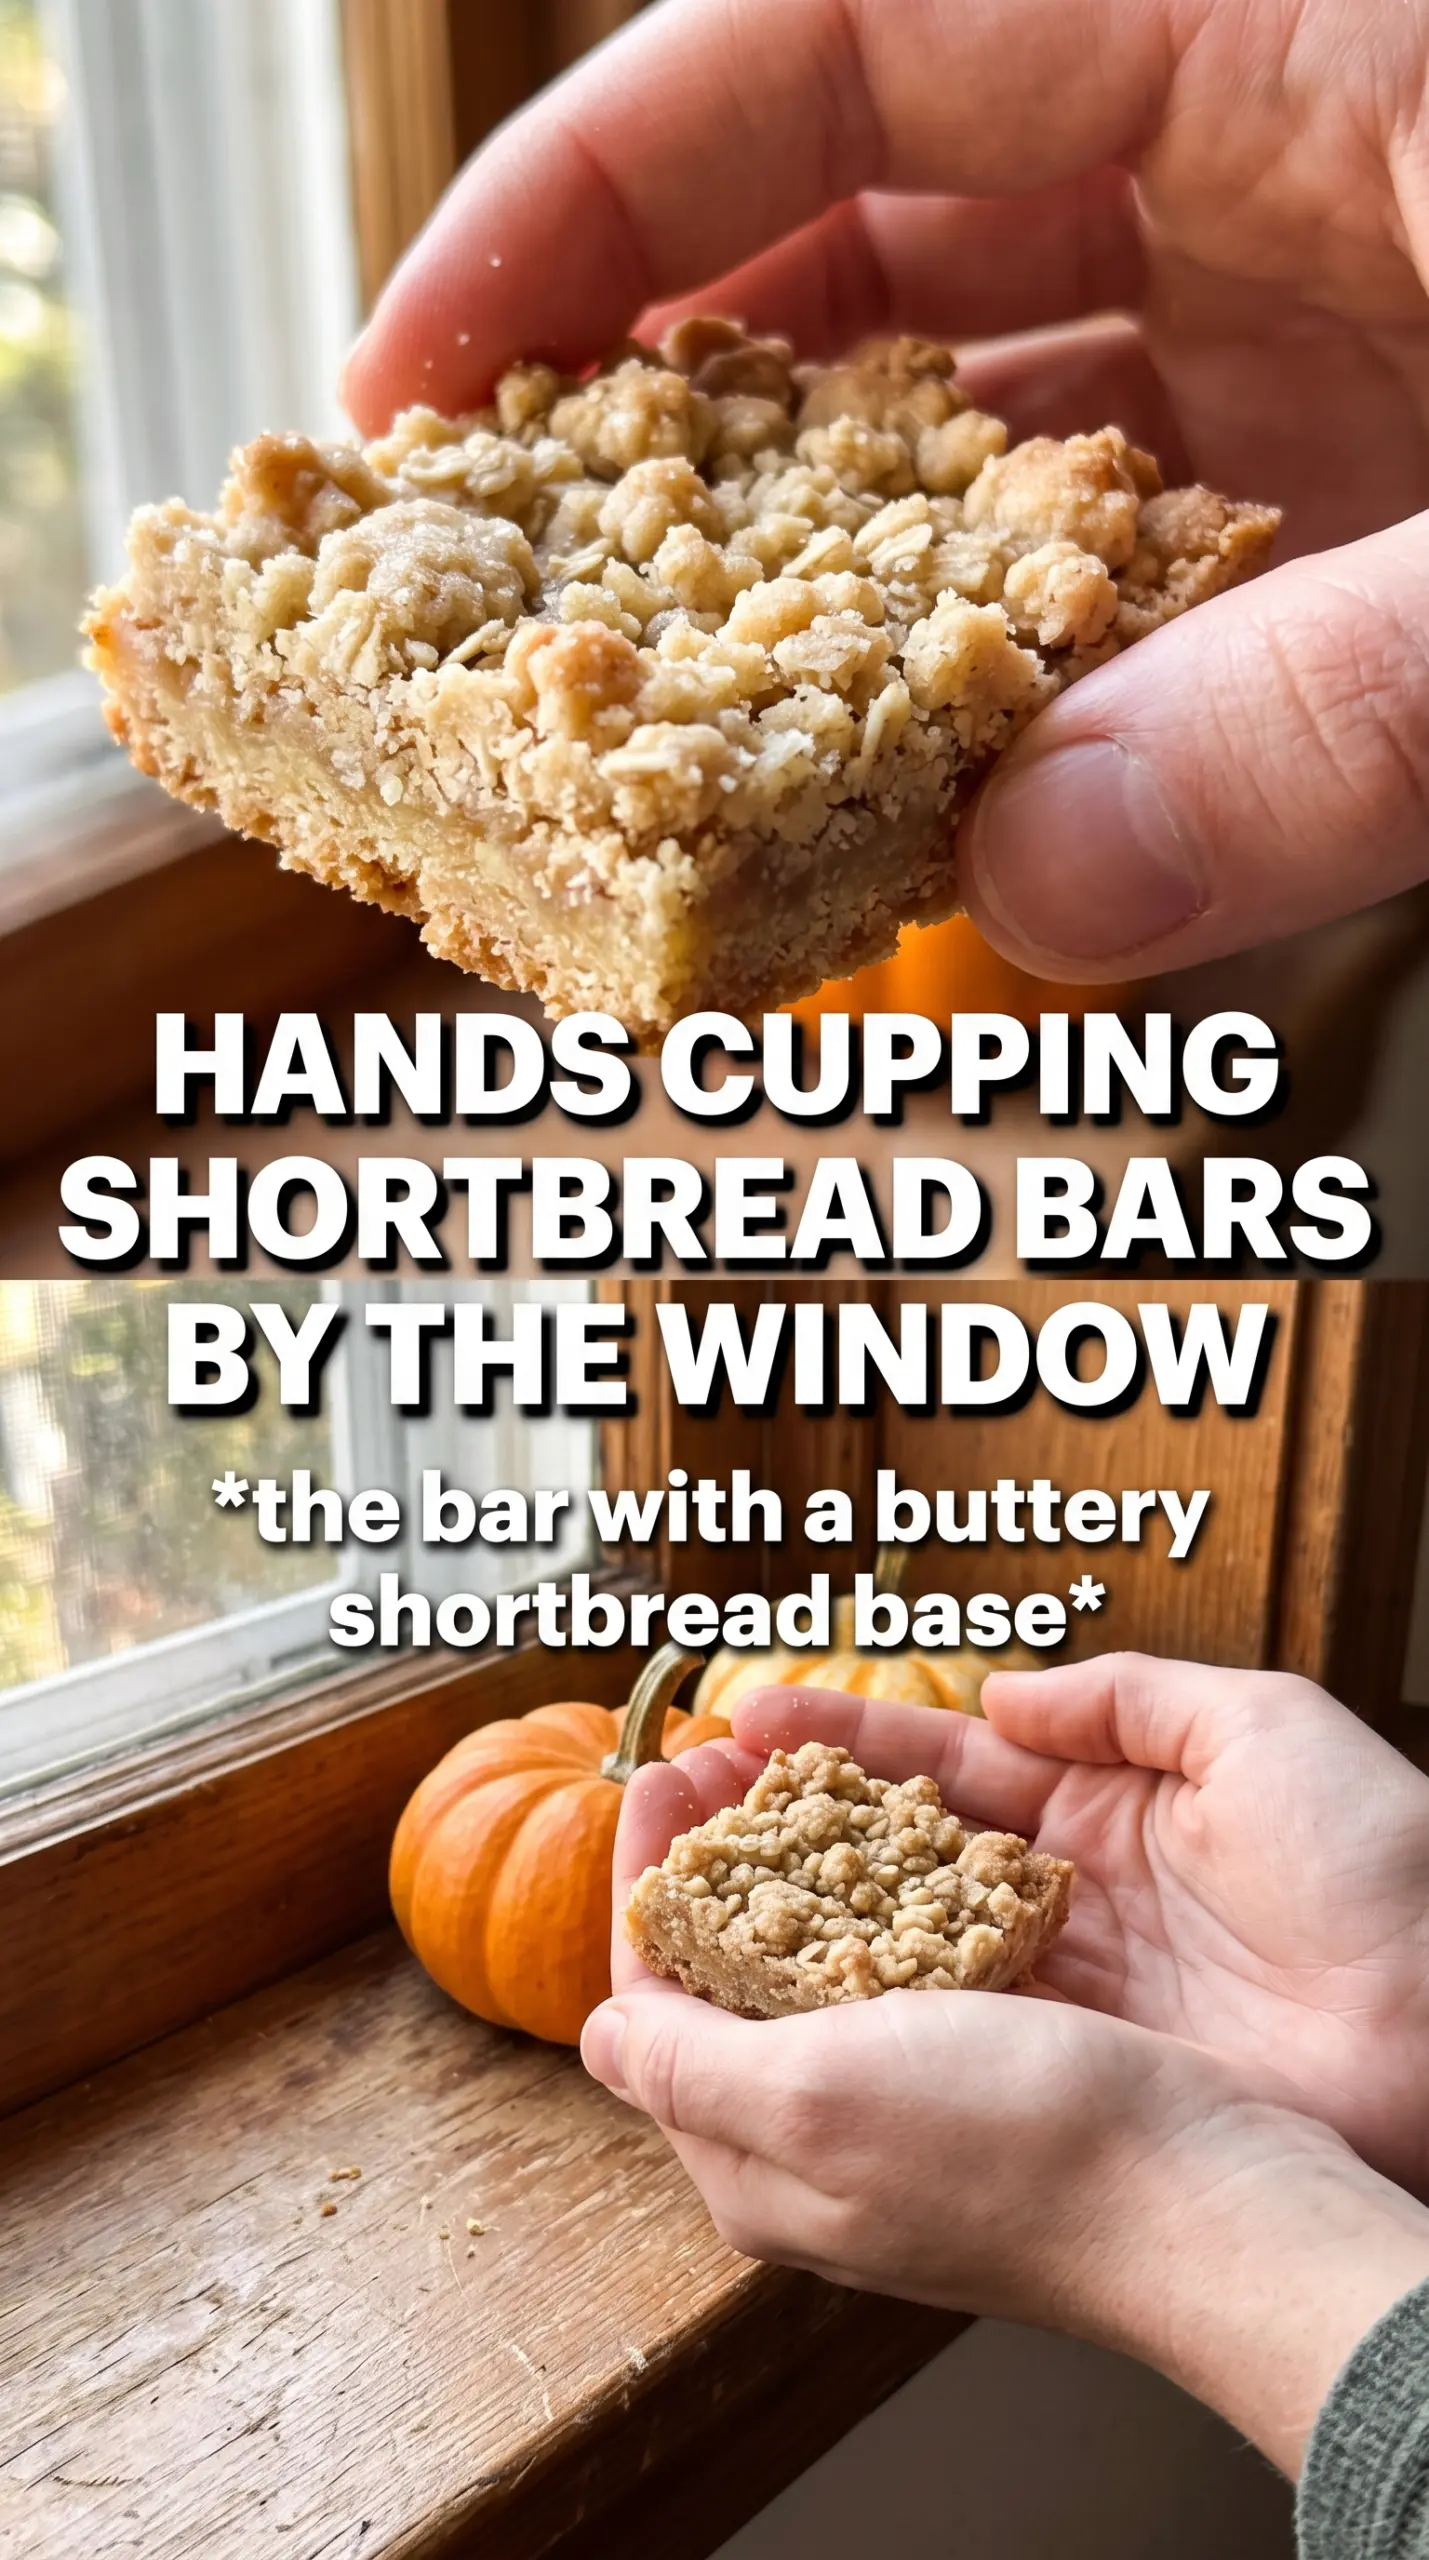
- All-purpose flour — This gives the shortbread its structure and helps the crumble hold together. A one-to-one gluten-free flour blend can work here, but the texture will be a little more delicate and sandy.
- Rolled oats — These bring the crisp, nubbly topping that makes the bars taste like apple crisp instead of plain streusel. Use old-fashioned oats, not quick oats, or the crumble turns pasty and dense.
- Brown sugar — Brown sugar keeps the base chewy at the edges and adds a light molasses note that works beautifully with apples. If you swap in all white sugar, the bars will taste flatter and the crumble will be less rich.
- Cold unsalted butter — Cold butter is what creates the crumbly texture when it gets cut into the dry mix. If the butter softens too much, the topping bakes up greasy instead of crisp.
- Apples — Use a firm baking apple that holds its shape, like Granny Smith, Honeycrisp, or a mix of both. Softer apples break down too fast and can make the filling wet.
- Cornstarch — This thickens the juices as the apples bake and keeps the filling from running out when you cut the bars. Flour can thicken in a pinch, but it won't set as cleanly.
Building the Layers So the Bars Slice Cleanly
Mixing the Crumble Base
Stir the flour, oats, brown sugar, cinnamon, and salt together first, then cut in the cold butter until the mixture looks like damp crumbs with some larger pebbles mixed in. You're not trying to make a dough ball. If the butter melts into the dry ingredients, the topping loses its craggy texture and bakes up more like a cookie than a crisp bar.
Pressing and Prebaking the Bottom
Set aside one cup of the crumble mixture, then press the rest into the lined pan in an even layer. Use the bottom of a measuring cup to pack it down firmly, especially into the corners, so the bars hold together after cooling. The short bake should set the surface without fully browning it; if it gets too dark here, the final bars taste dry.
Cooking the Apple Filling Just Enough
Toss the apples with sugar, cinnamon, nutmeg, cornstarch, and lemon juice until every slice is coated. Spoon them over the hot crust right away so the bottom starts working with the fruit as it bakes. If the apples sit too long after mixing, the sugar pulls out juices and you'll end up with a wetter filling than you planned.
Finishing with the Crumble Topping
Scatter the reserved crumble over the apples instead of packing it down. You want open spaces where steam can escape and the topping can turn golden. Bake until the edges are bubbling and the top looks deeply golden, not pale; pale topping means the flour inside hasn't fully baked and the bars will taste doughy.
Cooling Before You Slice
Let the pan cool all the way to room temperature before lifting the bars out. That cooling time is when the filling finishes setting, and it's the difference between neat squares and a spoonable mess. If you want the cleanest cut, chill the bars for 30 minutes before slicing and drizzle the caramel after they're plated.
How to Change These Bars Without Losing the Texture
Make Them Gluten-Free
Use a good 1:1 gluten-free flour blend in place of the all-purpose flour and make sure your oats are certified gluten-free. The bars still hold together, but the crumb will be a little more fragile, so let them cool completely before moving them.
Swap the Apples for Pears
Firm pears work if you want a softer, more floral filling. Keep the cornstarch the same, but expect a gentler bite and a slightly looser texture than apples, since pears break down faster as they bake.
Make Them Dairy-Free
Use a plant-based butter stick that bakes like regular butter, not a soft tub spread. The flavor will be a little less rich, but the structure stays close if the replacement is cold and solid enough to cut into the dry ingredients.
Storage and Reheating
- Refrigerator: Store in an airtight container for up to 5 days. The crust softens a little after day one, but the flavor stays great.
- Freezer: These freeze well. Wrap individual bars tightly and freeze for up to 2 months, then thaw overnight in the refrigerator.
- Reheating: Warm chilled bars in a 300°F oven for about 8 minutes if you want the topping crisp again. Microwaving softens the crumble, so it's the wrong move if you care about texture.
Questions I Get Asked About This Recipe
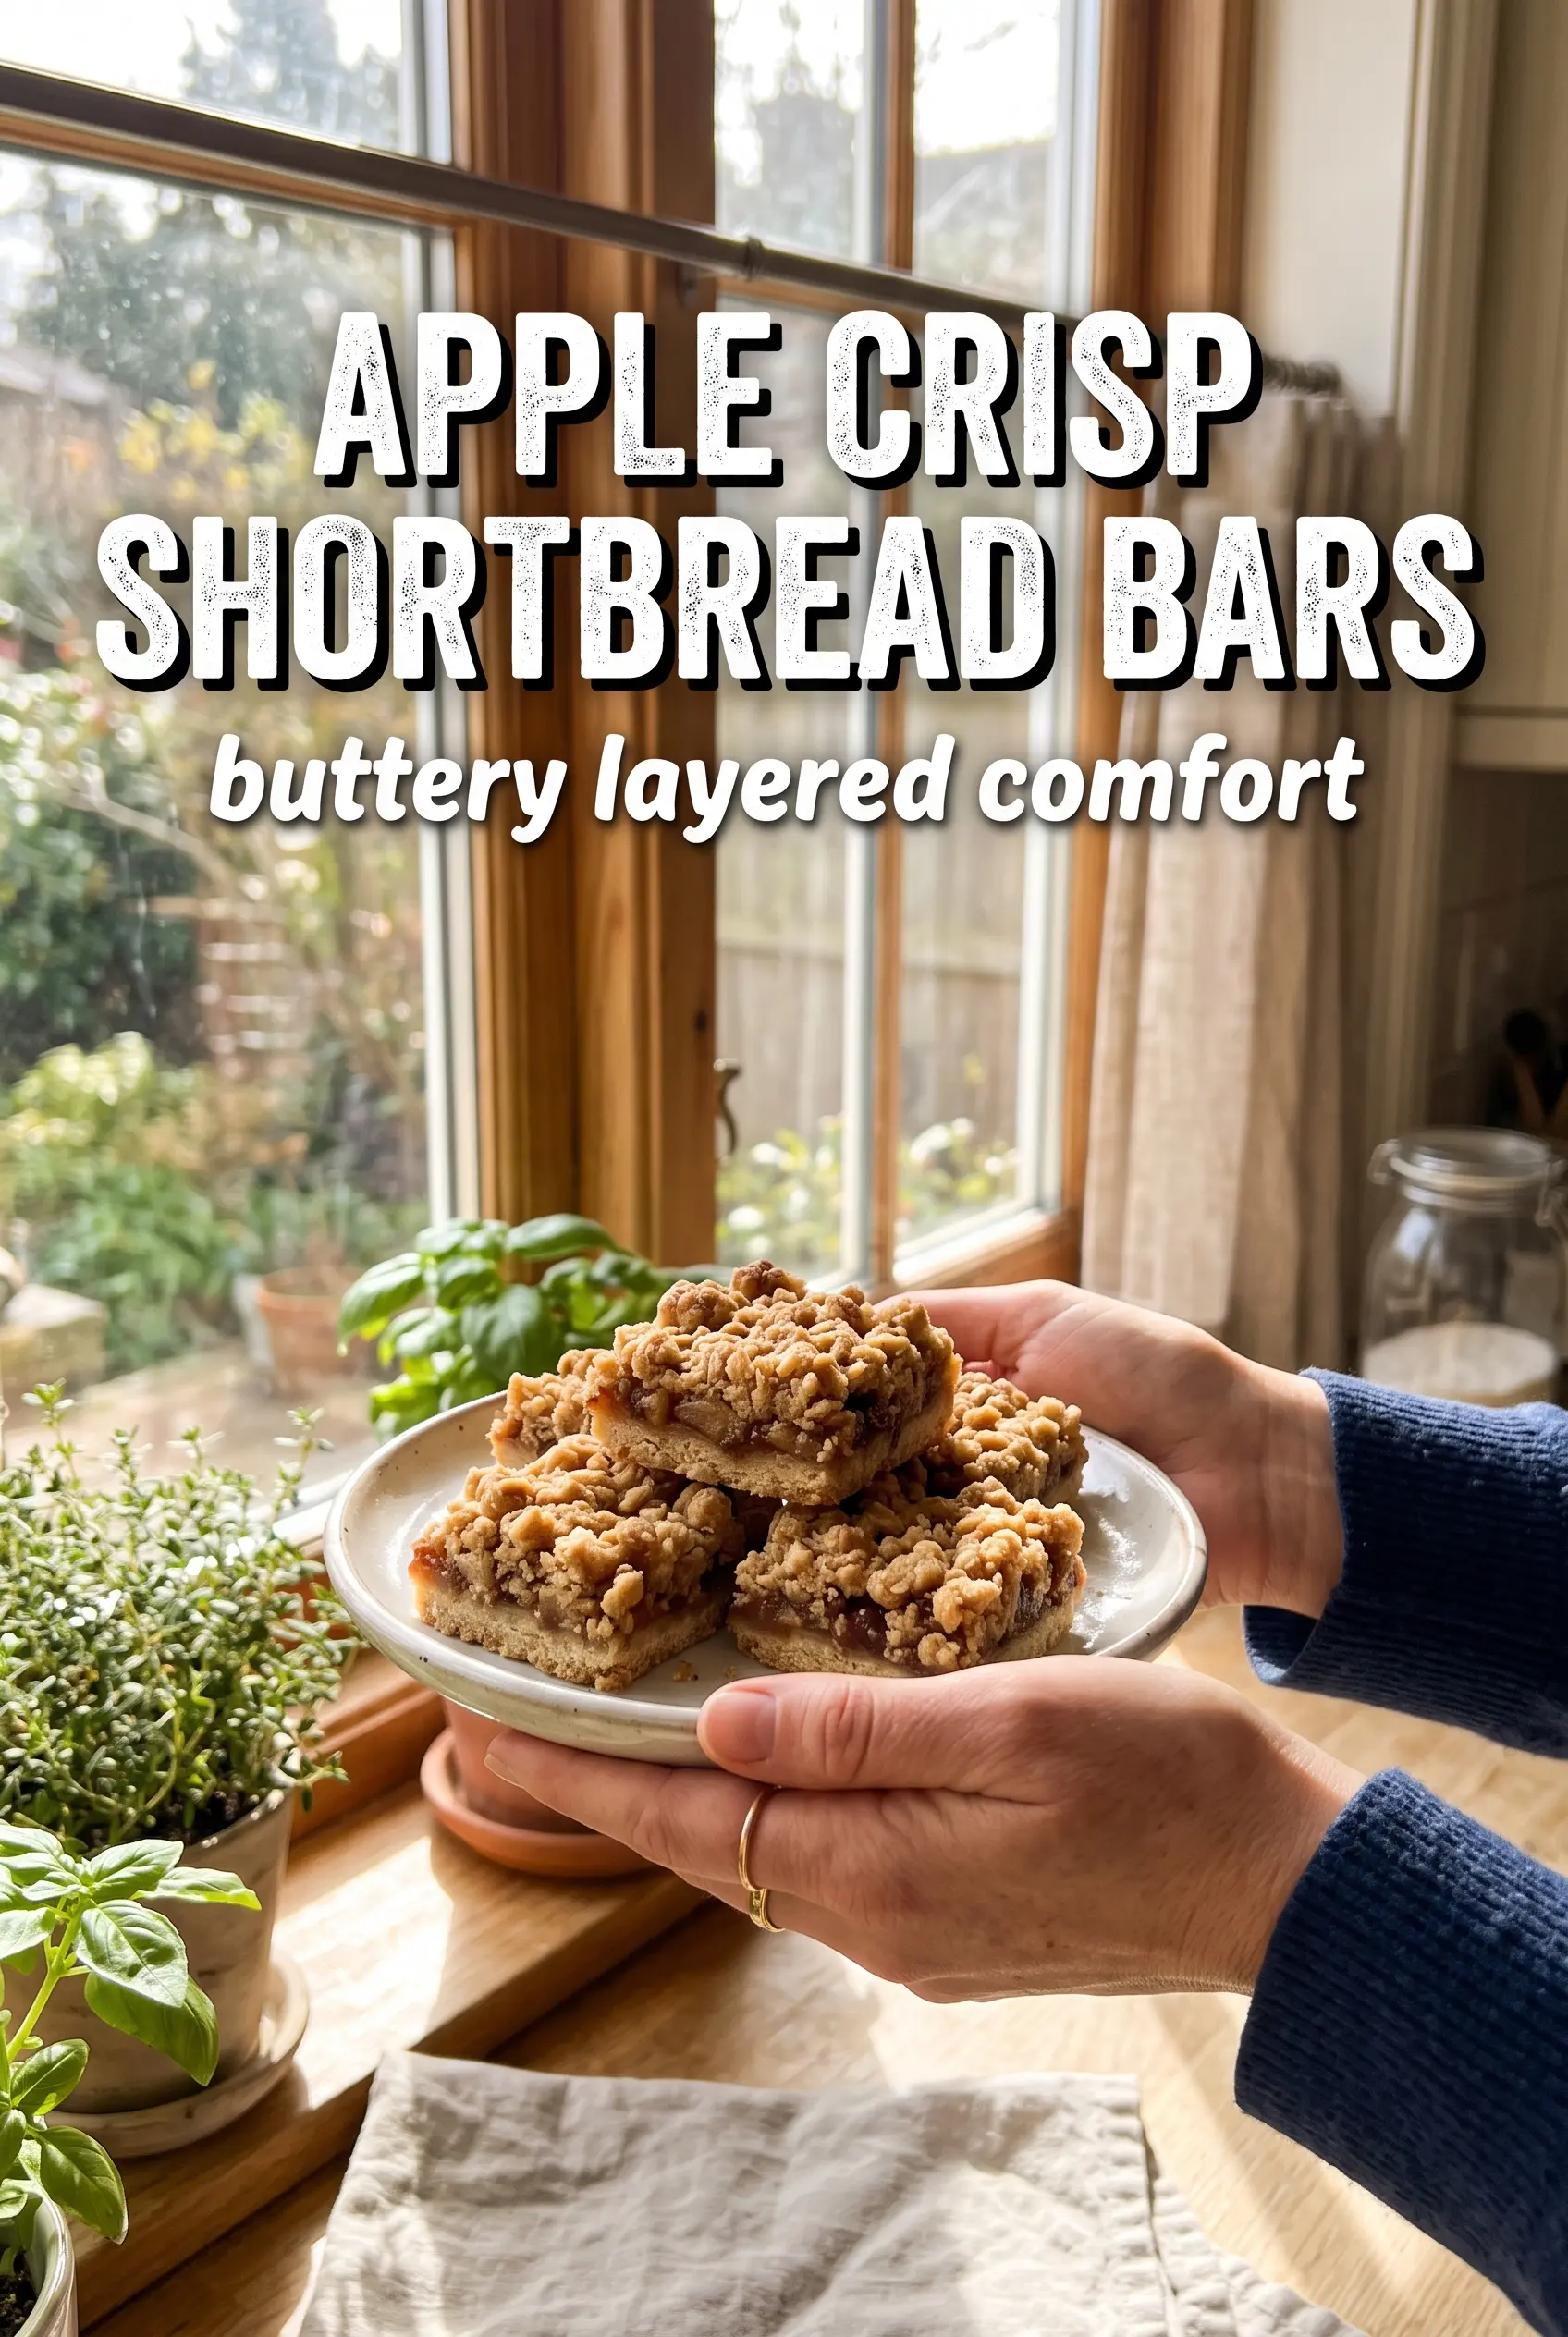
Apple Crisp Shortbread Bars
Ingredients
Equipment
Method
- Preheat oven to 375F and line a 9x13 pan with parchment so bars lift out easily after baking.
- Mix all-purpose flour, rolled oats, brown sugar, cinnamon, and salt, then cut in cold unsalted butter until crumbly.
- Reserve 1 cup of the crumb mixture for the topping.
- Press the remaining mixture firmly into the prepared pan for an even base, then bake 12 minutes until set.
- Toss apple slices with granulated sugar, cinnamon, nutmeg, cornstarch, and lemon juice until evenly coated.
- Layer the apples over the hot base so they spread in an even layer.
- Scatter the reserved crumble over the apples to cover most of the surface.
- Bake 30-35 minutes at 375F until the topping is golden and the apples are bubbling.
- Cool completely before slicing so the filling firms up for clean bar cuts.
- Drizzle with caramel sauce to serve for a glossy finishing touch.