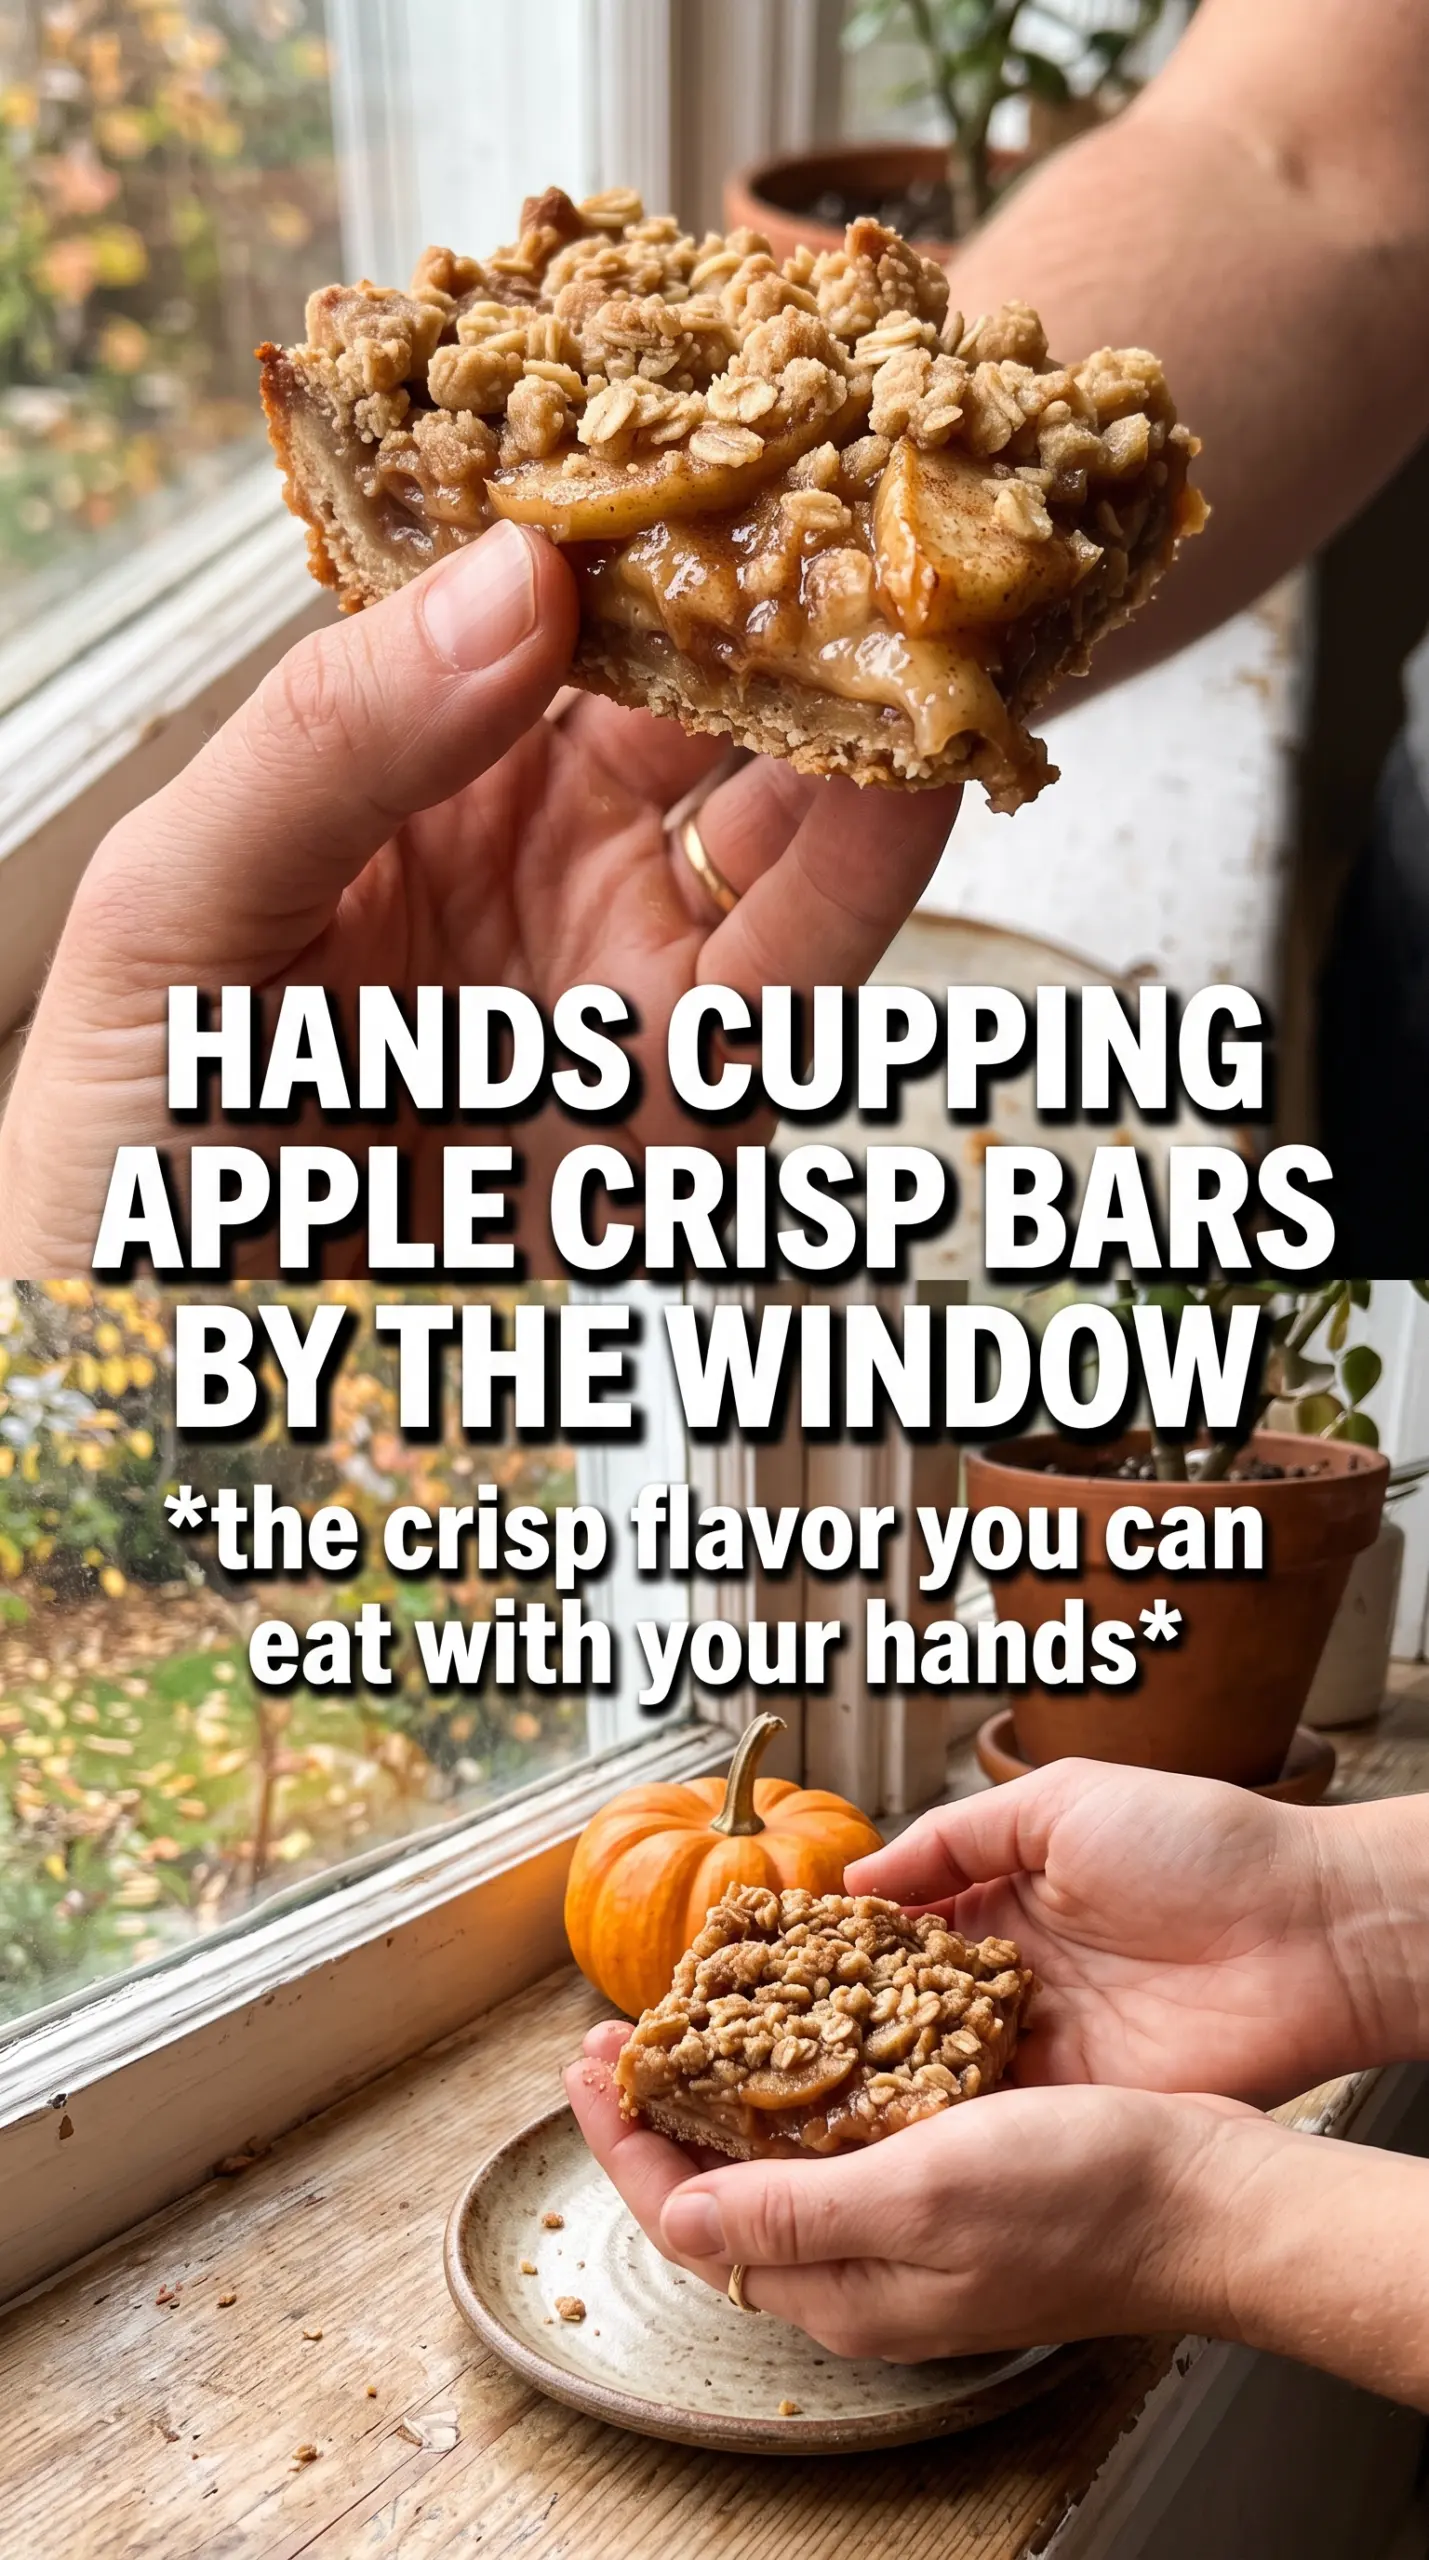
Apple crisp bars give you everything people love about a warm apple dessert, just in a form that slices cleanly and travels well. The base bakes into a sturdy, buttery layer, the filling turns thick and spiced instead of runny, and the crumble on top stays rough and craggy enough to catch in every bite. When they cool all the way, you get neat bars with a soft apple center and a crisp oat edge that holds together instead of collapsing on the plate.
The trick is using the oat mixture twice: first as a pressed base that gets a short head start in the oven, then again as the topping so it can brown without turning dry. The apples are diced small on purpose. That gives you an even layer and helps the filling cook through before the topping overbrowns. Cornstarch does the heavy lifting here, thickening the juices as the bars bake so the squares set up properly after cooling.
Below, I’ve included the one step that keeps the filling from leaking, plus a few ways to adapt these bars if you want them a little less sweet or need a gluten-free version.
The apple layer set up beautifully and didn’t seep into the crust at all. I let them cool all the way before cutting, and the bars held their shape with that perfect soft-middle, crisp-top texture.
Save these apple crisp bars for when you want a thick spiced filling and a buttery oat crumble in every square.
The Step That Keeps the Filling Inside the Bars
The base needs a short bake before the apples go in. That first 10 minutes does more than set the crust. It creates a barrier so the juices from the fruit don’t soak straight through and turn the bottom layer soft. If you skip it, the bars still taste good, but they’ll lose the clean layered look that makes them worth cutting into squares.
Cooling matters just as much as baking. The filling thickens as it drops in temperature, and that’s when the bars set up enough to slice without smearing. If you cut them while they’re warm, the center will slide and the crumble will fall apart. Let them cool completely on the counter, then lift them out with the parchment and slice with a sharp knife.
What the Oats, Apples, and Cornstarch Are Each Doing
- Rolled oats — These give the topping its coarse, crisp texture. Quick oats turn softer and tighter, so the crumble won’t have the same rustic bite. Old-fashioned oats hold their shape better and stay pleasantly chewy at the edges.
- Brown sugar — This brings moisture and that caramel note you want in a crisp bar. Light brown sugar works fine, though dark brown sugar will push the bars deeper and a little richer. The sugar also helps the crumble brown instead of staying pale and sandy.
- Butter — Melted butter is what turns the dry mix into a pressable crumble. Use unsalted butter so the salt level stays predictable. If the mixture looks too dry after stirring, let it sit for a minute; the oats absorb some of the fat and the texture evens out.
- Apples — Peel and dice them finely so the filling cooks through in the oven time given. Firmer apples, like Granny Smith or Honeycrisp, hold their shape better than soft baking apples that can turn mushy. A mix of tart and sweet apples gives the best balance.
- Cornstarch — This is what keeps the apple juices from running loose in the pan. Flour won’t thicken as cleanly here and can leave the filling cloudier and heavier. Toss the apples thoroughly so the cornstarch coats every piece before it bakes.
Building the Bars So the Layers Bake Evenly
Mixing the Crumble
Combine the oats, flour, brown sugar, cinnamon, and salt first, then drizzle in the melted butter and toss until every dry pocket is moistened. The mixture should clump when you squeeze it but still look loose and craggy. If it seems greasy and puddled, the butter was too hot; let it cool for a few minutes before mixing so the oats don’t turn slick.
Pressing and Prebaking the Base
Press about two-thirds of the mixture firmly into the parchment-lined pan. Use the bottom of a measuring cup to pack it into an even layer, especially in the corners, because thin spots can burn before the center sets. Bake it just until the surface looks a little dry and lightly golden at the edges. That head start keeps the base crisp under the filling.
Cooking the Apples into a Thick Layer
Toss the diced apples with the sugar, cinnamon, nutmeg, cornstarch, and lemon juice until the fruit looks evenly coated. The lemon juice keeps the apples from tasting flat and helps the filling taste bright instead of heavy. Spread the apples over the hot base in an even layer, then scatter the remaining crumble on top. Bake until the topping is deep golden and you can see the filling bubbling up at the edges; that bubbling is the sign the cornstarch has activated and the bars will set.
Make Them Less Sweet Without Losing the Crumble
Cut the granulated sugar in the filling back to 1/4 cup and use tart apples like Granny Smith. The bars will taste more apple-forward and a little less dessert-sweet, but the texture stays the same because the cornstarch and butter stay unchanged.
Gluten-Free Apple Crisp Bars
Swap the all-purpose flour for a cup-for-cup gluten-free blend that includes xanthan gum. The bars will still slice well, though the crumble may be a little more delicate. Don’t use almond flour alone here; it won’t bind the base in the same way.
Add Nuts for a Toastier Crumble
Stir up to 1/2 cup chopped pecans or walnuts into the oat mixture before adding the butter. The nuts add a deeper, toastier crunch and make the topping feel a little more rustic. Keep the pieces small so the bars still cut cleanly.
Storage and Reheating
- Refrigerator: Store covered for up to 5 days. The topping softens slightly after day one, but the bars still hold together well.
- Freezer: These freeze well. Wrap individual bars tightly and freeze for up to 2 months, then thaw in the refrigerator so the filling doesn’t turn watery.
- Reheating: Warm a bar in a 300F oven for about 8 minutes if you want the crumble crisp again. The microwave softens the topping and makes the bottom layer lose its structure, so skip it if texture matters.
Answers to the Questions Worth Asking
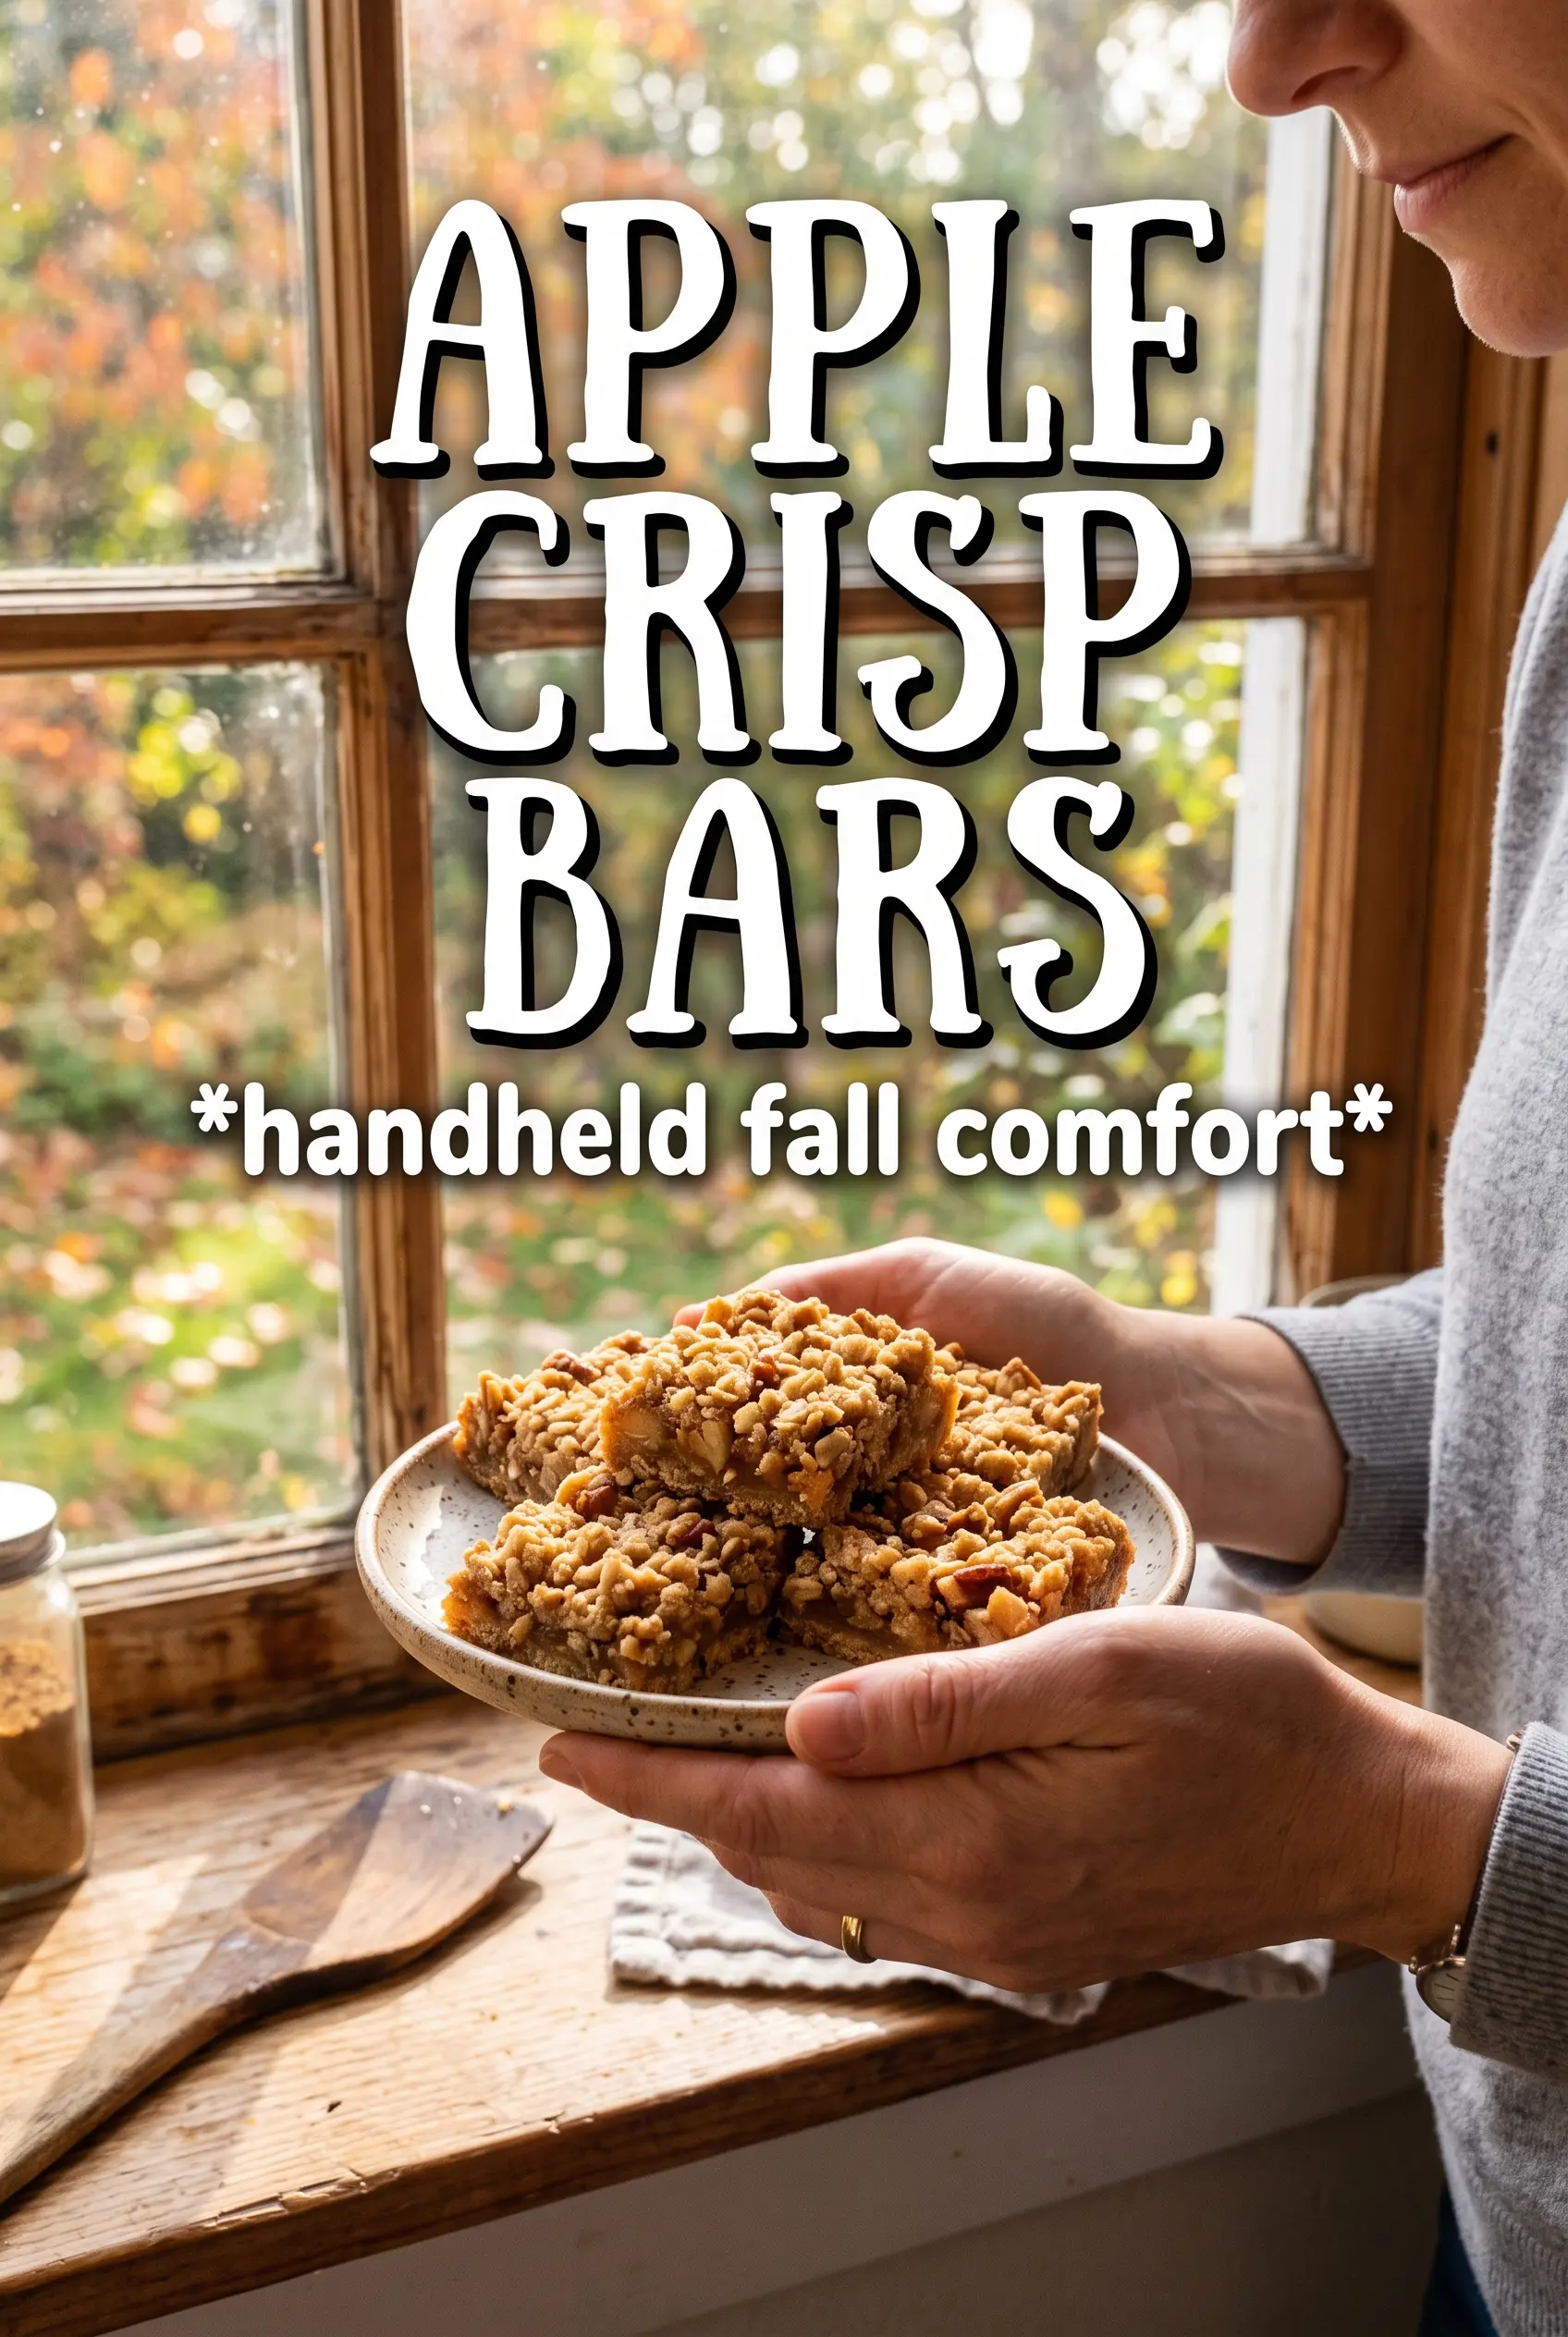
Apple Crisp Bars
Ingredients
Equipment
Method
- Preheat the oven to 375F, and line a 9x13 pan with parchment. Set up so the pan is ready when you finish mixing the crumb.
- Combine rolled oats, all-purpose flour, brown sugar, cinnamon, and salt, then drizzle melted butter over and toss until evenly moistened. The mixture should look like damp sand when ready.
- Press 2/3 of the oat mixture firmly into the prepared pan, creating an even, compact layer. Bake for 10 minutes.
- Toss apples with granulated sugar, cinnamon, nutmeg, cornstarch, and lemon juice until coated. Spread the apple mixture over the hot base in an even layer.
- Scatter the remaining oat crumble over the apples to cover them completely. Try to distribute it so no large gaps remain.
- Bake for 30 more minutes at 375F until the topping is golden and the filling bubbles. Let it bake through so the cornstarch thickens properly.
- Cool completely before slicing into bars. Chilling until fully set helps keep the layers distinct when you cut.