Apple cider braised pork shoulder turns into the kind of dinner that makes the whole kitchen smell like you’ve been cooking all day in the best possible way. The pork comes out spoon-tender, the cider cooks down into a glossy sauce with enough tang to keep it from tasting heavy, and the apples soften just enough to hold their shape without going mushy. It’s the sort of braise that feels generous on the table and still works for a regular Sunday dinner.
The trick is building enough browning at the start to give the braising liquid some depth. The pork gets seared hard, the onions pick up those drippings, and the cider mixture scrapes up every bit of flavor from the pot. A little Dijon and apple cider vinegar keep the sauce bright, while brown sugar smooths out the sharp edges so the final sauce tastes balanced instead of sweet.
Below, I’ve included the timing that matters most, the ingredient choices that change the result, and a few ways to adapt this if you want to stretch it for leftovers or adjust it for what’s in your pantry.
The pork shredded beautifully after the last braise, and the cider sauce reduced into something rich without getting too sweet. My husband kept going back for the onions and apples.
Save this apple cider braised pork shoulder for a rich, fork-tender dinner with apples, onions, and a glossy cider sauce.
The Browning You Skip at the Start Is the Flavor You Miss Later
The biggest mistake with braised pork shoulder is rushing past the sear. If the meat goes into the pot without a deep brown crust, the finished sauce tastes flatter no matter how long it cooks. You want real color on both sides before anything else; that crust is what gives the braising liquid its backbone.
Boneless pork shoulder is the right cut here because it has enough fat and connective tissue to turn silky in the oven. Leaner pork would dry out before the sauce had time to develop. The other key is scraping the pot after the cider and broth go in. Those browned bits dissolve into the liquid and make the difference between a decent braise and one that tastes layered.
What Each Ingredient Is Actually Doing in This Braise
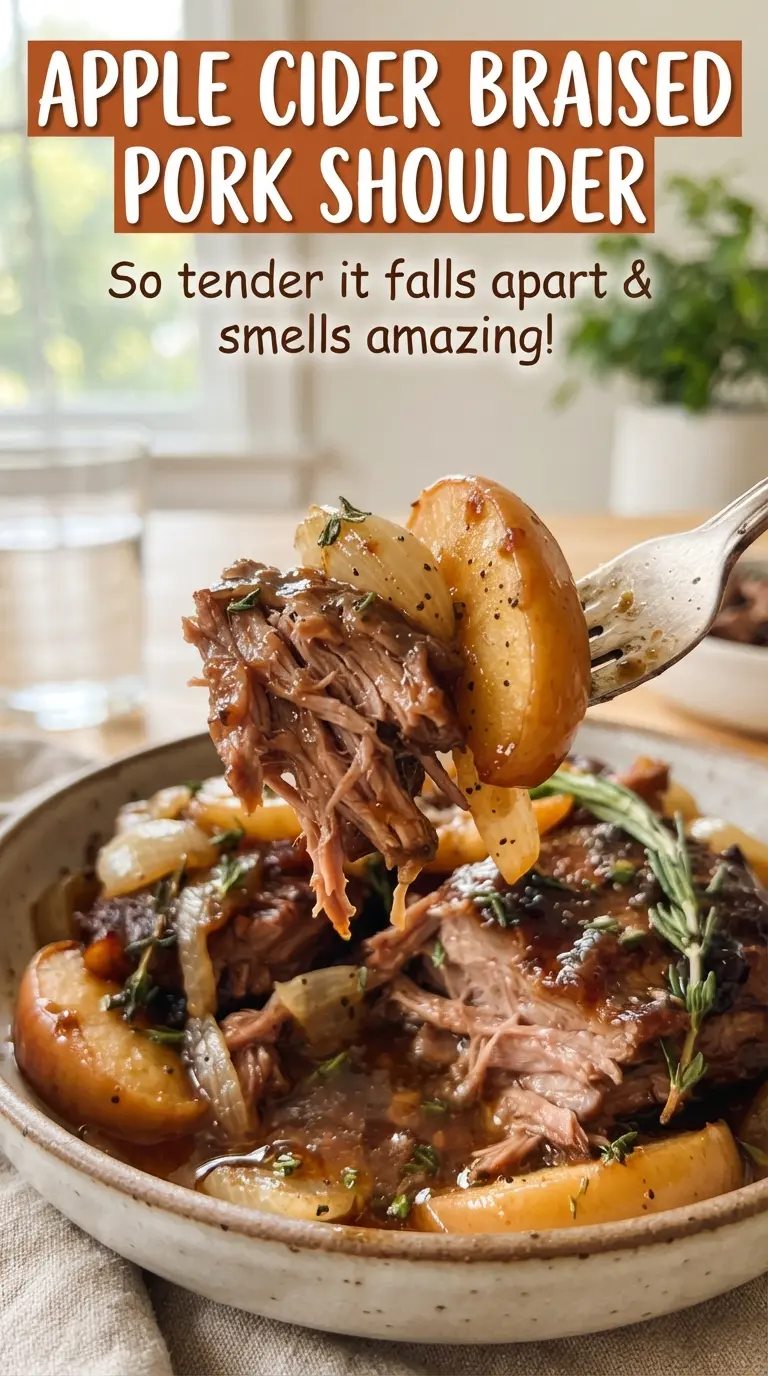
- Pork shoulder — This cut has enough marbling and connective tissue to become pull-apart tender after a long braise. Pork loin won’t give you the same texture and will dry out before the sauce finishes.
- Apple cider — Use the fresh, unfiltered kind if you can. It gives the sauce real apple depth without turning it into dessert; apple juice is sweeter and thinner, so it won’t reduce with the same body.
- Dijon mustard and apple cider vinegar — These keep the sauce lively. Dijon melts into the braising liquid and helps it taste rounded, while the vinegar sharpens the edges so the final dish doesn’t read heavy.
- Apples — Choose a firm apple that holds up in heat, like Honeycrisp, Braeburn, or Pink Lady. Soft apples will collapse before the pork is done and disappear into the sauce.
- Fresh thyme and rosemary — Dried herbs can work in a pinch, but fresh sprigs infuse the braise with a cleaner, woodsy flavor. If you substitute dried, use a light hand or the sauce will taste dusty.
Building the Braise So the Sauce Stays Balanced
Season and sear the pork until it really browns
Pat the pork dry, season it well, and sear it in hot oil until the surface looks deeply browned, not just tan. If the pan seems crowded, brown the pork in two batches so it actually sears instead of steaming. This is where the flavor starts, and if you rush it, the finished sauce will taste one-dimensional.
Cook the onions in the drippings
After the pork comes out, add the onion and let it soften in the rendered fat until the edges start picking up color. Stir in the garlic at the end so it turns fragrant without scorching. If the pot looks a little dark on the bottom, that’s a good thing; the cider will loosen those browned bits in the next step.
Pour in the cider mixture and scrape the pot clean
Add the cider, broth, vinegar, Dijon, and brown sugar, then use a wooden spoon to work every brown patch off the bottom of the Dutch oven. The liquid should look cloudy and layered, not thin and clear. Once the pork goes back in with the herbs, the pot should smell sharp, savory, and a little sweet all at once.
Finish with the apples at the end
The pork needs the long braise first; the apples go in for the last 45 minutes so they soften without falling apart. If you add them too early, they turn to mush and vanish into the sauce. When the pork shreds easily with a fork, pull it apart in large pieces and let the sauce reduce on the stove until it lightly coats a spoon.
How to Adapt This Braise for What You Have
Make It Dairy-Free and Gluten-Free Without Changing the Method
This recipe already lands naturally in both camps as long as your broth and Dijon are gluten-free. Nothing here depends on dairy, and the sauce gets its body from reduction and collagen, not cream or flour.
Use Boneless Pork Butt or Bone-In Shoulder
Pork butt works the same way as shoulder and usually stays just as tender. If you use bone-in shoulder, expect a little more flavor and a slightly longer cook time; the bone insulates the meat, so judge doneness by how easily it shreds instead of by the clock.
Swap the Apples Based on the Texture You Want
Firm tart apples keep the sauce bright and the pieces intact. If you use sweeter apples, the braise will taste rounder and softer, but the fruit may break down faster, which makes the sauce thicker and more rustic.
Stretch It Into Leftovers for Bowls and Sandwiches
Shred the pork a little finer if you want it for sandwiches or rice bowls, then spoon plenty of the reduced cider sauce over the top. The flavor gets even better after a night in the fridge, and the apples and onions turn the leftovers into something that eats like a finished meal instead of a second round of dinner.
Storage and Reheating
- Refrigerator: Store in an airtight container for up to 4 days. The sauce will thicken as it chills, and the pork will stay juicy if it’s kept in the liquid.
- Freezer: It freezes well for up to 3 months. Cool it completely, pack the pork and sauce together, and thaw overnight in the fridge before reheating.
- Reheating: Warm it gently on the stovetop over low heat with a splash of broth or cider. High heat dries out the meat and can make the sauce taste sharper than it should.
Answers to the Questions Worth Asking
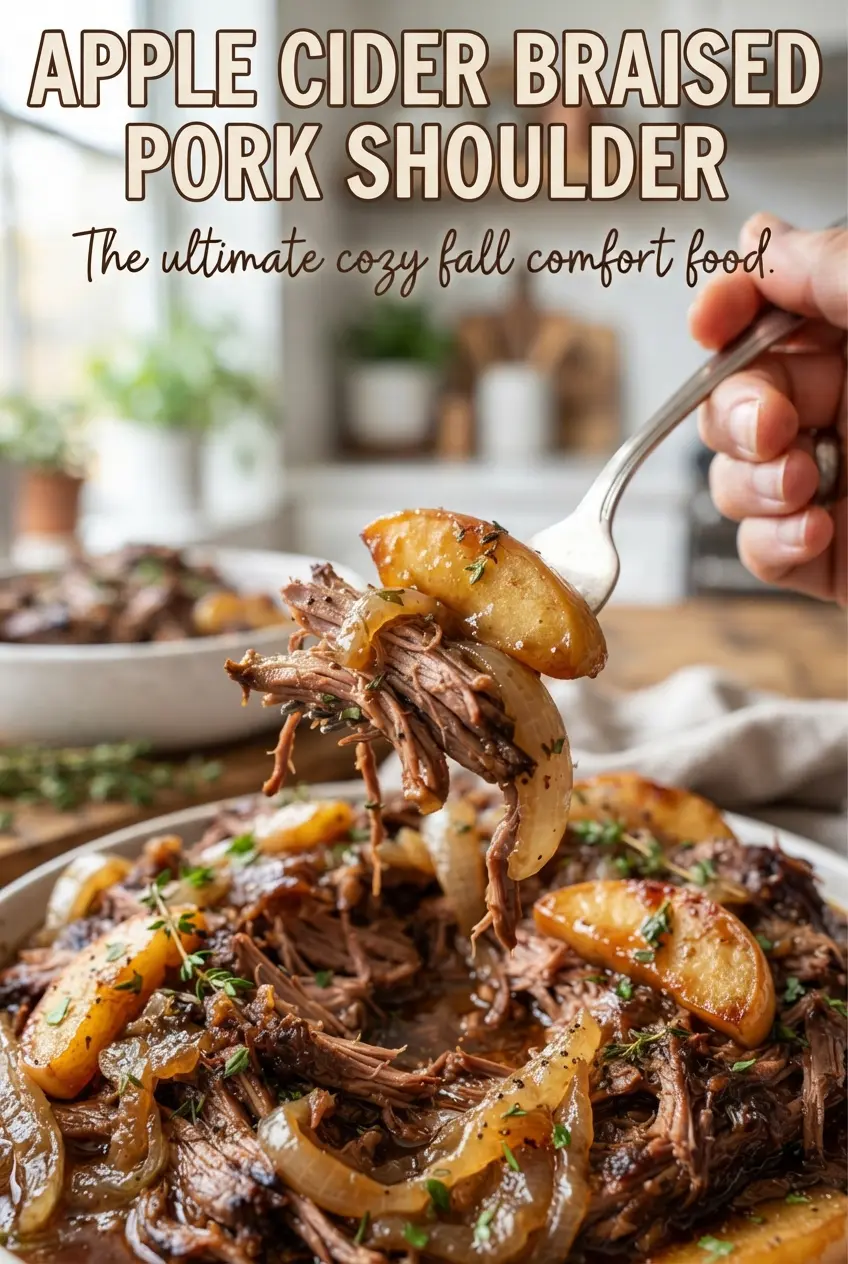
Apple Cider Braised Pork Shoulder
Ingredients
Equipment
Method
- Preheat the oven to 325F and season the pork with salt, black pepper, and smoked paprika.
- Heat olive oil in a Dutch oven over hot heat and sear the pork for 4-5 minutes per side until well browned, then remove to a plate.
- Cook the onion for 5 minutes in the Dutch oven, then add the smashed garlic and cook for 1 minute.
- Stir in the apple cider, chicken broth, apple cider vinegar, Dijon mustard, and brown sugar, scraping up the browned bits from the bottom until combined.
- Return the pork to the Dutch oven with fresh thyme and fresh rosemary, cover, and braise in the oven at 325F for 2 1/2 hours.
- Add the apple wedges and braise covered at 325F for 45 minutes more until the pork is fork-tender.
- Shred the pork into large pieces and return it to the sauce.
- Simmer the braising liquid on the stove for 10 minutes to reduce, stirring as it thickens, until glossy.
- Serve the pork with the cider sauce and apples.