Amish apple crisp lands with the kind of contrast that keeps people coming back for a second spoonful: soft, cinnamon-heavy apples underneath a thick, nubby crumble that bakes into buttery clumps instead of a dry sandy layer. The edges caramelize first, the center stays juicy, and every bite gets a little crunch from the oats and a little richness from the brown sugar.
What makes this version work is the balance in the filling and the topping. The apples get tossed with enough flour to thicken the juices as they bake, so the bottom doesn’t turn soupy. On the topping side, cold butter and a little lard give you those rustic, uneven crumbles that brown deeply without melting into the fruit. That’s the difference between a crisp that tastes homemade and one that just tastes sweet.
Below, I’ve included the small details that matter most: how to keep the topping clumpy, which apples hold up best, and what to do if you want to make it a little richer or a little lighter.
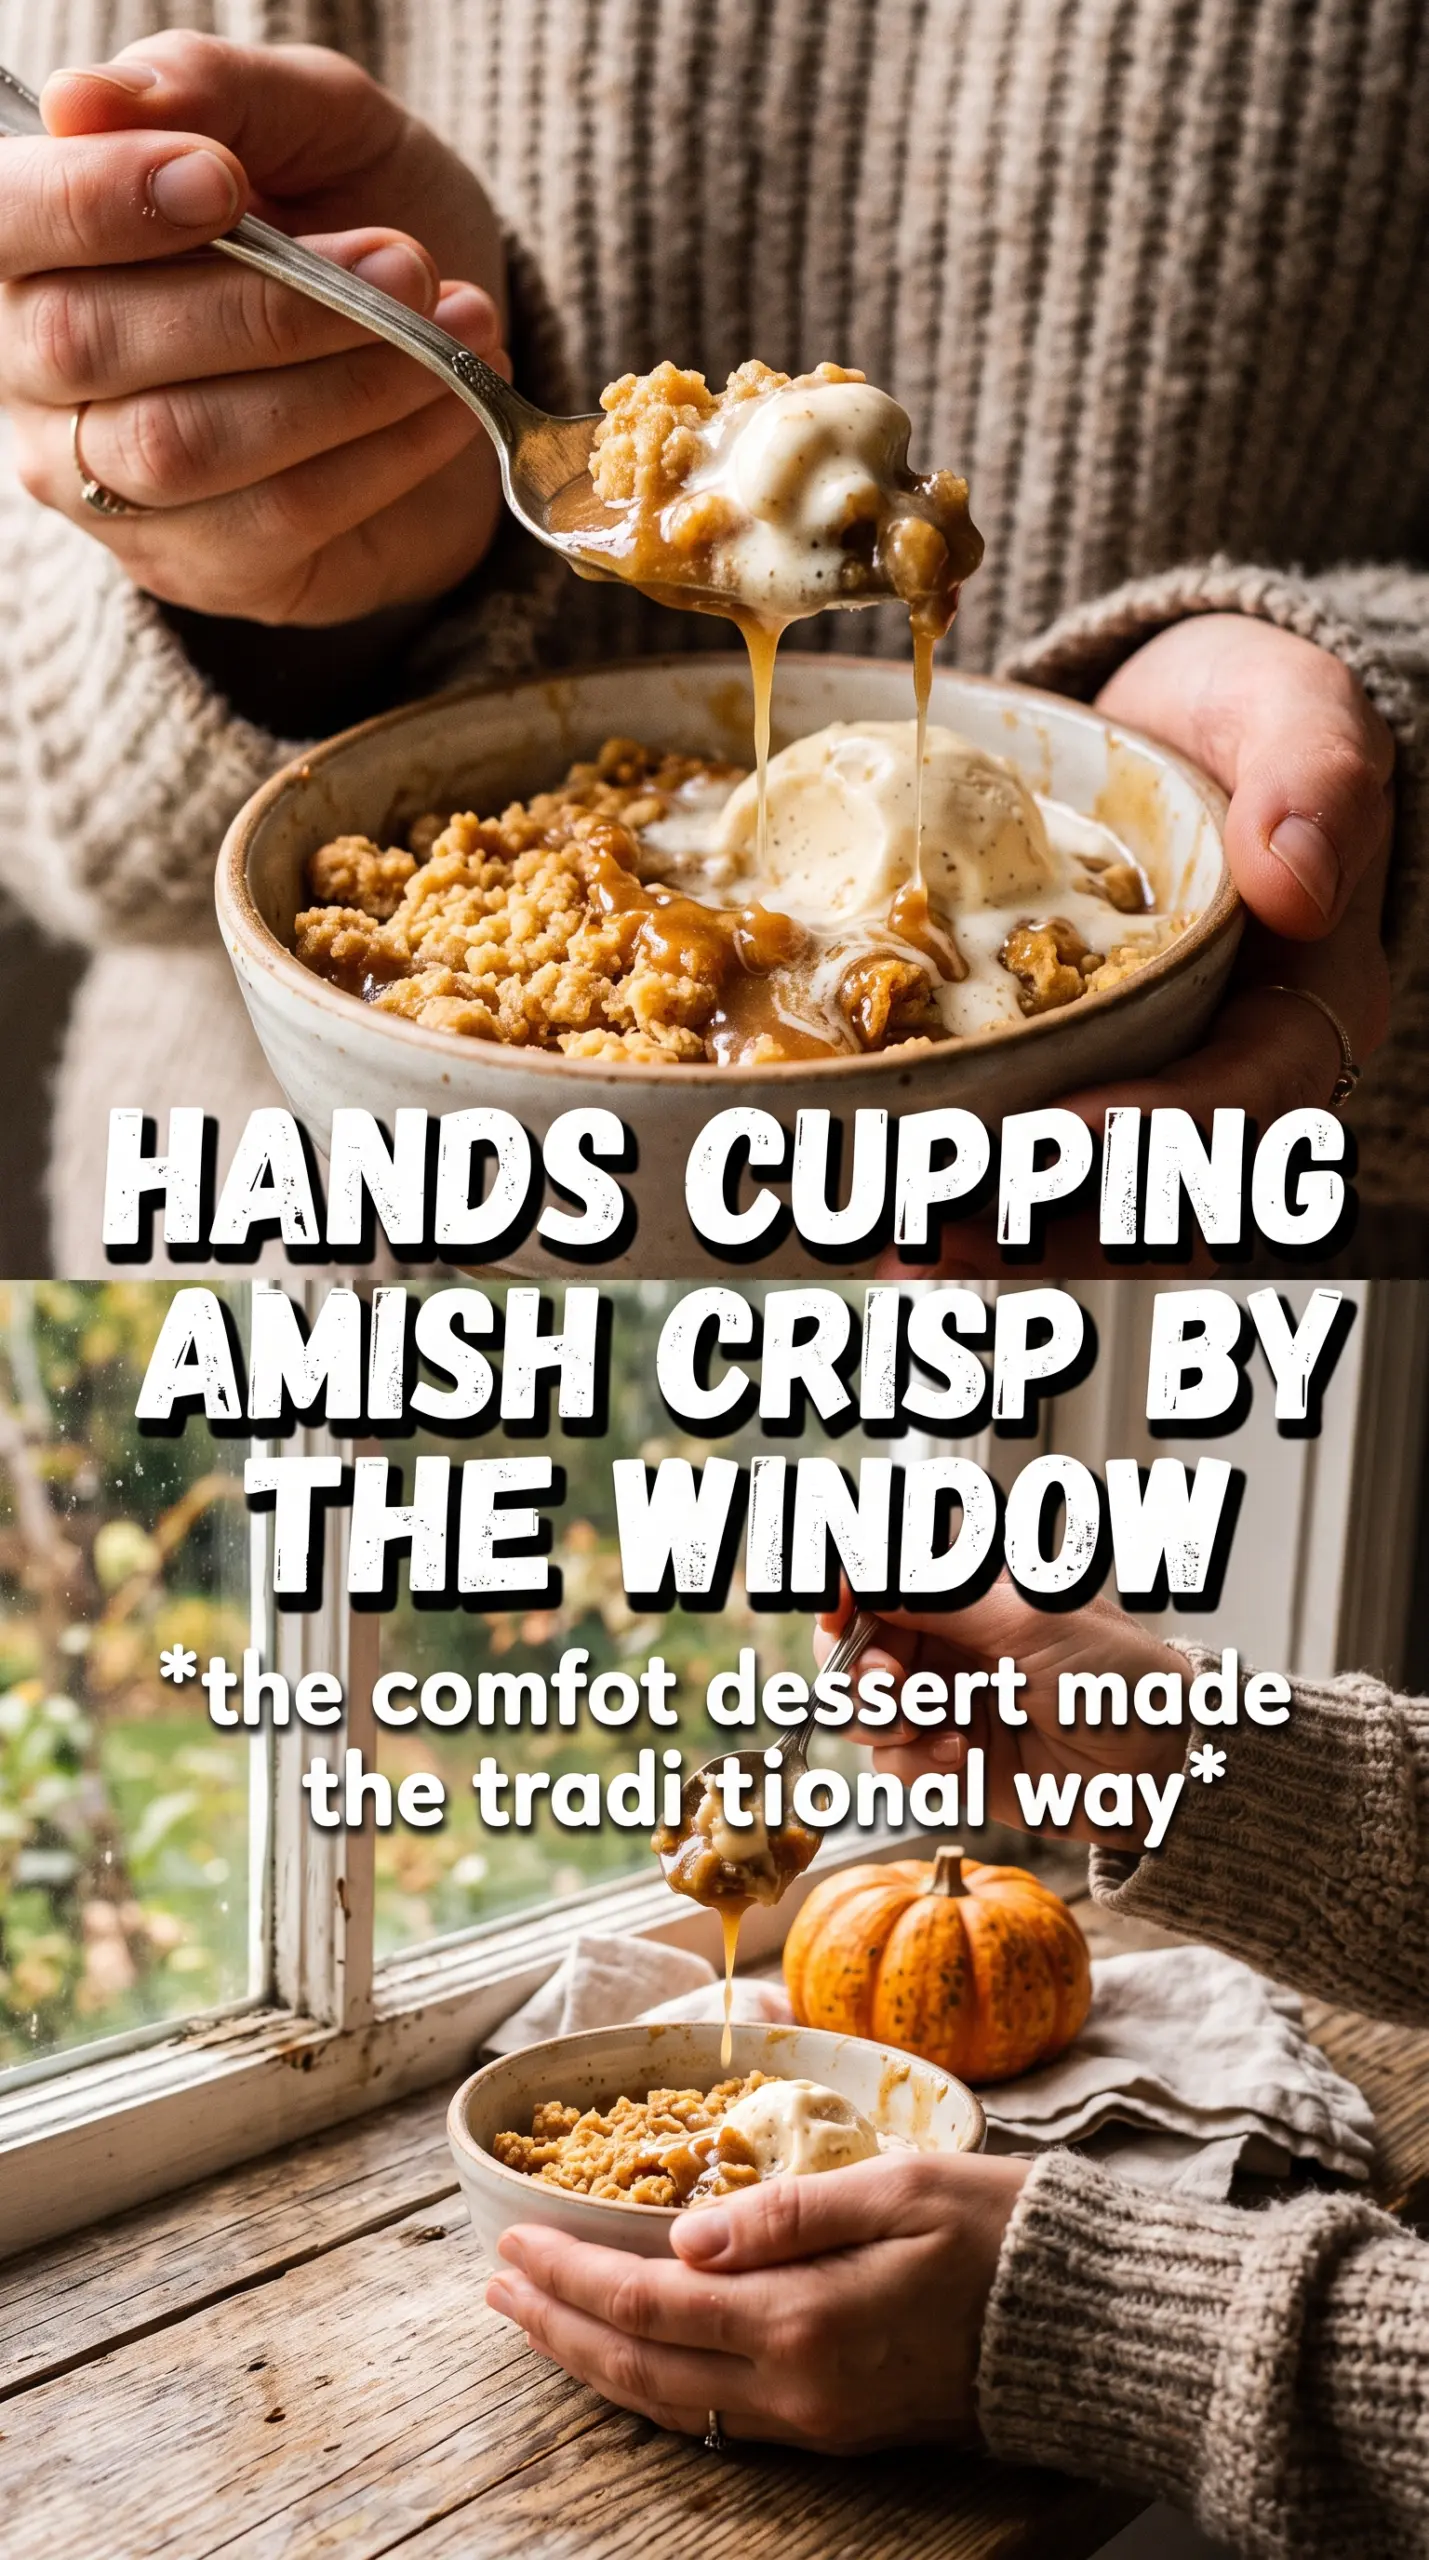
The topping baked up in big golden clumps and the apples held their shape instead of turning to mush. I served it warm with vanilla ice cream and the whole pan disappeared fast.
Like this Amish apple crisp? Save it to Pinterest for the nights when you want a thick brown sugar crumble and bubbling spiced apples.
The Reason the Topping Stays Clumpy Instead of Dry
The whole texture of this crisp depends on keeping the topping in uneven, cold clumps. If the butter gets warm before it goes into the oven, the flour and oats hydrate too fast and you end up with a flat, dusty layer instead of a craggy crust. Cold butter gives you pockets that melt at different times, which is what makes those caramelized ridges on top.
The other thing people miss is the amount of topping. This isn’t a light sprinkle. Amish-style crisps are meant to be generous, almost pie-like in thickness, so the apples bake under a real lid of crumble. Press it down just enough to help it stay put, but don’t compact it or you’ll lose the rough, rustic texture that makes this dessert work.
What the Apples, Lard, and Oats Are Each Doing Here
- Apples — Use apples that hold their shape, like Granny Smith, Honeycrisp, Braeburn, or a mix. Softer apples turn to sauce before the topping is done. A mix gives you better flavor and a filling that tastes layered instead of one-note.
- Brown sugar in the filling — This deepens the apple flavor and pulls out the fruit’s juices, which then thicken with the flour. White sugar alone works in a pinch, but the filling tastes flatter and less caramel-like.
- Rolled oats — They add chew and help the topping bake into a hearty crumble. Quick oats will work, but the texture is finer and less rustic.
- Cold butter and lard — Butter gives flavor, while lard adds that old-fashioned tenderness and extra crumbly texture. If you skip the lard, replace it with more cold butter. Cut it in by hand until the mixture looks like clumps, not damp sand.
- Lemon juice — It keeps the apples tasting bright and keeps the filling from becoming too sweet. Don’t skip it unless your apples are already very tart.
Building the Fill and Crumble So the Crisp Bakes Evenly
Coating the Apples
Toss the sliced apples with the sugars, spices, flour, and lemon juice until every piece looks lightly coated and no dry flour is hiding in the bowl. The flour should cling to the fruit, not sit in white patches at the bottom. Spread the apples in a deep, even layer so the filling bakes uniformly and the center doesn’t stay undercooked while the edges overbake.
Cutting in the Fat
Work the cold butter and lard into the dry topping ingredients with your hands until you get rough, shaggy clumps. Stop when some pieces are pea-sized and some are a little larger; that mix gives you the best texture after baking. If the mixture starts to look paste-like, the fat has warmed too much, and the topping will bake up dense instead of crisp.
Baking Until It Bubbles Through the Edges
Bake until the topping is deeply golden and you can see the filling bubbling around the perimeter of the pan. Those bubbles tell you the apples have released their juices and the flour has had time to thicken them. Pull it too early and the filling will taste raw and thin; leave it in until the edges are active and the top is well browned.
Letting It Rest Before Serving
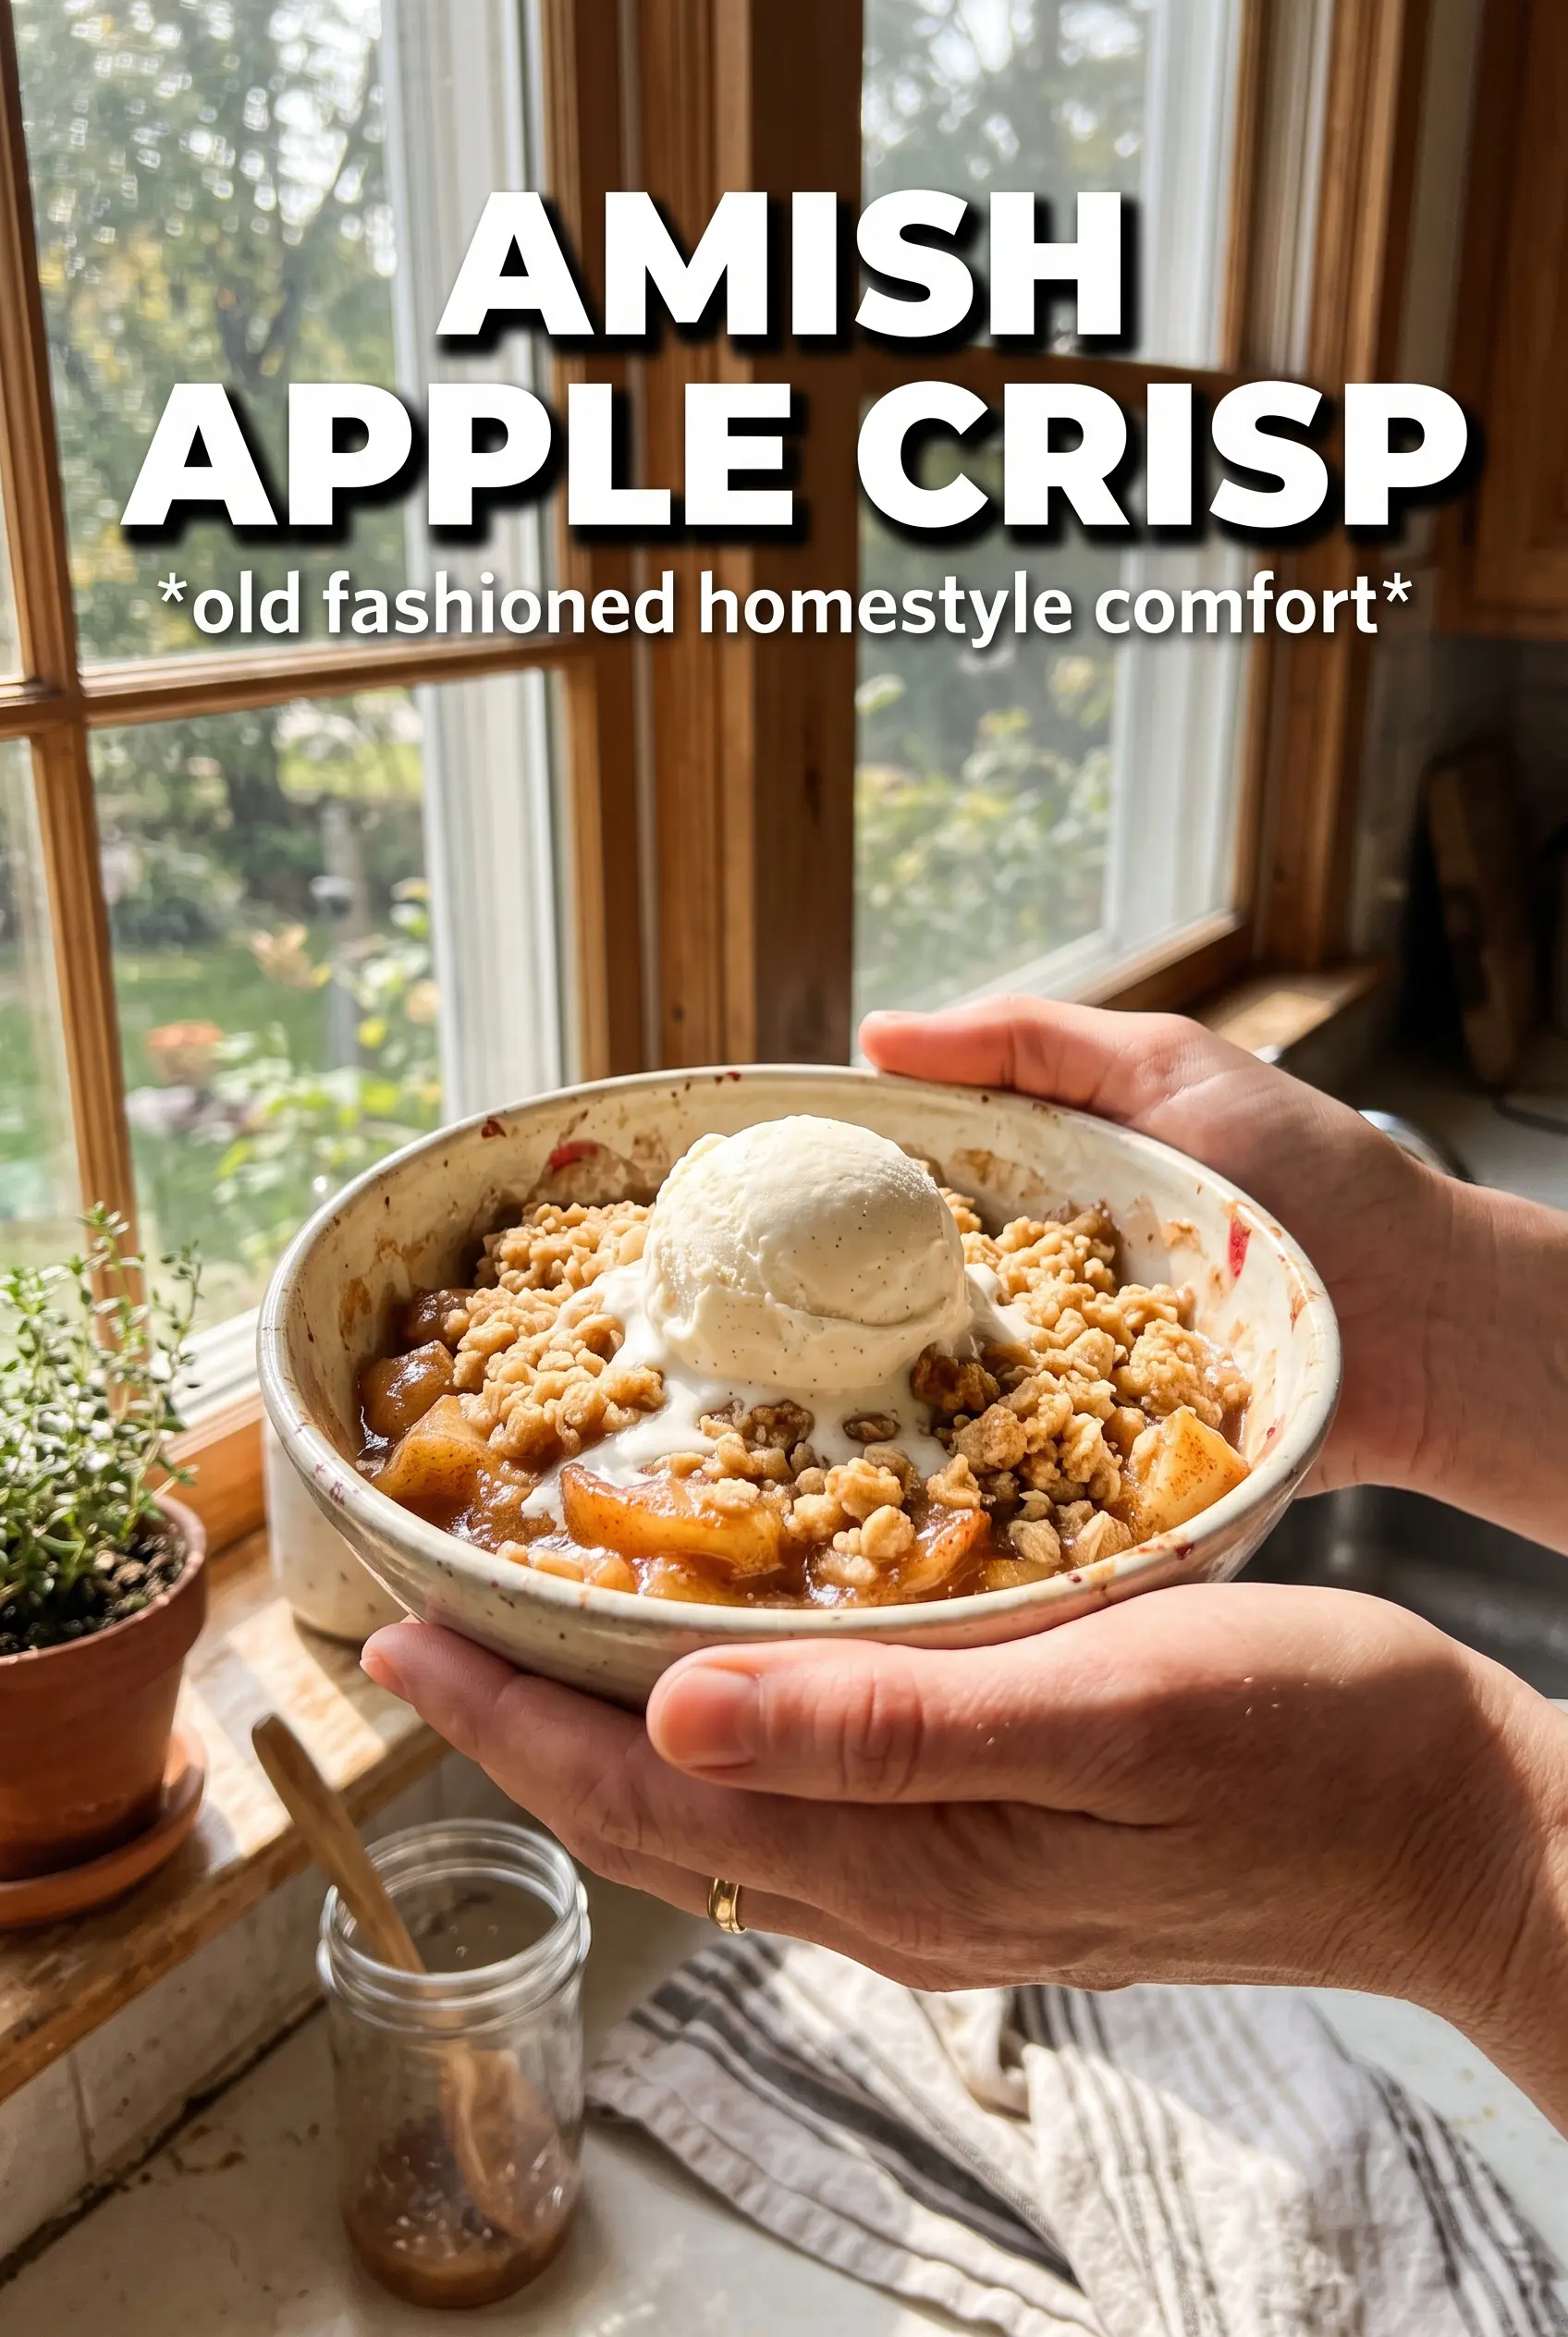
Give the crisp at least 15 minutes before scooping. The filling thickens as it sits, and that short rest keeps the spoonfuls from running all over the plate. Warm crisp with vanilla ice cream and a pour of cold cream is the right move here, because the contrast makes the cinnamon and brown sugar stand out even more.
How to Adjust This Crisp for Different Kitchens and Crowds
Dairy-Free Version
Swap the butter and lard for a solid plant-based butter substitute that bakes well. The topping won’t taste quite as rich, but you’ll still get good clumps and browning if the substitute stays cold. Skip the cream at serving and use dairy-free ice cream instead.
Gluten-Free Crisp
Use a 1:1 gluten-free flour blend in both the filling and topping, and choose certified gluten-free oats. The crumble will still be hearty, though a little more delicate when scooping, so let it rest before serving.
Using All Butter Instead of Lard
Replace the lard with an equal amount of cold butter if that’s what you have. The result is still excellent, just a little less crumbly and a touch more cookie-like. Keep the butter cold and work it in fast so the topping stays rough and uneven.
Storage and Reheating
- Refrigerator: Store covered for up to 4 days. The topping softens a little as it sits, but the flavor stays good.
- Freezer: Freeze baked crisp in portions or as a whole pan, well wrapped, for up to 2 months. Thaw in the refrigerator before reheating.
- Reheating: Warm in a 325F oven until the filling is hot and the top re-crisps. The microwave works in a pinch, but it softens the crumble and makes the apples a little loose.
Questions I Get Asked About This Recipe
Amish Apple Crisp
Ingredients
Equipment
Method
- Preheat oven to 350F and grease a large 10x15 roasting pan or 9x13 baking dish. Set the pan aside so the fruit can go in as soon as it’s mixed.
- Toss apple slices with granulated sugar, brown sugar, cinnamon, nutmeg, allspice, all-purpose flour, and lemon juice until the apples look well coated. Spread the apples in the prepared pan in a deep, even layer.
- For the crumble, combine all-purpose flour, rolled oats, both sugars, cinnamon, and salt. Cut in cold unsalted butter (and lard if using) until large, crumbly clumps form.
- Spread the crumble thickly over the apples and press very gently to help it adhere. Leave a light, uneven crumble texture on top.
- Bake for 50-55 minutes at 350F until the topping is deeply golden and the apple filling bubbles all around. Watch for caramelized edges around the fruit as the last 10 minutes approach.
- Rest the crisp for 15 minutes before serving. This lets the bubbling filling set so you can slice cleanly.
- Serve warm Amish apple crisp with vanilla ice cream. Pour cold heavy cream over the top or at the table right before eating.