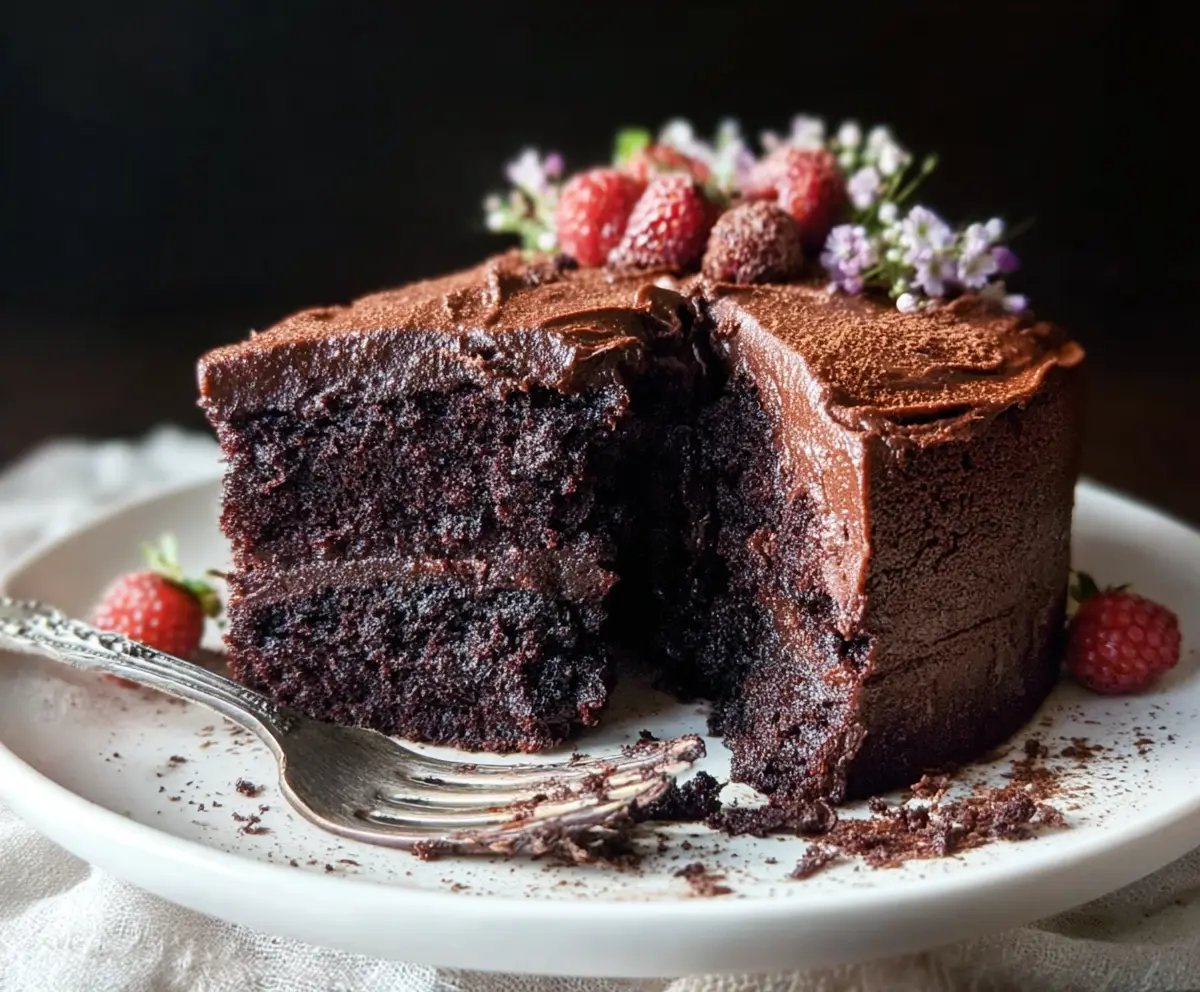
This Sourdough Discard Chocolate Cake is a tasty way to use up leftover sourdough starter. It’s rich, moist, and has a deep chocolate flavor that chocolate lovers will adore!
You won’t believe how easy it is to whip up! All you need to do is mix some ingredients together and bake. It’s my go-to for last-minute dessert cravings. Yum! 🍫
Key Ingredients & Substitutions
Sourdough Starter Discard: This cake is a great way to use leftover starter. If you don’t have sourdough discard, try using plain yogurt or applesauce for a similar texture and moisture.
Cocoa Powder: Unsweetened cocoa powder gives the rich chocolate flavor. If you want a less intense chocolate taste, you could use Dutch-processed cocoa powder, which is milder.
Buttermilk: Buttermilk adds moisture and a slight tang. If you don’t have any, mix milk with a teaspoon of vinegar or lemon juice and let it sit for a few minutes. It works just as well!
Butter: Unsalted butter is perfect for controlling the salt levels. You could substitute it with vegetable oil or coconut oil for a dairy-free option.
How Do You Make Sure Your Cake Is Moist and Fluffy?
The secret to a moist and fluffy cake is in the mixing and baking process. Start by carefully measuring your ingredients. Overmixing can lead to a dense cake, so mix until just combined.
- Mix your wet ingredients separately before combining with the dry mix to ensure even distribution.
- When adding hot water or coffee, do so gradually while mixing. This helps keep the batter smooth.
- Keep an eye on baking time. Every oven is different; check your cake a few minutes early to avoid overbaking.
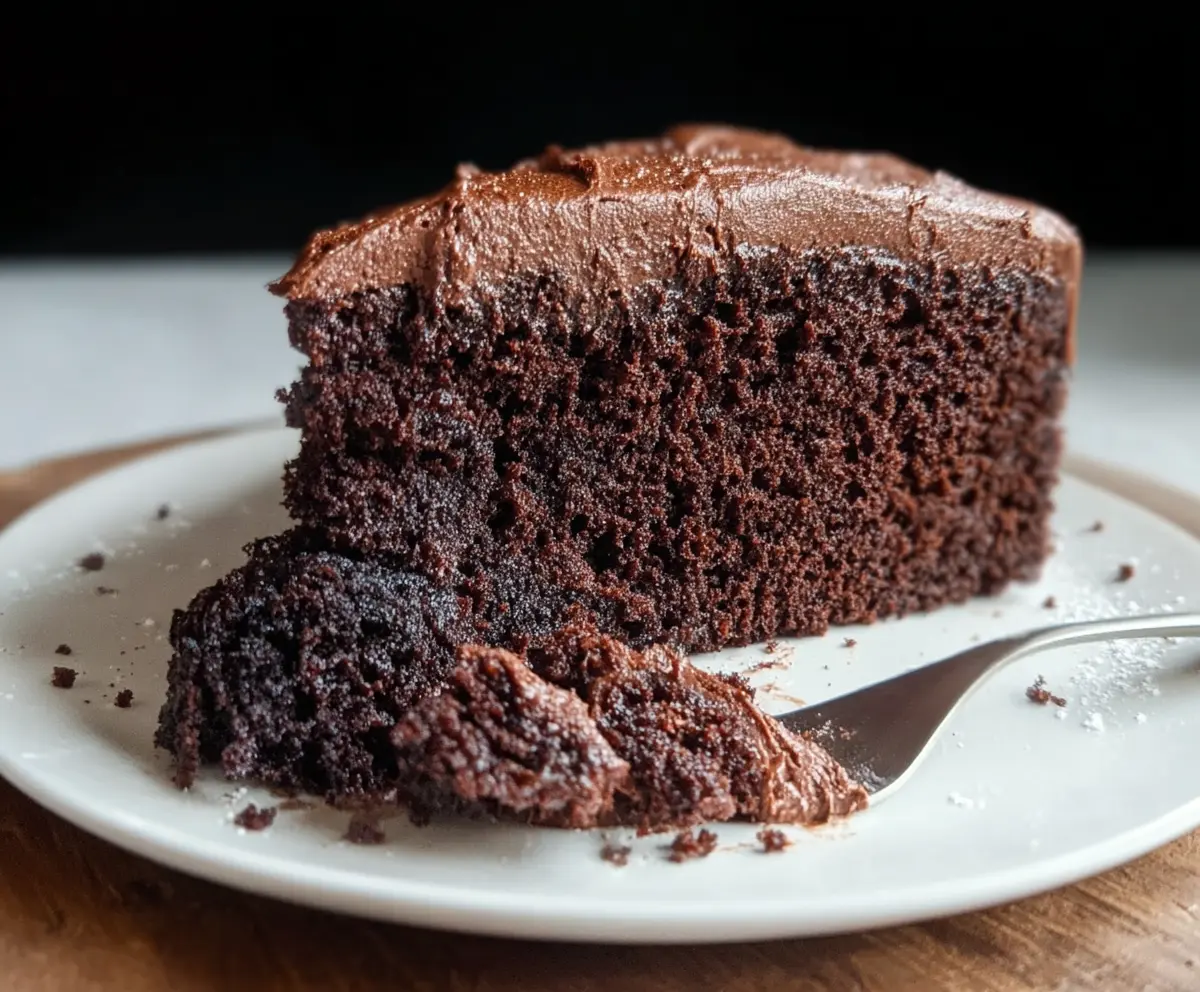
Once baked, allow the cakes to cool on a wire rack. This prevents them from becoming soggy. Follow these tips, and you’ll have a wonderfully moist chocolate cake every time!
Sourdough Discard Chocolate Cake
Ingredients You’ll Need:
- For the Cake:
- 1 cup sourdough starter discard (unfed)
- 1 cup all-purpose flour
- 1 cup granulated sugar
- 1/2 cup unsweetened cocoa powder
- 1 tsp baking soda
- 1/2 tsp baking powder
- 1/4 tsp salt
- 1/2 cup unsalted butter, melted and slightly cooled
- 2 large eggs
- 1 tsp vanilla extract
- 1/2 cup buttermilk (or milk with 1 tsp vinegar/lemon juice)
- 3/4 cup hot water or brewed coffee (to enhance chocolate flavor)
- For the Chocolate Frosting:
- 1/2 cup unsalted butter, softened
- 1 3/4 cups powdered sugar, sifted
- 1/3 cup unsweetened cocoa powder
- 2-3 tbsp milk or heavy cream
- 1 tsp vanilla extract
- Pinch of salt
- Optional Garnishes:
- Fresh raspberries or strawberries
- Edible flowers
- Cocoa powder for dusting
How Much Time Will You Need?
This delicious cake takes about 15 minutes to prepare and 30-35 minutes to bake. Don’t forget to allow time for cooling before frosting, which will take about 30 minutes. So, in total, you can expect to spend about 1.5 hours before you can serve this wonderful treat!
Step-by-Step Instructions:
1. Preparing the Oven and Pans:
Preheat your oven to 350°F (175°C). While the oven is heating, grease and flour two 8-inch round cake pans, or line them with parchment paper to make it easy to remove the cakes later.
2. Mixing the Dry Ingredients:
In a large mixing bowl, whisk together the sourdough discard, flour, sugar, cocoa powder, baking soda, baking powder, and salt until everything is well combined. This ensures even distribution of all the dry ingredients.
3. Adding the Wet Ingredients:
Now, add the melted butter, eggs, vanilla extract, and buttermilk to the dry mixture. Mix everything together until you have a smooth batter—a hand mixer works well, but a whisk will do just fine!
4. Incorporating Hot Liquid:
Gradually pour in the hot water or coffee while mixing. This step will help create a thin, pourable batter that results in a moist cake. Make sure to mix well until everything is fully combined.
5. Dividing the Batter:
Carefully divide the batter evenly between the two prepared cake pans. Use a spatula to smooth the tops if needed.
6. Baking the Cakes:
Place the cake pans in the preheated oven and bake for 30-35 minutes. To check if they’re done, insert a toothpick into the center. If it comes out clean or with a few crumbs, your cakes are ready!
7. Cooling the Cakes:
Once baked, remove the cakes from the oven and allow them to cool in the pans for about 10 minutes. After that, carefully transfer them to wire racks to cool completely.
8. Making the Chocolate Frosting:
While the cakes cool, let’s make the frosting! In a mixing bowl, beat the softened butter until it’s creamy. Gradually add in the powdered sugar and cocoa powder, alternating with milk or heavy cream, until you reach your desired consistency for spreading.
9. Adding Flavor to the Frosting:
Mix in the vanilla extract and a pinch of salt to balance the sweetness of the frosting. This will enhance the flavor so much!
10. Frosting the Cakes:
Once the cakes are completely cooled, take one layer and spread frosting on top. Place the second layer on top and frost the top and sides of the cake to create a beautiful finish.
11. Adding Garnishes:
If you’d like, finish the cake with garnishes like fresh raspberries, edible flowers, or a light dusting of cocoa powder for an elegant touch.
12. Serving Your Cake:
Slice up your Sourdough Discard Chocolate Cake and serve it to family and friends. Enjoy every delicious bite of this chocolaty goodness!
Can I Use Active Sourdough Starter Instead of Discard?
While it’s best to use unfed sourdough discard for this recipe, you can use active starter. Just reduce the amount of other liquids slightly to maintain the cake’s moisture.
How Should I Store Leftover Cake?
Store any leftover cake in an airtight container at room temperature for up to 3 days. If you want to keep it longer, wrap it well in plastic wrap and refrigerate for up to a week.
Can I Freeze This Cake?
Absolutely! You can freeze the cake either whole or as individual slices. Wrap each piece tightly in plastic wrap and place in a freezer bag. It will keep well for about 2-3 months. Thaw in the fridge before serving.
How Do I Adjust the Sweetness of the Cake?
If you prefer a less sweet cake, you can reduce the amount of sugar by 1/4 cup without affecting the cake’s texture too much. Just remember that this will also slightly alter the flavor profile.