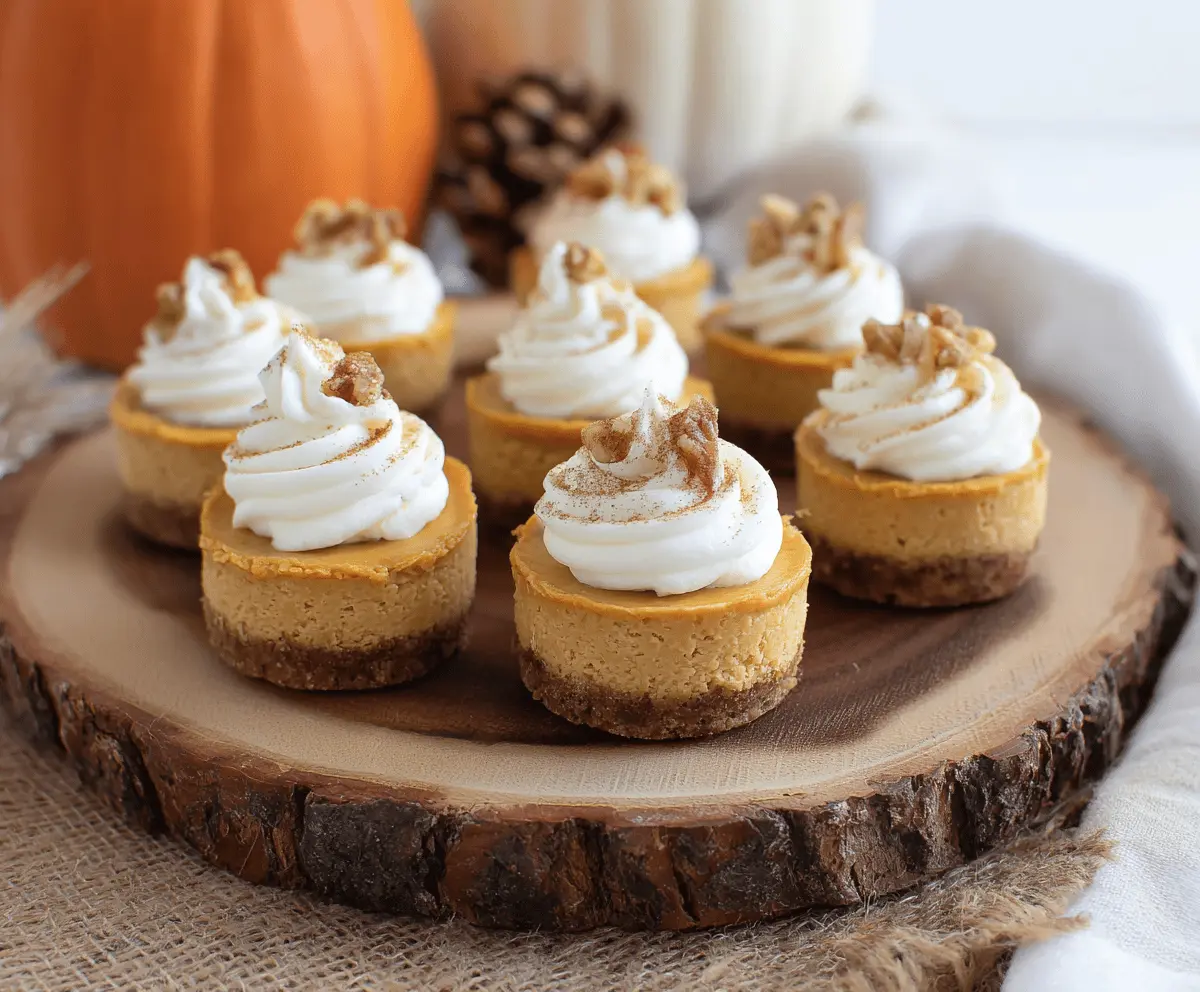
These delightful Pumpkin Mini Cheesecakes are the perfect fall treat! With a creamy pumpkin filling and a crunchy graham cracker crust, they bring all the cozy vibes you need.
Making them is a breeze! Just mix, pour, and bake in mini cups. I love to top mine with whipped cream for an extra touch. Who can resist a bite-sized dessert? 😋
Key Ingredients & Substitutions
Graham Cracker Crumbs: They give the crust a nice crunch. If you don’t have graham crackers, you can use crushed Oreos or vanilla wafers for a different flavor.
Cream Cheese: The main ingredient for the filling. Neufchâtel cheese is a lighter alternative that works well too. For a dairy-free version, try vegan cream cheese.
Pumpkin Puree: Canned pumpkin is super convenient! You can also use fresh pumpkin if you prefer, just make sure to cook and puree it first. It’s a good idea to strain it to remove excess moisture.
Spices: The spices bring warmth to the cheesecake. If you don’t have all the individual spices, a pumpkin pie spice blend will do! I like to add a bit more cinnamon for extra flavor.
How Can I Ensure My Cheesecakes Are Creamy and Not Overcooked?
One of the key aspects of mini cheesecakes is getting the right texture. You want them creamy, not rubbery! Here are some tips:
- Mix the filling just until smooth; overmixing can incorporate air and lead to cracks.
- Watch the baking time closely. They should be set but still slightly jiggly in the middle when you take them out.
- Allow them to cool at room temperature for a bit before refrigerating, which helps to prevent condensation.
Following these steps will help you achieve that perfect creamy consistency without any overcooking. Enjoy your mini cheesecakes!
How to Make Pumpkin Mini Cheesecakes
Ingredients You’ll Need:
For the Crust:
- 1 1/2 cups graham cracker crumbs
- 1/4 cup granulated sugar
- 6 tablespoons unsalted butter, melted
- 1/2 teaspoon ground cinnamon
For the Filling:
- 16 ounces (2 blocks) cream cheese, softened
- 1 cup canned pumpkin puree
- 3/4 cup granulated sugar
- 2 large eggs
- 1 teaspoon vanilla extract
- 1 teaspoon ground cinnamon
- 1/2 teaspoon ground nutmeg
- 1/4 teaspoon ground ginger
- 1/4 teaspoon ground cloves
- 1/4 teaspoon salt
For the Topping:
- Whipped cream
- Chopped walnuts
- Ground cinnamon, for dusting
Time Needed:
This recipe will take about 15 minutes of prep time and around 25 minutes of baking time. Don’t forget, you’ll need to chill the cheesecakes for at least 2 hours, so plan accordingly. All in all, you’ll have delicious mini cheesecakes ready to enjoy in about 2 hours and 40 minutes!
Step-by-Step Instructions:
1. Preheat the Oven:
Start by preheating your oven to 325°F (163°C). This is the perfect temperature to bake your cheesecakes just right. While the oven is heating, get a mini muffin pan and either line it with paper liners or grease it with a little butter to prevent sticking.
2. Make the Crust:
In a medium bowl, combine the graham cracker crumbs, granulated sugar, melted butter, and ground cinnamon. Mix it all together until it’s evenly combined. You want a nice crumbly texture. Take about 1 tablespoon of this mixture and press it firmly into the bottom of each mini muffin cup to create a crust.
3. Bake the Crust:
Pop the crusts in the oven and bake them for about 5 minutes. This will help them firm up. Once done, take them out and let them cool slightly while you prepare the filling.
4. Prepare the Cream Cheese Filling:
In a large mixing bowl, beat the softened cream cheese with an electric mixer until it’s smooth and creamy. This should take a minute or two. Next, add the pumpkin puree and sugar, mixing until everything is well combined.
5. Add Eggs and Spices:
Beat in the eggs one at a time; this helps to keep the mixture smooth. After that, add the vanilla extract and stir in the cinnamon, nutmeg, ginger, cloves, and salt. Mix until the filling is completely smooth and well blended.
6. Fill the Crusts:
Spoon the pumpkin filling evenly over the crusts in the mini muffin pan. Fill each cup nearly to the top since they will bake up nicely without overflowing.
7. Bake the Cheesecakes:
Return the pan to the oven and bake for 18-22 minutes. You’ll know they’re ready when the centers are set and the edges are slightly golden. Look out for that beautiful golden color!
8. Cool and Chill:
Take the cheesecakes out of the oven and let them cool in the pan for about 10 minutes. After that, transfer them to a wire rack to cool completely. Once cool, pop them in the fridge and let them chill for at least 2 hours. This will help them firm up and be perfect for serving.
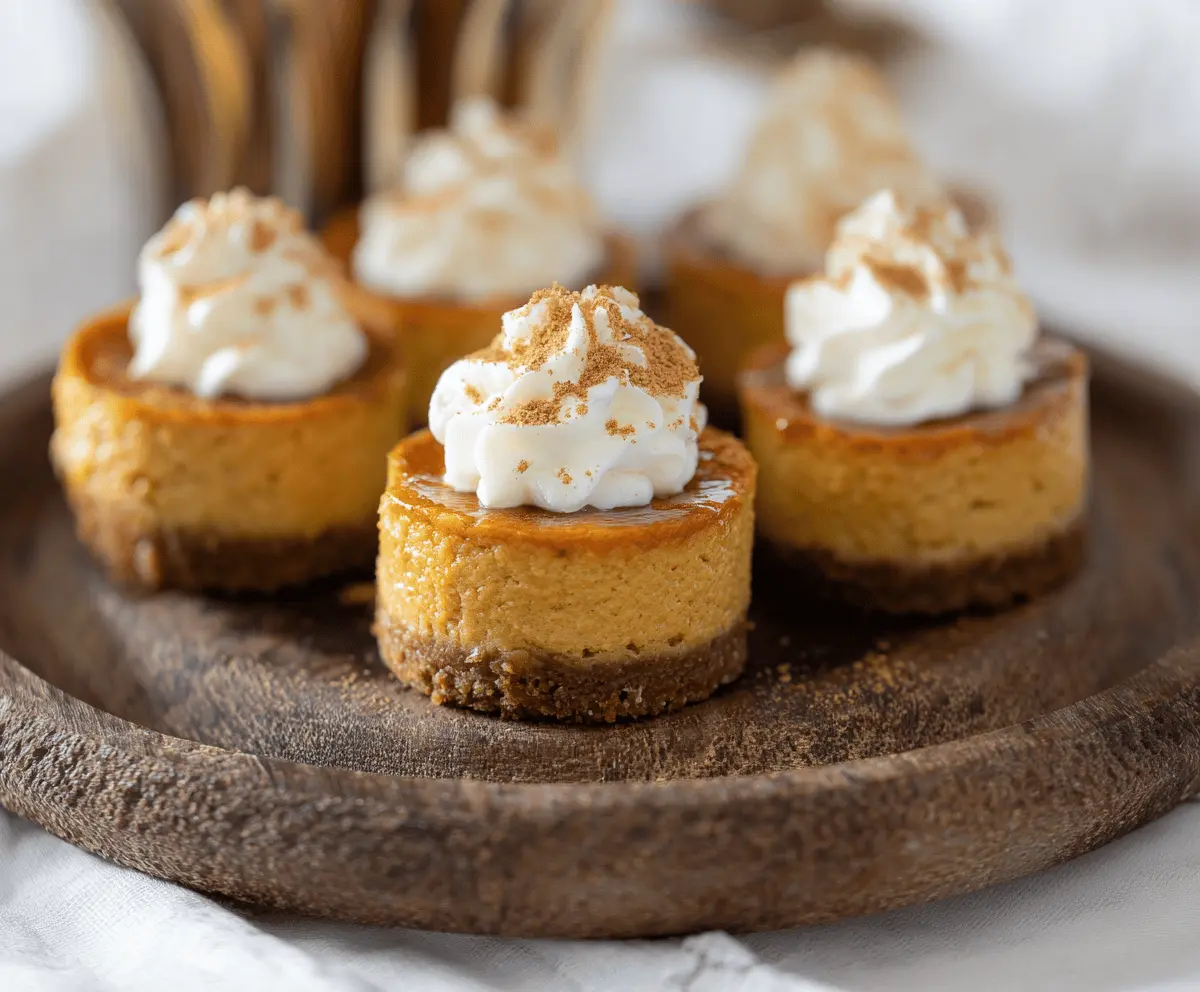
9. Serve and Enjoy:
When you’re ready to serve, top each mini cheesecake with a swirl of whipped cream and a sprinkle of ground cinnamon. Add a few chopped walnuts on top for some crunch. Then, dig in and enjoy your delicious pumpkin mini cheesecakes!
These mini cheesecakes are wonderfully creamy and perfectly spiced, making them the ideal treat for autumn gatherings or just to satisfy your pumpkin cravings all year round. Enjoy your baking adventure!
Can I Use a Different Type of Crust?
Absolutely! If you don’t have graham crackers on hand, you can use crushed Oreos, vanilla wafers, or even a gluten-free cookie mix for a different flavor profile. Just make sure to adjust the amount of sugar if your alternative is already sweetened.
What If I Don’t Have All the Spices?
No worries! If you’re missing some of the individual spices, you can substitute them with pumpkin pie spice, which is a blend that includes most of those spices. Use about 2 teaspoons of pumpkin pie spice in place of the individual spices for a similar flavor.
How Can I Store Leftover Mini Cheesecakes?
Store any leftovers in an airtight container in the refrigerator for up to 3-4 days. If you want to keep them longer, you can freeze them. Just make sure to wrap them tightly and place them in an airtight container. Thaw in the fridge before serving!
Can I Make These Mini Cheesecakes Ahead of Time?
Yes, these mini cheesecakes are perfect for making ahead! You can prepare them up to 2 days in advance. Just keep them refrigerated until you’re ready to serve, and add the toppings just before serving to keep them fresh.