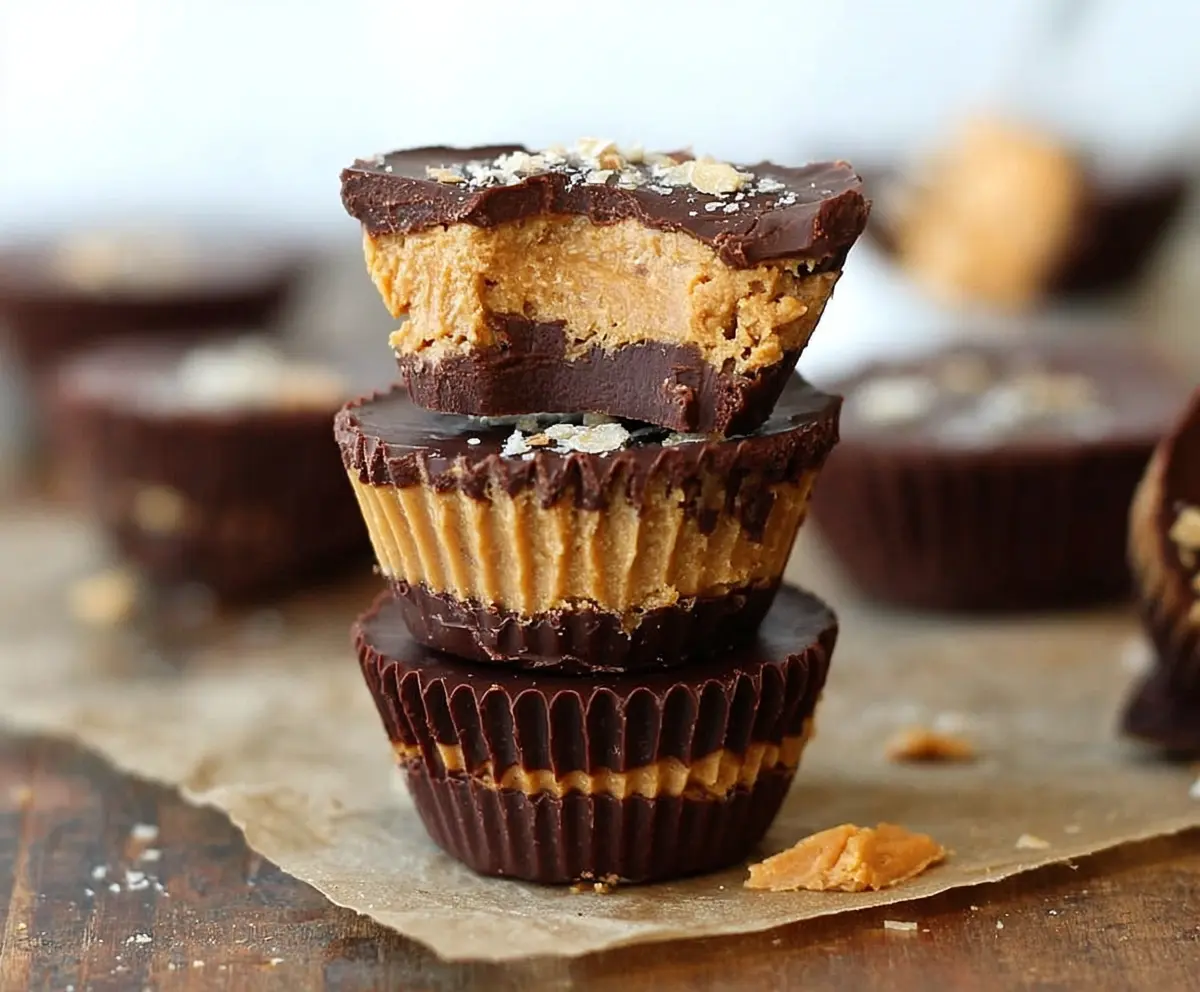
Peanut Butter Protein Cups are a yummy, no-bake treat packed with tasty peanut butter and a protein boost! They’re perfect for snacking or satisfying your sweet tooth without the guilt.
Making these cups is super fun! I like to keep a stash in my fridge for when those snack cravings hit. Who can resist the combo of chocolate and peanut butter, right? 🍫🥜
Key Ingredients & Substitutions
Natural Peanut Butter: I prefer creamy peanut butter for a smooth texture, but chunky works too! If you’re allergic to peanuts, try almond or sunflower butter instead. Both are delicious and give a different twist.
Honey or Maple Syrup: Use honey for a classic taste, but maple syrup is a great vegan substitute. Adjust the amount based on how sweet you like them. Some folks even use agave syrup!
Vanilla Protein Powder: This adds extra protein and flavor. If you don’t have vanilla, chocolate protein powder can work, but keep in mind it will change the flavor a bit.
Coconut Oil: This helps to harden the chocolate. You can replace it with any neutral oil like avocado or grapeseed oil. Just keep in mind that it may alter the taste slightly.
Dark Chocolate Chips: I like semi-sweet for balance, but bittersweet works wonderfully too. If you want a dairy-free version, look for vegan chocolate chips!
How Do You Get the Chocolate to Harden Perfectly?
Melting chocolate sounds simple, but you want it just right! Here’s how to get that smooth, pourable consistency that hardens nicely:
- If using a double boiler, make sure the bowl with chocolate is not touching the simmering water. This prevents the chocolate from burning.
- For the microwave method, heat in short bursts to avoid overheating. Stir in between to help it melt evenly.
After pouring the chocolate into your muffin tins, freezing it before adding the filling is key. This single step helps to ensure you get those chocolate cups that hold their shape and don’t crumble!
How to Make Peanut Butter Protein Cups
Ingredients You’ll Need:
Base Ingredients:
- 1 cup natural peanut butter (creamy or chunky based on preference)
- 1/4 cup honey or maple syrup (adjust for sweetness)
- 1/4 cup vanilla protein powder (whey or plant-based)
- 2 tablespoons coconut oil, melted
- 1/4 teaspoon salt (optional, enhances flavor)
- 1 cup dark chocolate chips or chunks (semi-sweet or bittersweet)
- Flaked sea salt for topping (optional)
Chocolate Topping:
How Much Time Will You Need?
This recipe will take about 15 minutes of preparation plus about 30-45 minutes to freeze the cups until they are firm. It’s a quick and easy treat to whip up, and the waiting time is worth it for that delicious chocolate and peanut butter goodness!
Step-by-Step Instructions:
1. Prepare Your Muffin Tin:
Start by lining a mini muffin tin with paper liners or use silicone molds. This makes it easier to remove the cups once they’re set. If you don’t have liners, greasing the tin lightly can also work.
2. Mix the Filling:
In a medium bowl, mix together the peanut butter, honey (or maple syrup), protein powder, melted coconut oil, and salt until the mixture is smooth and well combined. You want everything to blend together nicely for a creamy filling.
3. Melt the Chocolate:
For the chocolate coating, melt the dark chocolate chips in a heat-safe bowl over a pot of simmering water (this is called a double boiler) or in the microwave in 30-second bursts, stirring often until smooth. Be careful not to overheat the chocolate as it can burn!
4. Create the Chocolate Base:
Once your chocolate is melted, spoon about 1 teaspoon into each muffin liner, spreading it up the sides a little to form a base. This is what holds the filling in. Then, place the tin in the freezer for about 5-10 minutes to let the chocolate harden.
5. Add the Filling:
After the chocolate has set slightly, take the tin out of the freezer and add about 1 tablespoon of the peanut butter mixture into each cup. Gently press the filling down to fill the cup evenly without spilling over the edges.
6. Top with More Chocolate:
Now, cover each peanut butter layer with another teaspoon of the melted chocolate, spreading it evenly to seal the filling inside.
7. Add Finishing Touches:
If you like a little extra flavor, sprinkle a pinch of flaked sea salt on top of each cup. This adds a nice contrast to the sweetness!
8. Freeze Until Firm:
Place the entire muffin tin back in the freezer and chill for about 30-45 minutes, or until the cups are completely firm.
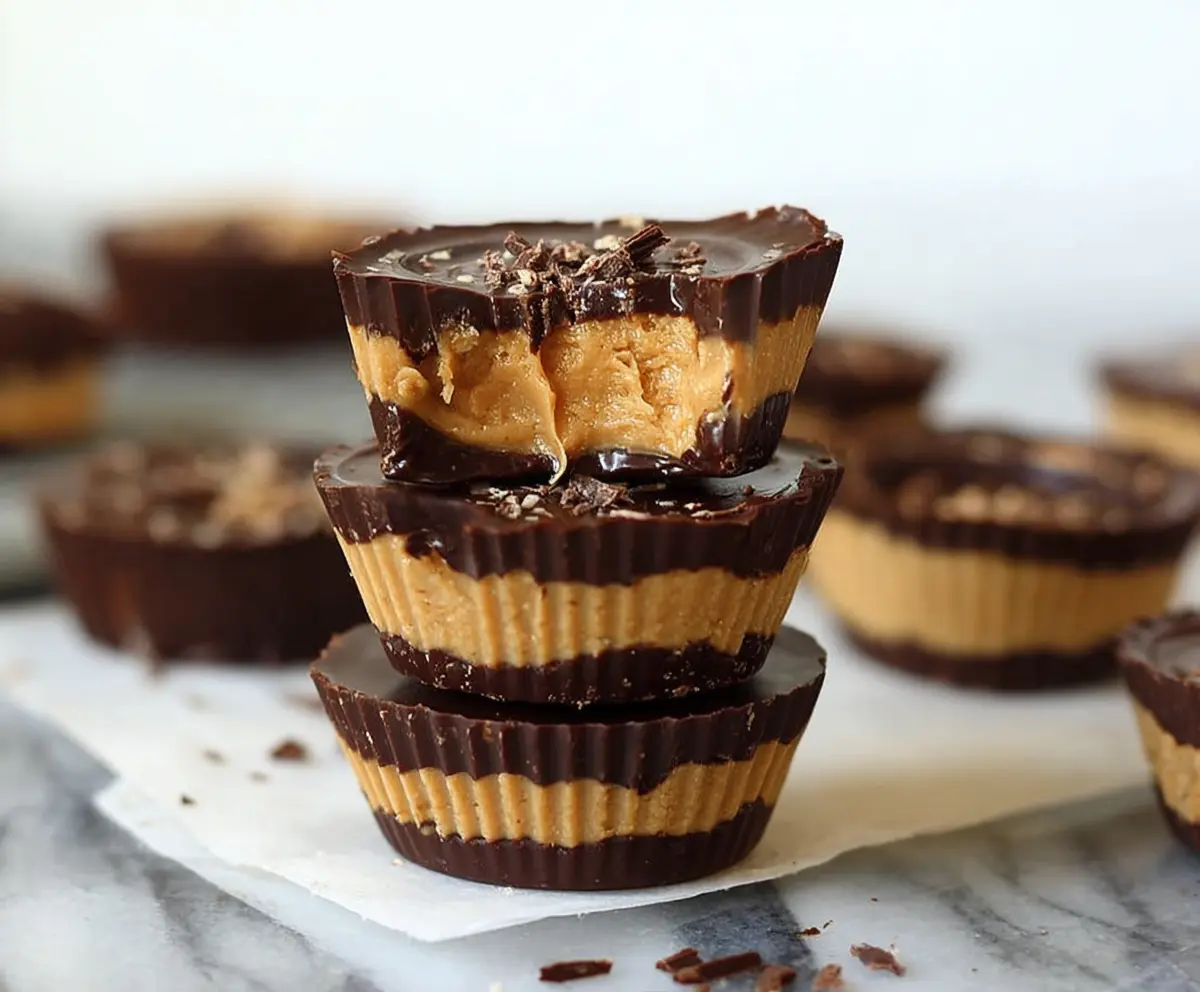
9. Enjoy Your Treat!
Once set, pop the cups out of the molds and enjoy right away, or store them in an airtight container in the fridge or freezer. They make for an awesome snack or a post-workout treat! Enjoy your homemade Peanut Butter Protein Cups!
Can I Use a Different Nut Butter?
Absolutely! You can use almond butter, cashew butter, or even sunflower seed butter if you’re looking for a nut-free option. Just keep in mind that the flavor will change slightly based on the alternative you choose.
How Do I Store These Protein Cups?
Store your Peanut Butter Protein Cups in an airtight container in the refrigerator for up to one week, or freeze them for longer storage—up to three months. Just make sure to separate layers with parchment paper if stacking to avoid sticking!
Can I Make These Vegan?
Yes! To make these cups vegan, simply use maple syrup instead of honey and ensure that you use dairy-free chocolate chips. Many brands offer great options that are completely plant-based!
What Should I Do If My Chocolate Isn’t Melting Smoothly?
If your chocolate isn’t melting smoothly, it may be overheating. Reduce the heat or take it off the double boiler briefly to cool down. Stirring frequently helps prevent lumpiness, so keep mixing until it’s smooth and pourable!