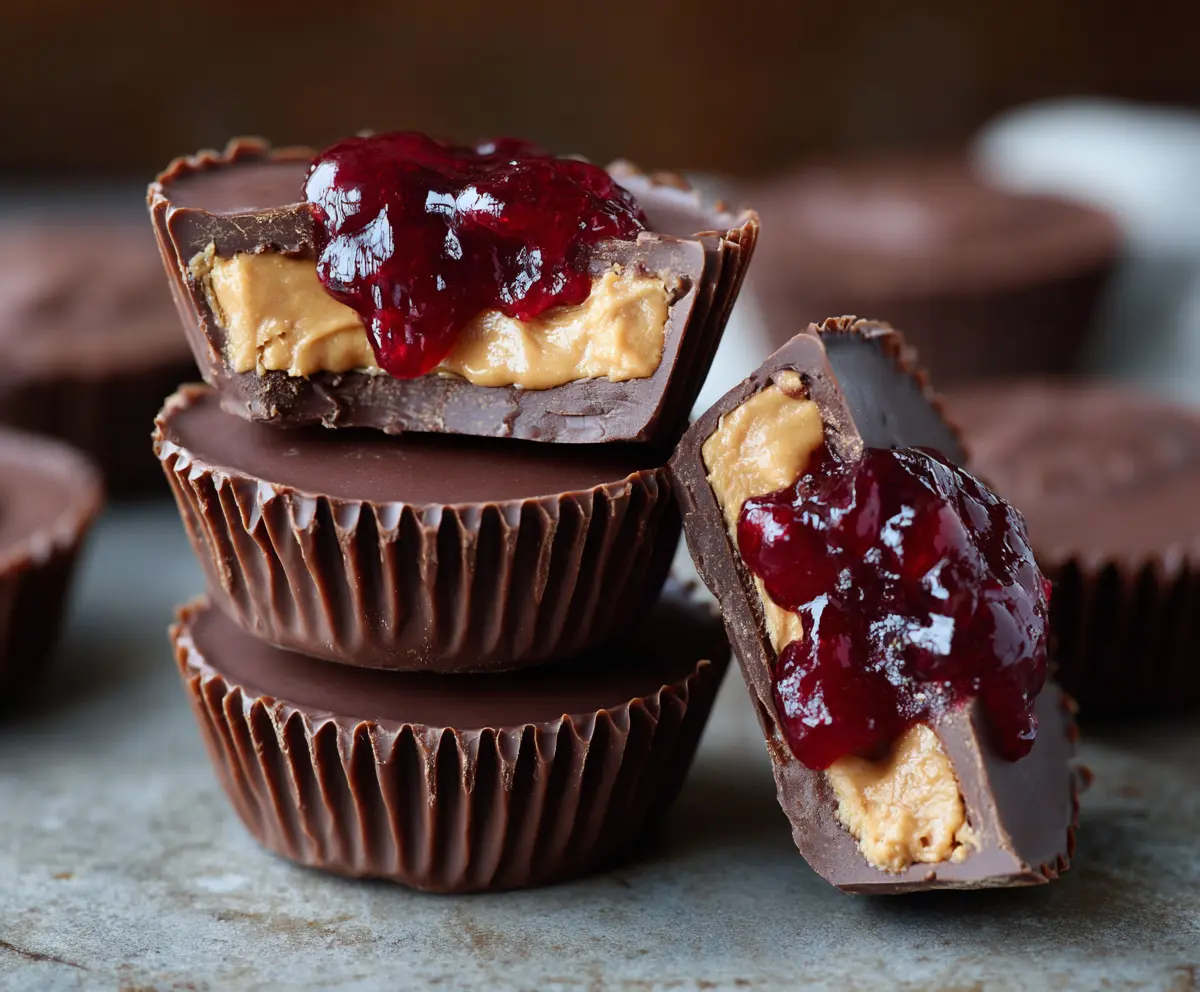
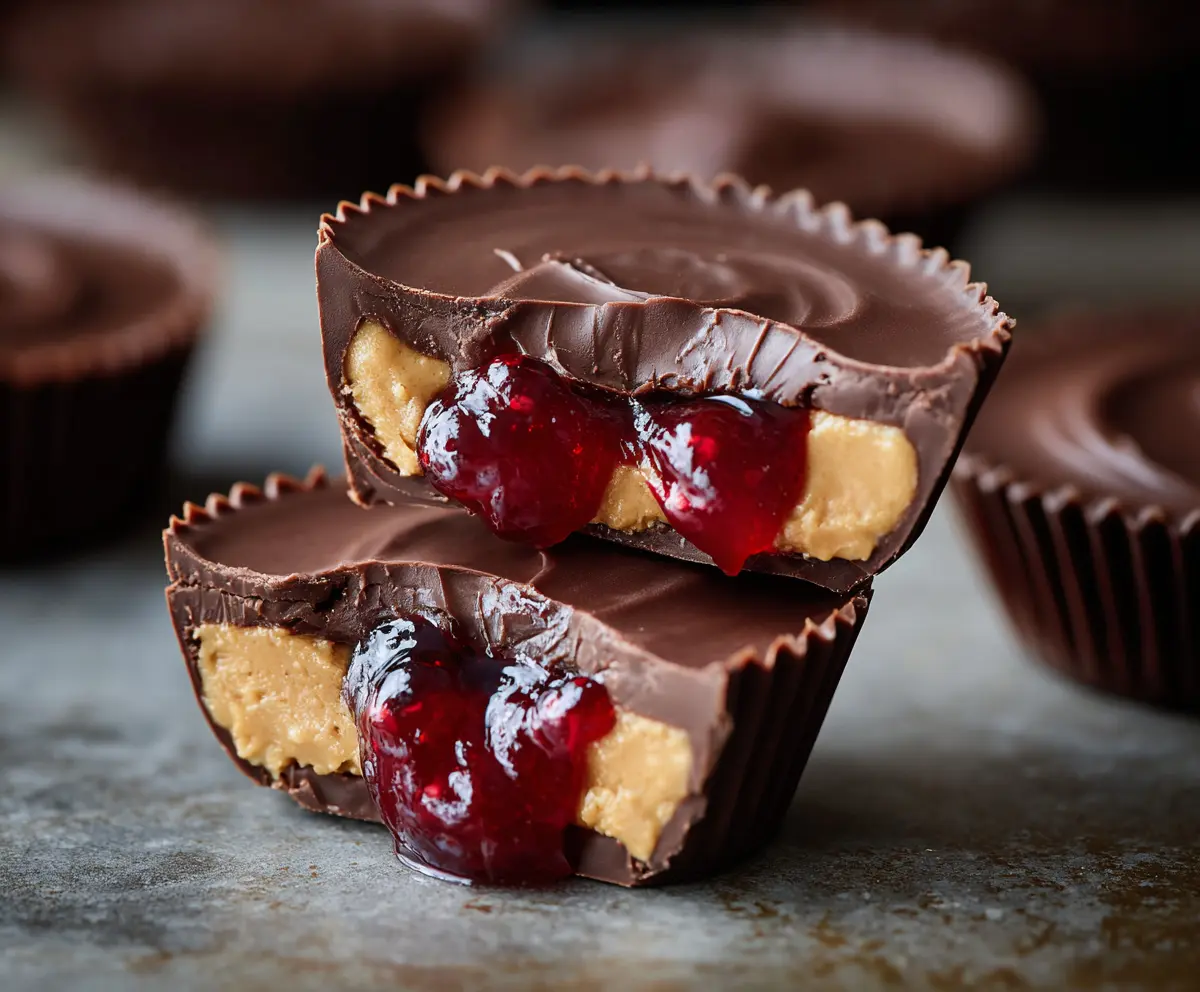
These Peanut Butter and Jelly Cups are a fun twist on the classic sandwich! With a crispy chocolate shell, creamy peanut butter filling, and sweet jelly center, they’re simply delightful!
Honestly, who doesn’t love a little chocolatey goodness? I like to keep these cups in my snack stash. They make for a quick, satisfying treat anytime I have a sweet craving! 🍫🥜
Key Ingredients & Substitutions
Chocolate Chips: Semi-sweet chocolate chips are perfect for this recipe, giving a balanced sweetness. If you prefer dark chocolate or milk chocolate, those work well too! For dairy-free options, look for vegan chocolate chips.
Peanut Butter: The recipe calls for creamy peanut butter, which helps achieve a smooth filling. Natural peanut butter can also be used for a more wholesome flavor. Just make sure it’s well-stirred, as the oil can separate.
Powdered Sugar: This sweetener mixes easily into the peanut butter. If you’re watching sugar, use a sugar substitute like stevia or monk fruit sweetener. Adjust the amount to taste based on sweetness preference.
Jelly or Jam: The classic choice is grape jelly, but feel free to try strawberry or raspberry jam! You can also use homemade jam or low-sugar options if you prefer. Check the texture; it should be thick enough to sit without running.
How Can I Melt Chocolate Without Burning It?
Melting chocolate perfectly is key to making these cups. The goal is to keep the chocolate smooth without seizing up from heat. Here are my top tips:
- Use a microwave: Heat chocolate in a microwave-safe bowl in short bursts of 30 seconds. Stir in between until smooth.
- Double boiler method: Place a heat-proof bowl over a pot of simmering water, stirring occasionally, until melted. Avoid letting the bowl touch the water.
- Keep an eye on it: Melt just until fully liquid; you can remove it just before it’s completely melted, as the residual heat will finish the job!
With these tips, you’ll make perfectly melted chocolate every time! Enjoy creating your Peanut Butter and Jelly Cups with ease!
How to Make Peanut Butter And Jelly Cups
Ingredients You’ll Need:
For The Chocolate Shell:
- 1 1/2 cups semi-sweet chocolate chips or chopped chocolate
For The Peanut Butter Filling:
- 1/2 cup creamy peanut butter (natural or regular)
- 2 tablespoons powdered sugar
- 1/4 teaspoon vanilla extract (optional)
For The Jelly Layer:
- 2 tablespoons jelly or jam (such as grape, strawberry, or raspberry)
How Much Time Will You Need?
This recipe takes about 15 minutes of prep time, plus an additional 40 minutes to chill and set in the fridge. You’ll spend some time melting chocolate, mixing fillings, and assembling the layers—all while creating something delicious!
Step-by-Step Instructions:
1. Prepare Your Muffin Tin:
Start by lining a muffin tin with paper or silicone cupcake liners. This will make it easy to remove the Peanut Butter and Jelly Cups later. Set the tin aside while you prepare the chocolate.
2. Melt the Chocolate:
In a microwave-safe bowl, melt the chocolate chips in 30-second intervals, stirring in between each round until smooth. If you prefer, you can use the double boiler method by placing a heat-proof bowl over simmering water. Just be careful not to splash any water into the chocolate!
3. Create the Chocolate Shell:
Once melted, spoon about 1 tablespoon of the chocolate into each cupcake liner. Using the back of a spoon, spread the chocolate up the sides to form a shell. After that, pop the tin in the refrigerator for about 10 minutes to let the chocolate set.
4. Prepare the Peanut Butter Filling:
While the chocolate is chilling, mix the peanut butter, powdered sugar, and optional vanilla extract in a bowl. Stir until everything is smooth and well combined!
5. Fill the Chocolate Cups:
After the chocolate has set, take the muffin tin out of the fridge. Spoon about 1 tablespoon of the peanut butter filling into each chocolate shell. Press gently to spread evenly, but don’t let it overflow!
6. Add the Jelly Layer:
On top of the peanut butter filling, add about 1/2 teaspoon of jelly or jam in each cup. This will add a sweet and fruity burst!
7. Seal with More Chocolate:
Cover the jelly and peanut butter with more melted chocolate to seal everything inside. Gently tap the muffin tin to smooth the surface.
8. Chill Again:
Pop the muffin tin back in the refrigerator and chill for at least 30 minutes, or until the chocolate is fully set and firm to the touch.
9. Enjoy Your Treats:
Once set, carefully remove the Peanut Butter and Jelly Cups from the liners. They’re ready to serve and enjoy! Store any leftovers in an airtight container in the refrigerator to keep them fresh.
Enjoy this delightful treat that combines the classic flavors of peanut butter and jelly in a fun, chocolatey way!
Can I Use Different Types of Chocolate?
Absolutely! While semi-sweet chocolate is perfect for a balanced sweetness, you can use dark chocolate for a richer flavor or milk chocolate for a sweeter taste. Just keep in mind that the flavor and texture will vary with each type!
How Do I Store Leftover Peanut Butter And Jelly Cups?
Store any leftovers in an airtight container in the refrigerator. They will stay fresh for up to one week. Just remember to let them come to room temperature for a few minutes before enjoying if you prefer them softer!
Can I Make These Cups Vegan?
Yes, you can make these cups vegan by using dairy-free chocolate and ensuring that your jelly is also vegan-friendly. Look for natural versions without gelatin to keep everything plant-based!
How Can I Adjust the Sweetness of the Peanut Butter Filling?
If you want to adjust the sweetness, simply add more or less powdered sugar to the peanut butter filling based on your preference. You can also opt for sugar substitutes if you’re looking to cut down on sugar!