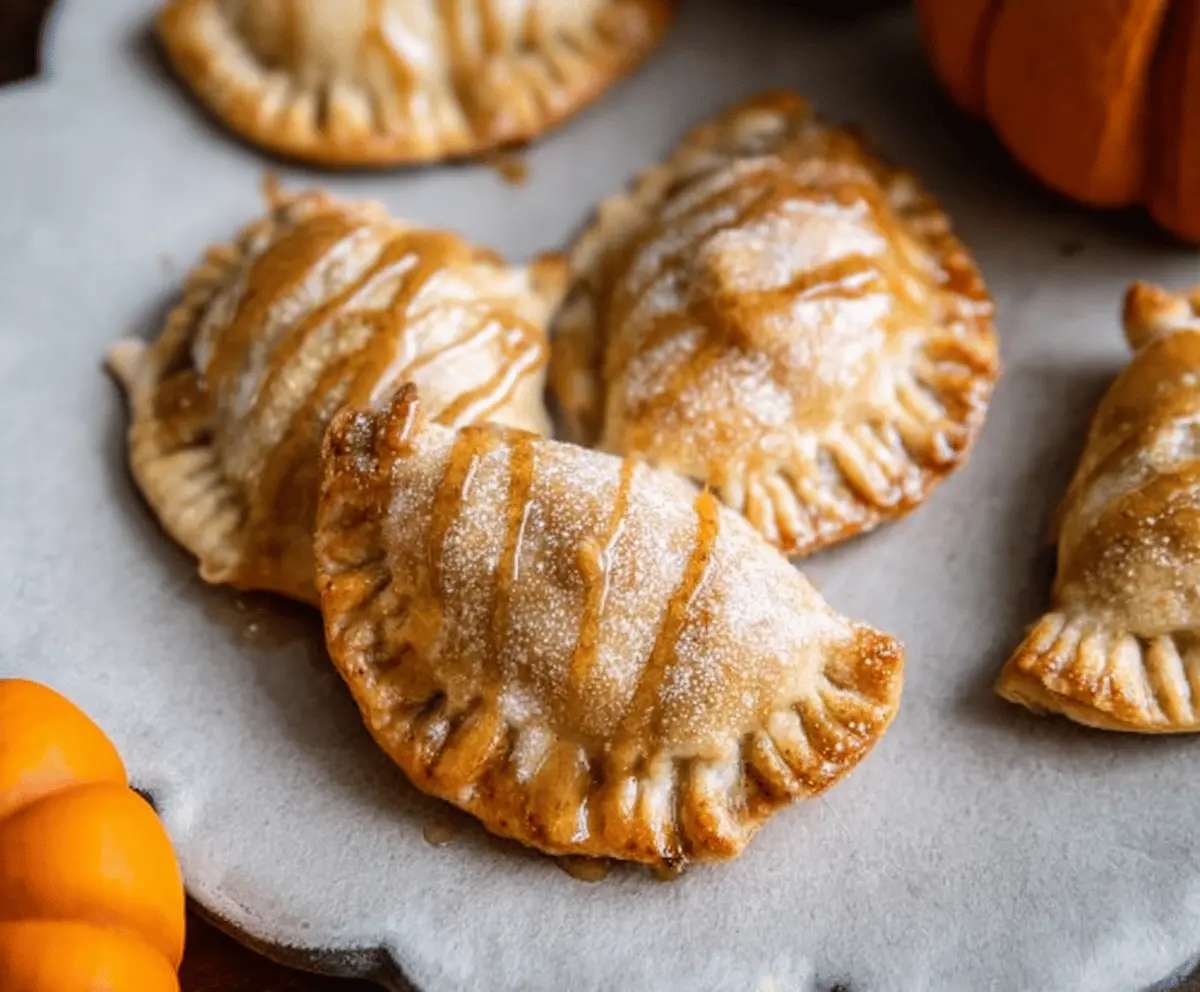
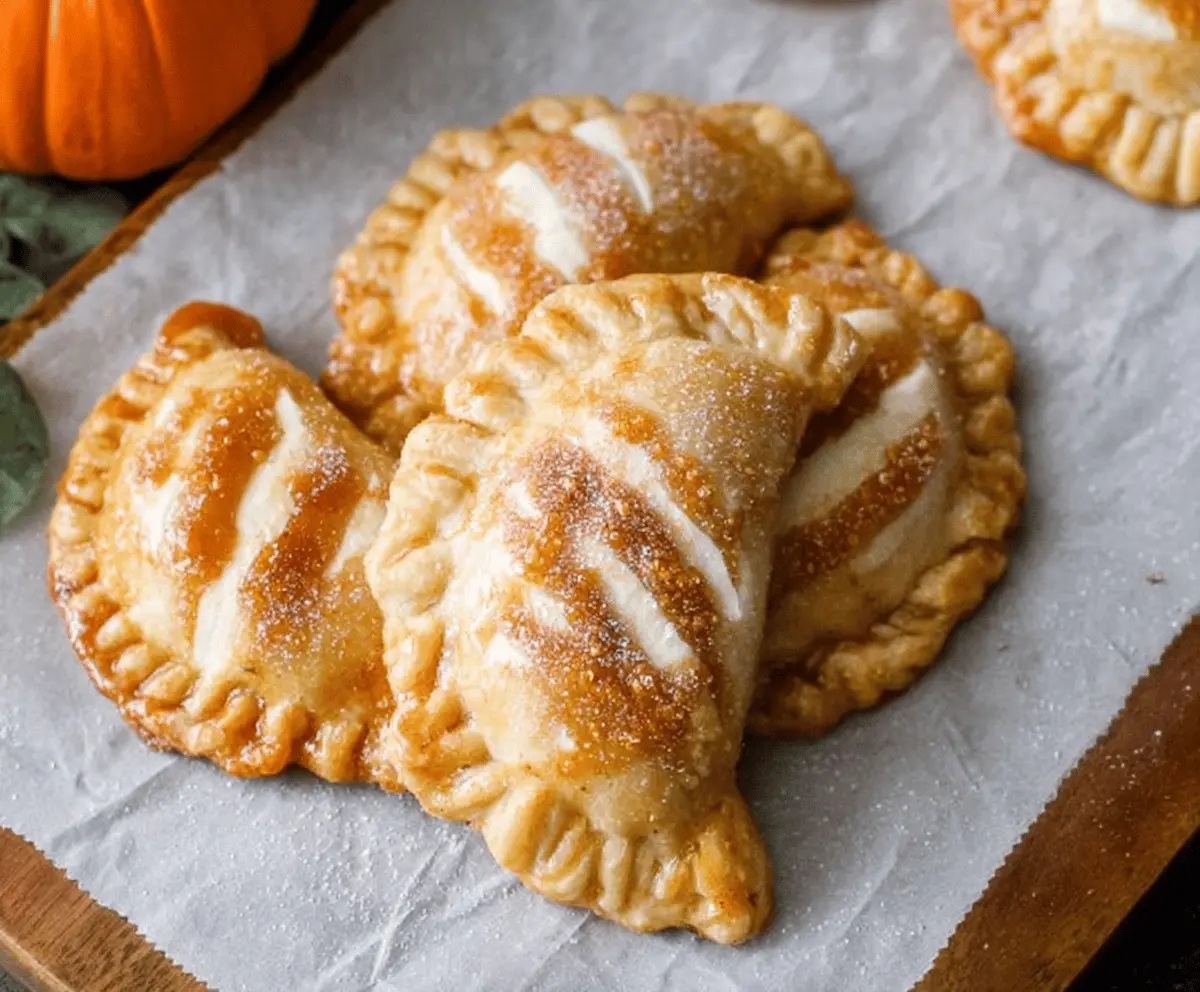
These Mini Pumpkin Hand Pies are a sweet treat that brings the cozy flavors of fall right to your hands! With a yummy pumpkin filling and a nice flaky crust, they’re perfect for snacking anytime.
Making these pies is super fun! I like to eat them warm with a sprinkle of cinnamon on top. They make my kitchen smell amazing—who needs candles when you have these baking? 🎃
Key Ingredients & Substitutions
Pie Crusts: I recommend using refrigerated pie crusts for convenience. If you prefer homemade, a simple flaky crust works well too. For a gluten-free option, look for gluten-free pie crusts at the store.
Pumpkin Puree: Use canned pumpkin puree, but not pumpkin pie filling, which is sweetened and spiced. If you’re feeling ambitious, you can also roast a sugar pumpkin and blend it to make fresh puree!
Spices: The combination of cinnamon, ginger, nutmeg, and cloves gives these pies their warm flavor. If you don’t have one of these spices, you can adjust with pumpkin pie spice as a substitute.
Brown Sugar: This adds a rich flavor. If you’re out, you can use white sugar and a little maple syrup for a unique twist.
How Do I Fold and Seal the Hand Pies Perfectly?
Folding and sealing your hand pies is key to keep the filling from spilling out during baking. Here’s how to nail it:
- After adding the filling, fold the dough over to form a half-moon shape gently.
- Press the edges together lightly to work out any air pockets.
- Use a fork to crimp the edges for a solid seal and a nice design!
By ensuring a good seal, your pies will bake perfectly and keep that delicious pumpkin filling inside!
Tips for Baking
Keep an eye on the pies as they bake! They should turn a lovely golden brown. If they start to brown too fast, covering them lightly with foil helps prevent burning. Letting them cool a bit before eating allows the filling to set nicely. Enjoy!
Mini Pumpkin Hand Pies
Ingredients You’ll Need:
- For the Hand Pie Filling:
- 1 cup canned pumpkin puree (not pumpkin pie filling)
- 1/2 cup brown sugar, packed
- 1 teaspoon ground cinnamon
- 1/2 teaspoon ground ginger
- 1/4 teaspoon ground nutmeg
- 1/4 teaspoon ground cloves
- 1 tablespoon cornstarch
- 1 teaspoon vanilla extract
- For the Pie Crust:
- 1 package refrigerated pie crusts (2 crusts)
- For the Egg Wash and Topping:
- 1 large egg (for egg wash)
- 1 tablespoon water (for egg wash)
- Granulated sugar, for sprinkling
Time Need Overview:
This delightful recipe takes about 15 minutes to prep and 20-25 minutes to bake, so you’ll be enjoying these hand pies in about 40-45 minutes total. They’re quick to make and super delicious—perfect for a fall treat!
Step-by-Step Instructions:
1. Preheat and Prepare:
Start by preheating your oven to 375°F (190°C). While that’s heating up, grab a baking sheet and line it with parchment paper to prevent sticking.
2. Make the Pumpkin Filling:
In a medium-sized bowl, combine the pumpkin puree, brown sugar, cinnamon, ginger, nutmeg, cloves, cornstarch, and vanilla extract. Mix it all well with a spoon or spatula until it’s smooth and creamy. This will be your sweet filling!
3. Create the Pie Circles:
Unroll the refrigerated pie crusts onto a surface lightly dusted with flour. Use a round cookie cutter or a glass about 4 inches wide to cut out circles from the dough. Aim for perfect circles so the pies look nice and even!
4. Fill the Hand Pies:
Take one circle at a time and spoon about 1 to 2 tablespoons of the pumpkin filling into its center, being careful not to get any on the edges. This will help keep your pies sealed.
5. Fold and Seal:
Now, fold each pie circle over the filling to create a half-moon shape. Press the edges together gently to close, and then use a fork to crimp down the edges, making sure they are sealed tight. This gives a nice look and keeps the filling from leaking out!
6. Prepare the Egg Wash:
In a small bowl, whisk the egg and water together to create your egg wash. This will give the pies a beautiful golden color when baked. Brush the tops of each hand pie with the egg wash to make them shine!
7. Vent the Pies:
Using a sharp knife, cut 2-3 small slits in the top of each hand pie. This allows steam to escape while they bake, so they don’t puff up too much.
8. Sprinkle Sugar:
To add a little extra sweetness and crunch, sprinkle some granulated sugar over the tops of the pies. It makes them look extra appetizing!
9. Bake:
Carefully place the hand pies on your prepared baking sheet and pop them in the preheated oven. Bake for 20-25 minutes, or until they turn a lovely golden brown and are puffed up nicely.
10. Cool and Enjoy:
Once they’re baked to perfection, remove the hand pies from the oven and let them cool slightly on the baking sheet. Enjoy them warm or allow them to cool to room temperature before serving! They’re fantastic with a nice cup of coffee or tea, or just by themselves!
These Mini Pumpkin Hand Pies are perfect for fall gatherings, snacks, or dessert. Happy baking! 🎃
Can I Use a Different Type of Pie Crust?
Absolutely! While refrigerated pie crusts are super convenient, you can also use homemade pie crust or even store-bought puff pastry for a flakier texture. Just make sure to roll it out thin enough to maintain that cute hand pie shape!
How Do I Store Leftover Hand Pies?
Store any leftover hand pies in an airtight container at room temperature for 2-3 days. If you want to keep them longer, refrigerate them for up to a week or freeze them for up to 3 months. Just reheat in the oven for a few minutes to restore their crispness!
Can I Make the Filling Ahead of Time?
Yes! You can prepare the pumpkin filling a day in advance. Just store it in the fridge in an airtight container. When you’re ready to make the hand pies, bring it to room temperature before filling your crusts for best results.
What Can I Substitute for Cornstarch?
If you don’t have cornstarch on hand, you can use all-purpose flour as a substitute. Use about 1.5 tablespoons of flour to achieve a similar thickening effect for the filling. However, cornstarch will give a slightly smoother texture.