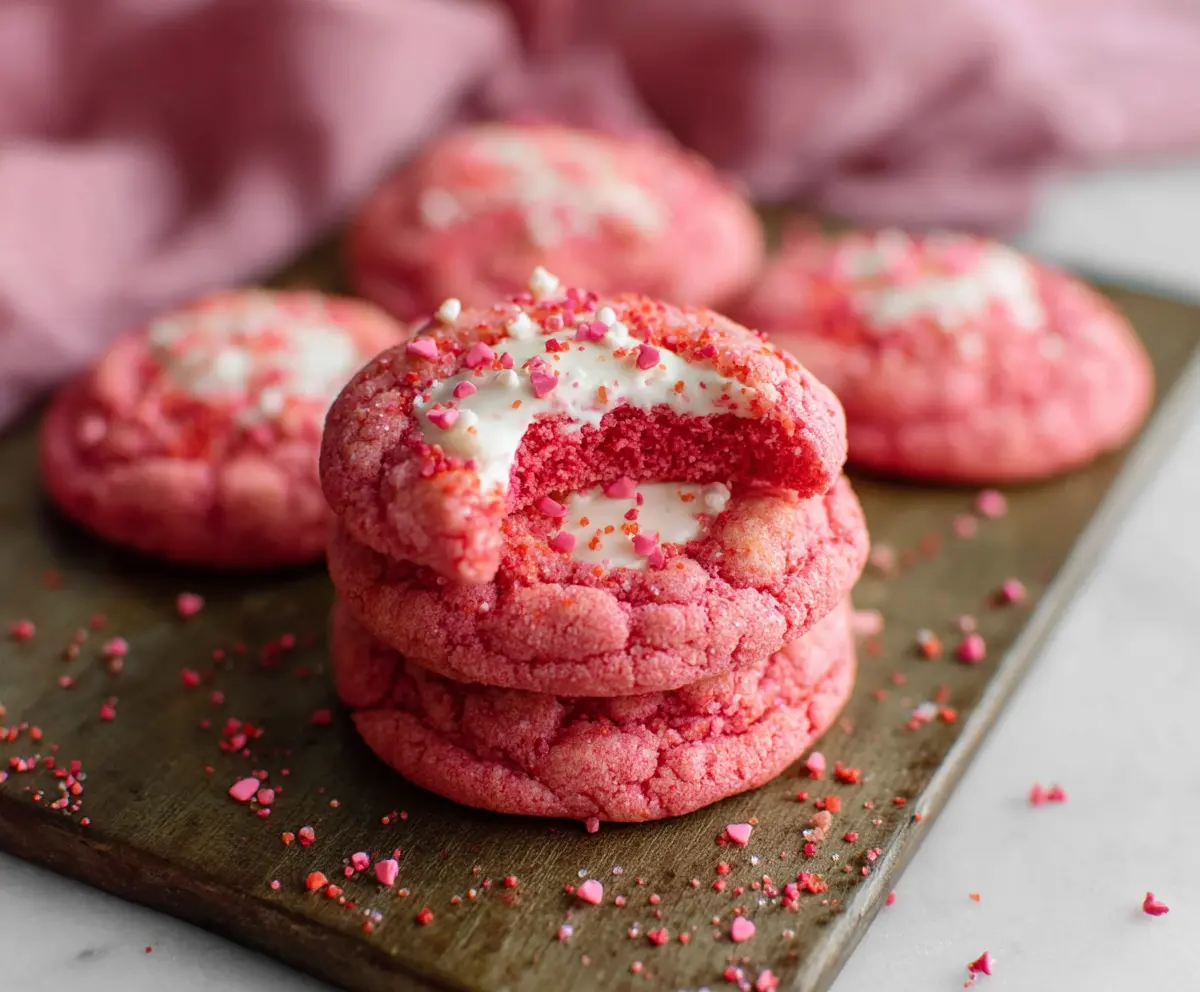
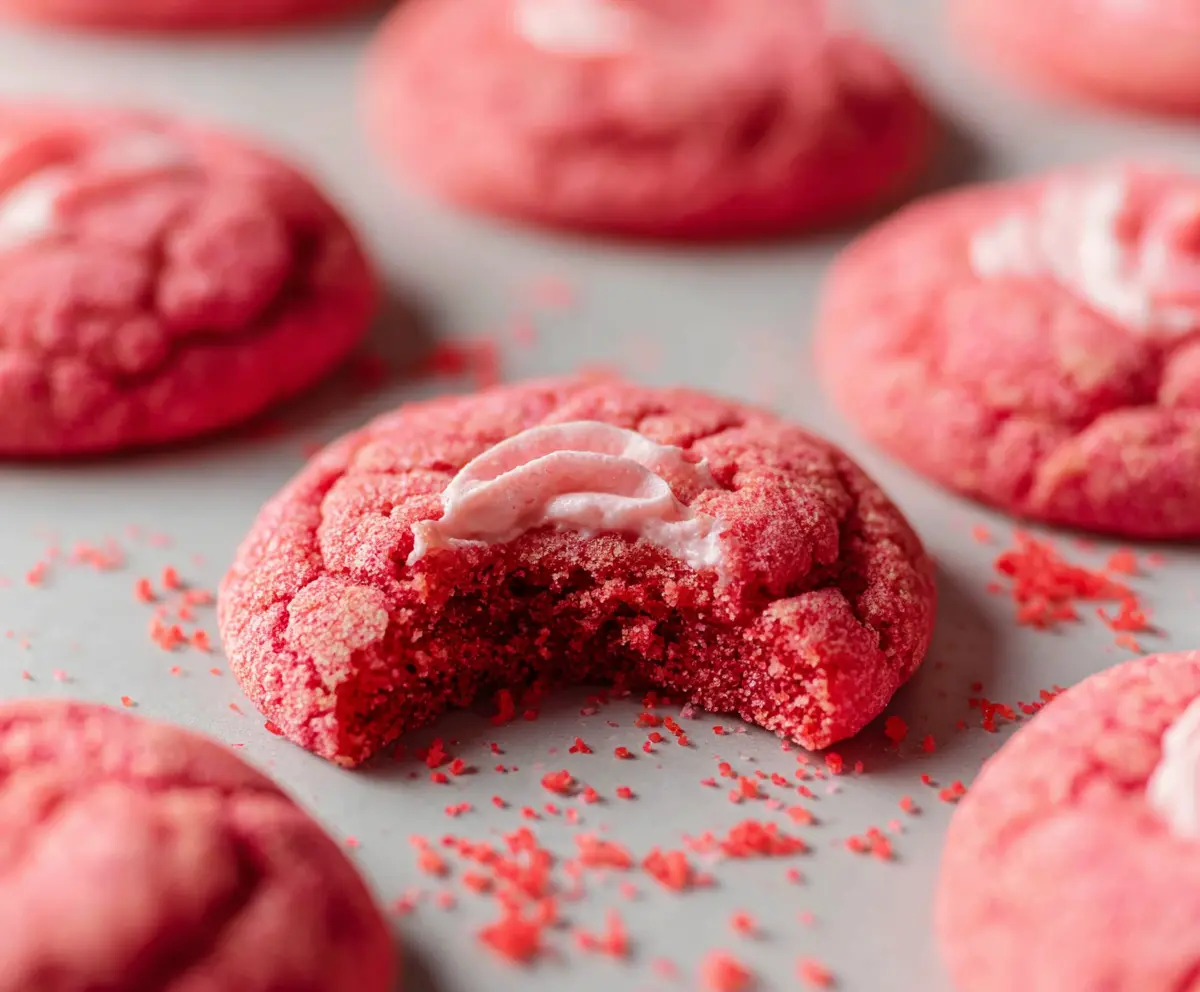
These Crumbl Pink Velvet Cookies are a treat for your eyes and taste buds! With their soft, fluffy texture and a lovely pink color, they’re perfect for any celebration.
Who can resist a cookie that looks this cute? I love how simple they are to make, and the cream cheese frosting on top adds a sweet final touch. They always bring smiles! 🎉
Key Ingredients & Substitutions
Butter: Unsalted butter is best for this recipe, as it gives more control over salt levels. You can swap it with coconut oil or vegan butter for a dairy-free version. I prefer using soft butter for a smoother dough!
Buttermilk: This adds moisture and a slight tang. If you don’t have any, you can make a quick substitute by mixing regular milk with a tablespoon of vinegar or lemon juice—let it sit for 5 minutes!
Pink Gel Food Coloring: For the best color, gel food coloring is much more vibrant than liquid. If you can’t find it, use red or pink liquid food coloring, but adjust the amount since it’s less concentrated.
Cream Cheese: I love using full-fat cream cheese for the filling because it gives the best texture and flavor. For a lighter option, look for reduced-fat cream cheese. If vegan, try a dairy-free cream cheese alternative!
How Do I Achieve the Perfect Cookie Texture?
Getting the right cookie texture is crucial! Start by creaming the butter and sugar together until fluffy; this helps incorporate air for a light cookie. When adding dry ingredients and buttermilk, mix just until combined to avoid overworking the dough.
- Be careful not to overbake; cookies should be soft in the center when you take them out.
- Indenting the cookies right after baking allows the cream cheese filling to sit nicely inside.
- Let them cool on a wire rack, which prevents sogginess on the bottom.
How to Make Crumbl Pink Velvet Cookies
Ingredients You’ll Need:
For the Cookies:
- 1/2 cup unsalted butter, softened
- 3/4 cup granulated sugar
- 1 large egg
- 1 teaspoon vanilla extract
- 1 1/4 cups all-purpose flour
- 2 tablespoons unsweetened cocoa powder
- 1/4 teaspoon baking soda
- 1/4 teaspoon salt
- 1/2 cup buttermilk (or regular milk)
- Pink gel food coloring (enough to achieve vibrant pink color)
For the Cream Cheese Filling:
- 4 oz cream cheese, softened
- 2 tablespoons unsalted butter, softened
- 3/4 cup powdered sugar, sifted
- 1/2 teaspoon vanilla extract
For Decoration:
- Pink, red, and white sprinkles or crushed candy hearts
How Much Time Will You Need?
This recipe takes about 15 minutes to prep and an additional 15-20 minutes to bake. After that, you’ll want to give them a few minutes to cool. So, set aside around 35-40 minutes in total to whip these up!
Step-by-Step Instructions:
1. Preheat the Oven:
Start by preheating your oven to 350°F (175°C). Line a baking sheet with parchment paper or a silicone baking mat. This will help your cookies not stick!
2. Prepare the Cream Cheese Filling:
In a medium bowl, beat the softened cream cheese and butter together until they are smooth and creamy. Then add the powdered sugar and vanilla extract, beating again until it’s nice and fluffy. Transfer this filling into a piping bag or a small ziplock bag with the tip cut off. Refrigerate this while you make the cookies.
3. Make the Cookie Dough:
In a large bowl, cream together the softened butter and granulated sugar using a hand mixer or stand mixer until it’s light and fluffy. Then, beat in the egg and vanilla extract until everything is well combined.
4. Combine Dry Ingredients:
In a separate bowl, whisk together the all-purpose flour, cocoa powder, baking soda, and salt until mixed well.
5. Mix It All Together:
Gradually add the dry mixture to the wet ingredients, alternating with the buttermilk. Start and end with the dry mixture, mixing just until everything is combined. Be careful not to overmix!
6. Add Color:
Now, add the pink gel food coloring. Start with a little and add more until you achieve your desired vibrant pink color.
7. Shape the Cookies:
Using a cookie scoop or spoon, scoop about 2 tablespoons of dough and roll it into balls. Place them on your prepared baking sheet, making sure to leave some space between each cookie.
8. Bake the Cookies:
Bake your cookies in the preheated oven for 8-10 minutes. You want the edges to be set, but the centers should still be soft.
9. Form the Indentations:
Once they’re out of the oven, use the edge of a spoon or your finger to make a small well in the center of each cookie. This is where your cream cheese filling will go!
10. Add the Filling:
Fill the indentation with a small amount of the cream cheese filling. Then, pop the cookies back in the oven for another 2 minutes to set the filling slightly.
11. Cool and Decorate:
Remove the cookies from the oven and let them cool on the baking sheet for about 5 minutes. After that, transfer them to a wire rack to cool completely. Once cooled, you can pipe more cream cheese filling on top if you like, and then decorate with sprinkles or crushed candy hearts for that extra festive touch!
12. Enjoy!
Now your soft, fluffy, and beautifully pink velvet cookies are ready to be enjoyed! Perfect for sharing or just treating yourself to something special!
Can I Use Regular Milk Instead of Buttermilk?
Yes, you can! If you don’t have buttermilk on hand, simply mix 1/2 cup of regular milk with 1 tablespoon of lemon juice or vinegar. Let it sit for about 5 minutes before using it in the recipe.
How Do I Store Leftover Cookies?
Store any leftover cookies in an airtight container at room temperature for up to 3 days. If you want to keep them longer, consider refrigerating them, where they’ll stay good for about a week.
Can I Freeze these Cookies?
Absolutely! To freeze, layer the cookies between parchment paper in an airtight container, or freeze them separately on a baking sheet first. Once frozen solid, transfer to a ziplock bag. They can last up to 3 months in the freezer! Just thaw at room temperature when you’re ready to enjoy them.
What Can I Use Instead of Gel Food Coloring?
If you don’t have gel food coloring, you can use liquid food coloring, but you’ll need more of it to achieve the same vibrant pink. Alternatively, you can try using beet juice or raspberry puree for a natural coloring option, although this may slightly alter the flavor.