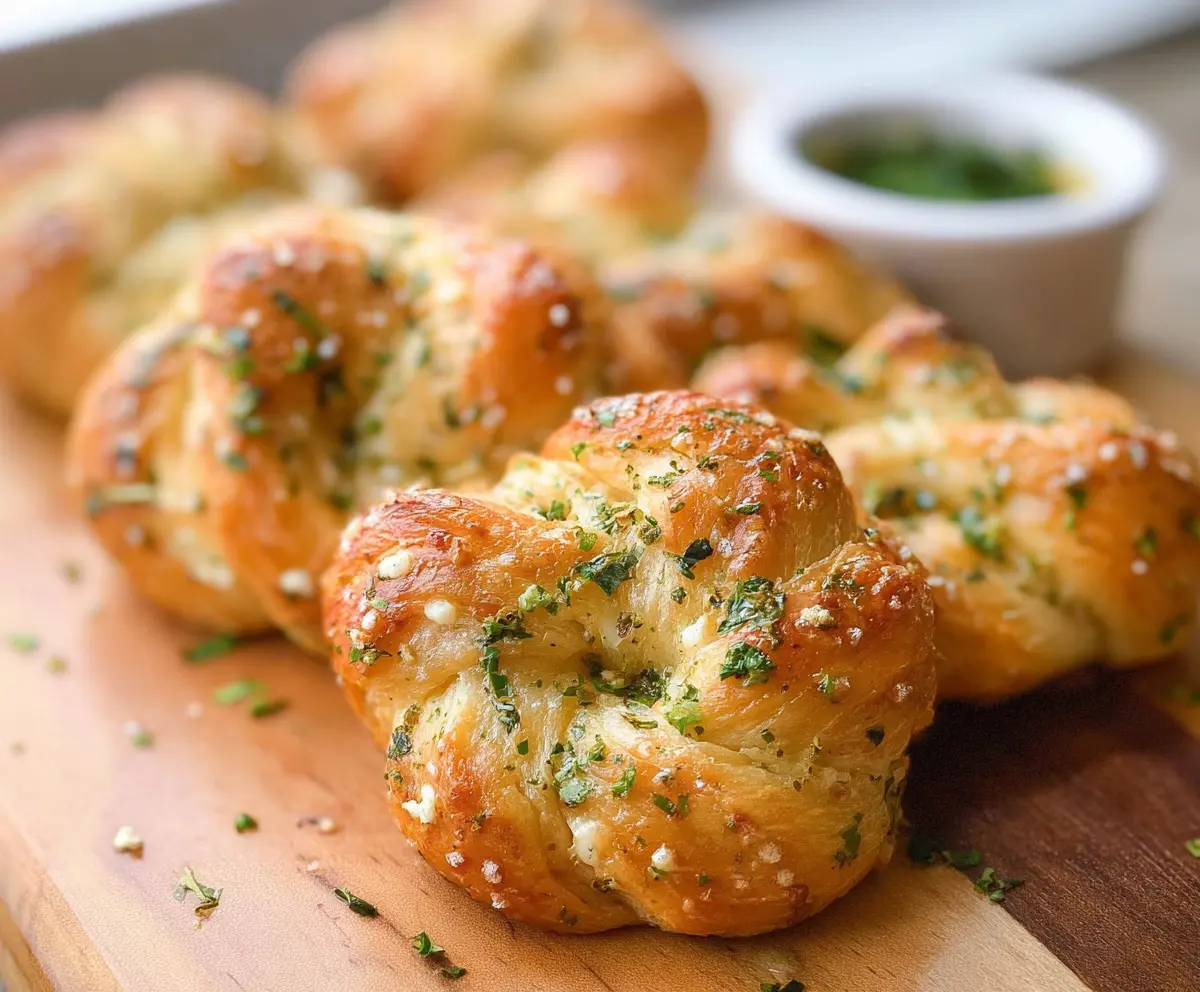
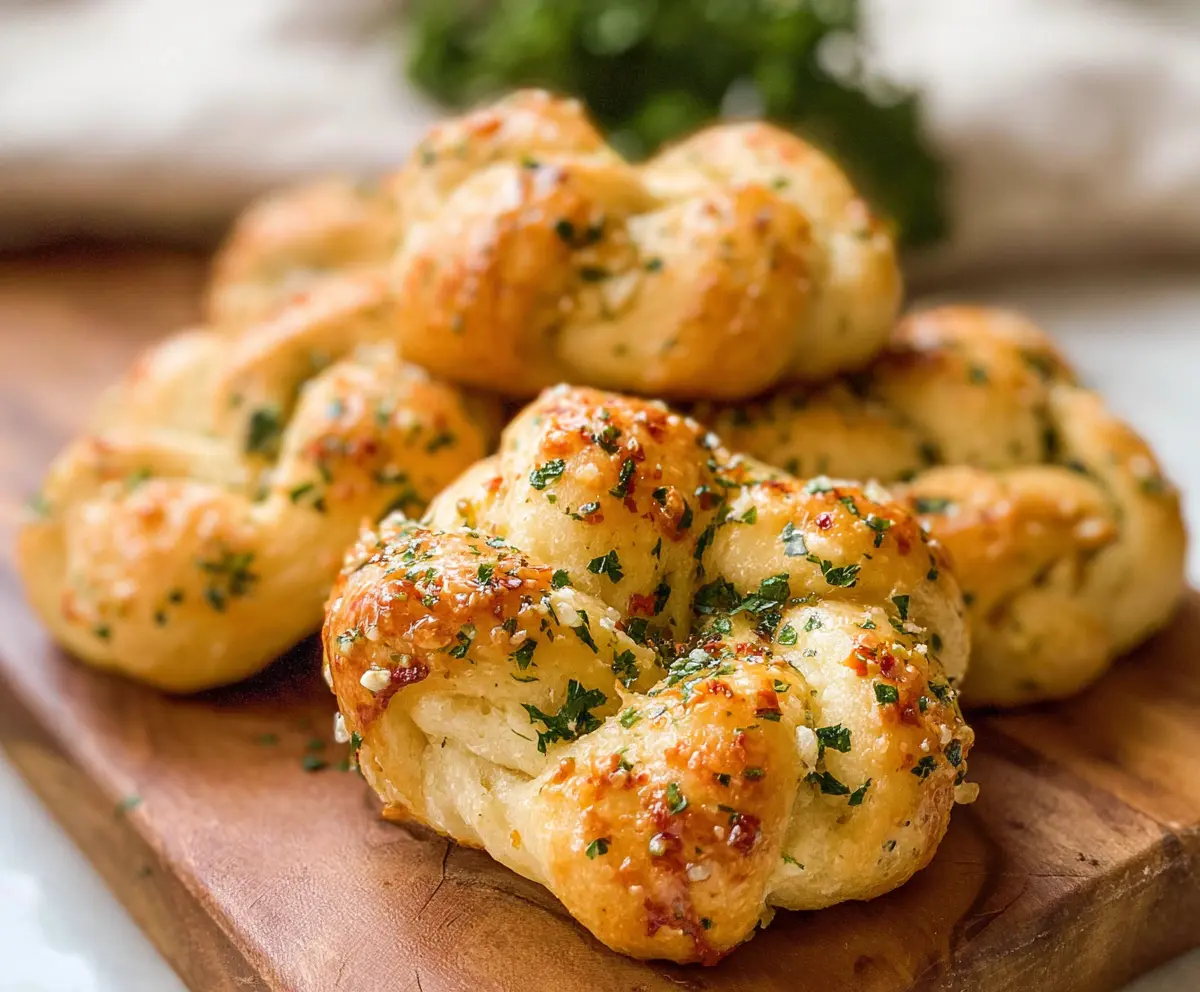
These Cottage Cheese Garlic Knots are soft, tasty rolls loaded with garlic flavor. The surprise ingredient? Cottage cheese makes them extra fluffy!
They’re super fun to share, and let’s be real, who can resist that warm garlic smell? I love serving them fresh out of the oven with some marinara sauce for dipping. Yum!
Key Ingredients & Substitutions
Cottage Cheese: This is the star ingredient that keeps the knots soft and fluffy. Use low-fat for fewer calories, but full-fat cottage cheese could bring even more richness. If you want a dairy-free option, try using a non-dairy cream cheese instead.
Flour: All-purpose flour works great, but if you’re looking for a healthier twist, you can use whole wheat flour. Just note that it may make the knots denser. For gluten-free, use a 1:1 gluten-free baking flour.
Active Dry Yeast: It’s what makes the knots rise. You can substitute with instant yeast if that’s what you have. Just skip the proofing step and mix it directly with the dry ingredients.
Garlic: Fresh garlic packs a punch, but if you’re out, garlic powder can stand in. Just use about ½ teaspoon for the same flavor. You could also add a pinch of garlic salt for added taste.
Butter: I love using unsalted butter so that I can control the saltiness. If you’re looking for a healthier fat, olive oil works perfectly here. Just melt it before brushing over the knots!
How Do I Gently Knead the Dough for Perfect Texture?
Kneading is a vital step in developing the gluten for that perfect chewy texture. Here’s how to do it calmly:
- Start on a floured surface to prevent sticking.
- Push the dough away with the heel of your hand, then fold it back over itself.
- Rotating the dough a quarter turn every few pushes helps create an even consistency.
- Knead for about 8-10 minutes until smooth and elastic. If it sticks, add a little flour, but not too much!
Don’t rush; take your time during this step! The more you knead, the better your knots will turn out.
Cottage Cheese Garlic Knots
Ingredients You’ll Need:
For the Dough:
- 1 cup low-fat cottage cheese
- 2 ½ cups all-purpose flour (more for dusting)
- 1 packet (2 ¼ tsp) active dry yeast
- ¼ cup warm water (about 110°F/43°C)
- 2 tbsp sugar
- 1 tsp salt
- 2 tbsp olive oil (plus extra for greasing)
For the Garlic Mixture:
- 4 cloves garlic, finely minced
- 4 tbsp unsalted butter, melted
- 2 tbsp fresh parsley, finely chopped
- ½ tsp garlic powder
- Coarse sea salt for sprinkling (optional)
How Much Time Will You Need?
This recipe will take about 2 to 2 ½ hours in total. This includes around 15-20 minutes for prep, about 2 hours for rising times, and 15-18 minutes for baking. Mostly, it’s hands-on work for mixing and shaping, and then letting the dough rise. So you can relax a bit in between!
Step-by-Step Instructions:
1. Activate the Yeast:
Start by taking a small bowl and dissolving the sugar in the warm water. Sprinkle the active dry yeast on top of the water and let it sit for about 5-10 minutes. You’re waiting for it to get all frothy, which means it’s active and ready to go!
2. Mix the Dough:
In a large mixing bowl, combine the cottage cheese, olive oil, and salt. Once mixed, pour in the yeast mixture. Stir everything together until combined. Now it’s time to add the flour—a little at a time—about ½ cup per addition. Keep mixing until you’ve got a soft dough. If it’s too sticky, sprinkle in some extra flour until it’s easier to handle.
3. Knead the Dough:
Now, transfer the dough onto a floured surface. Knead it for about 8-10 minutes until it’s smooth and elastic. To knead, push the dough away from you, fold it over, and give it a quarter-turn. Repeat this process; it’s a bit of a workout but so worth it!
4. First Rise:
Place the dough in a greased bowl, cover it with a clean kitchen cloth, and let it rise in a warm spot for about 1 to 1½ hours, or until it doubles in size. You can pop it in your oven (turned off!) with the light on to create a warm environment.
5. Shape the Knots:
After it has risen, punch the dough down gently to release the air. Divide it into 12 equal pieces. Roll each piece into a rope about 10 inches long, and tie it into a knot. Place each knot on a parchment-lined baking sheet.
6. Second Rise:
Cover the knots loosely with a towel and let them rise again for 30-40 minutes while you preheat the oven to 375°F (190°C).
7. Prepare the Garlic Mixture:
In a small bowl, mix the melted butter, minced garlic, garlic powder, and chopped parsley together. This will give your knots a delicious garlicky flavor!
8. Bake the Knots:
Before baking, brush the garlic butter mixture generously over the knots. Bake them in the oven for 15-18 minutes or until they turn a lovely golden brown.
9. Serve Warm:
As soon as they’re out of the oven, brush the knots again with the garlic butter mixture. Sprinkle with coarse sea salt if you’d like. Serve these delightful knots warm, and don’t forget the marinara sauce for dipping if you’re feeling fancy!
Enjoy your delicious Cottage Cheese Garlic Knots! They’re perfect for gatherings or just a cozy night in.
Can I Use Low-Fat Cottage Cheese Instead of Full-Fat?
Absolutely! Low-fat cottage cheese works perfectly in this recipe, keeping the knots fluffy while reducing calories. If you prefer a richer flavor, full-fat is a delicious option as well.
Can I Prepare the Dough Ahead of Time?
Yes, you can prepare the dough and let it rise in advance. After the first rise, store it in the refrigerator for up to 24 hours. Just allow it to come to room temperature and rise again for about 30 minutes before shaping into knots.
How Should I Store Leftovers?
Store any leftover garlic knots in an airtight container at room temperature for up to 3 days. You can reheat them in the oven at 350°F (175°C) for about 5-10 minutes to make them warm and soft again!
Can I Freeze the Knots?
Yes, these garlic knots freeze well! After baking, let them cool completely. Then, place them in an airtight container or freezer bag for up to 3 months. To enjoy, thaw them overnight in the fridge and reheat in the oven.