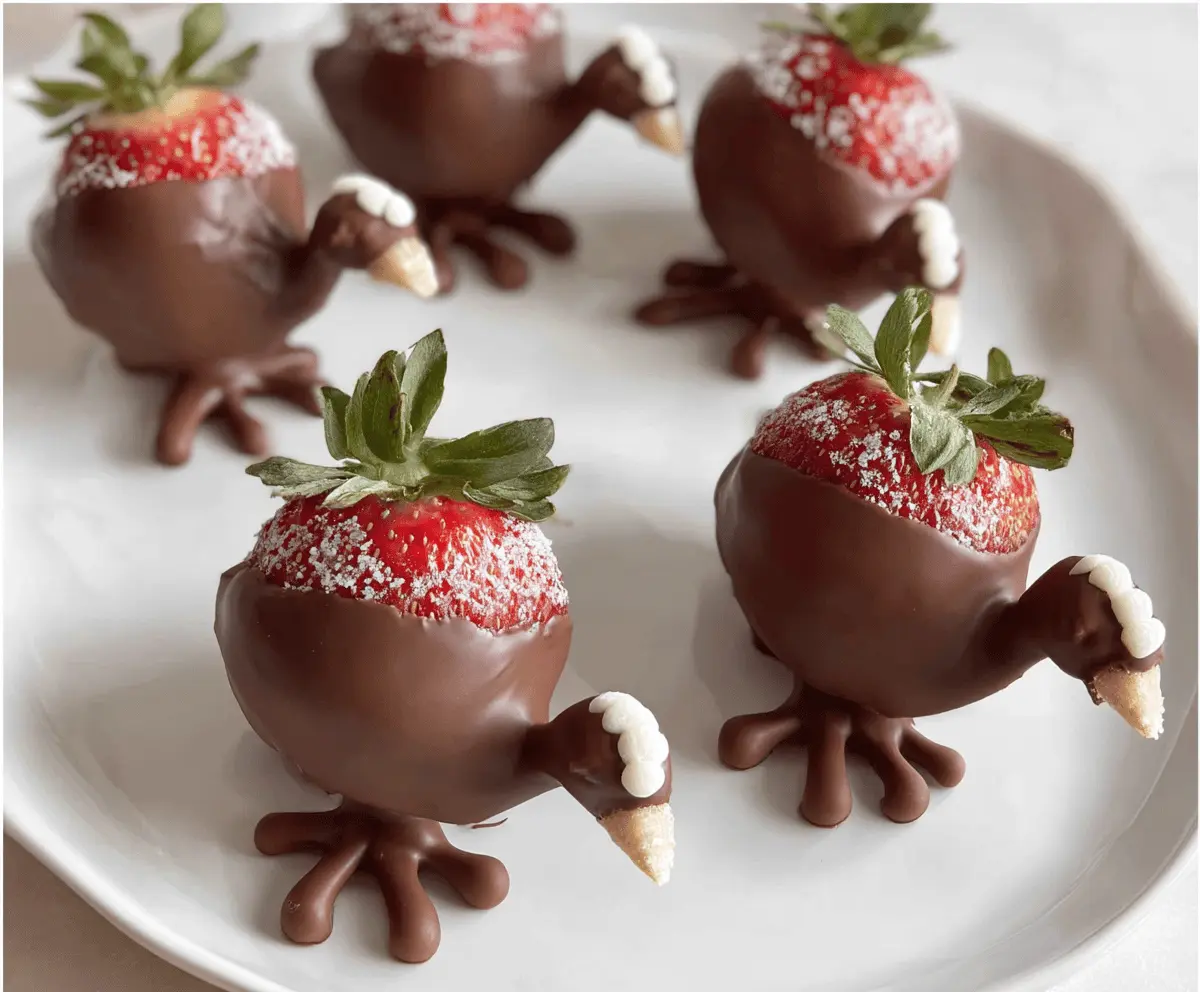
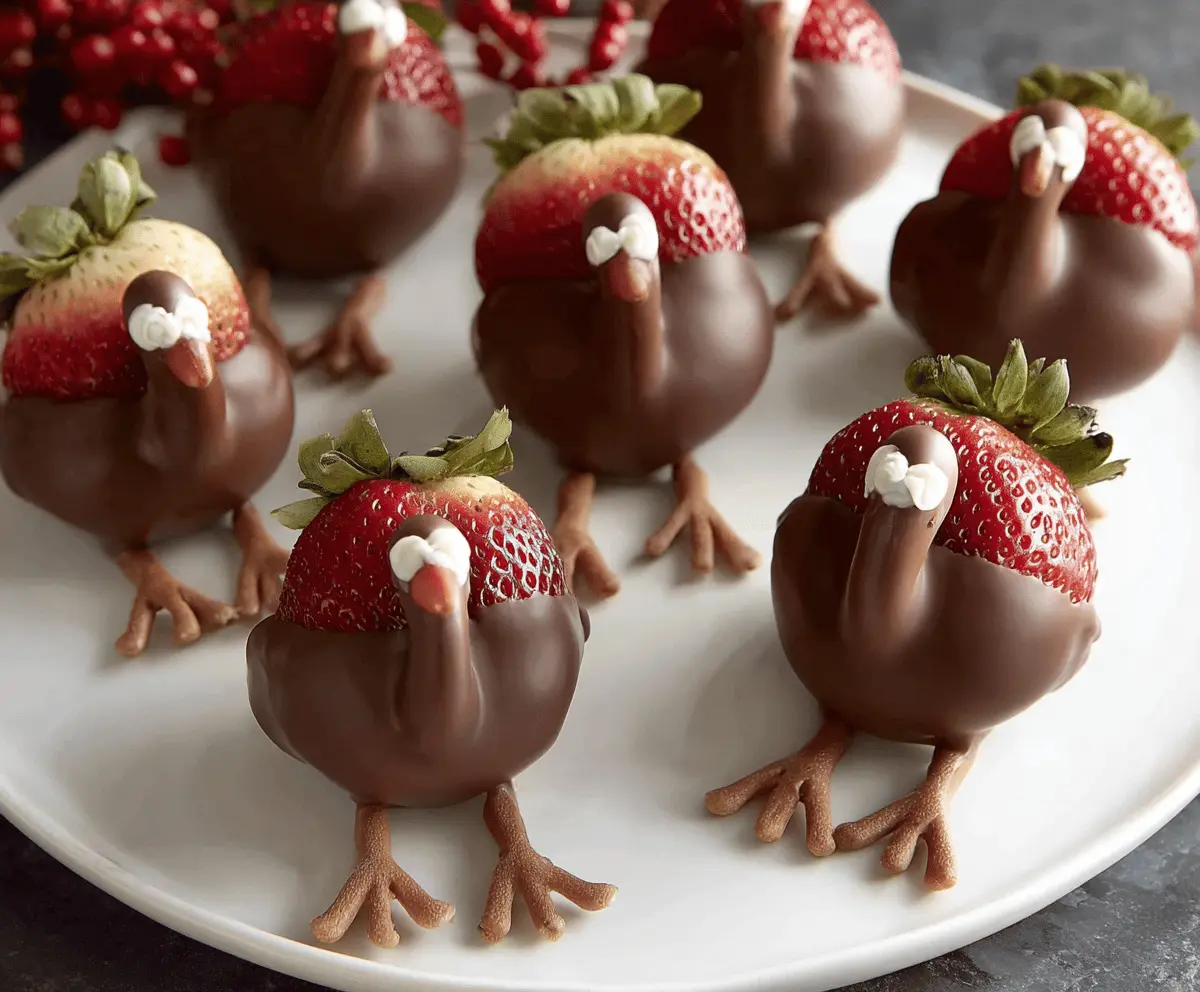
These fun Chocolate Covered Strawberry Turkeys are the perfect treat for a festive gathering! Juicy strawberries are dipped in rich chocolate and decorated to look like adorable little turkeys.
Everyone loves a bit of whimsy with their dessert, right? I can’t resist sneaking a few before serving them. They make me smile every time I see them on the table! 🤗
Making these is such a breeze! Just dip, decorate, and let them chill. They’re not only cute but also a yummy treat that everyone will enjoy. Super easy and fun!
Key Ingredients & Substitutions
Strawberries: Choose large, fresh strawberries with green tops. They add a pop of color and a fresh taste. If strawberries aren’t in season, you might try using large bananas, cut into pieces.
Chocolate: I love using semisweet chocolate chips for a rich flavor. If you prefer a lighter taste, opt for white chocolate or milk chocolate. Just remember—white chocolate will change the look of your turkeys!
Candy Melts: Milk chocolate or brown candy melts work great for details. You could swap with dark chocolate melts for a richer touch or colored candy melts for a fun twist.
Decorating Icing: Use store-bought icing for ease. If you want a healthier option, try homemade icing with a simple mix of powdered sugar and water, adding colors as needed.
How Do You Make Sure the Chocolate Sticks to the Strawberries?
To achieve the best chocolate-covered strawberries, make sure they are completely dry before dipping. Any moisture can prevent the chocolate from sticking properly. Here’s how to get it right:
- Gently wash the strawberries and dry them thoroughly with a paper towel.
- Let them air dry for about 15-30 minutes if you have the time.
- Consider refrigerating the strawberries for about 10 minutes before dipping; colder strawberries help the chocolate set faster!
These steps will help ensure a lovely chocolate coating that sticks perfectly and looks great for your fun Chocolate Covered Strawberry Turkeys!

Chocolate Covered Strawberry Turkeys
Ingredients You’ll Need:
- 12 large fresh strawberries with tops intact
- 1 cup chocolate chips or melting chocolate (semisweet or milk chocolate)
- 1/2 cup milk chocolate or brown candy melts (for legs and neck)
- White decorating icing or white candy melts (for eyes)
- Mini chocolate chips or small dark candies (for pupils)
- Orange or red decorating icing or melted candy (for the beak)
How Much Time Will You Need?
This fun recipe takes approximately 30 minutes to prepare, including melting the chocolate and decorating the strawberries. Allow an additional 15-20 minutes for the chocolate to set properly—then they’ll be ready to impress your family and friends!
Step-by-Step Instructions:
1. Prepare the Strawberries:
Begin by washing the strawberries gently under cool water. After washing, pat them dry thoroughly using a paper towel. It’s very important to have completely dry strawberries so the chocolate adheres well!
2. Melt the Chocolate:
In a microwave-safe bowl, pour in the 1 cup of chocolate chips. Melt the chocolate in the microwave in 20-second intervals, stirring well after each interval until it’s smooth and fully melted. Be patient and keep a close eye on it!
3. Dip the Strawberries:
Once the chocolate is melted, dip each strawberry halfway into the chocolate, ensuring the lower half is well-coated (this will represent the turkey’s body!) After dipping, place the strawberries on a parchment-lined tray to set.
4. Create the Turkey Legs and Neck:
In another bowl, melt the 1/2 cup of milk chocolate or brown candy melts. Using a piping bag or a zip-top plastic bag with a corner snipped off, pipe two thin lines extending downward from each chocolate-covered strawberry to form the neck and legs. For an added touch, pipe three small toes for each turkey foot!
5. Add the Head and Beak:
Next, pipe a small teardrop shape at the top of the neck for the turkey’s head. Then, use the orange or red icing to create a tiny beak right on the head!
6. Decorate the Eyes:
Using the white decorating icing or melted white candy melts, create two small dots on the head for the eyes. Quickly place a mini chocolate chip or small dark candy on each dot to serve as the pupils. This will bring your turkeys to life!
7. Set the Chocolate Turkeys:
Allow the chocolate turkeys to set at room temperature. If you’re in a hurry, you can pop them in the refrigerator for about 15-20 minutes until the chocolate is completely hardened.
8. Serve and Enjoy:
Once the chocolate has set, carefully remove the turkeys from the parchment paper, arrange them on a serving platter, and get ready to enjoy your adorable Chocolate Covered Strawberry Turkeys!
These delightful treats combine fresh fruit and rich chocolate with fun turkey decorations, making them a perfect festive dessert for any holiday celebration!
Can I Use Different Types of Chocolate for Dipping?
Absolutely! While semisweet chocolate is a popular choice for its rich flavor, you can use milk chocolate, white chocolate, or even dark chocolate. Just remember that different chocolates may slightly change the overall taste of your turkeys.
How Do I Store Leftover Chocolate Covered Strawberry Turkeys?
Store any leftovers in an airtight container in the refrigerator for up to 2 days. Be sure to layer them carefully, placing parchment paper between layers to prevent sticking.
Can I Make These Ahead of Time?
Yes! You can prepare the chocolate-covered strawberries a day in advance. Just be sure to store them in the fridge to keep them fresh, and add the decorations, like eyes and beaks, on the day you plan to serve them for the best presentation!
What If I Don’t Have Piping Bags?
No problem! You can create a DIY piping bag using a zip-top plastic bag. Just fill the bag with melted chocolate or icing, cut a small corner off, and use it to pipe your designs. It works like a charm!
