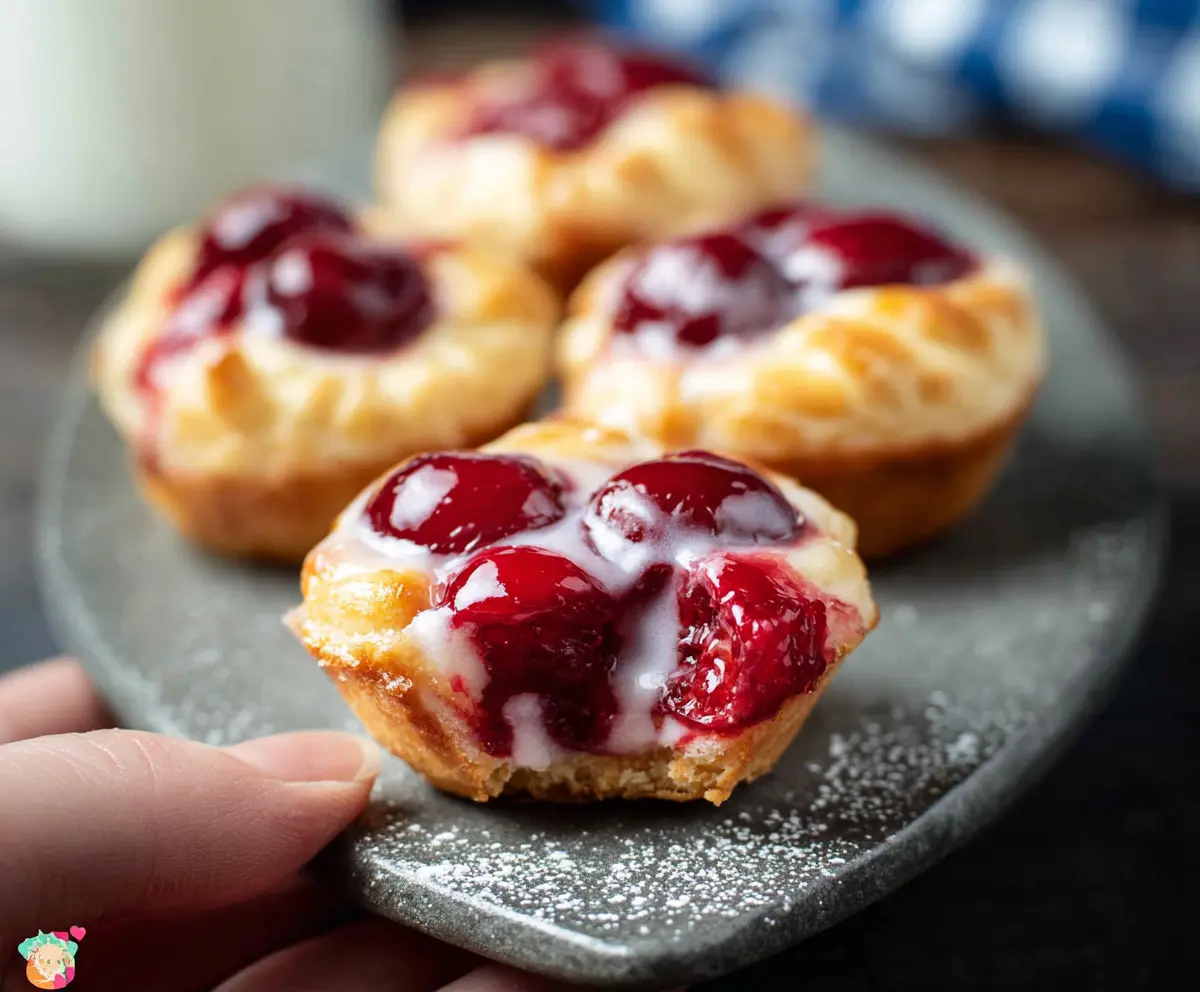
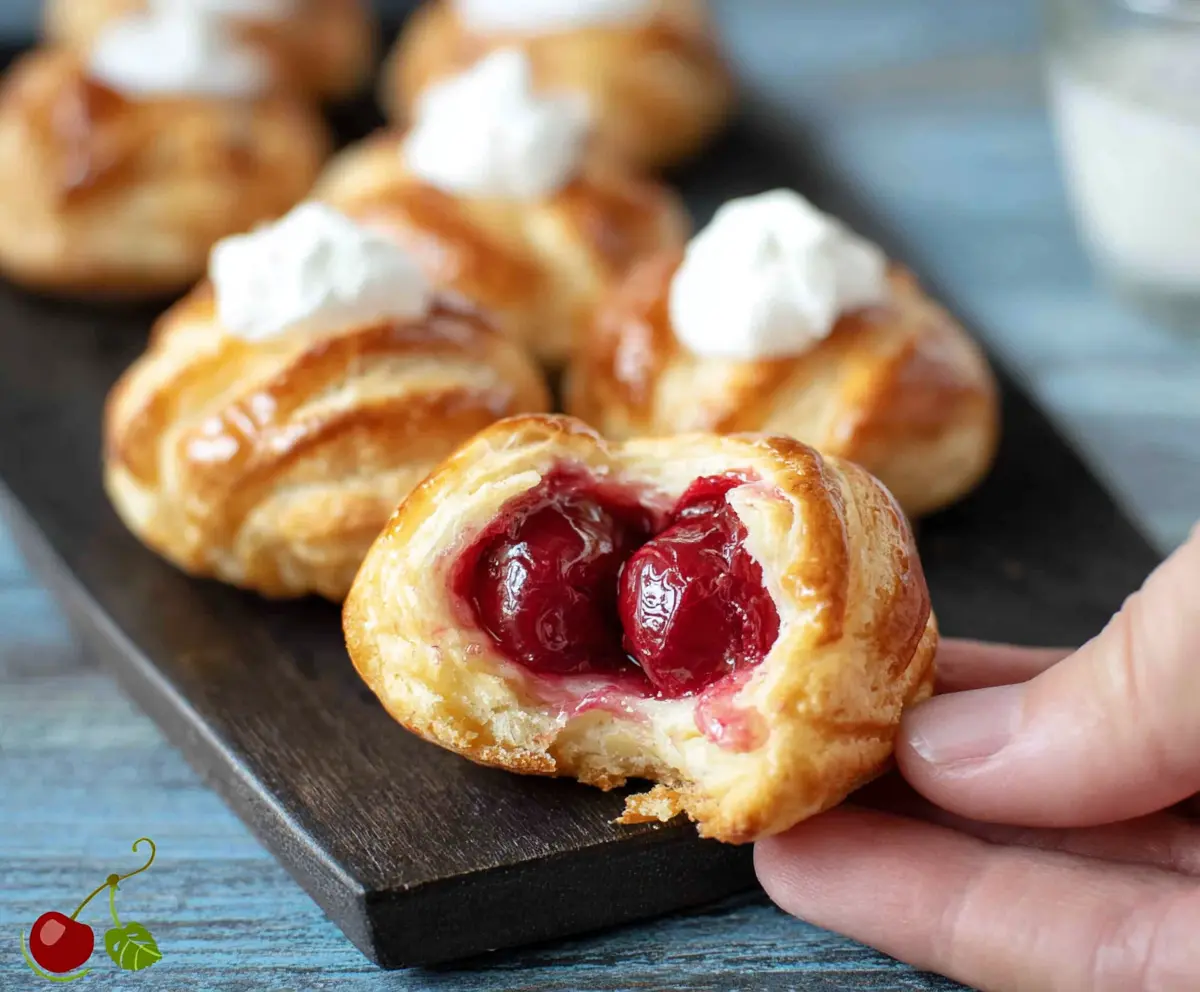
These Cherry Pie Bites are little pockets of joy filled with sweet cherry goodness and wrapped in a flaky crust. Perfect for a snack or dessert, they’re mini treats that pack a big flavor punch!
Honestly, who can resist a bite-sized pie? They’re so easy to make that you might find yourself whipping them up for last-minute guests. Just be ready to share… or not! 😉
Key Ingredients & Substitutions
Pie Crust Dough: I love using refrigerated pie crust for convenience. However, feel free to make your own if you have the time! Puff pastry can also work well for a flakier texture.
Cherry Pie Filling: Canned cherry pie filling is an easy choice! If you’re feeling adventurous, homemade fresh cherry filling can taste even better. Just remember to mix in cornstarch for thickening!
Almond Extract: This adds a nice kick to the cherry flavor. If you don’t have it, you can skip it or use a splash of almond liqueur if you’re up for it. Vanilla alone works great too!
Powdered Sugar: For dusting, you might substitute with brown sugar for a more caramel-like flavor. Just note it won’t look as pretty.
How Do I Ensure My Cherry Pie Bites Don’t Overflow?
To avoid overflow, make sure not to overfill the dough shells. A good rule of thumb is to add just 1½ to 2 teaspoons of filling per shell. This way, they’ll stay neat and delicious!
- Also, check the consistency of your filling. If it’s too runny, it can ooze out. If homemade, use cornstarch to thicken it up.
- Finally, watch them closely as they bake. If they start to bubble over at the end of baking, it’s due to overfilling or too thin of a filling.
Cherry Pie Bites
Ingredients You’ll Need:
- For The Pie Crust:
- 1 package refrigerated pie crust dough (or enough for 12 mini tarts)
- For The Cherry Filling:
- 1 cup cherry pie filling (canned or homemade)
- 1 tbsp cornstarch (if using homemade filling)
- 2 tbsp sugar (optional, if extra sweetness desired)
- 1 tsp vanilla extract
- 1/4 tsp almond extract (optional, enhances cherry flavor)
- For The Egg Wash:
- 1 egg
- 1 tbsp milk
- For Dusting and Glaze:
- Powdered sugar (for dusting)
- Optional glaze:
- 1/2 cup powdered sugar
- 1-2 tbsp milk or lemon juice
How Much Time Will You Need?
This recipe will take about 20-25 minutes to prepare and bake. Allow for an additional 10 minutes to cool before serving. In total, you’re looking at around 35 minutes from start to finish, making these bites a quick and tasty treat!
Step-by-Step Instructions:
1. Prepping The Oven and Muffin Pan:
Start by preheating your oven to 375°F (190°C). While the oven warms up, lightly grease a mini muffin pan to prevent sticking. This simple step will help your Cherry Pie Bites pop out easily once they’re baked!
2. Roll Out The Dough:
Using a rolling pin, roll out your refrigerated pie crust dough on a lightly floured surface. This helps to make the crust thinner and easier to work with. Use a round cookie cutter or a glass that’s about 3 inches in diameter to cut out circles from the dough. You should get around 12 circles—perfect for your mini muffin pan!
3. Form The Pie Shells:
Take each dough circle and gently press it into the cups of the mini muffin pan, creating little shells. Make sure to press them down well to ensure they hold the filling later on.
4. Prepare The Cherry Filling:
In a mixing bowl, combine the cherry pie filling with the vanilla extract and almond extract. If you’re using homemade cherry filling, add 1 tablespoon of cornstarch along with the sugar for extra sweetness and thickness. Mix it all together until well combined!
5. Fill The Dough Shells:
Spoon about 1½ to 2 teaspoons of the cherry mixture into each dough shell. Be generous, but try not to overfill them; you want to keep the filling contained within the crust for neat little bites!
6. Create The Egg Wash:
In a small bowl, whisk together the egg and milk to create an egg wash. With a pastry brush, lightly brush the edges of the dough shells with the egg wash. This will give your pie bites a lovely golden color as they bake!
7. Bake The Bites:
Place the muffin pan in the preheated oven and bake the cherry pie bites for about 15-18 minutes. You’ll know they’re ready when the crust is golden brown and the filling looks bubbly and enticing.
8. Cool Down:
Once baked, carefully remove the pan from the oven and let the cherry pie bites cool in the pan for about 10 minutes. Then, transfer them to a wire rack to cool completely. This cooling step is essential for achieving the perfect texture!
9. Finish With Glaze:
To add a touch of sweetness, mix together the powdered sugar with either milk or lemon juice to create a simple glaze. Drizzle this glaze lightly over the cooled cherry pie bites for an extra special treat!
10. Dust And Serve:
If you’d like, give your bites a final dusting of powdered sugar for a fun and festive presentation. Enjoy these delicious cherry pie bites either warm or at room temperature. They’re perfect for parties or just as a sweet snack!
We hope you enjoy making and devouring these delightful Cherry Pie Bites! They’re sure to impress friends and family alike.
Can I Use Fresh Cherries Instead of Canned Filling?
Absolutely! If using fresh cherries, pit and chop them, then mix with sugar and cornstarch to create a filling. Allow it to cook briefly on the stovetop until thickened, then use it as you would canned filling.
What If I Don’t Have Mini Muffin Pans?
No problem! You can use a standard muffin pan or even a tart pan with larger circles of dough. Just adjust the baking time as needed; larger bites will take a bit longer to bake through.
How Should I Store Leftovers?
Store any leftover Cherry Pie Bites in an airtight container in the fridge for up to 3 days. To reheat, pop them in the oven at a low temperature or microwave them briefly—just be careful not to overheat!
Can I Make These Ahead of Time?
Yes! You can prepare the crusts and filling the day before and assemble them just before baking. Alternatively, bake them in advance and enjoy them later; just warm them up for the best taste!