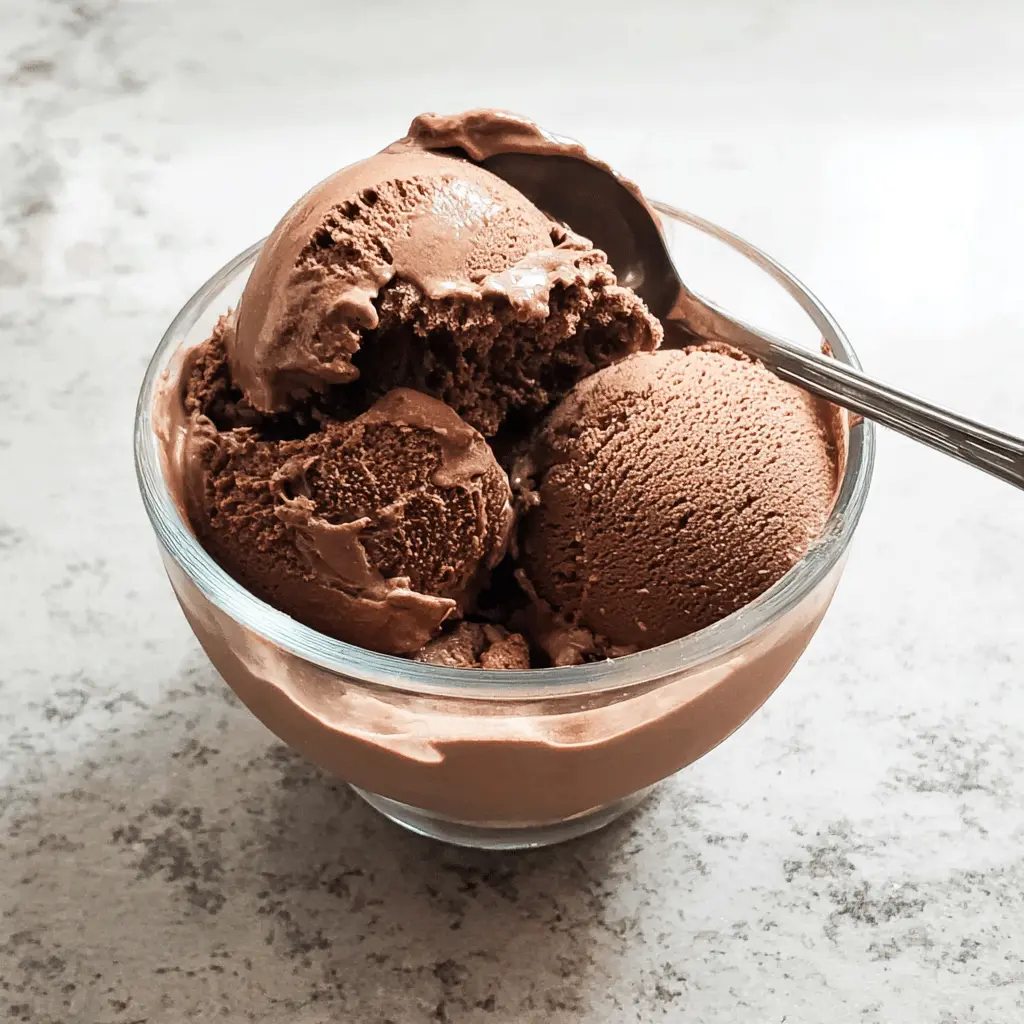
This rich and creamy chocolate ice cream is a true treat! Made with simple ingredients like cocoa powder and cream, it’s a delight for chocolate lovers!
I love how you can whip it up in no time. Plus, there’s nothing like scooping it fresh from the maker—pure bliss! 🍦
Key Ingredients & Substitutions
Heavy Cream: This is crucial for richness. You can substitute it with a full-fat coconut cream for a dairy-free version, but the texture will differ a bit.
Whole Milk: If you don’t have whole milk, 2% or even skim milk can work, though it may make the ice cream less creamy.
Granulated Sugar: Regular sugar is perfect for sweetness. For lower-calorie options, try using stevia or another sweetener, but reduce the amount as these can be sweeter than sugar.
Cocoa Powder: Dutch-processed gives a richer flavor, but regular unsweetened cocoa works too. If you want a slightly different twist, consider using dark chocolate cocoa.
Bittersweet Chocolate: Use high-quality chocolate for the best taste. In a pinch, semi-sweet chocolate or even milk chocolate will work, but the flavor will be sweeter.
Egg Yolks: These add creaminess and a custard-like texture. If you’re avoiding eggs, you can skip this step, but it may affect the richness.
What’s the Best Way to Make a Custard Base?
Creating a custard-like ice cream base can seem tricky but it adds great flavor and creaminess. Here’s a simple approach:
- Warm your heavy cream until it’s steaming. This helps the flavors meld better.
- In a separate bowl, whisk your egg yolks. Gradually add a bit of the warm chocolate mixture to the yolks while whisking to temper them. This means slowly bringing the yolks up to temperature to avoid scrambling.
- Once tempered, stir the yolk mixture back into the chocolate base in the saucepan.
- Cook gently over low heat while stirring—aim for a thick consistency that coats the back of a spoon. Remember, don’t rush it! Patience is key here.
Letting the mixture cool to room temperature before chilling it in the fridge is essential for the smoothest ice cream!
Best Homemade Chocolate Ice Cream
Ingredients:
- 2 cups heavy cream
- 1 cup whole milk
- 3/4 cup granulated sugar
- 1/2 cup unsweetened cocoa powder (preferably Dutch-processed)
- 4 oz high-quality bittersweet or semisweet chocolate, finely chopped
- 1/4 teaspoon salt
- 1 teaspoon pure vanilla extract
- Optional: 3 large egg yolks (for a richer, custard-style ice cream)
Time Needed:
This chocolate ice cream recipe will take about 20 minutes of active preparation time, plus at least 4 hours for chilling and 2-4 hours for freezing. Ideally, plan for some overnight chilling to get the best flavor!
Instructions:
1. Prepare the Chocolate Base:
Start by whisking together the cocoa powder, granulated sugar, and salt in a medium saucepan. Gradually pour in the whole milk, whisking continuously until the mixture is smooth and lump-free.
2. Heat the Mixture:
Place the saucepan over medium heat. Warm the mixture gently, stirring frequently, until it is hot but not boiling. This helps the sugar dissolve well and brings out the chocolate flavor.
3. Add Chocolate:
Remove the saucepan from heat. Stir in the finely chopped bittersweet chocolate until it is completely melted and combined smoothly into the mixture.
4. (Optional) Make a Custard:
If you prefer a richer ice cream, warm the heavy cream in another saucepan until steaming. In a bowl, whisk the egg yolks until they thicken slightly. Gradually mix in some of the warm chocolate mixture to temper the yolks, then pour this back into the saucepan with the remaining chocolate mixture.
5. Cook Custard (if using eggs):
Return to low heat, cooking gently and stirring constantly until the mixture thickens enough to coat the back of a spoon (around 170°F / 77°C). Make sure it doesn’t boil!
6. Cool the Mixture:
Take the saucepan off the heat and stir in the vanilla extract. Pour the chocolate mixture into a bowl and let it cool to room temperature. Once cooled, mix in the heavy cream if you didn’t add it earlier.
7. Chill:
Cover the bowl with plastic wrap or a lid and refrigerate for at least 4 hours, or overnight, to ensure it’s thoroughly chilled.
8. Churn:
After chilling, pour the chocolate mixture into your ice cream maker and churn according to the manufacturer’s instructions. This usually takes about 20 to 25 minutes, until it reaches a soft-serve consistency.
9. Freeze:
Transfer the churned ice cream into an airtight container. Freeze it for a minimum of 2 to 4 hours, or until it firms up completely.
10. Serve:
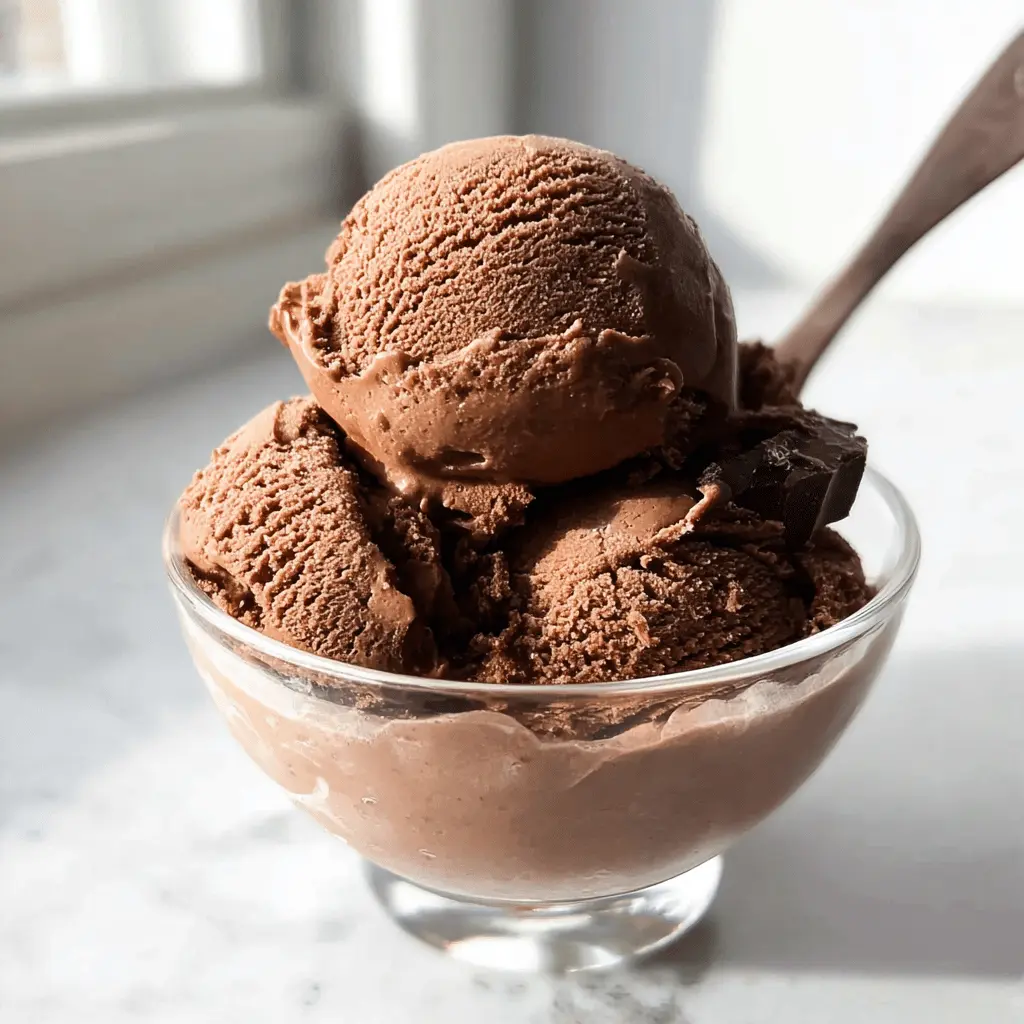
Scoop your delicious homemade chocolate ice cream into bowls or cones and enjoy! For an extra treat, consider adding chocolate chips or drizzling some fudge sauce over the top!
This recipe creates a luxuriously smooth chocolate ice cream with an intense chocolate flavor—perfect for any chocolate lover! Enjoy your sweet creation! 🍫🍦
Frequently Asked Questions (FAQ)
Can I Use Different Types of Milk or Cream?
Absolutely! You can swap the whole milk for 2% or skim milk, but keep in mind that the texture will be less creamy. For a dairy-free option, consider using coconut milk or almond milk, although it may slightly change the flavor.
Is It Possible to Make This Without Eggs?
Yes! You can skip the egg yolks altogether. The ice cream will still be delicious and creamy; just follow the rest of the recipe as is. Alternatively, you can use a custard base without the eggs for extra richness.
How Long Can I Store Leftover Ice Cream?
You can store this homemade chocolate ice cream in an airtight container in the freezer for up to 2-3 weeks. To preserve its texture, make sure to let it soften slightly at room temperature before scooping.
What Can I Add or Customize in This Recipe?
Feel free to get creative! You can add chocolate chips, crushed cookies, or even swirl in some peanut butter or fudge sauce post-churning. Nuts or marshmallows can also add fun textures and flavors!