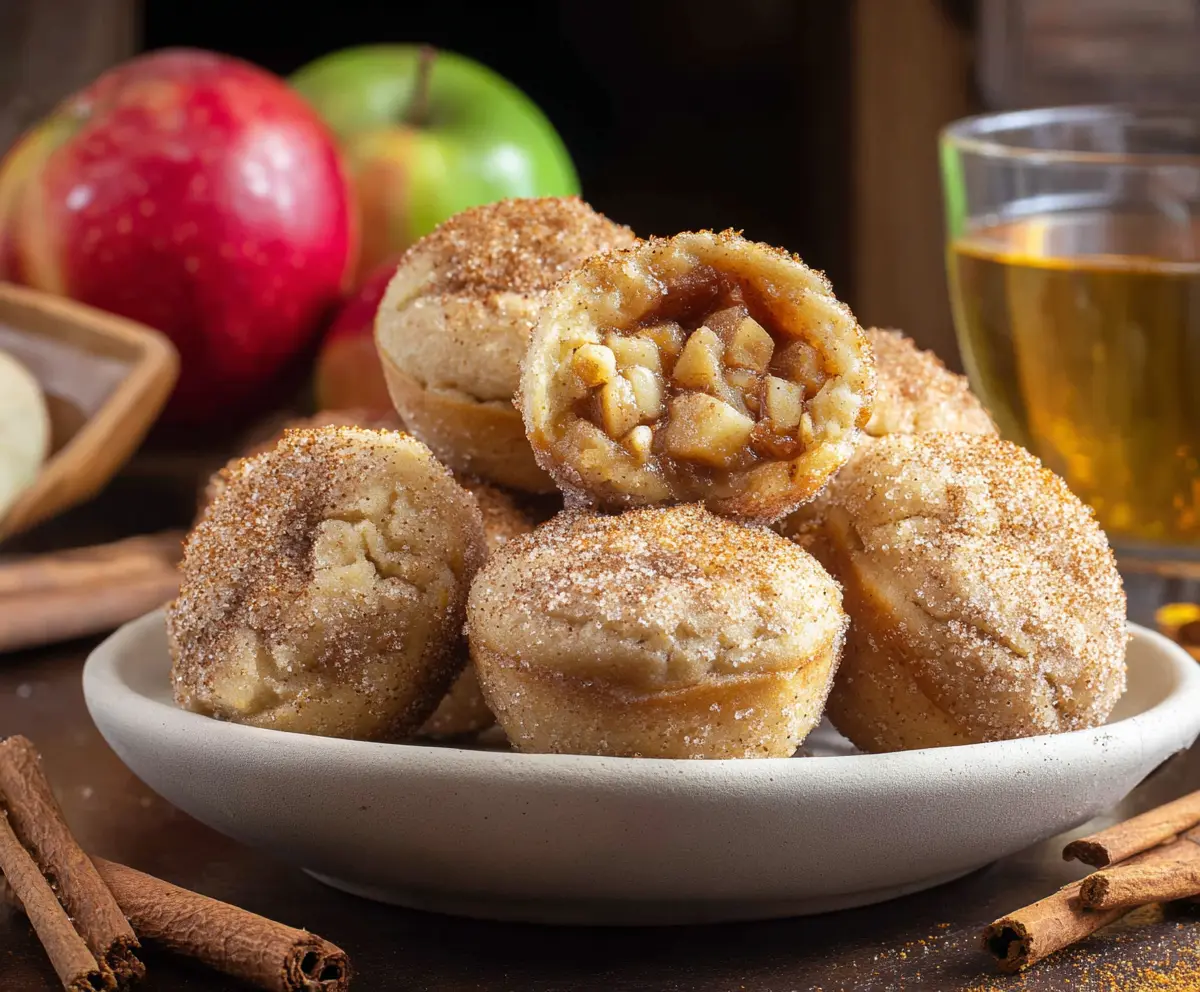
These Apple Pie Bites are like little pockets of joy! Filled with sweet apples and warm cinnamon, they taste just like classic apple pie but in a fun, bite-sized form.
I love serving them warm with a scoop of ice cream on top—it’s like a mini party in your mouth. Plus, who doesn’t love dessert that’s easy to share? 🍏🥧
Key Ingredients & Substitutions
Apples: For a great balance of flavors, mix tart apples like Granny Smith with sweet ones like Fuji or Gala. If you’re short on time, pre-diced apples work too, but fresh is always best for that crunch!
Brown Sugar: This adds depth to the apple filling. If you don’t have it, white sugar mixed with a bit of molasses or simply white sugar can do the trick. Just know the taste will be slightly different.
Cinnamon & Nutmeg: These spices really make the bites taste like pie! If you’re not a nutmeg fan, you can skip it or use allspice instead for a similar flavor profile.
Milk: You can use any milk you have on hand, including almond or oat milk for a dairy-free option. The bites might turn out a bit differently in texture, but still delicious!
Vegetable Oil: For a richer flavor, you can substitute melted butter or coconut oil. I’ve personally used coconut oil, and it adds a lovely hint of flavor.
How Do I Ensure Perfectly Cooked Bites?
Getting the right texture in these apple pie bites is key to making them delightful. Here are some tips:
- Make sure to spoon the batter into the muffin tin, filling it just to the top. If you fill too much, they might overflow while baking.
- Check for doneness by inserting a toothpick in the batter—not the apple filling. If it comes out clean, they’re ready!
- Let the bites cool slightly before brushing them with butter and rolling in cinnamon sugar to prevent them from becoming soggy.
Taking your time with these steps will lead to perfect apple pie bites every time!
How to Make Delicious Apple Pie Bites!
Ingredients You’ll Need:
For the Apple Filling:
- 1 cup peeled and diced apples (about 2 medium apples; mix of tart and sweet like Granny Smith and Fuji or Gala)
- 2 tbsp unsalted butter
- 1/4 cup brown sugar, packed
- 1 tsp ground cinnamon
- 1/4 tsp ground nutmeg
- 1 tsp lemon juice
- 1/2 tsp vanilla extract
For the Bites:
- 1 cup all-purpose flour
- 1/2 cup granulated sugar
- 1 1/2 tsp baking powder
- 1/4 tsp salt
- 1/2 cup milk
- 1 large egg
- 1/4 cup vegetable oil or melted butter
For Coating:
- 1/4 cup melted butter
- 1/2 cup granulated sugar
- 1 tsp ground cinnamon
How Much Time Will You Need?
This sweet treat will take about 15 minutes of prep time, plus 15-18 minutes for baking. Don’t forget to let them cool for a couple of minutes after baking before dunking in that delicious cinnamon-sugar coating. Total time, around 35 minutes!
Step-by-Step Instructions:
1. Prepping Your Oven and Tin:
Start by preheating your oven to 350°F (175°C). Lightly grease a mini muffin tin with cooking spray or brush it with melted butter. This helps the bites pop right out later!
2. Making the Apple Filling:
In a medium skillet over medium heat, melt 2 tablespoons of butter. Toss in the diced apples along with the brown sugar, cinnamon, nutmeg, and lemon juice. Stir frequently and cook for about 5-7 minutes until the apples are soft and caramelized. Take it off the heat and stir in the vanilla extract. Let this mixture cool for a bit while you prepare the batter.
3. Mixing the Batter:
In a large bowl, combine the flour, granulated sugar, baking powder, and salt. In another bowl, whisk together the milk, egg, and vegetable oil or melted butter until well blended. Pour the wet ingredients into the dry ingredients and mix gently until just combined. It’s okay if there are some lumps—don’t overmix!
4. Assembling the Bites:
Now, take about a teaspoon of the batter and spoon it into each mini muffin cup, filling them about halfway. Next, add about a teaspoon of the apple filling right in the center of each cup. Finally, cover the filling with another teaspoon of batter to seal it in.
5. Baking Your Bites:
Bake in the oven for 15-18 minutes or until the tops are lightly golden and a toothpick inserted into the batter (not the filling) comes out clean. They should look invitingly puffy and golden!
6. Coating with Cinnamon Sugar:
While your bites are baking, prepare the coating by mixing granulated sugar and cinnamon in a shallow bowl. Once the bites are done, let them cool for about 2 minutes in the tin. Then, remove them and brush with melted butter. Roll each bite in the cinnamon-sugar mixture until well-coated.
7. Enjoying Your Treats:
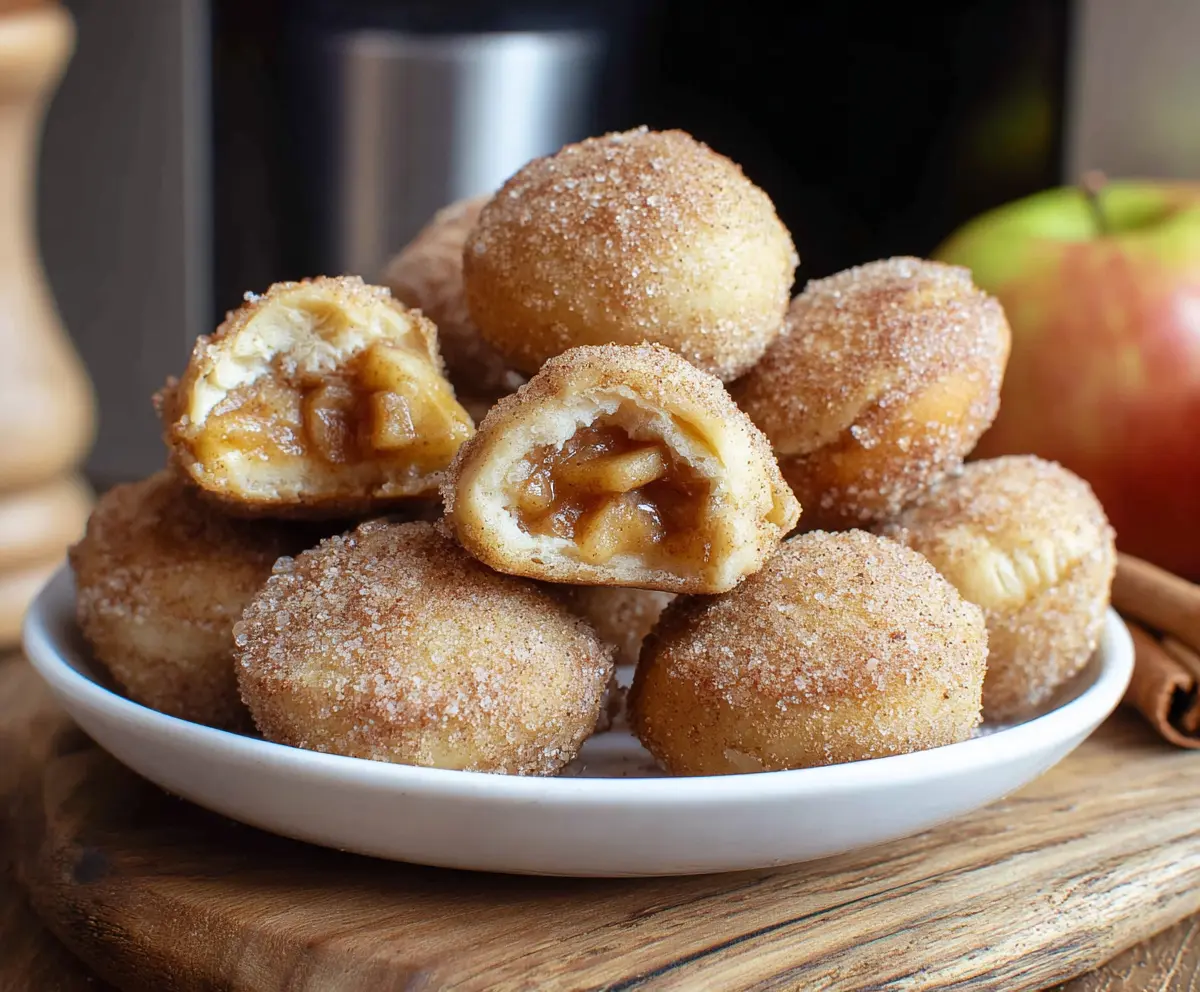
These apple pie bites are best served warm. You can enjoy them as they are or go all out and top them with a scoop of vanilla ice cream or a drizzle of caramel sauce for a dessert experience everyone will love!
Enjoy your warm, cinnamon-coated Apple Pie Bites packed with sweet, spiced apple filling! 🍏🥧
Can I Use Different Types of Apples?
Absolutely! Mixing tart apples like Granny Smith with sweet varieties like Fuji or Gala gives the best flavor. You can also experiment with other apples based on your preference. Just remember to balance sweet and tart!
Can I Make the Apple Filling in Advance?
Yes, you can prepare the apple filling ahead of time! Just store it in an airtight container in the fridge for up to 2 days. When you’re ready to make the bites, simply stir and warm it slightly before using.
How Should I Store Leftovers?
To store any leftover apple pie bites, place them in an airtight container at room temperature for up to 2 days, or refrigerate for up to a week. Reheat them in the microwave or oven before serving for that warm, delicious taste!
Can I Freeze These Bites?
Yes! These apple pie bites freeze well. Allow them to cool completely, then place them in a single layer on a baking sheet to freeze. Once frozen, transfer them to an airtight container or freezer bag. They can be frozen for up to 3 months. Reheat directly from the freezer!