When the air gets crisp and the leaves start changing colors, I always think of warm, comforting apple desserts. There’s something so lovely about the smell of baked apples filling my kitchen. These apple recipes are perfect for anyone who loves easy, sweet treats.
Today, I’m sharing two of my favorite fall desserts: a classic Apple Cranberry Crisp and a hearty Apple Crisp Pie. Both are simple to make and sure to bring a smile to your face. Let’s get baking!
Jump to Recipe:
Apple Cranberry Crisp for Dessert
This easy apple cranberry crisp brings together sweet apples and tart cranberries under a crunchy oat topping. It’s a comforting dessert that everyone will enjoy, especially with a scoop of vanilla ice cream.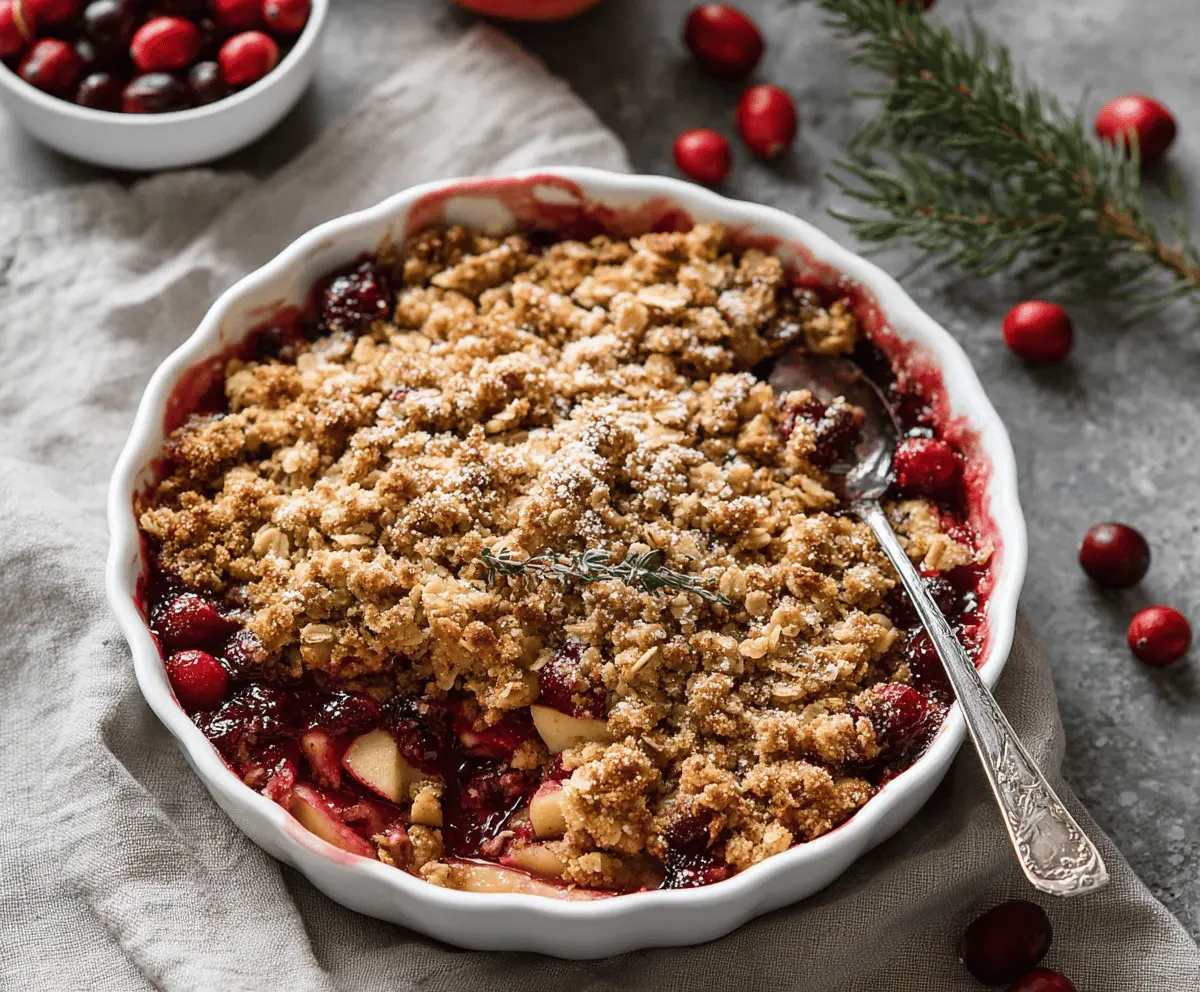
Key Ingredients & Apple Crisp Tips
- Best Apples: I like to use a mix of sweet and tart apples, like Honeycrisp and Granny Smith, for the best flavor balance in your apple crisp.
- Fresh Cranberries: Using fresh cranberries adds a lovely bright, tart flavor that cuts through the sweetness of the apples. Frozen work too, no need to thaw.
- Rolled Oats: Make sure you use old-fashioned rolled oats for the topping. They give the crisp the best texture and chewiness when baked.
What You Need for Apple Cranberry Crisp
- 6 medium apples (like Honeycrisp, Granny Smith)
- 1 cup fresh or frozen cranberries
- 1/2 cup granulated sugar
- 2 tablespoons all-purpose flour
- 1 teaspoon ground cinnamon
- 1/4 teaspoon ground nutmeg
- 1 tablespoon lemon juice
- For the Topping:
- 1 cup old-fashioned rolled oats
- 1/2 cup all-purpose flour
- 1/2 cup packed light brown sugar
- 1/2 teaspoon ground cinnamon
- 1/4 teaspoon salt
- 1/2 cup (1 stick) cold unsalted butter, cut into small pieces
⏱️ Time: Prep: 20 mins, Cook: 40-45 mins🍽️ Yields: 6-8 servings
How to Make Apple Cranberry Crisp
Step 1: Prep the Fruit Filling
Preheat your oven to 375°F (190°C). Peel, core, and slice your apples into about 1/2-inch thick pieces. In a large bowl, gently mix the sliced apples with cranberries, granulated sugar, 2 tablespoons flour, 1 teaspoon cinnamon, nutmeg, and lemon juice. Pour this fruit mix into a 9×13 inch baking dish.
Step 2: Create the Crisp Topping
In a separate medium bowl, combine the rolled oats, 1/2 cup flour, brown sugar, 1/2 teaspoon cinnamon, and salt. Add the cold butter pieces. Use your fingers or a pastry blender to mix the butter into the dry ingredients until the mixture looks like coarse crumbs with some larger pea-sized pieces.
Step 3: Bake Your Crisp
Evenly sprinkle the oat topping over the apple-cranberry filling in the baking dish. Place the dish on a baking sheet to catch any potential drips. Bake for 40-45 minutes, or until the topping is golden brown and the fruit filling is bubbly and tender.
Step 4: Serve and Enjoy
Let the apple cranberry crisp cool for about 10-15 minutes before serving. This allows the filling to set a little. It’s lovely served warm on its own or with a scoop of vanilla ice cream.
📝 Final Note
If the topping starts to brown too quickly, you can lightly cover the dish with aluminum foil for the last 10-15 minutes of baking.
Hearty Apple Crisp Pie Recipe
This apple crisp pie combines a tender apple filling with a buttery, crumbly oat topping, all tucked into a flaky pie crust. It’s a comforting dessert that brings together the best parts of apple pie and apple crisp in one dish.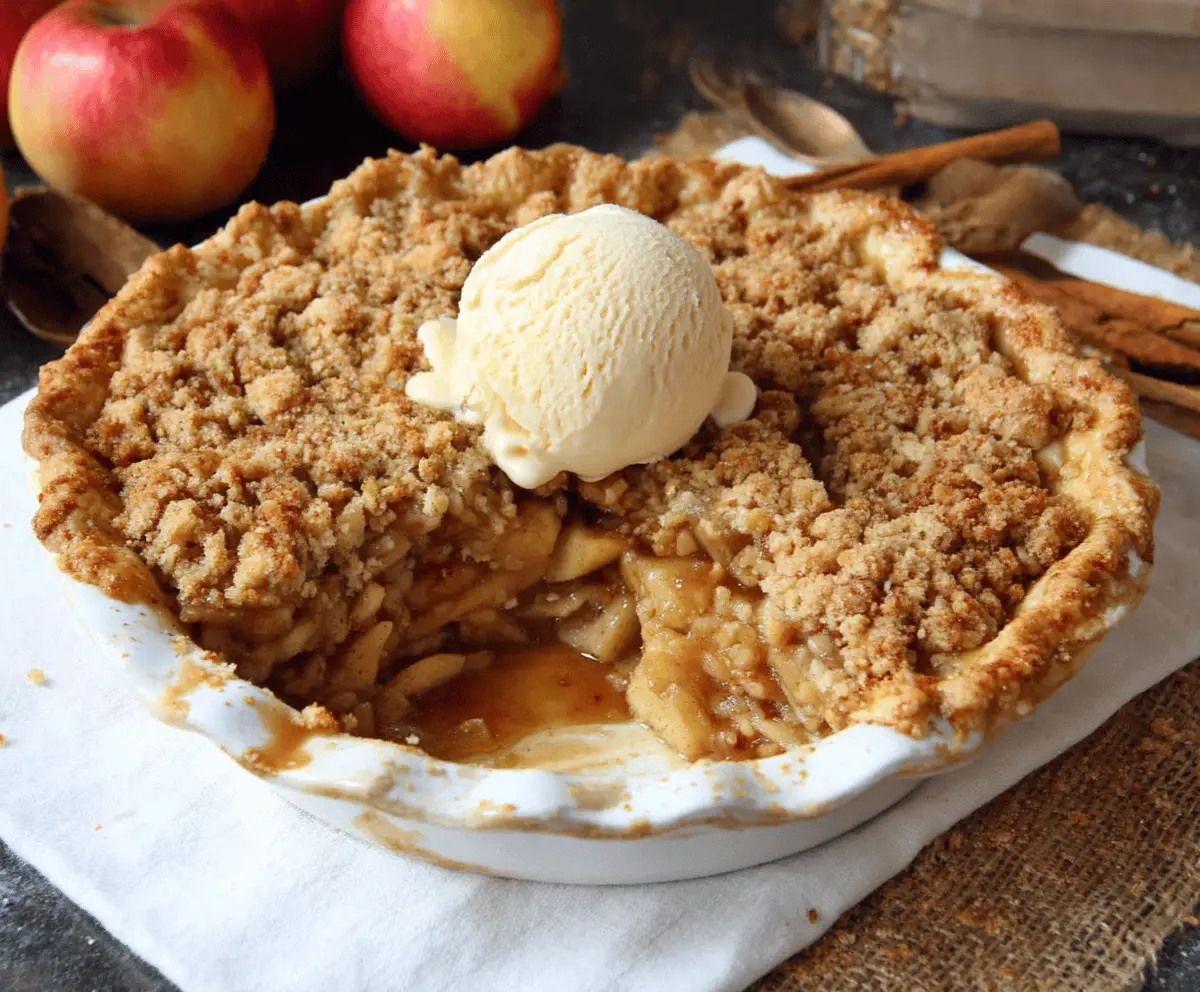
Key Ingredients & Pie Tips
- Pie Crust Choice: You can use a store-bought pie crust for convenience, or if you have time, make your own flaky pie crust for an extra special touch.
- Brown Sugar Flavor: The brown sugar in the crisp topping gives it a deep, caramel-like flavor that pairs wonderfully with the baked apples. Don’t skip it!
- Cool Before Slicing: It’s important to let your pie cool completely, or at least for a few hours, before you slice it. This helps the filling set up and prevents it from being too runny.
What You Need for Apple Crisp Pie
- 1 store-bought 9-inch pie crust (or homemade)
- 6 medium apples (firm baking apples like Gala, Fuji, or Granny Smith)
- 1/2 cup granulated sugar
- 1/4 cup all-purpose flour
- 1 teaspoon ground cinnamon
- 1/4 teaspoon ground nutmeg
- 1 tablespoon lemon juice
- For the Topping:
- 1/2 cup old-fashioned rolled oats
- 1/2 cup all-purpose flour
- 1/2 cup packed light brown sugar
- 1/4 teaspoon ground cinnamon
- 1/4 teaspoon salt
- 1/4 cup (1/2 stick) cold unsalted butter, cut into small pieces
⏱️ Time: Prep: 30 mins, Cook: 50-60 mins🍽️ Yields: 8 servings
How to Make Apple Crisp Pie
Step 1: Prepare the Pie Filling
Preheat your oven to 375°F (190°C). Roll out your pie crust and carefully place it into a 9-inch pie plate. Trim and crimp the edges as desired. Peel, core, and slice your apples into thin pieces. In a large bowl, mix the sliced apples with granulated sugar, 1/4 cup flour, 1 teaspoon cinnamon, nutmeg, and lemon juice until well coated. Pour this apple filling into the prepared pie crust.
Step 2: Make the Crisp Topping
In a separate medium bowl, combine the rolled oats, 1/2 cup flour, brown sugar, 1/4 teaspoon cinnamon, and salt. Add the cold butter pieces. Use your fingers or a pastry blender to work the butter into the dry ingredients until you have a crumbly mixture.
Step 3: Bake the Apple Crisp Pie
Sprinkle the crisp topping evenly over the apple filling in the pie crust. Place the pie on a baking sheet. Bake for 50-60 minutes, or until the topping is golden brown, and the apple filling is tender and bubbly. If the crust or topping browns too fast, you can cover the edges with foil.
Step 4: Cool Before Serving
Remove the pie from the oven and let it cool completely on a wire rack for at least 2-3 hours before slicing and serving. This resting time helps the filling set, making for cleaner slices.
📝 Final Note
Store any leftover apple crisp pie covered at room temperature for up to 2 days, or in the refrigerator for up to 4 days. Reheat slices gently in the oven if you like them warm.