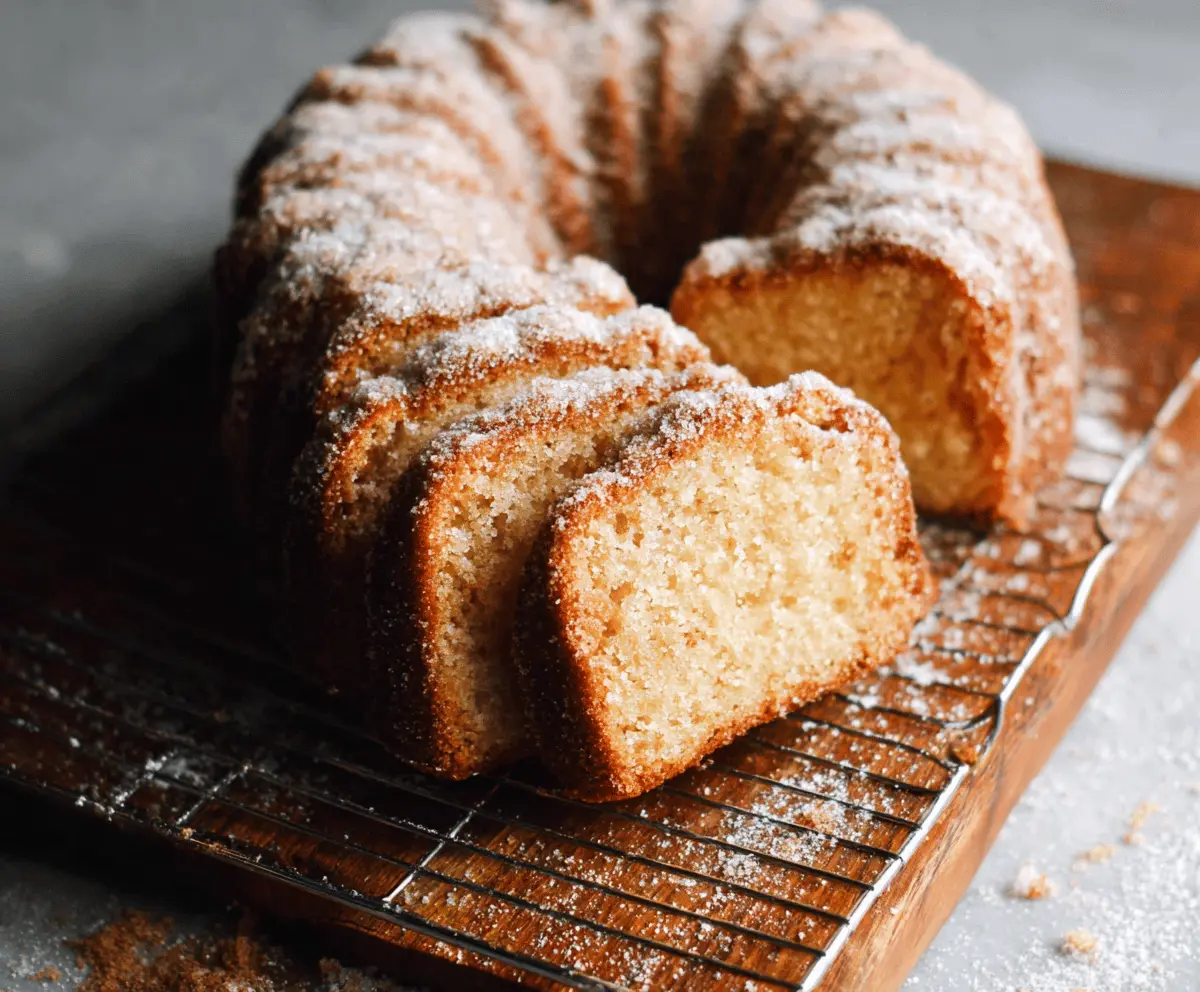
This Apple Cider Pound Cake is moist and full of cozy flavors! With warm spices and a hint of apple cider, it’s like a hug in cake form—perfect for fall gatherings.
Oh, and let’s be real—who doesn’t love a dessert that smells like apple pie while baking? I usually serve it with a scoop of vanilla ice cream because, why not? 🍦
Key Ingredients & Substitutions
All-Purpose Flour: This is your base for the pound cake. If you want a gluten-free version, consider using a 1:1 gluten-free flour blend, which works surprisingly well!
Butter: Unsalted butter is best for controlling the saltiness. You can swap it out for margarine or a plant-based butter if you’re looking for a dairy-free option.
Sour Cream/Greek Yogurt: This adds moisture and richness. If you’re looking for a lighter option, try using applesauce instead! It keeps the cake moist while reducing fat content.
Apple Cider: Apple cider gives this cake its unique flavor. If you can’t find it, white grape juice works as a great substitute, although it lacks the depth of apple cider.
Apples: A crisp variety like Granny Smith or Honeycrisp is wonderful for topping. If fresh apples aren’t available, you can use dried apples rehydrated in warm cider for a different texture and flavor.
How Do You Achieve a Perfectly Tender Pound Cake?
To ensure your pound cake turns out tender and not tough, pay close attention to your mixing method. Overmixing can incorporate too much air, resulting in a dry cake.
- Start with softened butter and beat it with sugar until light and fluffy—this is crucial for creating a good structure.
- Add eggs one at a time, making sure each is fully combined before adding the next.
- When mixing in the flour and the apple cider mixture, alternate them. Start and end with the flour. Just mix until combined; that means no flour streaks, but some lumps are okay!
- Last but not least, make sure not to open the oven door too soon! This can cause the cake to collapse. Wait until at least 50 minutes before checking for doneness with a toothpick.
Apple Cider Pound Cake
Ingredients You’ll Need:
For the Cake:
- 3 cups all-purpose flour
- 1 teaspoon baking powder
- 1/2 teaspoon baking soda
- 1/2 teaspoon salt
- 1 teaspoon ground cinnamon
- 1/2 teaspoon ground nutmeg
- 1 cup unsalted butter, softened
- 2 1/2 cups granulated sugar
- 4 large eggs
- 1 teaspoon vanilla extract
- 1/2 cup apple cider
- 1/2 cup sour cream or plain Greek yogurt
- 1 large apple, thinly sliced (for topping)
For the Glaze:
- 1 cup powdered sugar
- 2-3 tablespoons apple cider
- 1/2 teaspoon vanilla extract
How Much Time Will You Need?
This delicious Apple Cider Pound Cake takes about 20 minutes to prepare and approximately 60-70 minutes to bake. After baking, allow some time for cooling before serving. Overall, expect about 1 hour and 30 minutes from start to finish!
Step-by-Step Instructions:
1. Prepare the Oven and Pan:
Begin by preheating your oven to 325°F (163°C). Grease and flour a bundt pan really well to prevent the cake from sticking. This is an important step!
2. Combine Dry Ingredients:
In a medium bowl, whisk together the all-purpose flour, baking powder, baking soda, salt, ground cinnamon, and ground nutmeg. This blend of dry ingredients will give your cake that wonderful flavor and texture. Set it aside for now.
3. Mix the Butter and Sugar:
In a large mixing bowl, beat the softened unsalted butter and granulated sugar with an electric mixer on medium speed. Mix until the mixture is light and fluffy, which usually takes about 4-5 minutes. This step is super important for a light cake!
4. Add the Eggs:
Add the eggs one at a time to the butter and sugar mixture, making sure to beat well after each addition. This helps incorporate air into the batter. Stir in the vanilla extract once all the eggs are mixed in.
5. Blend in Cider and Sour Cream:
In a separate small bowl, combine the apple cider and sour cream (or Greek yogurt) together. This will add moisture and a lovely flavor to your cake.
6. Combine Everything:
Now, it’s time to bring it all together! Alternately add the dry ingredients and the apple cider mixture into the butter mixture. Start with some of the dry ingredients, then add the cider mixture, and continue this process until everything is combined. Be careful not to overmix—just mix until you don’t see any flour!
7. Pour the Batter:
Pour the batter into your prepared bundt pan and smooth the top with a spatula to make it even. This helps the cake rise evenly.
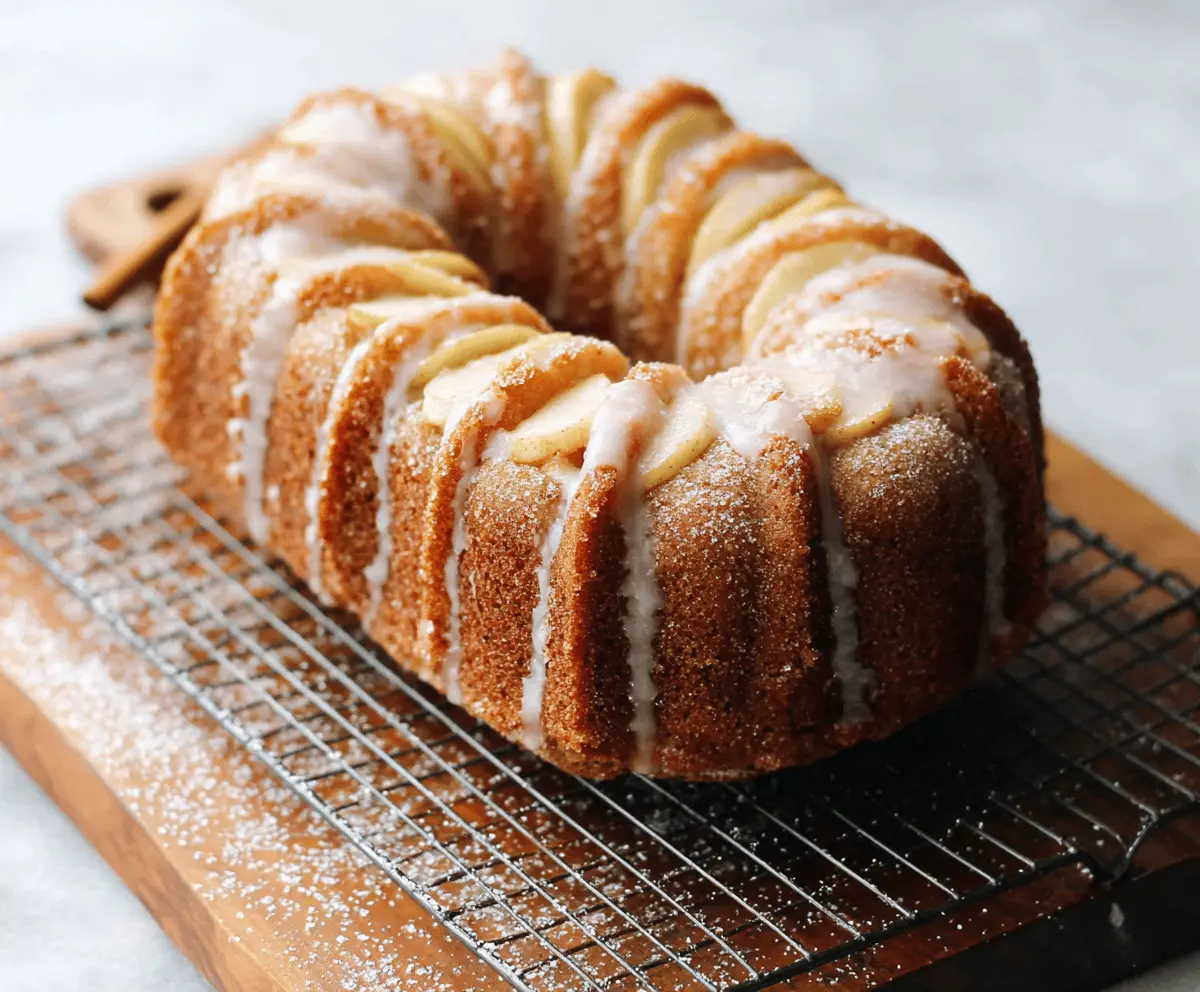
8. Add Apple Slices:
Take your thinly sliced apple and arrange it neatly over the top of the batter. Gently press the slices into the batter a little so they stick.
9. Bake Away!
Pop the pan into the oven and bake for 60-70 minutes. You’ll know it’s done when a toothpick inserted into the center comes out clean—this means the cake is fully baked!
10. Cool the Cake:
Once baked, let the cake cool in the pan for about 15 minutes. After that, carefully invert it onto a wire rack to cool completely. This allows the cake to stay fluffy without getting soggy.
11. Make the Glaze:
For the sweet glaze, whisk together the powdered sugar, apple cider, and vanilla extract until smooth. It should be pourable; adjust the consistency by adding more sugar or cider if needed.
12. Drizzle and Serve:
Finally, drizzle the glaze over the cooled cake. If you’d like, dust with a bit of powdered sugar for an extra touch. Serve slices with a cup of tea or coffee and enjoy this deliciously cozy dessert!
Can I Use Different Types of Apples for the Topping?
Absolutely! While Granny Smith or Honeycrisp apples work great for their firmness and tartness, you can also use Fuji or Gala apples for a sweeter flavor. Just make sure they’re thinly sliced so they bake evenly.
How Can I Store Leftover Apple Cider Pound Cake?
Store any leftover cake in an airtight container at room temperature for up to 3 days. If you need to keep it longer, refrigerate it for about a week or freeze it wrapped tightly in plastic wrap and aluminum foil for up to 3 months.
Can I Make This Recipe in a Loaf Pan?
Yes, you can! Just divide the batter between two standard loaf pans. Reduce the baking time to about 50-60 minutes, and keep an eye on them with a toothpick to ensure they’re fully cooked.
What Variations Can I Try with the Glaze?
Feel free to experiment with the glaze! You can add spices like cinnamon or nutmeg for extra flavor, or even a splash of maple syrup for a different sweetness. A dash of lemon juice can add a nice tang, too!