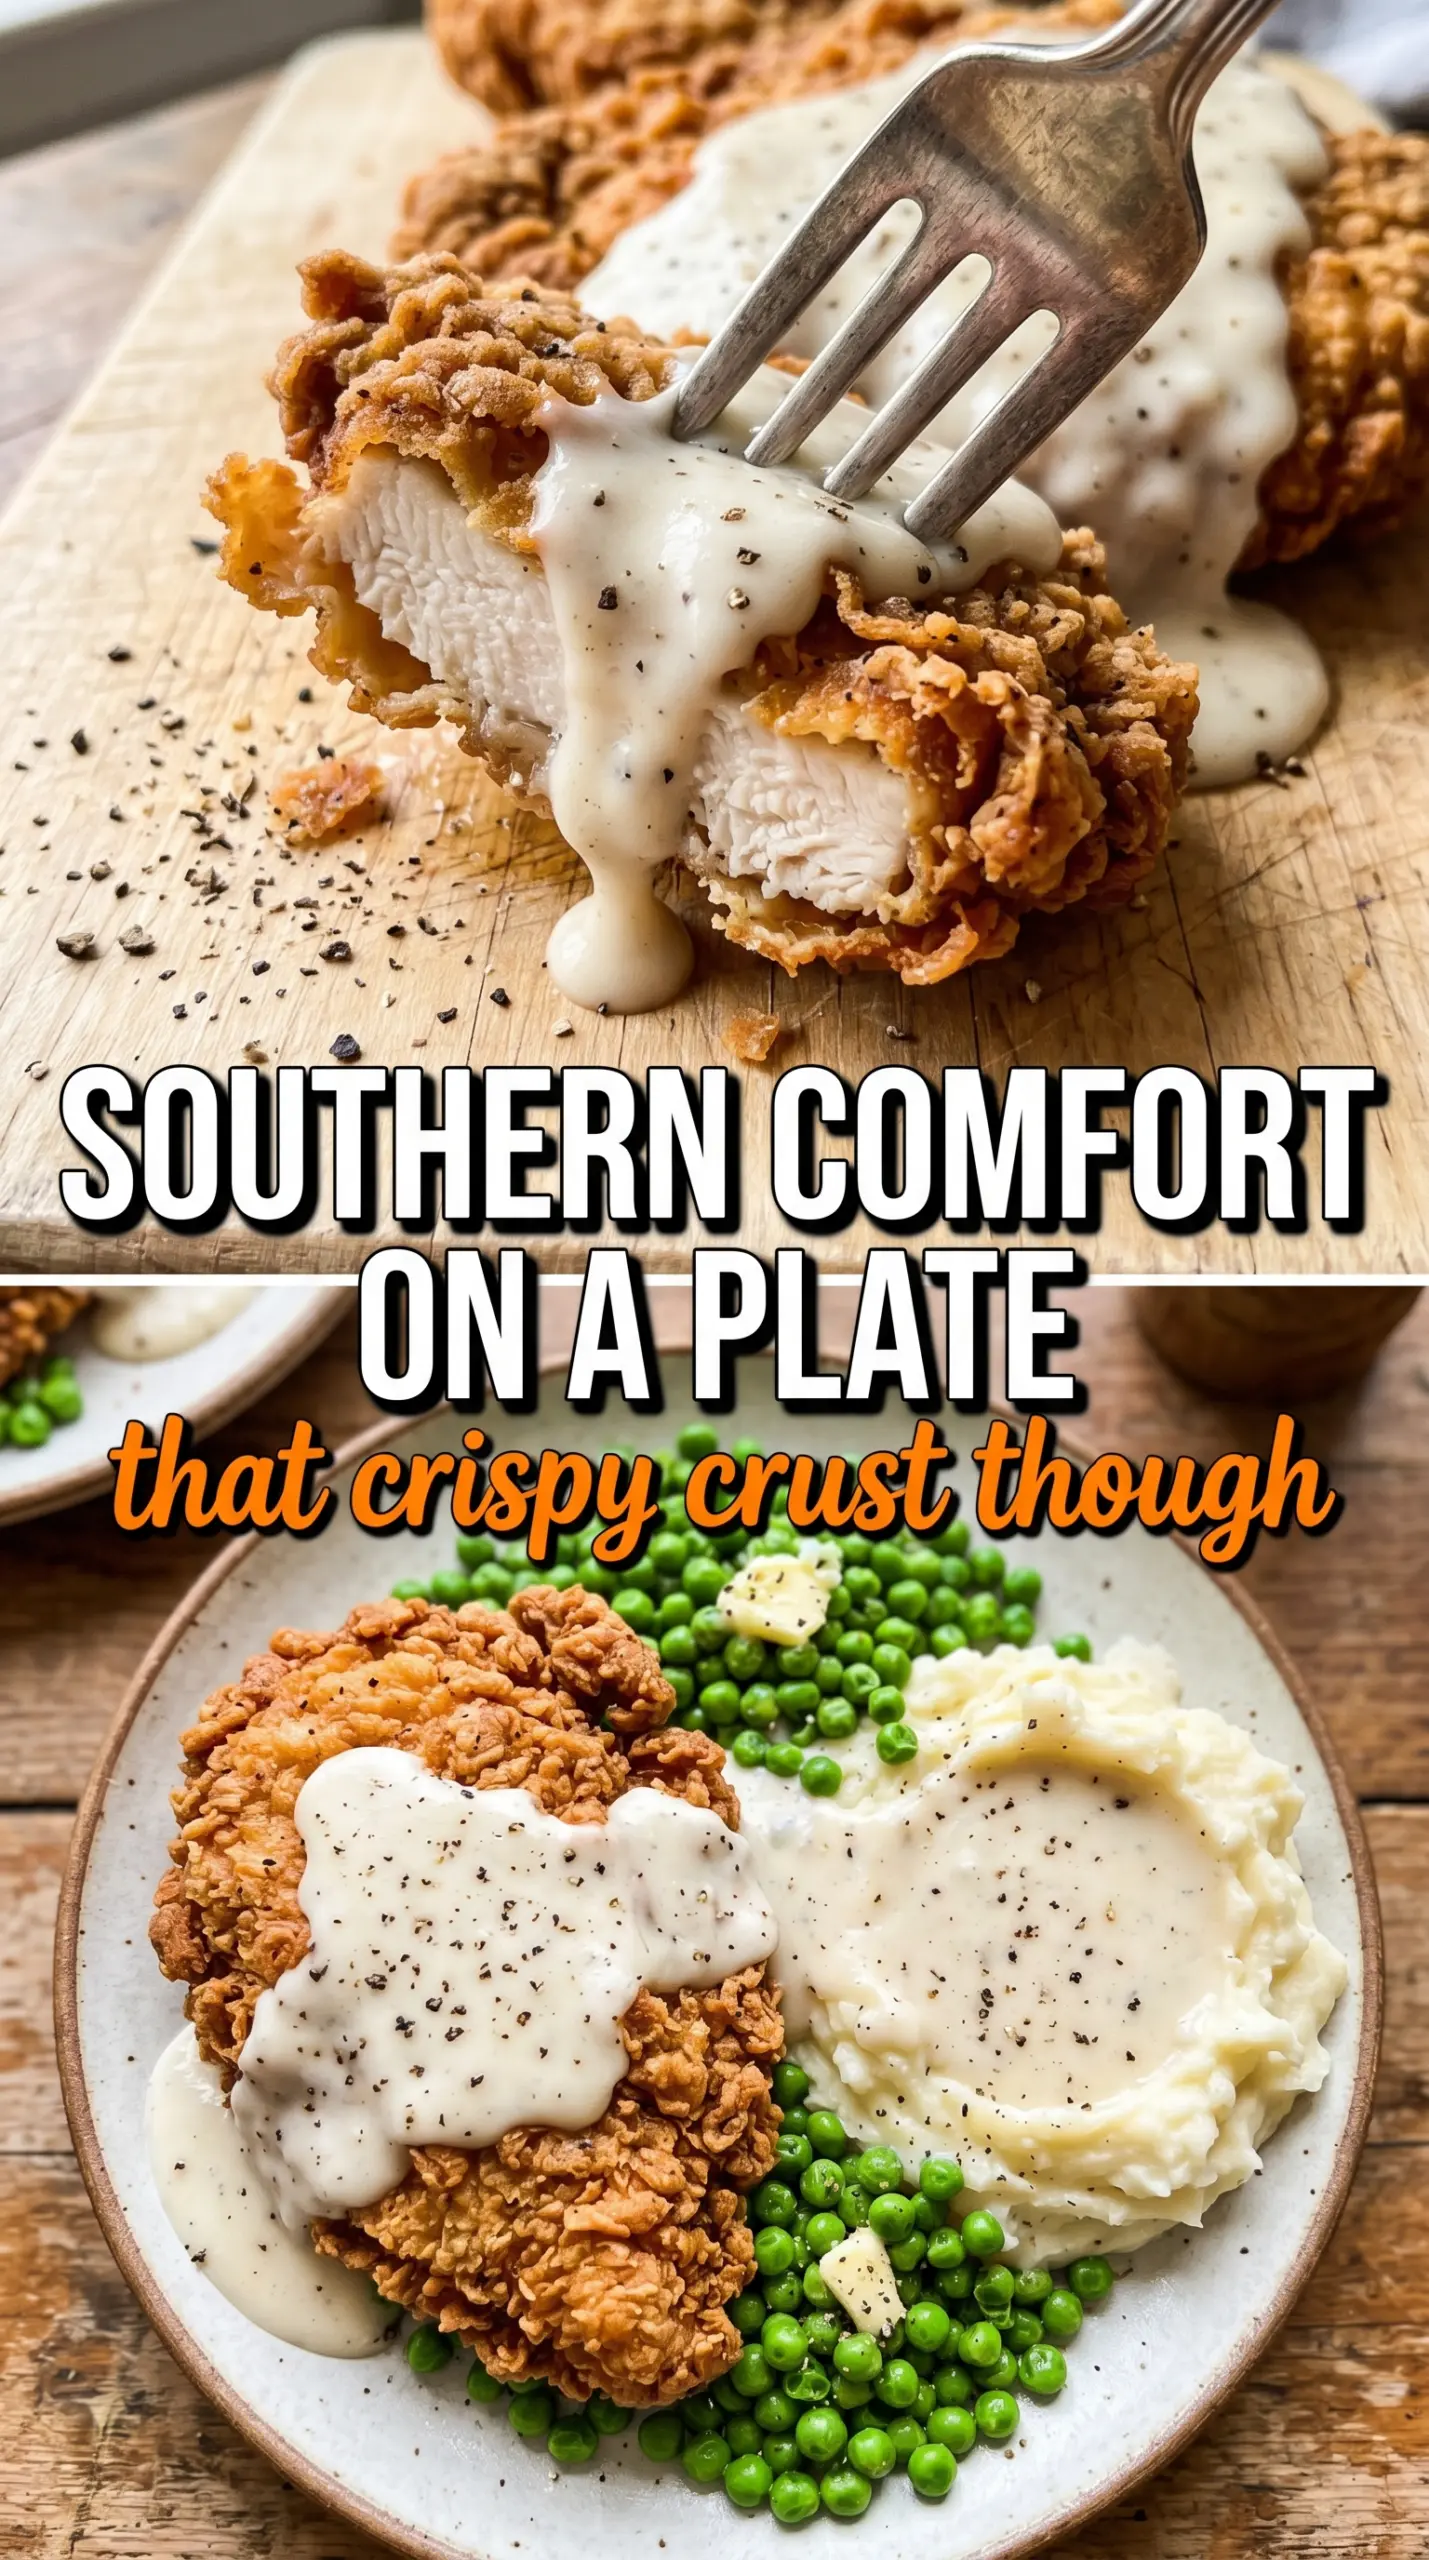
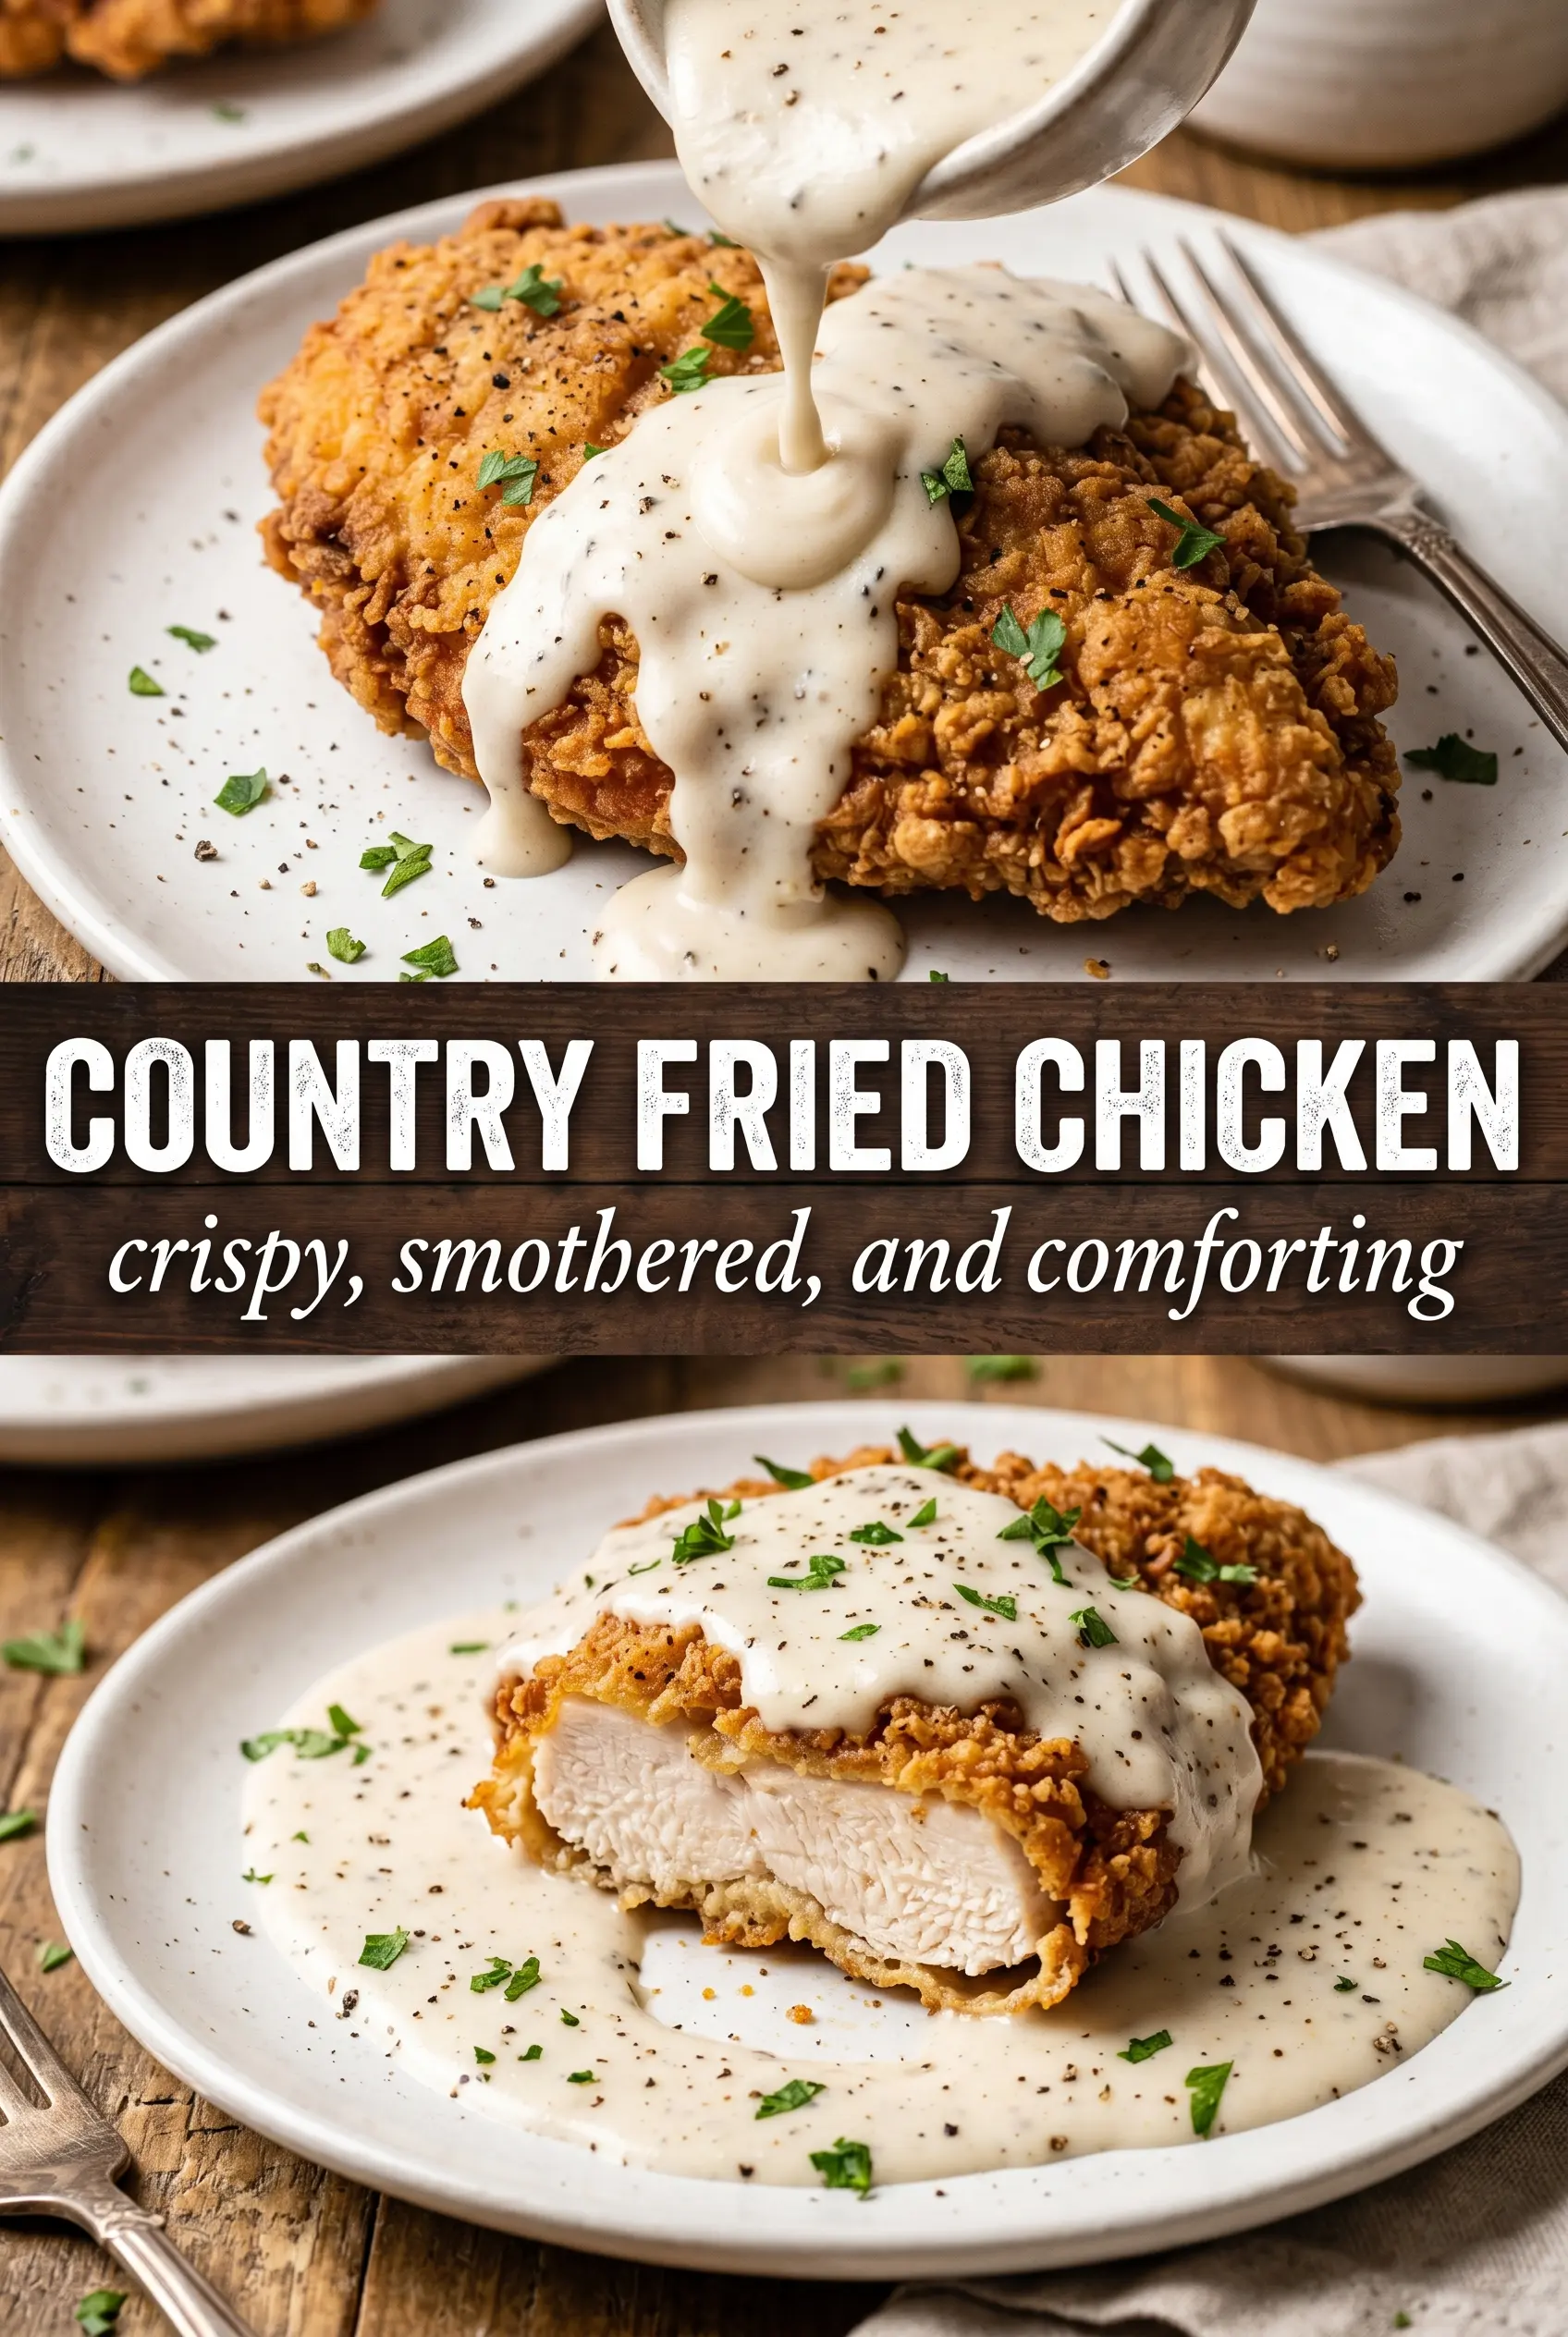
Country fried chicken earns its spot when the crust comes off the skillet crackling and deeply golden, the kind of coating that stays rough and craggy instead of turning slick the moment it hits the plate. Underneath that shell, the chicken stays juicy from the buttermilk soak, and the white gravy brings everything together without softening the crunch too fast if you pour it at the table. It’s the kind of dinner that looks simple but rewards a steady hand and a little patience.
The buttermilk does more than add flavor. It lightly tenderizes the chicken and helps the flour cling in a thick, uneven layer, which is where the crunch comes from. The double dredge matters here, because one pass gives you a thin coating and the second pass builds those rugged bits that fry up into the best texture on the plate. Keeping the oil at 350°F also makes the difference between crisp chicken and greasy chicken.
Below, I’ve included the small details that keep the crust from slipping, how to get the gravy smooth, and a few swaps that still give you that classic Southern-style finish.
The coating stayed craggy and crisp, and the gravy came together smooth with the pan drippings. I did the double dredge exactly like you said and the crust held up beautifully.
Country fried chicken with thick white gravy is worth saving for the night you want a shatteringly crisp crust and a skillet sauce that clings to every bite.
The Crust Stays Crisp When the Flour Isn’t Packed Too Fine
The biggest mistake with country fried chicken is treating the flour like a light dusting. You want a heavy, uneven coating that looks a little shaggy before it goes into the oil. That rough surface fries into the crunchy shell people are after, while a thin, even layer tends to turn smooth and tight.
The second thing that matters is rest after dredging. Letting the coated chicken sit for a few minutes helps the flour hydrate and cling instead of flaking off in the skillet. If you go straight from flour to oil, the coating can slide and leave you with bare patches.
- Buttermilk — This adds tang and helps the coating grip. Plain milk won’t give the same cling or the same gentle tenderizing effect, so buttermilk is worth using here.
- Hot sauce — You won’t taste heat in a sharp way, but it wakes up the seasoning in the flour. A vinegar-forward hot sauce works best.
- Smoked paprika, cayenne, garlic powder, and onion powder — This is the backbone of the crust. If you leave them out, the chicken still fries, but it tastes flat under the gravy.
- Bone-in chicken pieces — Bone-in pieces stay juicier during frying and give you a better cushion of time before the meat dries out. Thighs are more forgiving than breasts if you’re new to frying.
- Vegetable oil — Use a neutral oil that can handle frying heat. Olive oil brings the wrong flavor and can smoke before the chicken is done.
What Each Ingredient Is Actually Doing in This Recipe
- Primary ingredient (the star) — Quality matters most. Choose the best you can find.
- Cooking medium (oil, butter, or broth) — This carries flavors and prevents dryness.
- Seasonings (salt, pepper, spices, herbs) — Layer flavors so nothing overpowers. Build depth gradually.
- Aromatics (garlic, onion, herbs) — Cook with fat to bloom flavors. Become the foundation.
- Supporting ingredients — Complement the main ingredient without overpowering it.
- Sauce or liquid (if applicable) — Brings flavors together. Balance richness with acid.
- Acid (lemon, vinegar, wine, or other) — Brightens and prevents flat-tasting results.
- Final finish (garnish, glaze, or sauce) — Prevents one-dimensional taste and adds visual appeal.
Frying the Chicken and Building the Gravy in One Skillet
Soaking and Coating the Pieces
Submerge the chicken in buttermilk and hot sauce long enough for the surface to take on that slick, tacky feel. Thirty minutes works in a pinch, but overnight gives you the best texture and deeper seasoning. When you dredge, press the flour on firmly, then dip and dredge a second time for the roughest crust. If the flour looks damp and clumpy, you’re on the right track; that’s what creates the crags.
Managing the Oil Temperature
Heat the oil to 350°F and keep an eye on it between batches. If the oil runs too cool, the crust absorbs fat and goes heavy instead of crisp. If it climbs too hot, the outside browns before the inside cooks through. A cast iron skillet helps hold temperature, which is why it works so well for this kind of frying.
Cooking to a Deep Golden Finish
Fry the chicken until the crust is a deep golden brown and the internal temperature reaches 165°F. Breasts usually need less time than thighs, so check each piece rather than trusting the clock alone. If the coating darkens too fast, lower the heat a little and give the chicken time to catch up inside. Drain it on paper towels or a wire rack so the underside doesn’t steam and soften.
Turning the Drippings Into White Gravy
Use the pan drippings while they’re still warm and flavorful. Whisk them with flour for a minute so the raw flour taste cooks out, then add the milk slowly while whisking. The gravy thickens as it heats, not the second the milk hits the pan, so give it a minute or two before deciding it needs more flour. Season at the end, after you taste it, because the drippings already bring salt and fried flavor.
How to Adapt Country Fried Chicken Without Losing the Crunch
Make It Dairy-Free
Use unsweetened non-dairy milk mixed with a tablespoon of vinegar or lemon juice in place of the buttermilk. You’ll still get a little tang and enough acidity to help the coating stick, though the flavor is a touch less rich. Skip the gravy or make it with a dairy-free milk that can handle simmering without turning thin.
Use Boneless Chicken Cutlets
Thin boneless cutlets cook faster and give you a crisp, lunch-counter style version. The tradeoff is less juiciness and less built-in forgiveness, so keep a close eye on the temperature and pull them as soon as they hit 165°F. This works best when you want a quicker dinner with the same crunchy coating.
Gluten-Free Version
Swap the all-purpose flour for a cup-for-cup gluten-free blend that includes xanthan gum or a similar binder. The crust will still be crisp, but it may be a little more delicate, so let the coated chicken rest before frying and handle it gently when you turn it.
Storage and Reheating
- Refrigerator: Store the chicken and gravy separately for up to 3 days. The crust softens in the fridge, but it can be brought back with heat.
- Freezer: The fried chicken freezes well without the gravy. Wrap pieces tightly and freeze for up to 2 months; the gravy is better made fresh.
- Reheating: Reheat the chicken on a rack in a 375°F oven until hot and crisp again. Don’t microwave it if you want the crust to stay crunchy, because steam is what turns it soggy.
Questions I Get Asked About This Recipe
Country Fried Chicken
Ingredients
Equipment
Method
- Add chicken pieces to a bowl and soak in buttermilk mixed with hot sauce for at least 30 minutes or overnight, keeping the chicken covered in the liquid.
- In a shallow dish, whisk all seasoned flour coating ingredients—flour, garlic powder, onion powder, smoked paprika, cayenne pepper, salt, and cracked black pepper—until evenly combined.
- Remove chicken from the buttermilk, let excess drip off, and dredge firmly in the seasoned flour coating until well coated.
- Dip-and-dredge again for extra crunch, pressing the coating onto the chicken so it adheres.
- Heat 2-3 inches of vegetable oil to 350°F in a large cast iron skillet and keep the temperature steady.
- Fry chicken for 10-12 minutes per side, until deeply golden and the internal temperature reaches 165°F, turning once when the crust is set.
- Transfer chicken to paper towels to drain and rest for 2-3 minutes so the coating stays crisp.
- For the gravy, whisk pan drippings and flour together in a skillet over medium heat for 1 minute.
- Gradually whisk in whole milk and cook until thickened, stirring constantly for a smooth, pourable gravy.
- Season the gravy with salt and pepper to taste, then keep it warm until serving.
- Serve chicken immediately with white gravy poured over the top so it pools around the base.