Crispy bacon, cold creamy filling, and a punchy dill pickle center make these bacon wrapped pickles one of those appetizers that disappears faster than you expect. The first bite gives you salt, smoke, tang, and creaminess all at once, and the texture contrast is what keeps people reaching for another one. They’re the kind of snack that feels a little outrageous in the best way.
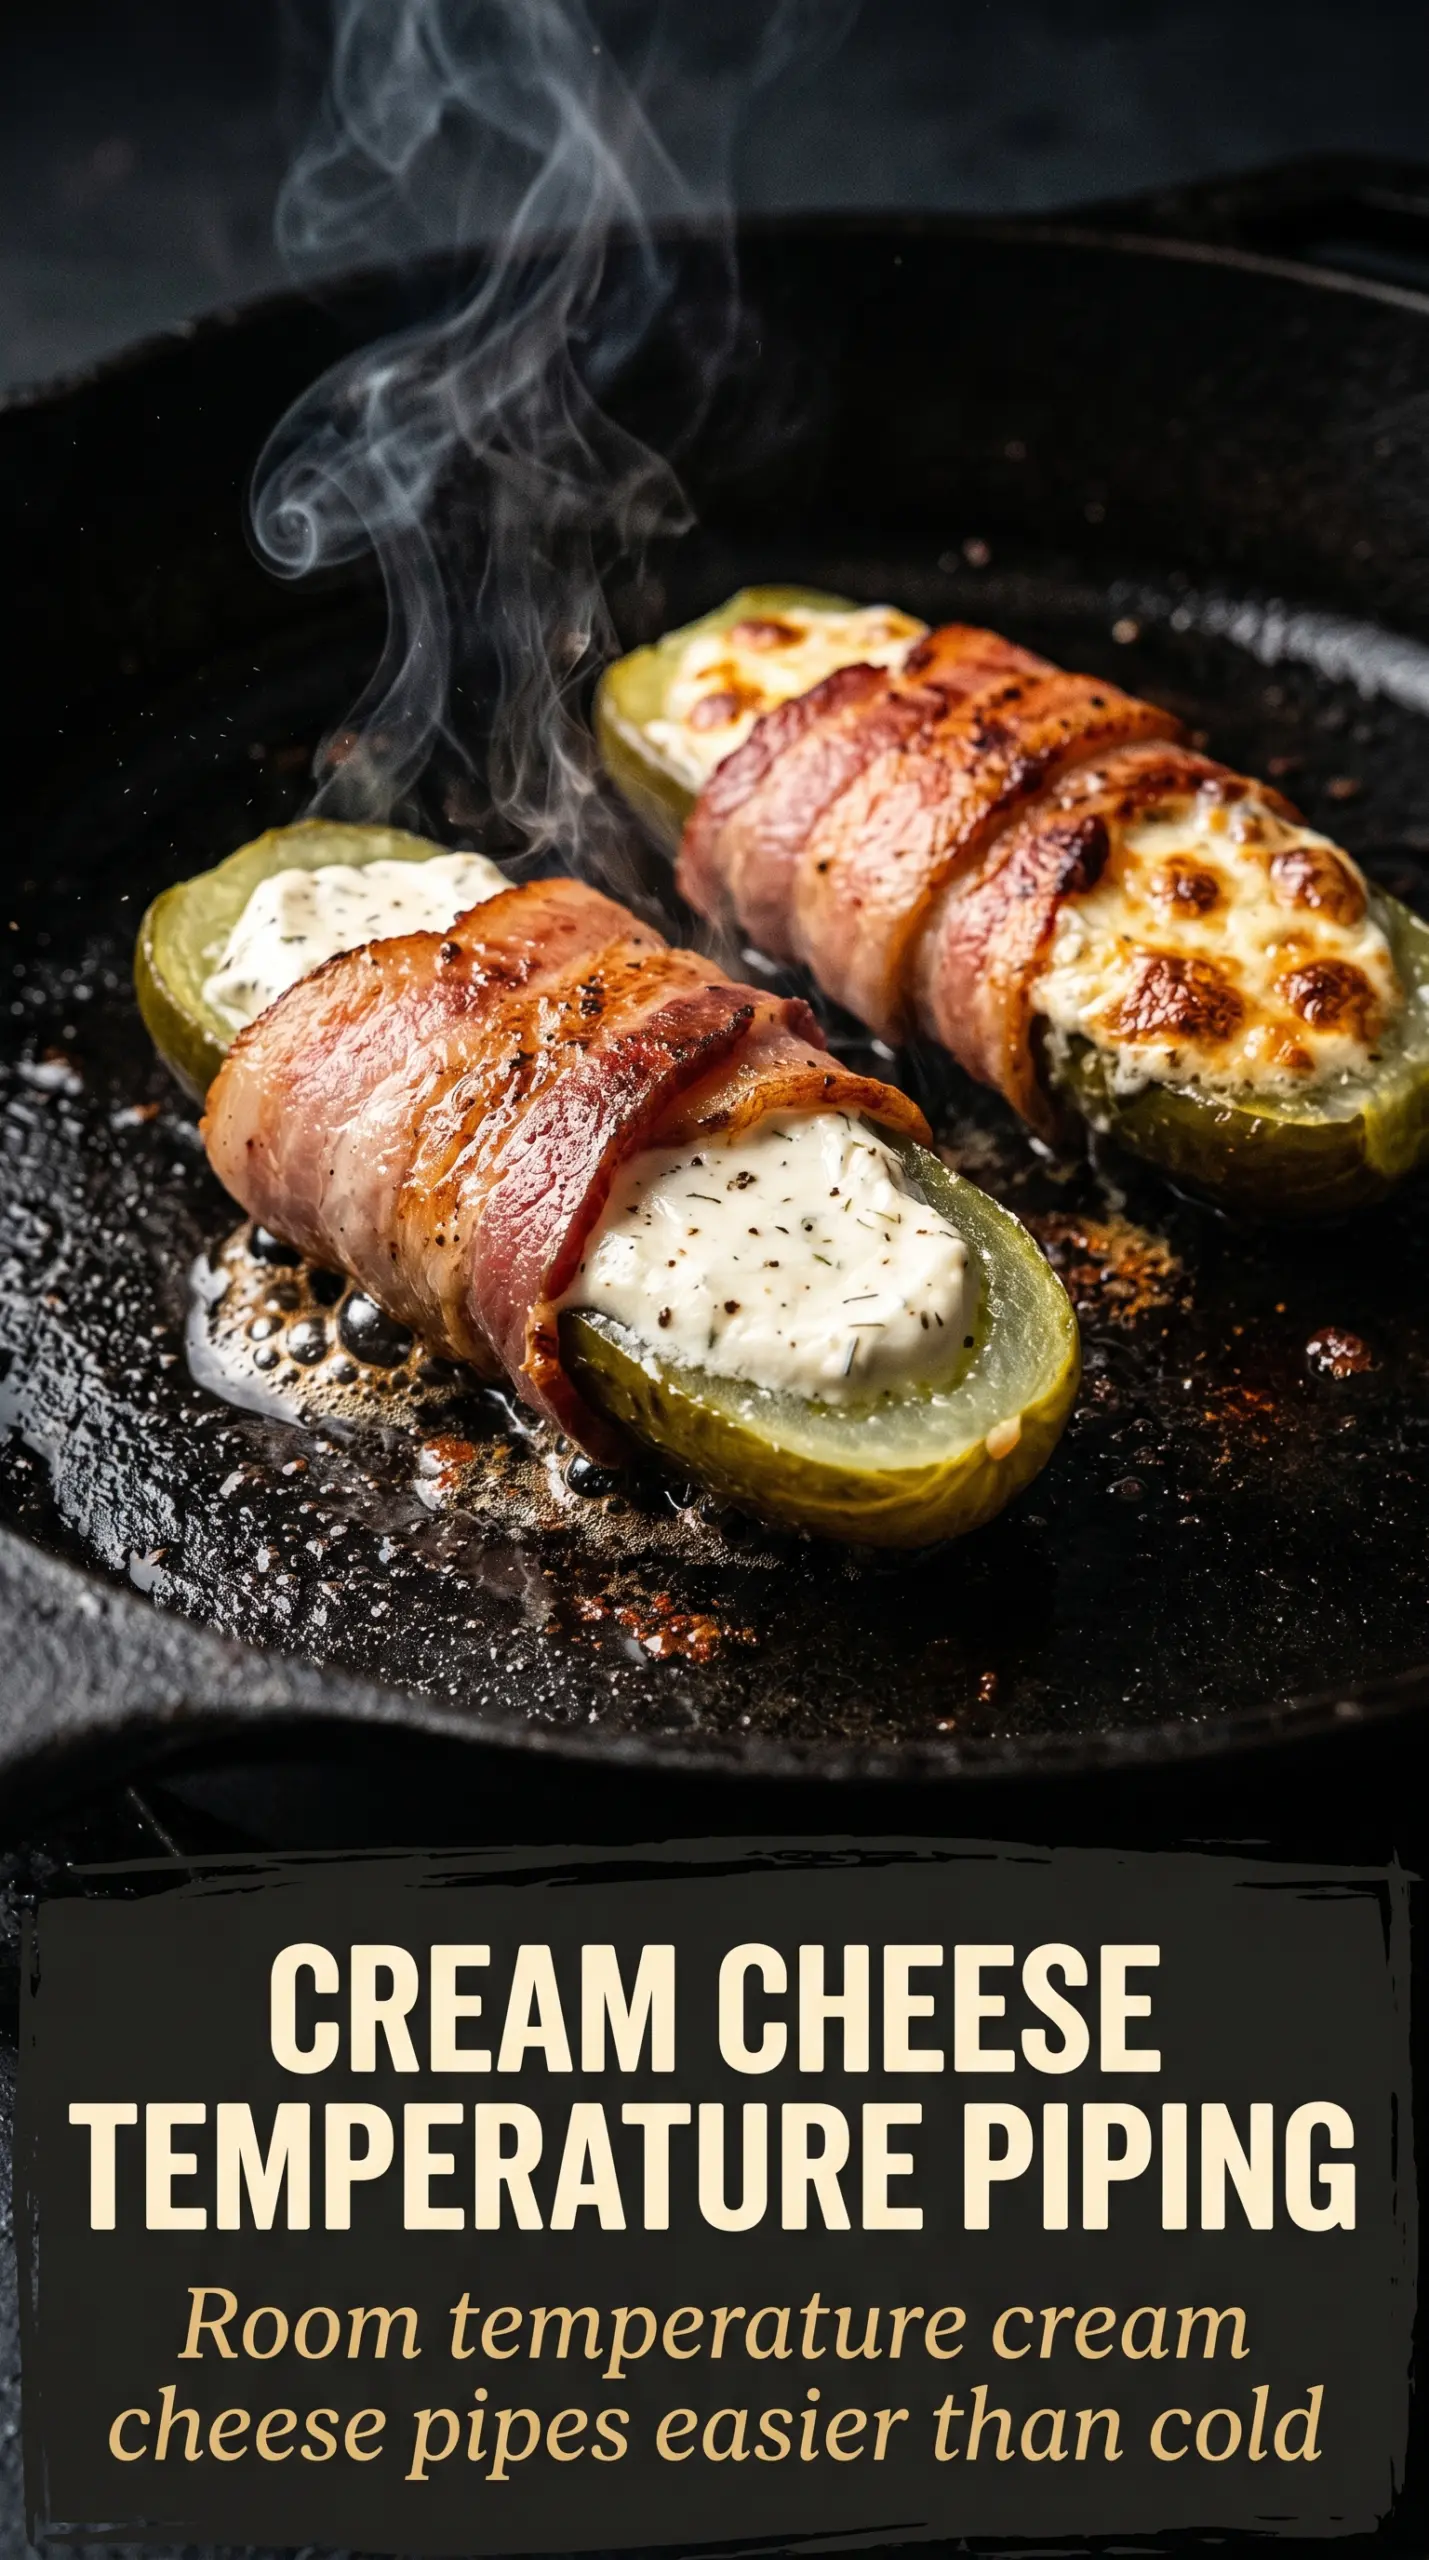
The trick is drying the pickles well before you stuff them. Any extra moisture turns the bacon soft before it has a chance to crisp, and that’s the difference between a good bite and a soggy one. Softened cream cheese spreads cleanly into the slit, and thin, even bacon wraps tighter and cooks more evenly on the grill.
Below, I’ve included the small details that keep the bacon crisp and the filling where it belongs, plus a few easy swaps if you want to serve these with a different spin.
The bacon got crisp all the way around and the cream cheese stayed put instead of melting out. I served these straight off the grill and they were gone in minutes.
Save these bacon wrapped pickles stuffed with cream cheese for the next game day when you need a smoky, tangy appetizer that comes off the grill fast.
The Reason These Don’t Turn Limp on the Grill
The biggest failure point here is moisture. Pickles carry a lot of surface brine, and bacon won’t crisp properly if it’s fighting steam the whole time. Patting the spears dry first matters more than most people think, and it’s the main reason these end up with a snappy outside instead of a greasy one.
The other piece is heat control. Medium heat lets the bacon render before the sugar and salt on the surface scorch. If the grill runs too hot, the outside burns before the bacon tightens around the pickle, and the filling has nowhere to go except out the sides.
What the Bacon, Pickles, and Cream Cheese Are Each Doing Here
- Dill pickle spears — Use firm spears, not soft chips or spears packed in an overly sweet brine. You need a sturdy pickle that holds its shape once you cut the slit and wrap it. Dry them well so the bacon can brown instead of steaming.
- Cream cheese — This is the filling that ties the whole appetizer together. Full-fat cream cheese gives the best texture because it stays thick as it warms. Low-fat versions can work, but they loosen more on the grill.
- Bacon — Thin-cut bacon wraps more cleanly and crisps in the short grill time here. Thick-cut bacon usually needs a head start or longer cooking, which can overcook the pickle. If thick-cut is all you have, par-cook it just until the fat starts to render.
- Toothpicks — Don’t skip them. They keep the bacon seam closed while the fat renders and the pickle softens slightly. Pull them before serving so nobody gets a surprise bite.
Getting the Bacon Crispy Before the Pickle Warms Through
Cutting and Stuffing the Pickles
Slice a lengthwise slit down each pickle spear, but stop before you cut all the way through. You want a pocket, not two halves. Spoon or spread the softened cream cheese into the opening so the pickle is filled but not split open. If the filling is too cold, it tears the pickle instead of spreading cleanly.
Wrapping for Even Browning
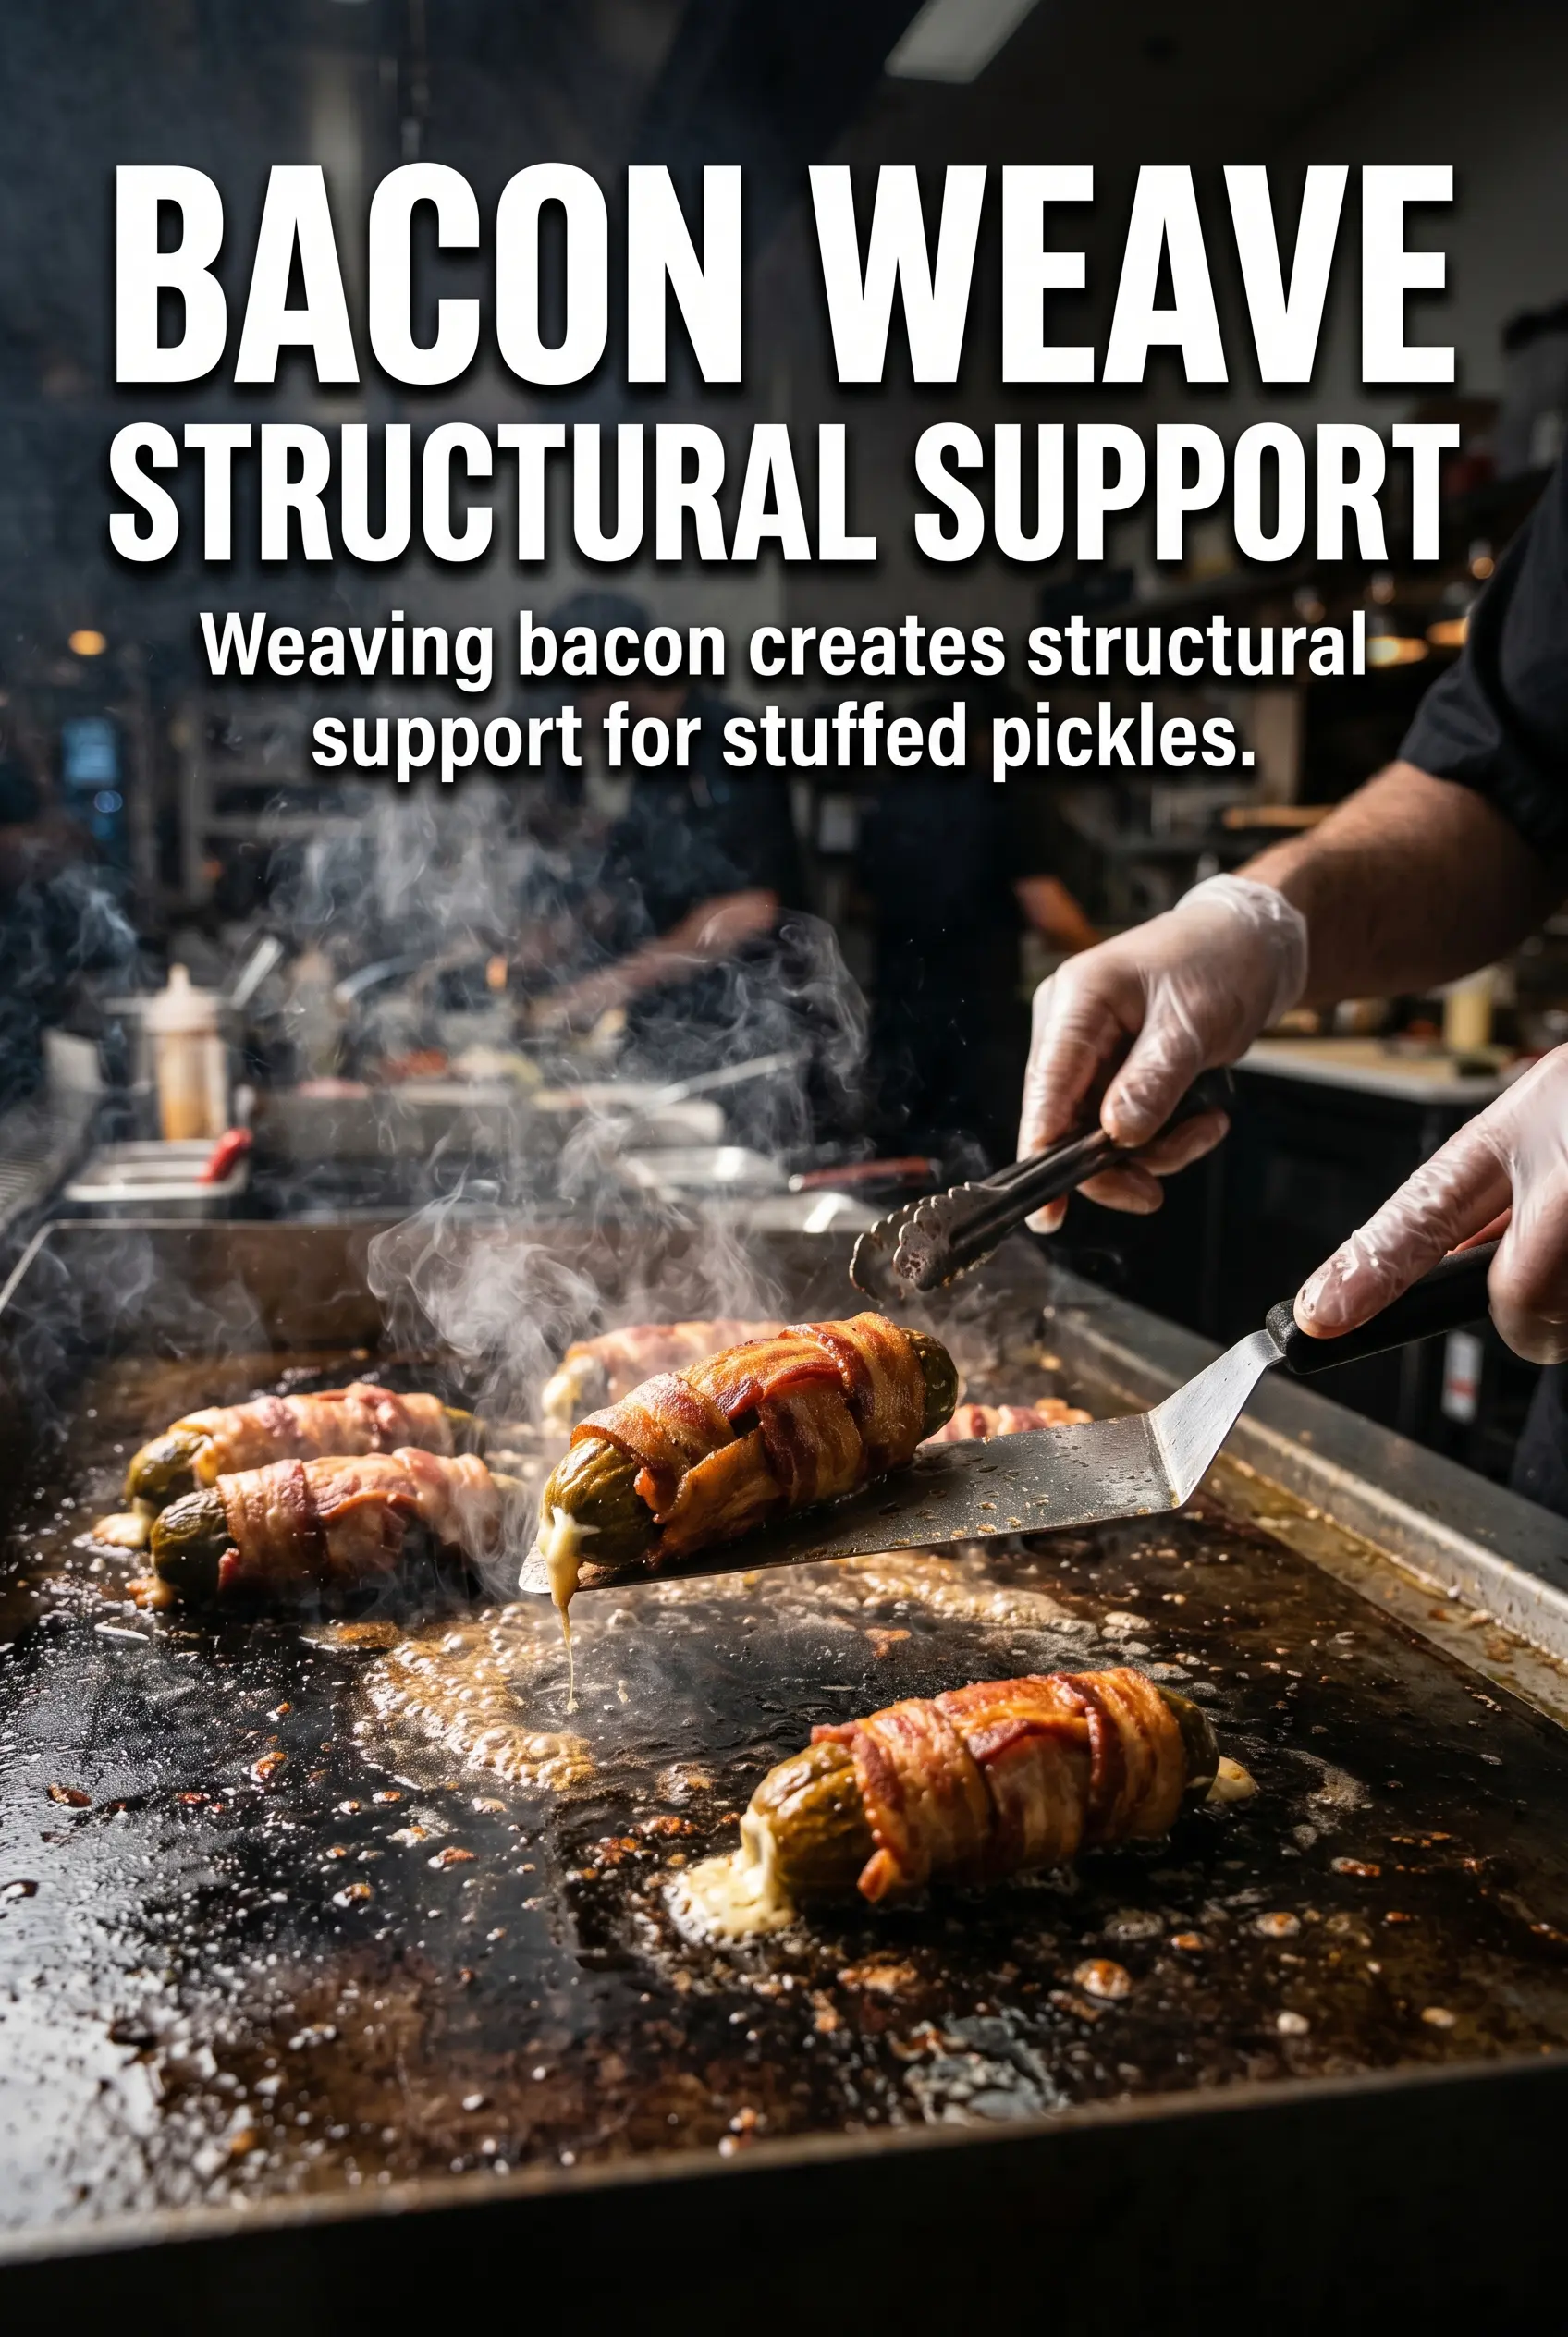
Wrap each stuffed spear with one slice of bacon, overlapping the ends slightly so the seam stays closed. Secure it with a toothpick through the bacon and pickle. A loose wrap leaves gaps that brown unevenly, and those gaps are where the filling leaks out first.
Grilling to the Right Crispness
Set the grill to medium heat and cook the pickles for 15 to 20 minutes, turning often. You’re watching for bacon that looks deeply golden and feels firm when nudged with tongs. If the bacon is still floppy, keep going; if it’s charred in spots before it crisps, the heat was too high. Remove them as soon as the bacon is done, then take out the toothpicks before serving.
How to Change These Up Without Losing the Crunch
Oven-Baked Version
Bake these on a rack set over a sheet pan at 400°F if you don’t want to fire up the grill. The rack matters because it lets the bacon render underneath instead of soaking the bottoms, which is the main thing that keeps them crisp in the oven.
Spicy Jalapeño Filling
Stir a spoonful of minced jalapeño or a pinch of cayenne into the cream cheese for more heat. That extra kick plays well against the pickle’s tang and gives the appetizer a sharper finish without changing the cooking method.
Dairy-Free Swaps
Use a firm dairy-free cream cheese that holds its shape when warmed. Some brands loosen faster than dairy versions, so choose one that’s meant for spreading rather than pouring. The flavor stays creamy, but the filling may soften a little more.
Make-Ahead Party Prep
You can stuff and wrap the pickles a few hours ahead, then keep them covered in the fridge until grill time. Don’t salt them or let them sit uncovered, or the pickles will weep and the bacon won’t crisp as well.
Storage and Reheating
- Refrigerator: Store leftovers in an airtight container for up to 3 days. The bacon softens as it sits, but the flavor stays strong.
- Freezer: I don’t recommend freezing these. Pickles turn watery after thawing and the cream cheese separates.
- Reheating: Reheat on a rack in a 375°F oven or air fryer until the bacon tightens back up. The microwave will make the bacon rubbery and the filling split.
Answers to the Questions Worth Asking
Bacon Wrapped Pickles Stuffed With Cream Cheese
Ingredients
Method
- Cut a slit lengthwise in each pickle spear without cutting all the way through. The cut should open like a pocket while keeping the spear intact.
- Stuff each pickle with softened cream cheese. Press gently so the filling sits inside and doesn’t fall out.
- Wrap each stuffed pickle with a slice of bacon and secure with toothpicks. Aim for full coverage with a tight wrap so it holds during grilling.
- Grill over medium heat for 15-20 minutes, turning frequently, until the bacon is crispy. Look for deep golden-brown bacon edges and a sizzling, set surface.
- Remove toothpicks before serving. The filling should be creamy and visible when cut.