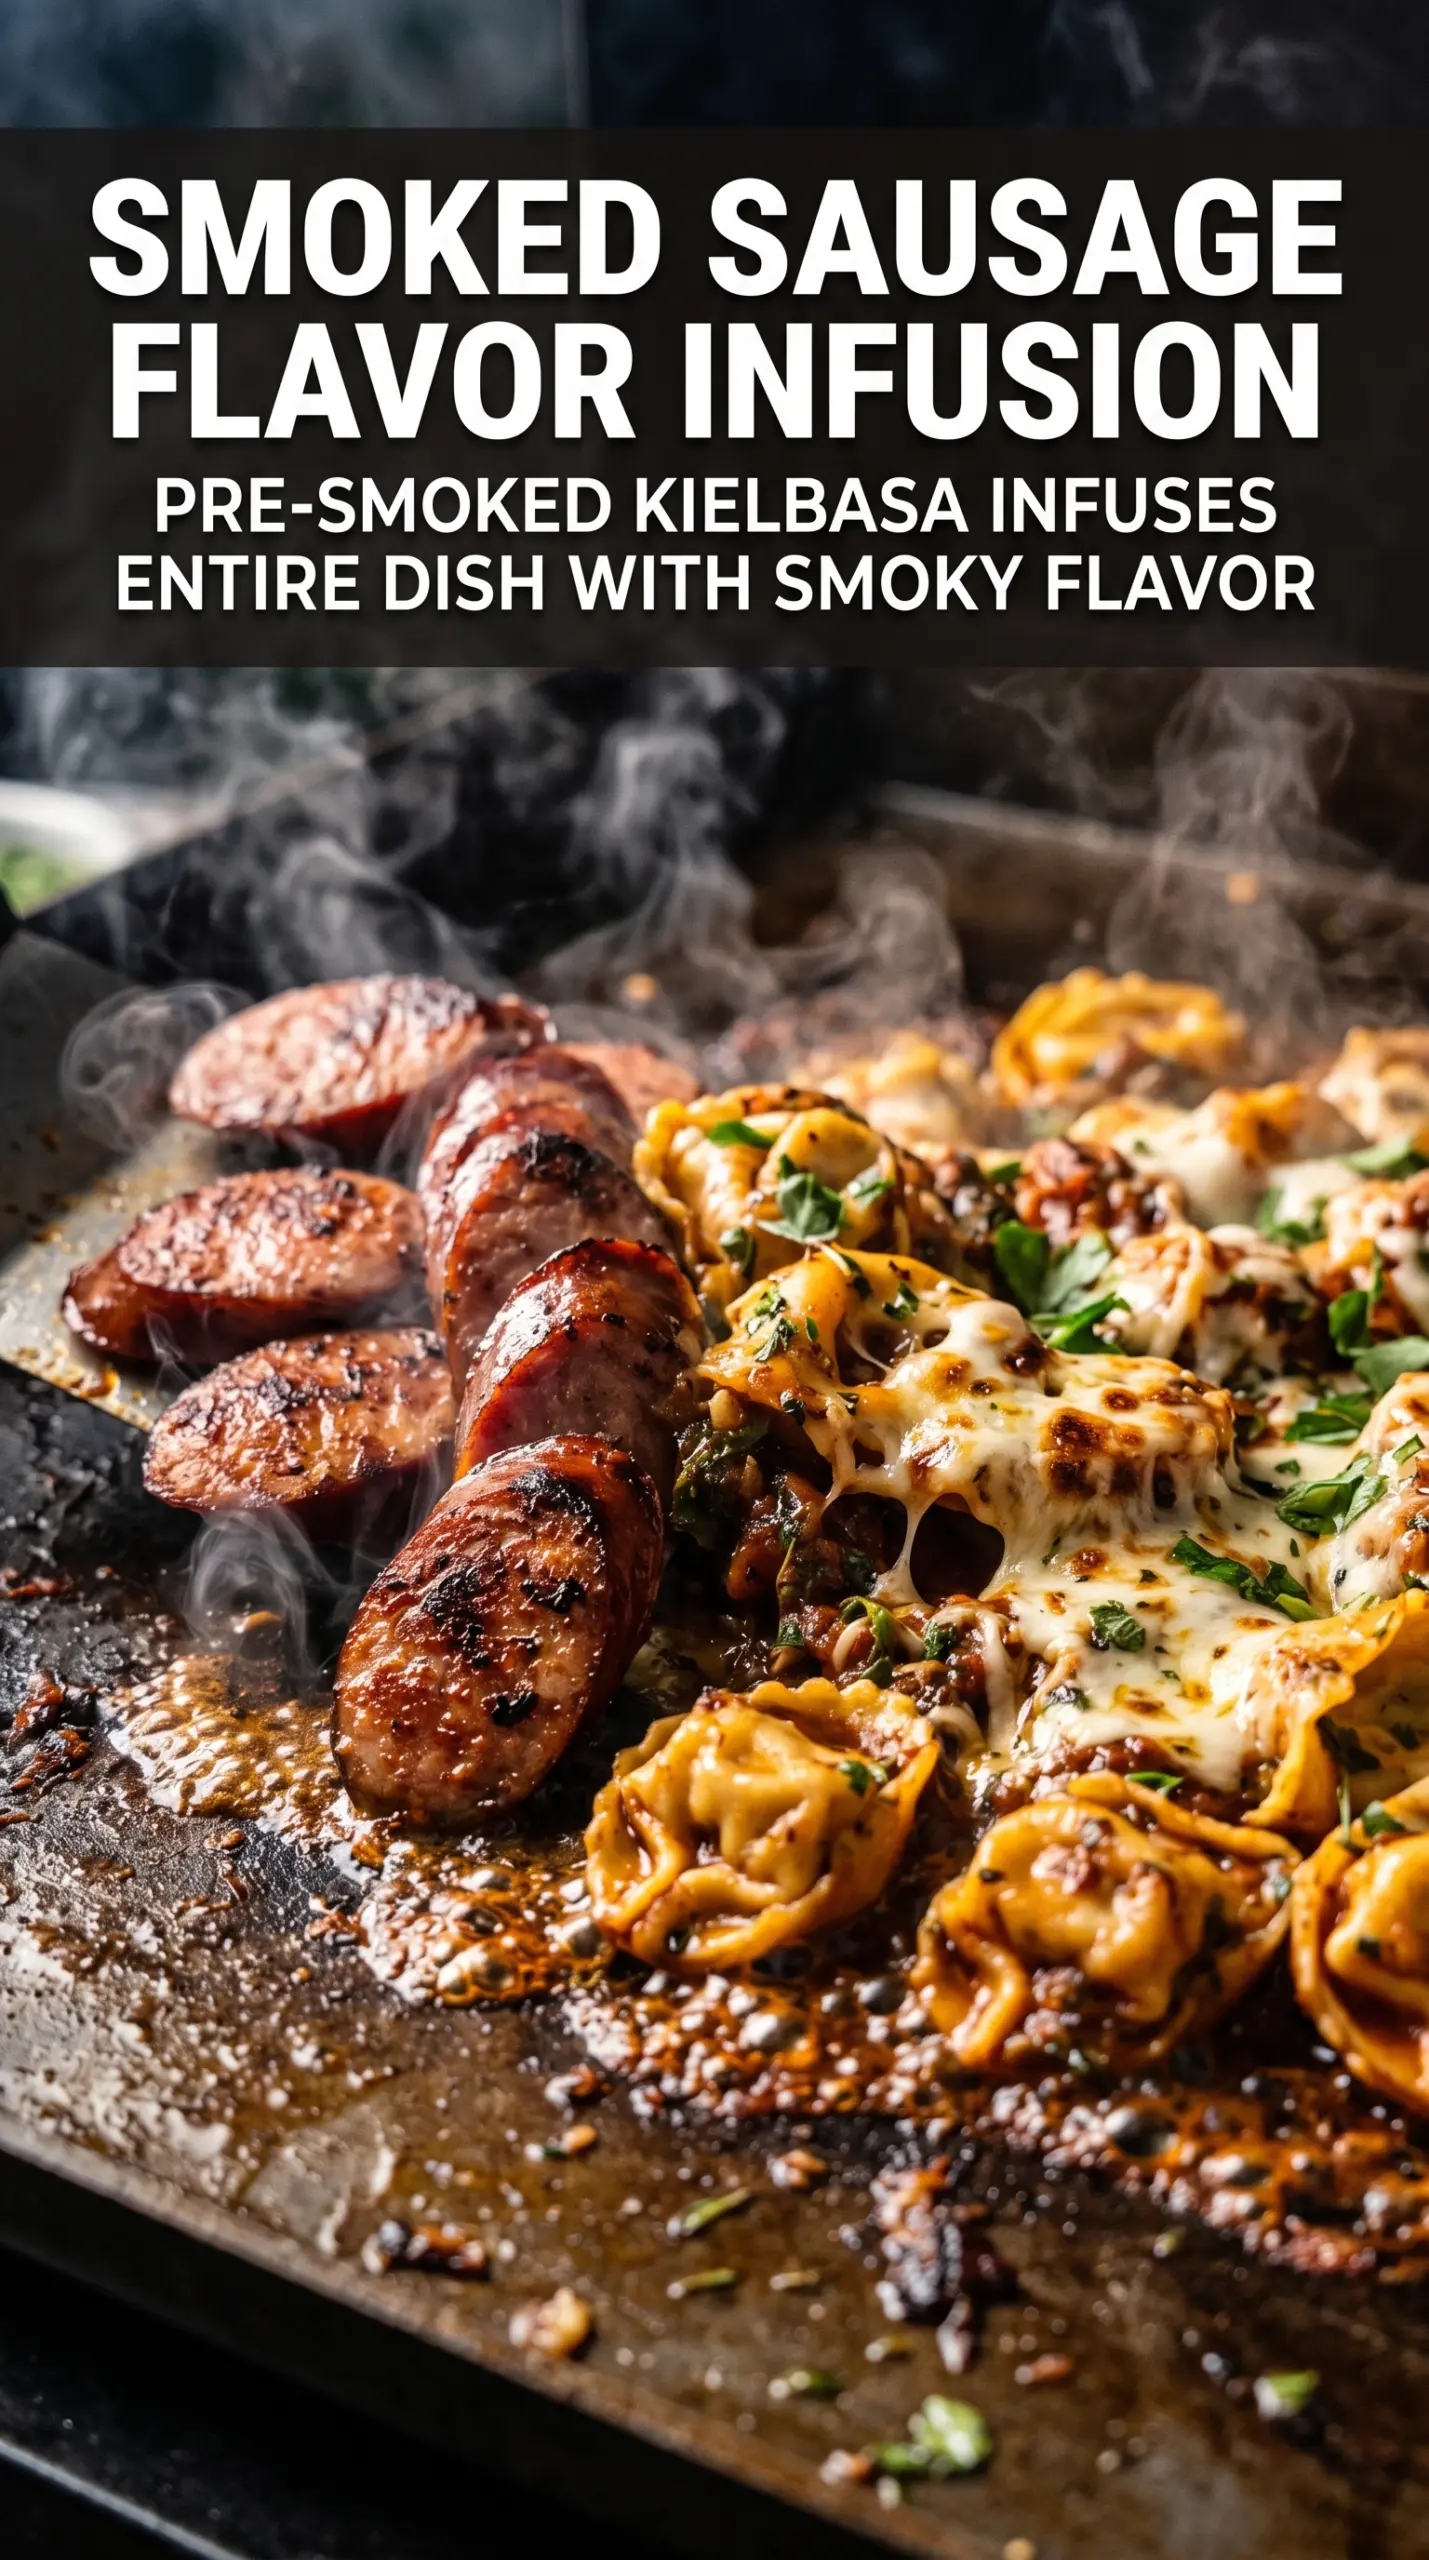
Sliced kielbasa, golden tortellini, and softened peppers come together fast on a hot Blackstone, and the payoff is all about contrast: crispy sausage edges, tender pasta, sweet onions, and tomatoes that burst into a light pan sauce as they heat. It eats like a full dinner, but it moves with the speed of a griddle meal.
What makes this version work is the order. The kielbasa needs direct contact with the griddle so it can brown instead of steam, and the vegetables go in next so they soften enough to mingle with the pasta without turning mushy. The tortellini is already cooked before it hits the griddle, which keeps it intact and lets the outside pick up a little char without falling apart.
Below, I’ve included the timing that keeps the pasta from turning gummy, plus a few ways to adjust this if you want it milder, cheesier, or built for leftovers.
The kielbasa got these perfect crisp edges and the tortellini stayed tender instead of turning to mush. I loved how the tomatoes broke down just enough to coat everything without making it soupy.
Save this Blackstone Grilled Kielbasa and Tortellini for the nights when you want crispy sausage, charred pasta, and one-pan dinner speed.
The Trick Is Browning the Kielbasa Before the Pasta Hits the Griddle
Kielbasa brings its own fat and seasoning, which is exactly why it belongs on a hot griddle first. If you add the tortellini too early, the pan cools down and the sausage starts to steam instead of caramelize. You want those browned edges because they season the whole dish as you toss everything together.
The other place people lose texture is crowding. This dish tastes best when the sausage has enough room to touch the metal and the vegetables can soften without collapsing. A wide griddle helps, but even on a smaller one, spreading the ingredients out in stages keeps the pasta from getting slick and heavy.
- Kielbasa — Use a fully cooked kielbasa or smoked sausage so you’re really building color and flavor, not trying to cook raw meat through. Pre-sliced rounds brown faster and give more crisp edges than thick chunks.
- Cheese tortellini — Fresh or refrigerated tortellini gives the best texture here. Cook it just until tender before it hits the griddle, because overcooked pasta turns soft fast once it gets tossed with the vegetables and sausage.
- Cherry tomatoes — These break down just enough to glaze the dish without making it watery. If yours are large, halving them is enough; if they’re tiny and firm, give them an extra minute so they start to burst.
- Bell peppers and onion — They add sweetness and a little crunch. Dice them evenly so they soften at the same pace; big chunks stay raw while the smaller pieces disappear.
- Garlic and Italian seasoning — Add them late enough that they don’t scorch on the griddle. Garlic burns fast at high heat, so it should go in with the tortellini and tomatoes, not at the very beginning.
What Each Ingredient Is Actually Doing When Kielbasa Is Browned
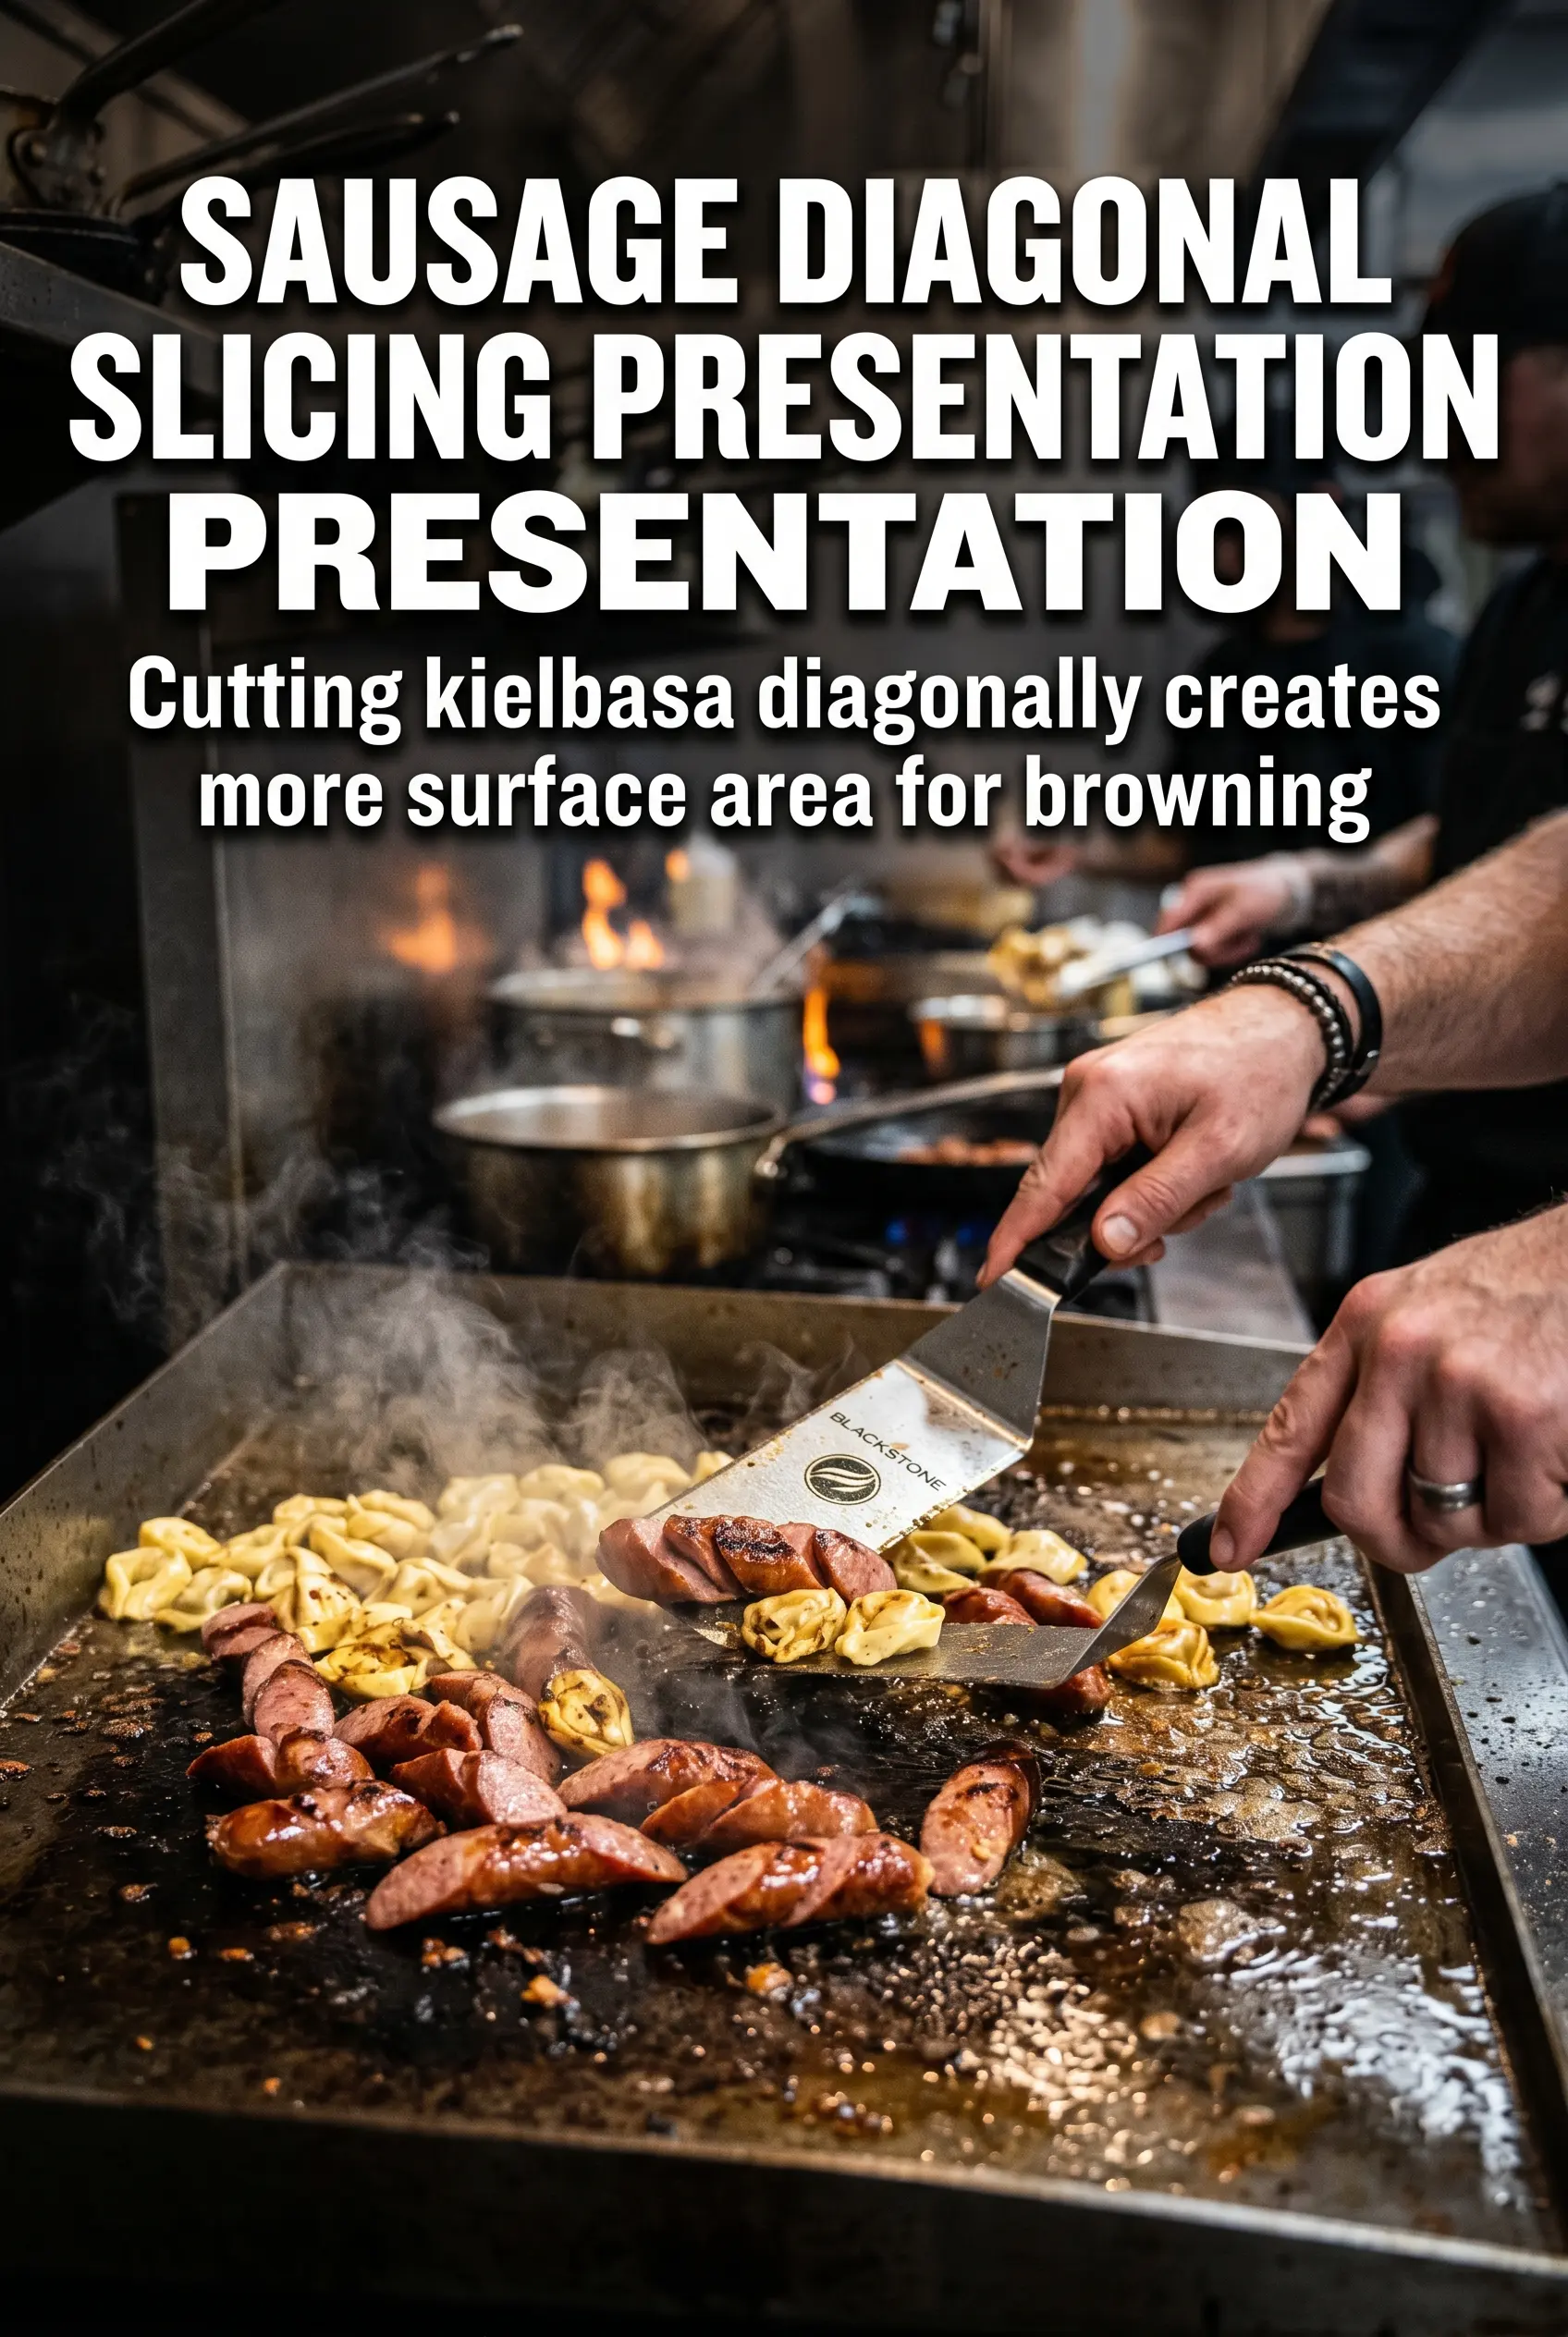
- Sliced kielbasa (1/4-inch thickness) — Thin slices brown faster and develop more crust. Very thick slices stay raw in the center.
- High heat griddle or cast iron — High heat creates the brown crust that develops flavor. Medium heat just cooks without browning.
- Minimal oil (the kielbasa has its own fat) — Kielbasa renders fat as it cooks. You don’t need much added oil, just enough to prevent sticking.
- No moving it around (let it sit) — The kielbasa needs time to develop a crust. Constant stirring prevents browning.
- Brown on both sides until caramelized — Flip once the first side is golden. Each side should develop a flavorful crust.
- Rendered fat left in the pan — This flavorful fat seasons whatever comes next on the griddle. Don’t discard it.
- Kielbasa cooled slightly before tossing with pasta — Burning hot kielbasa can make the pasta soft. Let it cool for a minute while still hot, not cold.
- Tossed with the pasta while still warm — The warmth of the kielbasa helps the pasta absorb the fat and flavor. Cold kielbasa doesn’t distribute as well.
What the Griddle Should Look and Sound Like at Every Stage
Getting the Sausage Browned
Heat the Blackstone to medium-high and add the oil, then lay the kielbasa slices down in a single layer. You want an active sizzle the moment they hit the surface. Leave them alone long enough for the first side to develop a deep brown crust before you flip; if they release too easily and look pale, the griddle isn’t hot enough yet.
Softening the Peppers and Onions
Once the sausage is browned, move it aside and add the peppers and onions. They should pick up a little color at the edges while turning glossy and softened in the center. If they start to char before they soften, the heat is too high or the pieces are cut too small. Give them a minute or two on the cooler part of the griddle if needed.
Bringing the Tortellini Together
Add the cooked tortellini, tomatoes, garlic, and Italian seasoning, then toss everything constantly so the garlic doesn’t burn. The tomatoes should begin to slump and release juice, coating the pasta and sausage with a light sheen. Cook just until the tortellini is heated through and the outside gets a few crisp spots. That little bit of browning is what keeps the dish from tasting boiled.
Finishing With Cheese and Herbs
Season with salt and pepper after the pasta is hot, then shower it with Parmesan and fresh basil. Parmesan should melt onto the warm pasta, not sit in dry clumps, so add it right before serving. Basil goes on last for freshness; if you cook it too long, it turns dark and loses the bright finish that makes the dish pop.
Ways to Tweak This Without Losing the Griddle Magic
Make It Spicier With Hot Kielbasa
Use a hot or peppered kielbasa if you want more heat without changing the method. The spice runs through the whole dish because the sausage fat coats the tortellini as it cooks. Skip extra red pepper flakes at first, then taste after the Parmesan goes on.
Gluten-Free Version
Use gluten-free cheese tortellini if you can find it, and check the kielbasa label for any fillers or binders that contain gluten. The cooking method stays the same, but gluten-free pasta can go soft faster, so pull it off the heat as soon as it’s warmed through and lightly crisped.
Swap in Ravioli or Cheese-Filled Gnocchi
Ravioli works if that’s what you have, and cheese-filled gnocchi gives a slightly denser bite. Both need a gentler toss than tortellini because they break easier on a hot surface. Keep the vegetables a little more crisp so the softer pasta still has some structure next to it.
Dairy-Light Finish
Leave off the Parmesan or use a small amount of dairy-free grated topping if you want to keep it lighter. The dish still works because the browned kielbasa and tomatoes carry the flavor, but you lose some of the salty finish that rounds everything out.
Storage and Reheating
- Refrigerator: Store leftovers in an airtight container for up to 3 days. The tortellini softens a little as it sits, but the flavor holds up well.
- Freezer: This isn’t my first choice for freezing because the pasta texture changes after thawing. If you do freeze it, cool it completely and pack it tightly; expect softer tortellini when reheated.
- Reheating: Warm it in a skillet over medium-low heat with a splash of water or olive oil. Don’t blast it in the microwave for too long or the tortellini turns rubbery while the sausage dries out.
Questions I Get Asked About This Recipe
Blackstone Grilled Kielbasa and Tortellini
Ingredients
Equipment
Method
- Heat a Blackstone griddle to medium-high and add the olive oil, letting it shimmer before adding the meat.
- Cook the kielbasa slices for 4-5 minutes per side until browned and crispy, watching for visible char marks.
- Add the diced bell peppers and onion to the griddle and cook for 5-6 minutes until softened and lightly browned.
- Add the cooked cheese tortellini, halved cherry tomatoes, minced garlic, and Italian seasoning, then toss everything together until evenly coated.
- Cook for 3-4 minutes until heated through and slightly crispy, stirring so the tortellini can toast on the hot surface.
- Season with salt and pepper to taste, then top with grated Parmesan cheese and fresh basil just before serving.