Blackstone smashed potatoes hit that sweet spot between creamy in the middle and shatter-crisp at the edges. The griddle gives you more surface contact than a skillet ever could, which means more browned potato, more texture, and more of that salty, buttery crunch people pick off the tray before dinner even starts.
The trick is to boil the potatoes just until fork-tender, then let them dry off a bit before they ever touch the griddle. That little pause keeps them from steaming when you smash them, and steaming is the fastest way to lose the crisp edges you came for. Butter and oil work together here too: the oil raises the heat tolerance, while the butter brings the rich, toasted flavor that makes these taste like more than plain potatoes.
Below you’ll find the exact timing that keeps the centers creamy without turning the bottoms soggy, plus a few ways to change the toppings depending on what you’ve got on hand.
The potatoes got crispy on both sides without falling apart, and the garlic in the butter made the whole griddle smell incredible. I topped them with sour cream and chives, and they disappeared fast.
Love these ultra-crispy Blackstone smashed potatoes? Save them for the next cookout when you want a golden, buttery side with a creamy center.
The Part That Makes These Crisp Instead of Soft
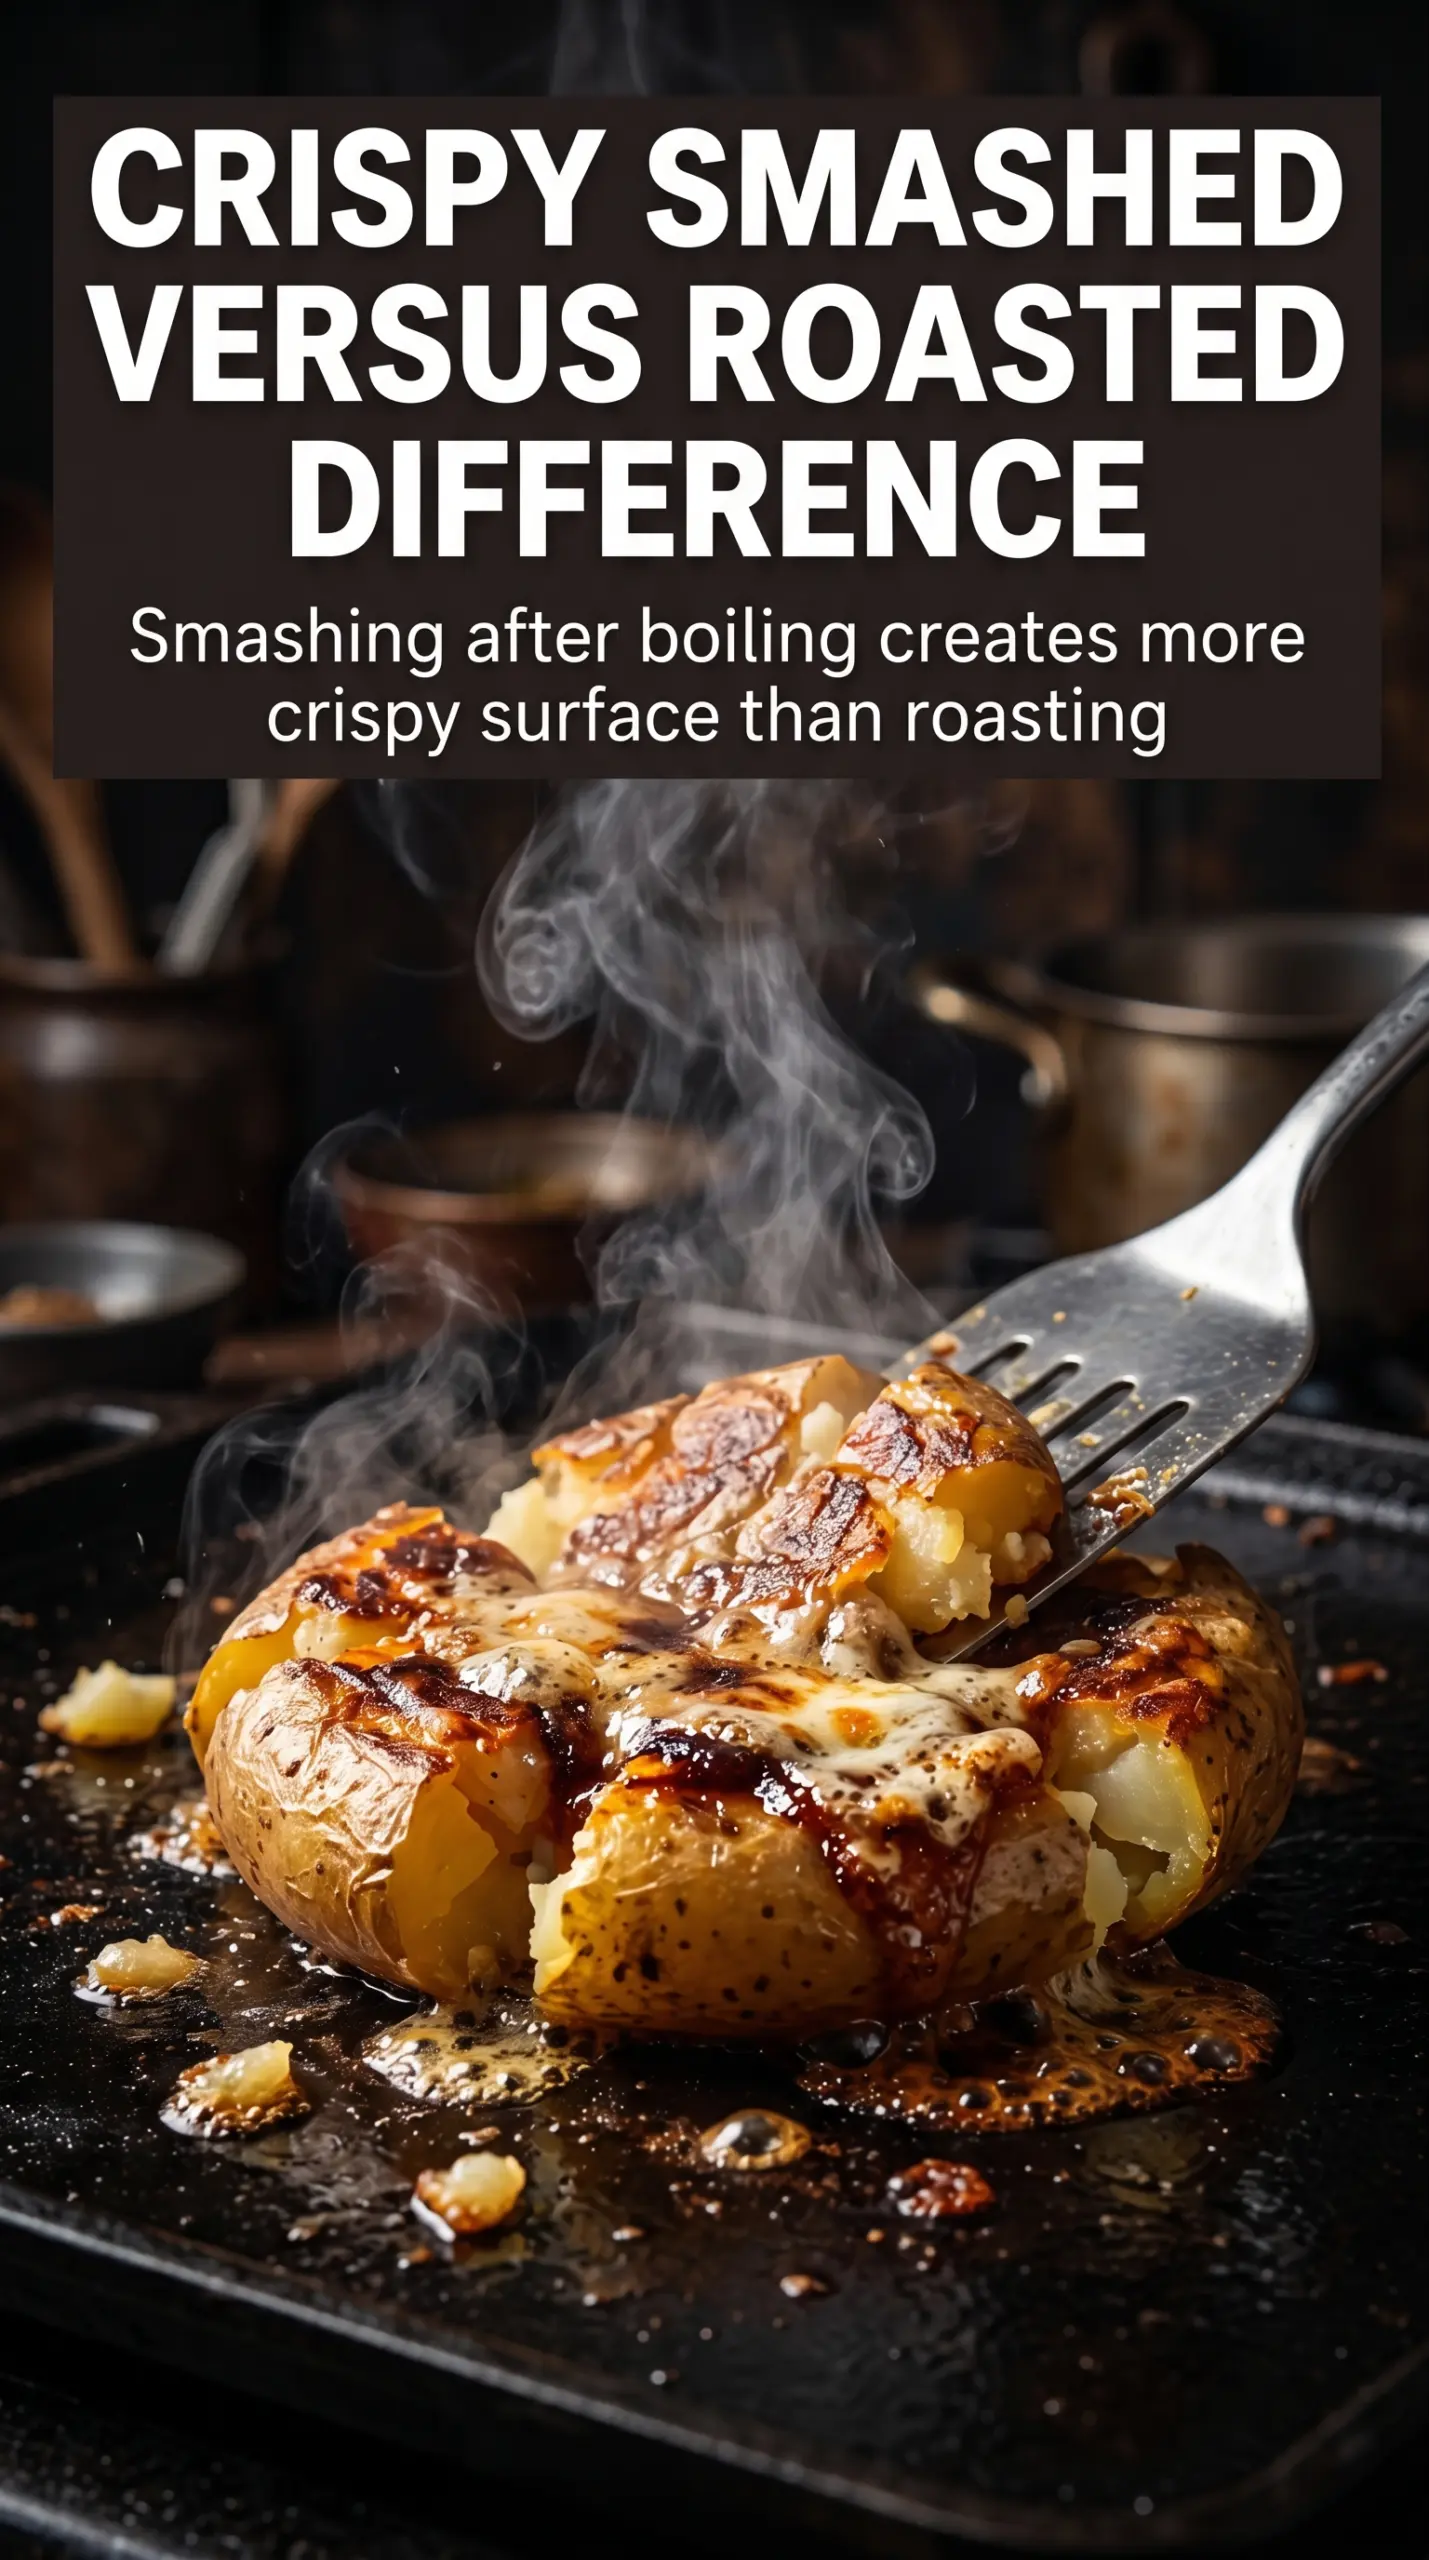
The biggest mistake with smashed potatoes is crowding them with too much moisture still trapped inside. If the potatoes go onto the griddle steaming hot and wet, the outside softens before it has time to brown, and you end up with flat potatoes instead of crisp ones. Letting them drain well after boiling and then rest just long enough to stop steaming is what protects that crust.
Smashing them after they’ve cooled for a minute gives you uneven edges, and those jagged edges are the gold here. The broken surfaces catch the oil, butter, and seasoning, which is why the texture tastes deeper than a smooth potato round. Keep the griddle at medium-high, not screaming hot, or the garlic will burn before the potatoes finish crisping.
- Baby potatoes — Waxy baby potatoes hold their shape after boiling and smash into tender rounds without turning gluey. Yukon golds work well too; russets fall apart too easily for this style.
- Olive oil — This gives the potatoes the heat they need to crisp without scorching. You can use avocado oil if that’s what you keep around, but don’t skip the fat.
- Butter — Butter brings the browned, savory finish that makes these taste loaded even before the toppings go on. If you use only butter, it can brown too fast, so keeping oil in the mix helps.
- Garlic — Minced garlic cooks fast on a griddle, so it needs to go in around the potatoes rather than under them. If it hits direct high heat too early, it burns and turns bitter.
- Sour cream, cheddar, chives, and bacon — These are the finishing layer, not the main event. Use sharp cheddar if you want the flavor to stand up to the potatoes, and add the toppings after the potatoes are crisp so they stay clean and bright instead of melting into a mess.
What Each Ingredient Is Actually Doing to Create Crispness
- Oil temperature (high enough for crisping) — The oil needs to be hot (around 350°F or hotter) to fry things crispy. Too cool and they absorb oil instead of crisping.
- Properly prepared ingredients (dried well) — Moisture on the surface of ingredients makes them soggy. Pat everything dry before frying.
- Batter or coating (applied just before frying) — Any batter should be applied right before cooking. Letting it sit before frying makes the coating soggy.
- Oil that’s hot enough to sizzle immediately — When ingredients hit the oil, they should sizzle loudly. Quiet sizzling means the oil isn’t hot enough.
- Cooking time just until golden (not dark) — Frying too long burns the outside while the inside is still raw. Golden brown is the target.
- Draining immediately after frying — Paper towels remove excess oil while the item is still hot. Don’t let it cool in the oil.
- Serving immediately while still warm — Crispy items start to soften as they cool. Serve right away to keep the crispness.
- Optional: finishing salt on the crispy item — A sprinkle of fleur de sel right after frying enhances the crispness and flavor.
How to Get the Center Creamy and the Edges Deeply Browned
Boil Until Just Tender
Cover the baby potatoes with salted water and cook them until a fork slides in with very little resistance, usually 15 to 20 minutes. If they’re undercooked, they won’t smash cleanly and the centers stay chalky. If they’re overcooked, they’ll split before they ever hit the griddle and you’ll lose those nice round shapes.
Let Them Dry Before the Smash
Drain the potatoes well, then let them sit for a few minutes so the surface moisture disappears. That dry surface is what helps the oil and butter make contact with the potato instead of chasing water around the pan. This step is small, but it’s the difference between a crisp shell and a soggy underside.
Build the Crust on the Griddle
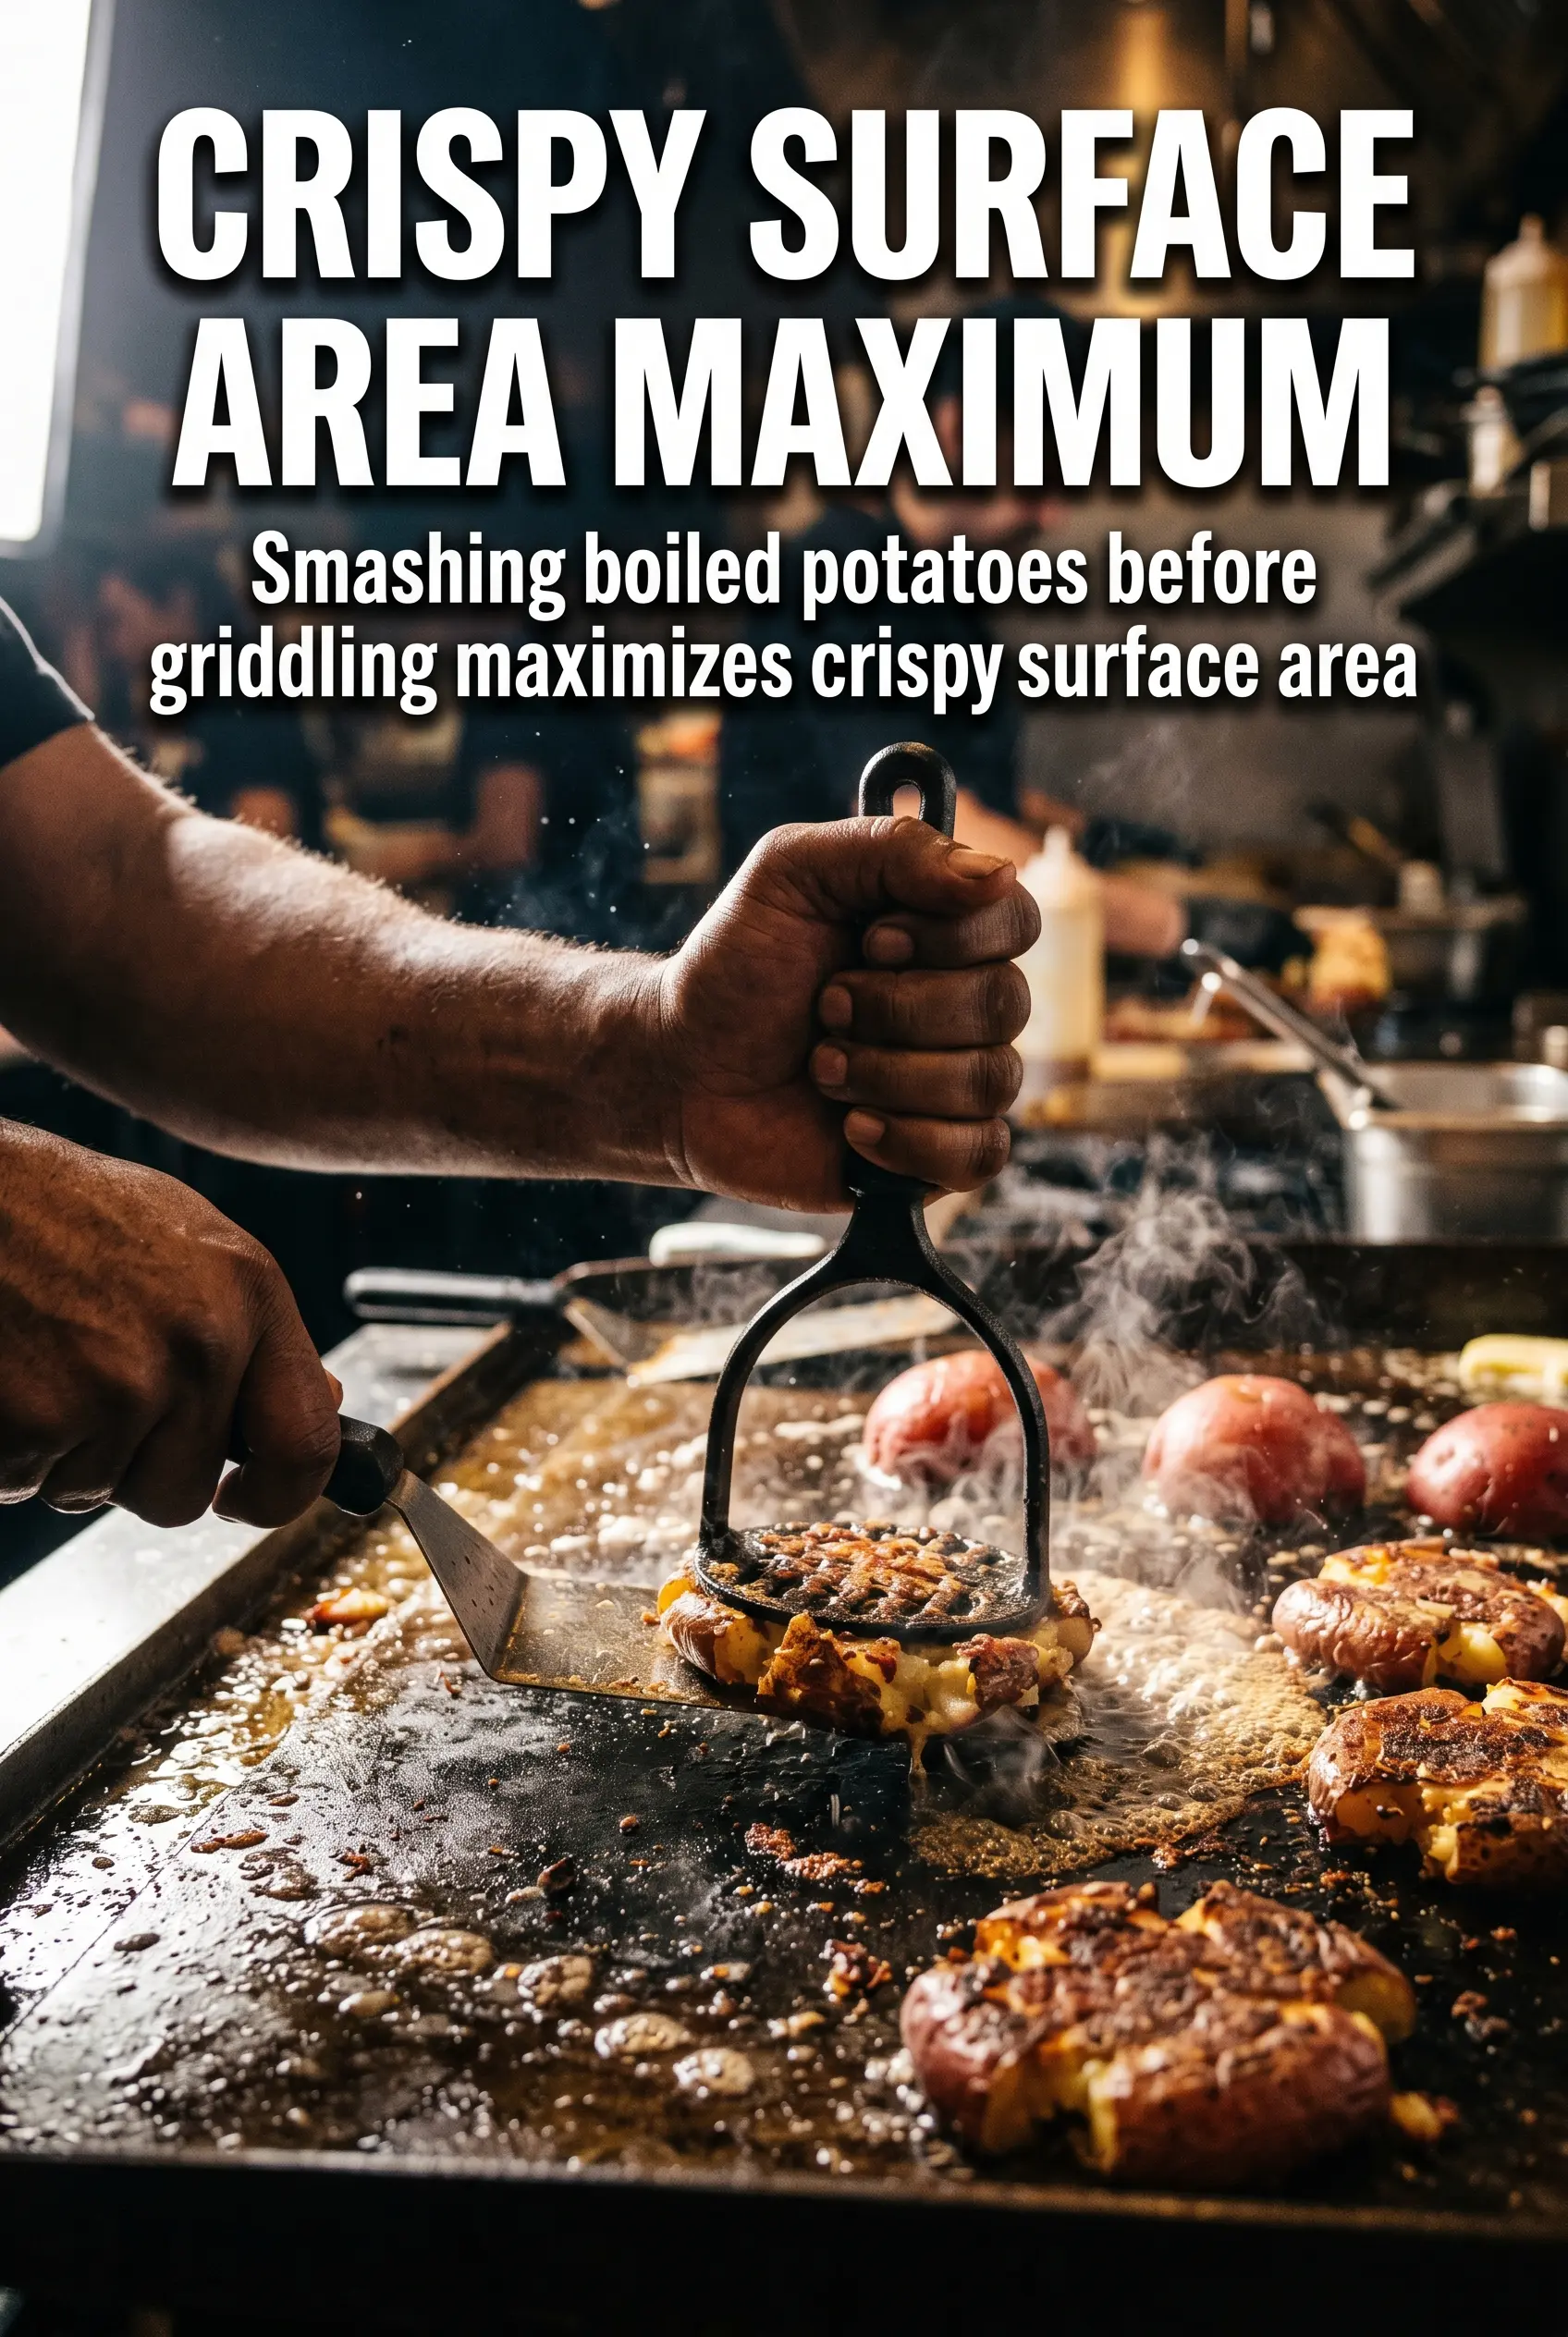
Heat the Blackstone to medium-high, then add the oil and butter and let them spread across the surface. Lay the potatoes down and press each one firmly with a heavy spatula or masher until it flattens and cracks at the edges. The first side needs to sit untouched long enough to form a real crust; if you move them too early, the potato sticks and tears instead of releasing cleanly.
Flip, Finish, and Top While Hot
Once the bottoms are deeply golden, flip the potatoes and cook the second side until it crisps too. Season them while they’re still hot so the salt sticks and the butter carries the flavor across the surface. Add the sour cream, cheddar, chives, and bacon right at the end so the toppings stay distinct and the potatoes keep their crunch.
Ways to Change These Without Losing the Crisp
Dairy-Free Skillet-Style Version
Swap the butter for more olive oil or avocado oil and skip the sour cream and cheese, or use dairy-free toppings if that’s your lane. You’ll lose a little of the rich, browned flavor that butter brings, but the potatoes will still crisp up beautifully because the texture comes from the griddle, not the dairy.
Loaded Potato Bar Version
Keep the potatoes plain and set out the toppings separately so everyone builds their own. This works best for parties because the potatoes stay crisp longer, and you avoid the steam that happens when hot toppings sit on top too early.
No-Bacon Vegetarian Finish
Leave off the bacon and add extra chives or a spoonful of finely chopped scallions for bite. If you want a little smoky note without meat, smoked paprika on the potatoes before serving gives a similar savory edge without changing the crisp texture.
Make-Ahead Reheat Plan
You can boil and dry the potatoes a few hours ahead, then smash and crisp them just before serving. For leftovers, the potatoes reheat best back on the griddle or in a hot oven, where the surface can re-crisp; the microwave turns the edges soft and steals the whole point.
Storage and Reheating
- Refrigerator: Store the cooked potatoes in an airtight container for up to 4 days. The crust softens a bit in the fridge, but it comes back with heat.
- Freezer: They freeze, but the texture isn’t as good after thawing because the potatoes release moisture. If you freeze them, lay them in a single layer first, then reheat straight from frozen.
- Reheating: Use a hot griddle, skillet, or 425°F oven until the edges crisp again. Don’t reheat covered, or the trapped steam will undo the crust you worked for.
Questions I Get Asked About This Recipe
Blackstone Smashed Potatoes
Ingredients
Equipment
Method
- Boil baby potatoes until fork-tender, about 15-20 minutes, then drain and let cool slightly.
- Heat Blackstone griddle to medium-high and add olive oil and butter.
- Place potatoes on the griddle and smash flat with a heavy spatula or masher, leaving rounded edges.
- Add minced garlic around the potatoes and cook for 6-7 minutes until the bottoms are crispy and golden.
- Flip the potatoes and cook another 5-6 minutes until both sides are crispy.
- Season with salt and pepper, then top with sour cream, cheddar, chives, and bacon bits.