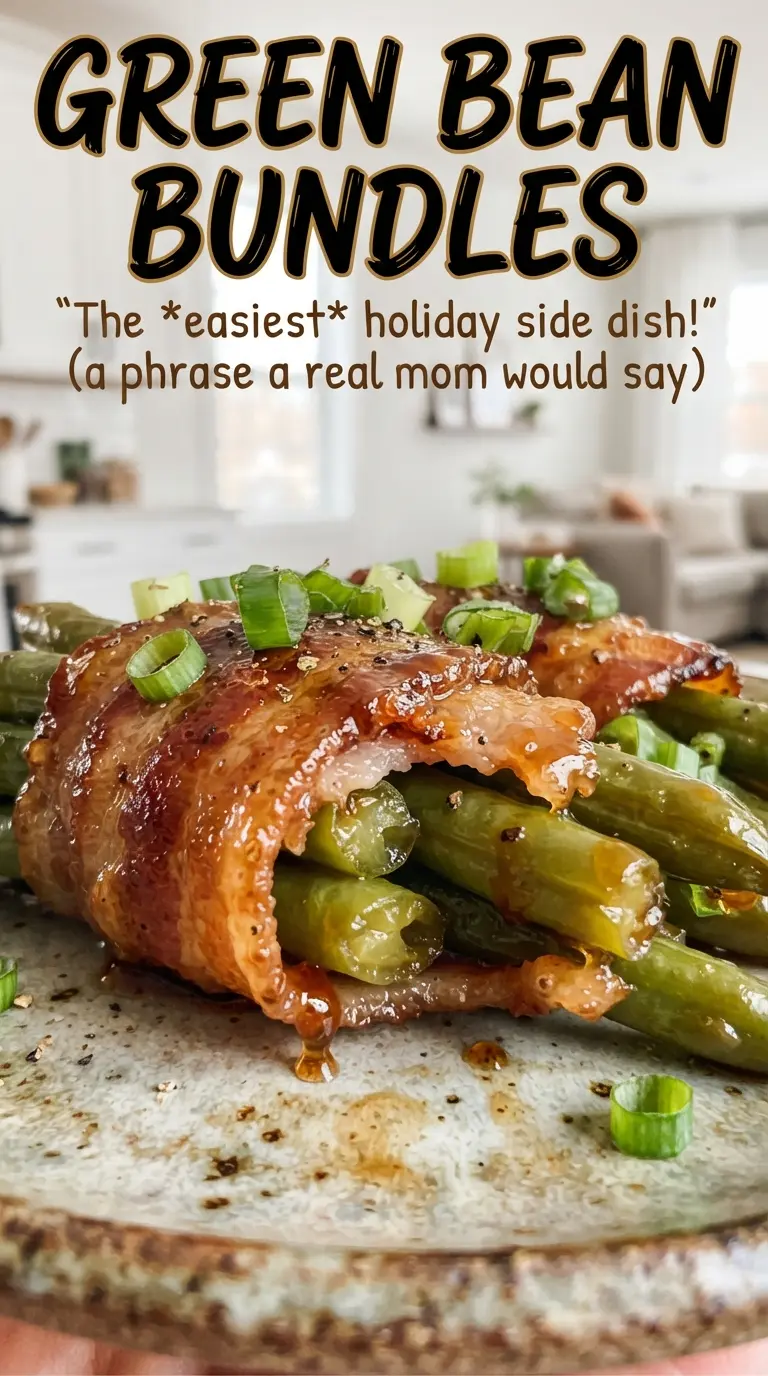
Bacon-wrapped green bean bundles land on the table with the kind of contrast that keeps people reaching for one more: crisp edges, tender beans, and a sticky glaze that clings to every bundle instead of sliding off the pan. The bacon finishes salty and browned while the beans stay bright, not soft and dull. That balance is what makes this side dish work at both weeknight dinners and holiday spreads.
The trick is in the blanching and the glaze. A quick dip in boiling water, followed by an ice bath, keeps the beans vivid and gives them enough head start to finish without turning limp. The brown sugar, butter, garlic, and soy sauce build a glaze that bubbles into the bacon as it bakes, which means you get a glossy coating instead of a sugary puddle at the bottom of the dish.
Below you’ll find the little details that matter most: how many beans to tuck into each bundle, why seam-side down keeps everything in place, and what to look for when the bacon is crisp enough to call it done.
The bacon got crisp all the way around and the glaze turned sticky instead of runny. I served these with roast chicken and the whole pan disappeared.
Love these bacon-wrapped green bean bundles? Save them for the next time you need a glossy, make-ahead side with crisp bacon and garlicky brown sugar glaze.
The Reason the Beans Stay Bright Instead of Turning Mushy
Most green bean bundle recipes fail because they skip the blanching step or leave the beans in the oven long enough to cook twice over. These beans only need a short boil, then an immediate ice bath, because they finish in the oven under bacon and glaze. That head start keeps the color vivid and the texture crisp-tender instead of soft and stringy.
The other thing that matters is bundle size. Too many beans in one bunch and the middle stays undercooked while the outside dries out. Eight to ten beans gives you a neat bundle that cooks evenly and still looks tidy in the pan.
- Blanching — This is what keeps the beans from tasting flat and overcooked. Three minutes is enough; any longer and they start losing their snap before they ever meet the oven.
- Ice water — It stops the cooking fast. Drain them well afterward so the bacon can wrap cleanly instead of sliding around on wet beans.
- Seam-side down — This helps the bacon stay put as it tightens in the oven. If the seam is tucked underneath, the bundle holds its shape better while baking.
What the Butter, Brown Sugar, and Soy Sauce Are Doing Here
- Fresh green beans — Use fresh, trimmed beans for the best bite. Frozen beans turn too soft for this recipe and won’t hold up once the bacon and glaze go on.
- Bacon — Thin-cut bacon is the safest choice here because it has time to crisp in the same window the beans finish. Thick-cut bacon can stay chewy before the glaze reduces enough.
- Brown sugar — This is what gives the glaze its sticky finish and helps it cling to the bundles. Light or dark brown sugar both work; dark sugar brings a deeper molasses note.
- Soy sauce — It keeps the glaze from tasting one-note sweet. If you need a gluten-free option, use tamari in the same amount and the glaze behaves the same way.
- Garlic — Fresh minced garlic gives the glaze its sharpness. Garlic powder won’t give the same punch, and it can taste dusty in a buttery glaze like this.
Building the Bundles and Baking Until the Bacon Tightens
Blanch the Beans First
Bring a pot of water to a boil, add the trimmed green beans, and cook them for 3 minutes. They should turn bright green and still feel firm when you bite one. Move them straight into ice water so they stop cooking, then drain them well. If they go into the baking dish wet, the glaze thins out and the bacon steams instead of browning.
Wrap and Arrange With the Seam Down
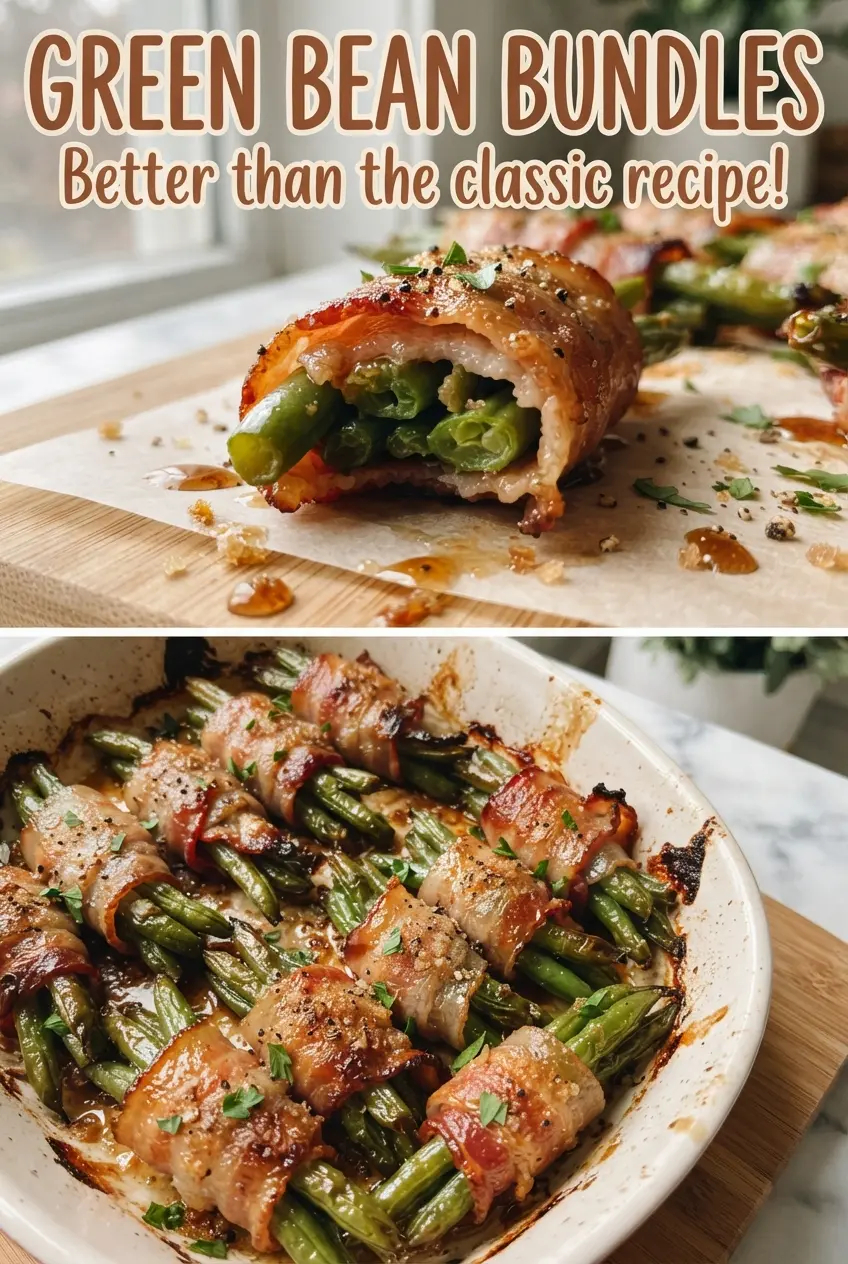
Gather 8 to 10 beans into each bundle and wrap them with half a slice of bacon. Set each bundle seam-side down in the baking dish so it stays closed while the bacon cooks. Leave a little space between bundles so the heat can circulate and the glaze can bubble around the edges. Crowding the pan traps steam and keeps the bacon from crisping.
Glaze, Bake, and Baste at the End
Whisk the melted butter, brown sugar, garlic, soy sauce, and pepper until the sugar starts to dissolve. Pour it evenly over the bundles, then bake until the bacon looks crisp and the glaze is bubbling thickly around the edges, about 25 to 30 minutes. If the bacon is browned but not quite crisp, give it a few more minutes rather than pulling the pan early. Spoon the pan glaze over the top before serving so every bundle gets that sticky finish.
How to Adapt These Green Bean Bundles Without Losing the Point
Gluten-Free Version
Swap the soy sauce for tamari or coconut aminos. Tamari keeps the glaze closest to the original in both saltiness and depth, while coconut aminos taste a little sweeter and softer. The texture of the glaze stays the same.
Thicker Bacon, Richer Finish
Thick-cut bacon works if that’s what you have, but it needs a few extra minutes and sometimes a hotter spot in the oven to crisp fully. The bundles will taste meatier and a little less delicate, and you may need to drain off a bit more rendered fat before serving.
Less Sweet Glaze
Cut the brown sugar back by a tablespoon or two if you want the bacon and garlic to come through more clearly. You’ll lose some stickiness, so the glaze won’t cling quite as heavily, but the bundles will taste less dessert-like and more savory.
Make-Ahead Shortcut
Blanch the beans and wrap the bundles up to a day ahead, then cover and refrigerate them. Hold the glaze until just before baking so the bacon doesn’t start softening in the pan. This keeps the texture cleaner and gives you better browning when it’s time to bake.
Storage and Reheating
- Refrigerator: Store leftovers in an airtight container for up to 3 days. The beans stay tasty, but the bacon softens as it sits.
- Freezer: I don’t recommend freezing these. The beans lose their texture and the glaze turns watery after thawing.
- Reheating: Warm them in a 350F oven on a baking sheet until heated through and the bacon firms up again. Microwaving makes the bacon limp and can split the glaze.
Questions I Get Asked About This Recipe
Green Bean Bundles
Ingredients
Equipment
Method
- Preheat oven to 400F. Blanch the trimmed green beans in boiling water for 3 minutes.
- Plunge the green beans into ice water after blanching, then drain well. This locks in bright green color and tender-crisp texture.
- Gather 8-10 green beans into a bundle and wrap with a half slice of bacon, keeping the seam-side down in a baking dish. Repeat with the remaining green beans and bacon.
- Whisk the melted butter, brown sugar, minced garlic, soy sauce, and black pepper in a bowl until smooth. The mixture should look glossy and evenly combined.
- Pour the glaze evenly over the bacon-wrapped bundles. Make sure each bundle gets a coating.
- Bake for 25-30 minutes at 400F until the bacon is crisp and the glaze is bubbly. Look for caramelized edges on the bacon.
- Spoon the pan glaze over the bundles and serve warm. This adds a shiny finish right before eating.