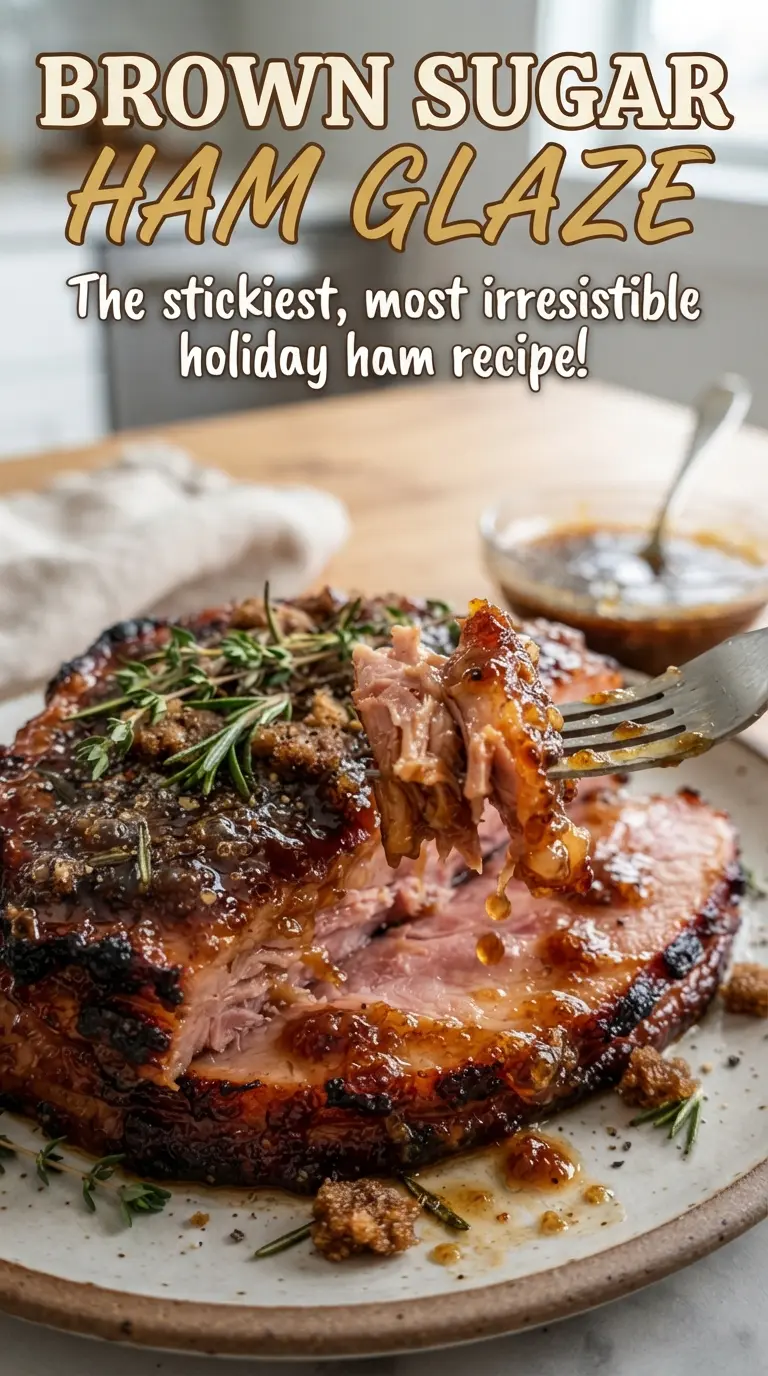
Brown sugar ham glaze gives a holiday ham that sticky, burnished finish people keep sneaking from the carving board. It turns glossy and spoonable in just a few minutes, with enough body to cling to the ridges of a scored ham instead of sliding straight down into the pan. The flavor lands in that sweet-savory lane that makes a ham taste finished, not just heated through.
This version works because the glaze builds from ingredients that each do a job. Brown sugar and honey bring shine and caramel depth, while Dijon keeps the sweetness from going flat. A little vinegar sharpens everything, and the juice loosens the mixture just enough for brushing without making it watery. The spices stay in the background, which is exactly where they should be; you want warmth, not a cookie flavor.
Below, I’ll show you how to keep the glaze thick without scorching it, which ingredient matters most if you’re out of one of the juices, and how to use the last few minutes of baking to get that lacquered finish without turning the sugars bitter.
I brushed this on during the last 30 minutes like you said, and it came out thick, shiny, and not grainy at all. The Dijon and pineapple juice gave it a little tang that kept the ham from tasting too sweet.
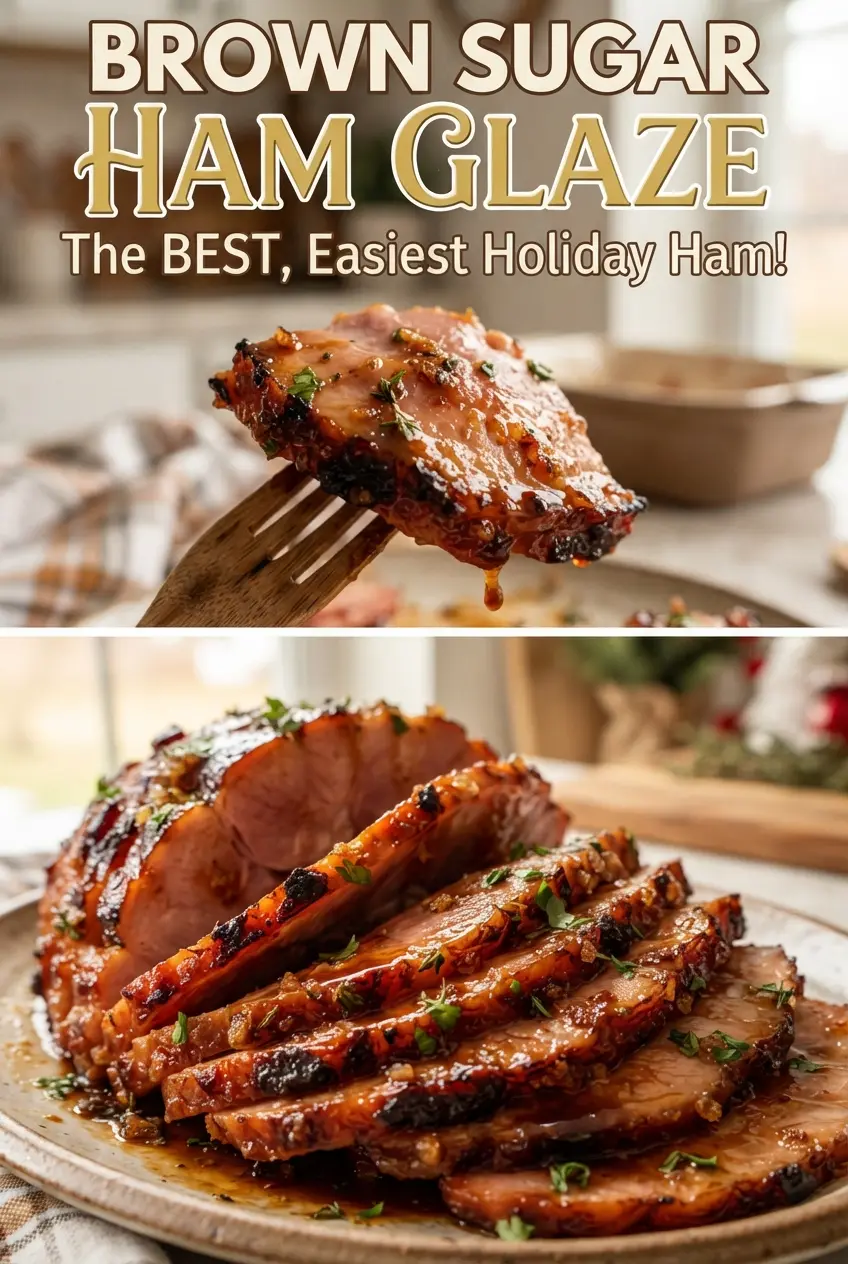
Brush on this glossy brown sugar ham glaze for a shiny, sweet-savory finish that clings beautifully to every slice.
The Secret to a Glaze That Clings Instead of Sliding Off
The mistake most people make with ham glaze is boiling it too hard or too long before it ever touches the meat. That dries out the sugar and turns the glaze sticky in the pan but thin on the ham. You want a short simmer, just until the sugar disappears and the mixture turns glossy enough to coat the back of a spoon.
The other piece that matters is timing. If you brush glaze on too early, the sugars darken before the ham is hot all the way through. The last 30 minutes is the sweet spot: the ham gets hot, the glaze sets into a lacquer, and the edges caramelize without tasting burnt.
- Brown sugar — This is the base of the glaze, and packed brown sugar gives the body and molasses depth that plain white sugar can’t match. Light or dark brown sugar both work; dark brown sugar makes the glaze deeper and slightly richer.
- Honey — Honey adds shine and helps the glaze cling. If you swap in maple syrup, the flavor gets rounder and less floral, which is fine, but the glaze will be a touch looser.
- Pineapple or orange juice — Either one supplies acidity and fruit brightness. Pineapple tastes a little punchier; orange is softer. If you only have water, the glaze still works, but it loses that lift.
- Dijon mustard — Dijon keeps the glaze from reading as candy. A grainy mustard also works, but the texture will look a little speckled and the flavor will be a bit sharper.
- Butter — Butter gives the glaze a smoother finish and helps it emulsify. Use real butter here; it rounds out the sauce in a way oil doesn’t.
- Apple cider vinegar — This is the balance point. Without it, the glaze can taste heavy and one-note. Don’t skip it unless you’re replacing it with another acid like a splash of lemon juice.
What Each Ingredient Is Actually Doing in This Recipe
- Primary ingredient (the star) — Quality matters most. Choose the best you can find.
- Cooking medium (oil, butter, or broth) — This carries flavors and prevents dryness.
- Seasonings (salt, pepper, spices, herbs) — Layer flavors so nothing overpowers. Build depth gradually.
- Aromatics (garlic, onion, herbs) — Cook with fat to bloom flavors. Become the foundation.
- Supporting ingredients — Complement the main ingredient without overpowering it.
- Sauce or liquid (if applicable) — Brings flavors together. Balance richness with acid.
- Acid (lemon, vinegar, wine, or other) — Brightens and prevents flat-tasting results.
- Final finish (garnish, glaze, or sauce) — Prevents one-dimensional taste and adds visual appeal.
How to Cook the Glaze So It Stays Glossy
Starting the Base
Combine everything in a small saucepan and set it over medium heat. Stir often at first so the butter melts and the brown sugar dissolves before it has a chance to catch on the bottom. The mixture will look grainy for a minute, then turn darker and smoother as the sugar melts. If you see dry sugar sticking around the edges, keep stirring and lower the heat a touch instead of cranking it up.
Letting It Bubble Just Enough
Once the glaze starts to simmer, keep it there for 3 to 4 minutes. You’re looking for small, steady bubbles and a slightly thicker texture, not a rolling boil. If it boils hard, the sugars can over-reduce and turn tacky once they cool. The glaze should still pour, but it should coat a spoon and leave a visible trail when you drag your finger through it.
Brushing the Ham in Layers
Brush the glaze over a fully cooked ham during the last 30 minutes of baking, then repeat every 10 minutes. Thin layers build a better finish than one heavy coat, and each round has time to set before the next one goes on. If the glaze starts to look too dark too fast, tent the ham loosely with foil for the final stretch. The goal is a deep amber sheen, not blackened edges.
Serving the Extra Warm Glaze
Spoon the remaining warm glaze over sliced ham at the table. It should still be fluid enough to drizzle, but thick enough to settle into the slices instead of running off the plate. If it firms up while it sits, warm it gently over low heat with a teaspoon of water or juice. Don’t microwave it hard; that can make the sugars seize and go grainy.
How to Adapt This Glaze When You’re Missing One Piece
Orange Juice for a Softer Finish
Orange juice makes the glaze a little rounder and less sharp than pineapple. It’s the better choice if you want the ham to taste classic and mellow instead of bright and tangy.
Maple Instead of Honey
Maple syrup works well here and keeps the glaze glossy, but the flavor shifts toward warm caramel instead of floral sweetness. Use the same amount, then simmer a minute less if the glaze looks like it’s tightening quickly.
A Dairy-Free Version
This glaze is naturally easy to make dairy-free if you swap the butter for a plant-based butter that melts cleanly. Use one with a neutral flavor; coconut oil will work in a pinch, but it changes the taste and can set firmer as it cools.
Making It Ahead for a Crowd
You can make the glaze a day or two ahead and refrigerate it. It thickens as it chills, so warm it gently before brushing it on the ham; once it loosens, it goes back to that smooth, paintable texture.
Storage and Reheating
- Refrigerator: Store leftovers in a sealed container for up to 5 days. It will thicken a lot as it cools.
- Freezer: Freeze for up to 2 months in a freezer-safe container. Thaw overnight in the fridge before reheating.
- Reheating: Warm gently on the stovetop over low heat with a splash of juice or water. Don’t rush it on high heat or the sugars can harden and turn grainy.
Questions I Get Asked About This Recipe
Brown Sugar Ham Glaze
Ingredients
Equipment
Method
- Add brown sugar, honey, pineapple or orange juice, Dijon mustard, butter, apple cider vinegar, ground cinnamon, and ground cloves to a saucepan. Stir to combine until the mixture looks evenly blended.
- Heat the saucepan over medium heat until the mixture reaches a simmer, stirring as it warms. Keep an eye out for small bubbles breaking at the surface.
- Simmer for 3-4 minutes, stirring frequently, until slightly thickened and glossy. The glaze should coat the back of a spoon and look amber and shiny (visual cue: glossy sheen).
- Brush the glaze over a fully cooked ham during the last 30 minutes of baking, every 10 minutes. Use a basting brush to work the glaze into the scored diamond pattern (visual cue: sticky glaze drips).
- Spoon the remaining warm glaze over sliced ham at the table. Serve while still warm so the glaze stays glossy (visual cue: thick amber coating).