Apple fritter bread bakes up with a tender crumb, pockets of cinnamon-sugar apples, and a glossy glaze that drips into every ridge on top. It tastes like the best part of a bakery fritter, only in sliceable loaf form, which is exactly why it disappears fast once it cools enough to cut.
The trick is layering instead of dumping everything into one batter. Tossing part of the apple mixture with cinnamon sugar first keeps the fruit seasoned all the way through, and alternating batter with apples helps the loaf stay evenly moist without turning dense. A gentle swirl at the end gives you those bakery-style ribbons without muddying the layers.
Below, you’ll find the small details that keep the loaf from sinking in the middle, plus the glaze ratio I use when I want it thick enough to stay on top instead of running straight off the sides.
The swirls stayed distinct and the apples baked up soft without making the loaf gummy. I let it cool just enough for the glaze to set on top, and every slice held together beautifully.
Apple fritter bread is worth saving for the thick glaze, cinnamon apple layers, and tender loaf crumb you can slice cleanly every time.
The Layering Trick That Keeps Apple Fritter Bread Tender
The biggest mistake with quick breads like this is overmixing once the flour goes in. That develops too much gluten and gives you a tight, bready loaf instead of the soft crumb you want. Here, the batter is thick enough to hold the apple layers in place, but it still needs to be mixed only until the dry streaks disappear.
Layering also matters more than people think. If all the apples sit on top, they weigh down the center and the loaf can bake unevenly. Spreading half the batter first, then building the apple and cinnamon-sugar layers, keeps the fruit suspended through the loaf so every slice gets a little of everything.
What Each Ingredient Is Actually Doing in This Loaf
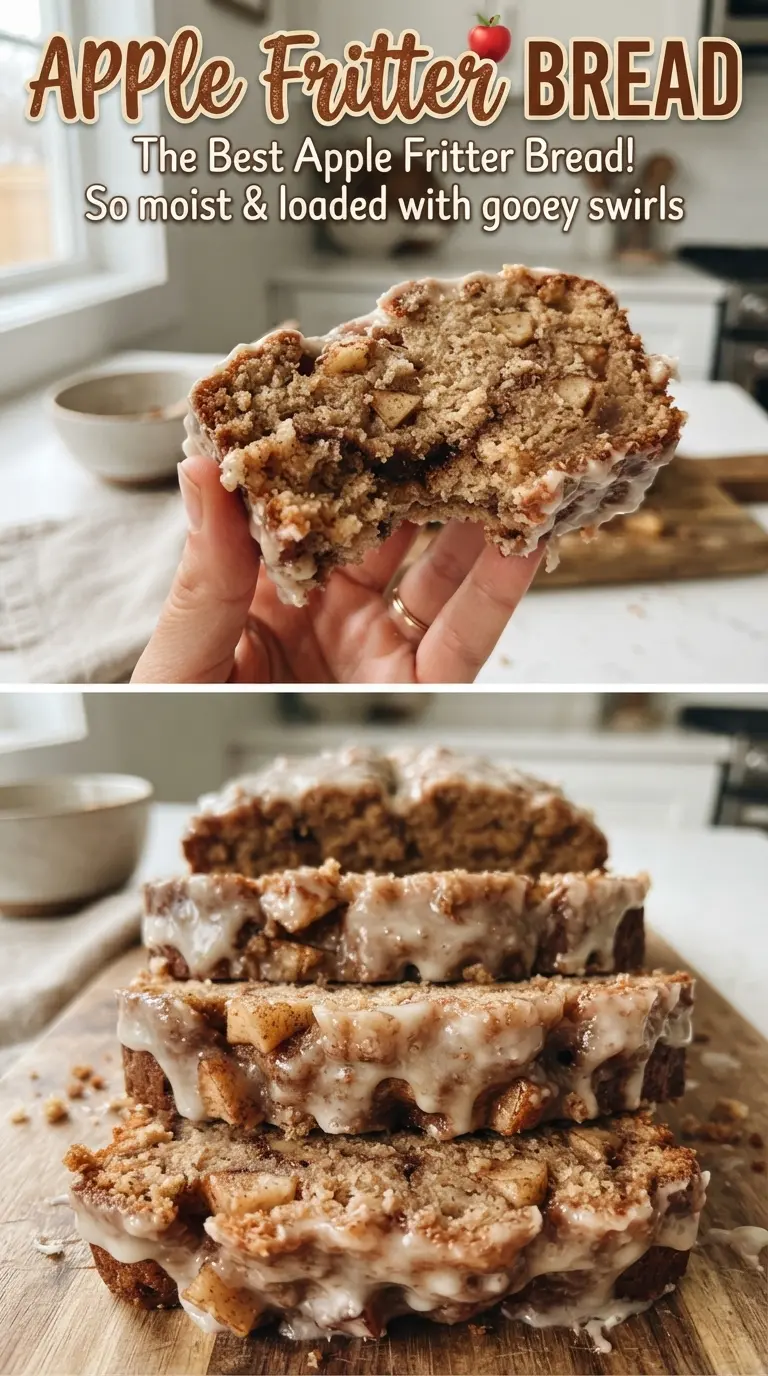
- Apples — Use a firm baking apple if you can. Softer apples can turn mushy and disappear into the batter, while something like Granny Smith or Honeycrisp holds its shape and gives you those little juicy pockets after baking.
- Brown sugar and cinnamon — This is where the fritter flavor comes from. The brown sugar melts into the apples and creates those sticky ribbons that taste like the edge of a bakery fritter.
- Butter — Softened butter creams with the sugar to build structure and keep the loaf tender. If the butter is still cold, the batter won’t trap air well and the finished bread will bake up heavier.
- Milk — Added with the dry ingredients, milk loosens the batter just enough to keep the crumb soft. Any dairy milk works here; I wouldn’t swap in something thinner than milk unless you’re ready for a drier loaf.
- Powdered sugar — This makes the glaze smooth and fast. Granulated sugar won’t dissolve the same way, so the topping would stay gritty instead of pouring cleanly over the loaf.
Building the Swirl Without Collapsing the Loaf
Creaming the Base
Beat the butter and sugar until the mixture looks pale and fluffy, not just combined. That step traps air and gives the loaf lift, which matters because the apples add weight later. Add the eggs one at a time if you can, then the vanilla, so the batter stays smooth instead of looking separated.
Mixing the Dry Ingredients into the Batter
Whisk the flour, baking powder, and salt before adding them to the wet ingredients. Alternate the dry mix with the milk and stop as soon as the batter comes together. If you keep stirring after that point, the loaf turns tough and the crumb gets tight around the apple pieces.
Layering the Apples and Cinnamon Sugar
Spread half the batter into the pan first, then add half the apples and half the remaining cinnamon sugar. Repeat with the second half, then run a knife through the batter just once or twice in a loose zigzag. Over-swirling blends everything together and takes away the pretty layers; too little swirling leaves one heavy pocket of apple at the top.
Baking Until the Center Sets
Bake until the top is deeply golden and a toothpick comes out clean or with only a few moist crumbs. If the top browns before the center is done, tent it loosely with foil for the last stretch of baking. The loaf needs enough time in the oven for the middle to set, or it can sink when it cools.
Glazing at the Right Time
Let the loaf cool for about 15 minutes before glazing so the topping clings instead of disappearing into the bread. Whisk the powdered sugar with just enough milk to make a thick drizzle, then spoon it over the warm loaf. If it’s too thin, it runs off; if it’s too thick, it sits in clumps and never settles into that glossy finish.
How to Adapt This for Different Kitchens and Different Cravings
Use pears instead of apples
Firm pears work if that’s what you have, but they soften faster and give a gentler, more floral sweetness. Keep the dice a little larger so they don’t dissolve into the crumb during baking.
Make it dairy-free
Use a plant-based butter that bakes well and an unsweetened milk alternative with a little body, like oat milk. The loaf still rises, but the flavor is slightly less rich and the crumb can be a touch softer.
Skip the glaze for a less sweet loaf
The bread is still flavorful without the topping, especially if you use a tart apple. You’ll lose the classic fritter finish, but you gain a loaf that works better for breakfast or snacking.
Add chopped walnuts
A handful of walnuts adds crunch and a toasty edge that plays well with the cinnamon sugar. Stir them into the apple layer so they stay distributed instead of sinking to the bottom.
Storage and Reheating
- Refrigerator: Store covered for up to 4 days. The crumb stays moist, though the glaze softens and absorbs into the top a bit.
- Freezer: Freeze slices tightly wrapped for up to 2 months. Thaw at room temperature; I’d glaze after thawing if you want the topping to look fresh.
- Reheating: Warm slices in the microwave for 10 to 15 seconds or in a low oven until just heated through. Long reheating dries out the edges and makes the apples lose their tenderness.
Answers to the Questions Worth Asking
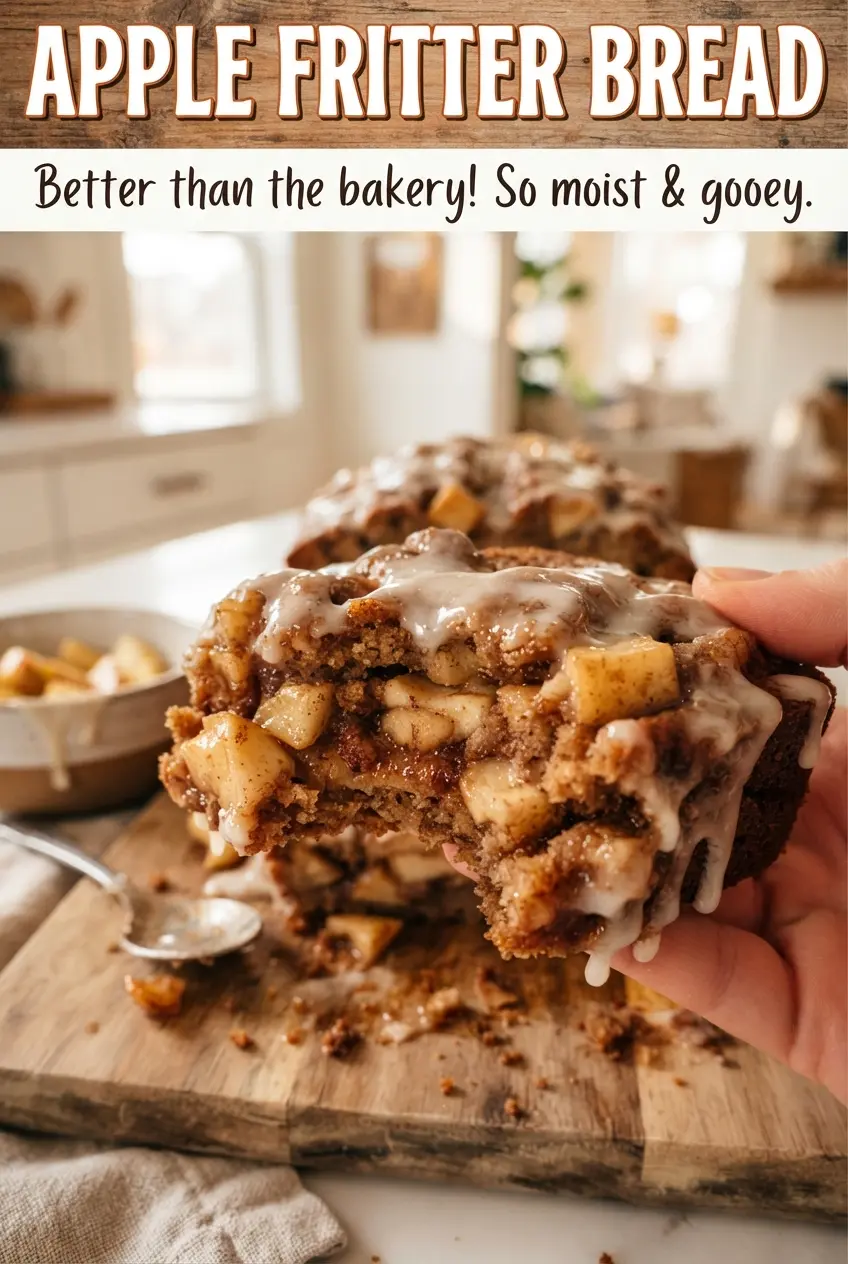
Apple Fritter Bread
Ingredients
Equipment
Method
- Preheat oven to 350F, and grease and line a 9x5-inch loaf pan.
- Mix brown sugar and ground cinnamon, then toss the chopped apples with 2 tablespoons of the mixture until coated.
- Beat softened butter and granulated sugar until fluffy, then beat in the eggs and vanilla extract until smooth.
- Whisk all-purpose flour, baking powder, and salt together, then add to the batter alternately with milk until just combined.
- Spread half the batter in the loaf pan.
- Top with half the apples and half of the remaining cinnamon sugar mixture.
- Repeat the layers with the remaining batter, apples, and cinnamon sugar.
- Swirl gently with a knife to create marbled cinnamon-brown sugar streaks on top and through the loaf.
- Bake 50-55 minutes at 350F until a toothpick comes out clean.
- Cool the loaf for 15 minutes.
- Whisk powdered sugar with 2-3 tablespoons of milk until thick, then drizzle over the warm loaf.