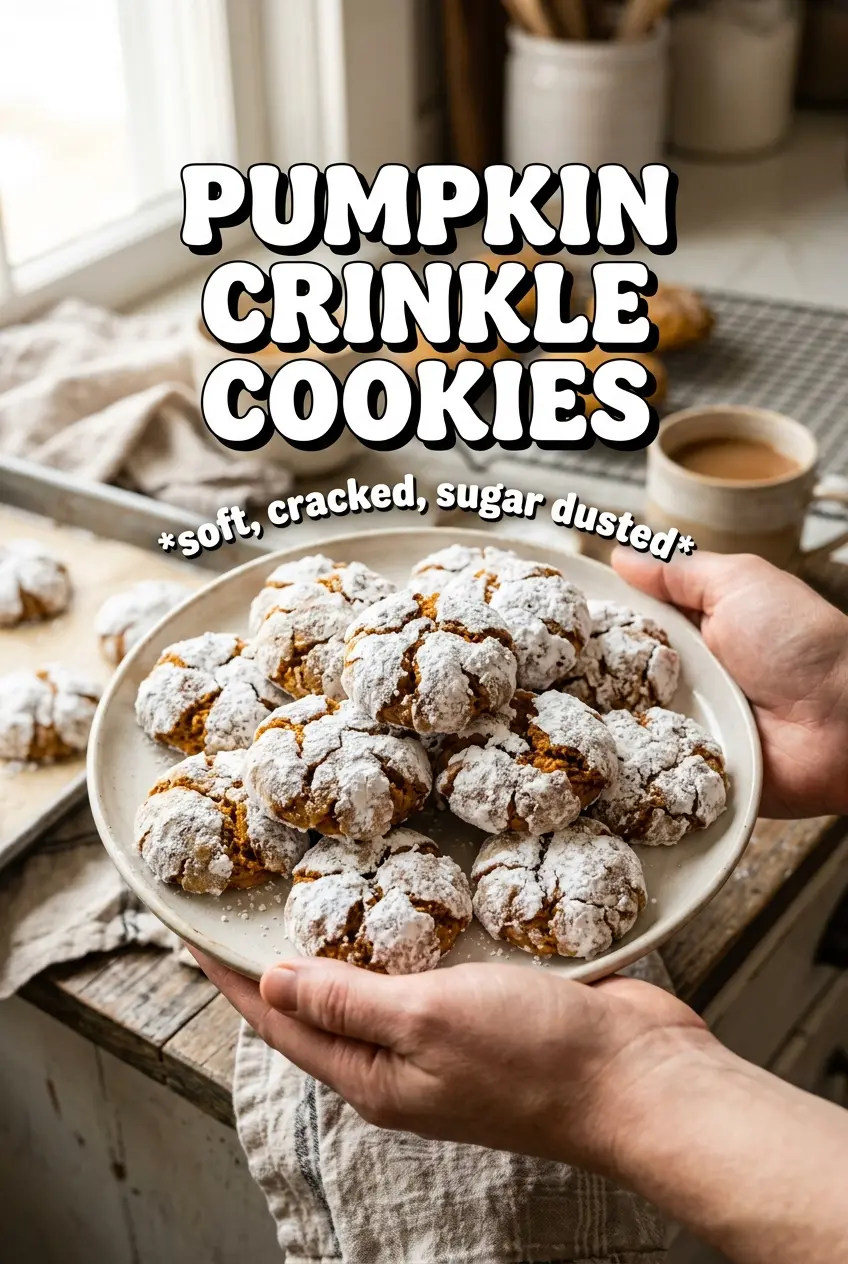
Pumpkin crinkle cookies bake up with a soft, cakey center, crisp edges, and that dramatic powdered sugar crackle that makes them look like they came straight from a bakery case. The best ones taste like pumpkin pie in cookie form, but with a little chew from the browned edges and enough structure to hold all that sugar on the outside. When they’re done right, the tops split wide in the oven and the orange cookie peeks through the white sugar in bold, uneven lines.
The part that makes this version work is the balance of moisture. Pumpkin puree brings flavor and tenderness, but it also brings water, which is why the puree needs to be blotted dry before it goes into the bowl. Melted butter keeps the dough rich without making it fussy, and the two-sugar coating gives the cookies that classic crinkle effect: granulated sugar helps the powdered sugar cling, while the heavy outer layer of powdered sugar stays bright in the oven.
Below you’ll find the one step that keeps the cookies from spreading too much, plus the coating trick that gives you those deep cracks instead of a pale dusting.
The cookies spread just enough to crack beautifully, and the powdered sugar stayed snowy instead of melting into the dough. I chilled the dough overnight and they still baked up soft in the middle with that perfect pumpkin spice smell.
Save these pumpkin crinkle cookies for the bake you want when the cracks are big, the sugar stays bold, and the centers stay soft.
The Dry Dough Trick That Keeps the Crinkles Sharp
Most pumpkin cookies fail for one of two reasons: the dough is too wet, or the coating melts before the cookie has a chance to set. Pumpkin puree carries a lot of water, and if it goes into the dough straight from the can, the cookies spread into pale, soft rounds instead of cracking cleanly. Blotting the puree until it feels thick and almost paste-like gives you a dough that can hold its shape long enough to bake properly.
The other part that matters is chilling. That two-hour rest firms the melted butter back up and gives the flour time to hydrate, which helps the cookies puff and fissure instead of slumping. If the dough still feels sticky after chilling, it needs more time, not more flour. Extra flour makes the cookies dry and dulls the pumpkin spice.
What the Sugar Coating Is Doing for These Cookies

- Pumpkin puree — This is the flavor and color driver, but it has to be blotted dry. A wet puree turns the dough loose and keeps the cookies from crinkling deeply. The best shortcut is to press it between layers of paper towel until the surface moisture is gone and the texture feels thicker.
- Melted butter — Melted butter makes the dough easy to mix and gives the cookies a soft, rich bite. Softened butter won’t behave the same way here; it traps air differently and changes the spread. Melt it, then let it cool until just warm so it doesn’t scramble the eggs.
- Brown sugar — This adds a little chew and a deeper caramel note that plays well with pumpkin spice. Granulated sugar alone will bake up a flatter, cleaner sweetness, which isn’t wrong, just less rounded. The brown sugar also helps the centers stay tender.
- Powdered sugar — Don’t skip the generous coat. The first roll in granulated sugar creates a dry surface, and the powdered sugar clings on top instead of dissolving into the dough. That double coating is what gives you the stark white cracks against the orange cookie.
The Chilling and Coating Sequence That Makes the Tops Crack
Mix the dough without overworking it
Whisk the dry ingredients first so the spice and leavening are evenly distributed. In the wet bowl, combine the butter, both sugars, pumpkin, eggs, and vanilla until the mixture looks smooth and glossy. Fold the dry ingredients in just until no streaks of flour remain. If you keep stirring after that point, the dough tightens up and the cookies lose some of their lift.
Let the dough firm up fully
Refrigerate the dough for the full two hours. That pause isn’t optional if you want the crinkle effect to show up clearly. Cold dough hits the oven slower, so the outside sets before the center spreads too much. If you scoop it too soon, the cookies bake up thicker and smoother with fewer cracks.
Roll in both sugars before baking
Scoop the dough into 1 1/2 tablespoon balls, then roll each one in granulated sugar first and powdered sugar second. The first layer dries the surface and gives the second layer something to grip. Coat them heavily; a light dusting melts in the oven and leaves you with a faint haze instead of those bold white fissures.
Bake until the tops split and the centers still look soft
Bake at 350°F for 11 to 13 minutes, just until the cookies are puffed and visibly crinkled. The centers should still look a little underdone when you pull them out; they finish setting on the pan. If you wait until the cookies look completely firm in the oven, they’ll go dry by the time they cool. Leave them on the sheet for a few minutes, then move them to a rack.
How to Adjust Pumpkin Crinkle Cookies Without Losing the Texture
Gluten-Free Version with a 1:1 Flour Blend
A good cup-for-cup gluten-free flour blend works here as long as it already includes xanthan gum. The cookies may spread a touch less and bake up a little more tender, but the crinkle top still develops if the dough is chilled and coated generously. Skip single-ingredient starches; they don’t bring the structure this dough needs.
Dairy-Free Pumpkin Crinkle Cookies
Use a plant-based butter stick instead of the unsalted butter. The key is choosing one that behaves like regular butter when melted, not a soft tub spread. The flavor stays close, and the texture still comes out soft and cakey, though the edges may brown a little faster.
Extra-Spiced Cookies for Stronger Pumpkin Pie Flavor
If you want a louder spice note, add another 1/2 teaspoon of cinnamon or a pinch of cloves. That pushes the cookies closer to pumpkin pie filling territory without changing the structure. Don’t add extra pumpkin spice and extra cinnamon in big amounts together or the spice can crowd out the sugar coating.
Storage and Reheating
- Refrigerator: Store in an airtight container for up to 5 days. The powdered sugar softens a little over time, but the cookies stay tender.
- Freezer: Freeze the baked cookies in a single layer, then transfer to a bag for up to 2 months. You can also freeze the portioned dough balls before coating, then thaw just enough to roll in sugar before baking.
- Reheating: Warm baked cookies at room temperature or for 5 to 8 seconds in the microwave. Longer heat will melt the coating and dry out the centers, which is the fastest way to lose the crinkle look.